
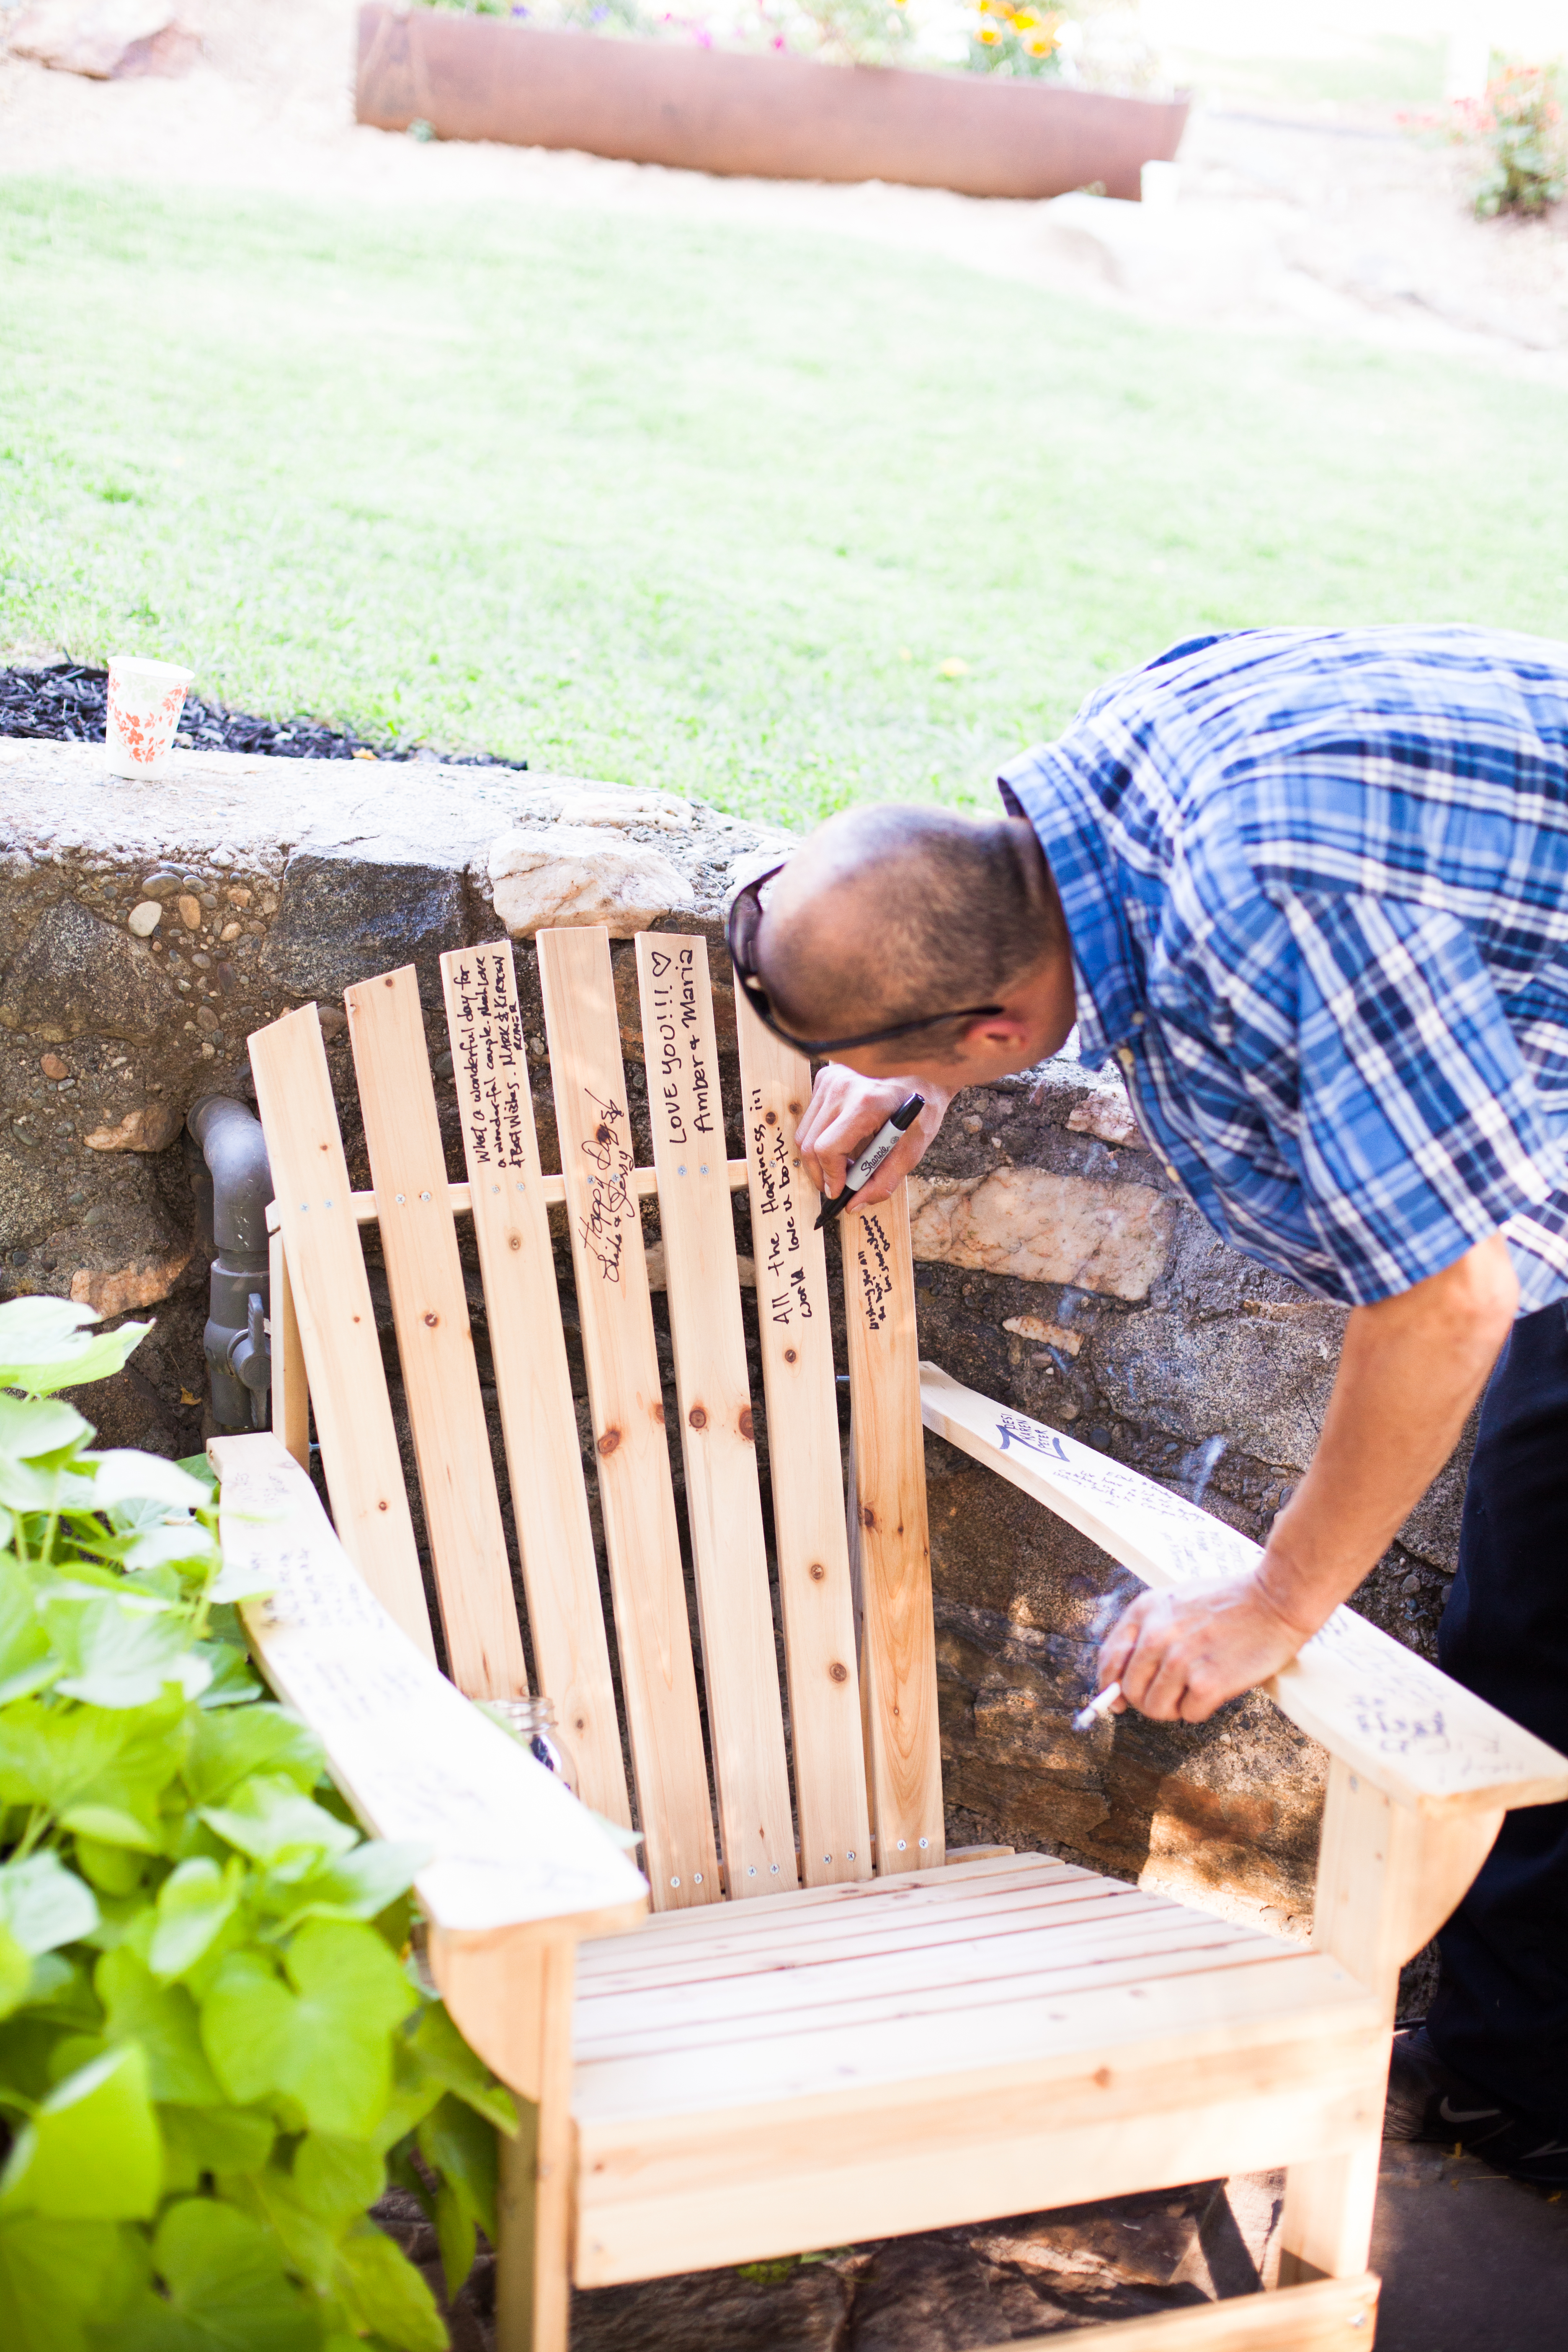
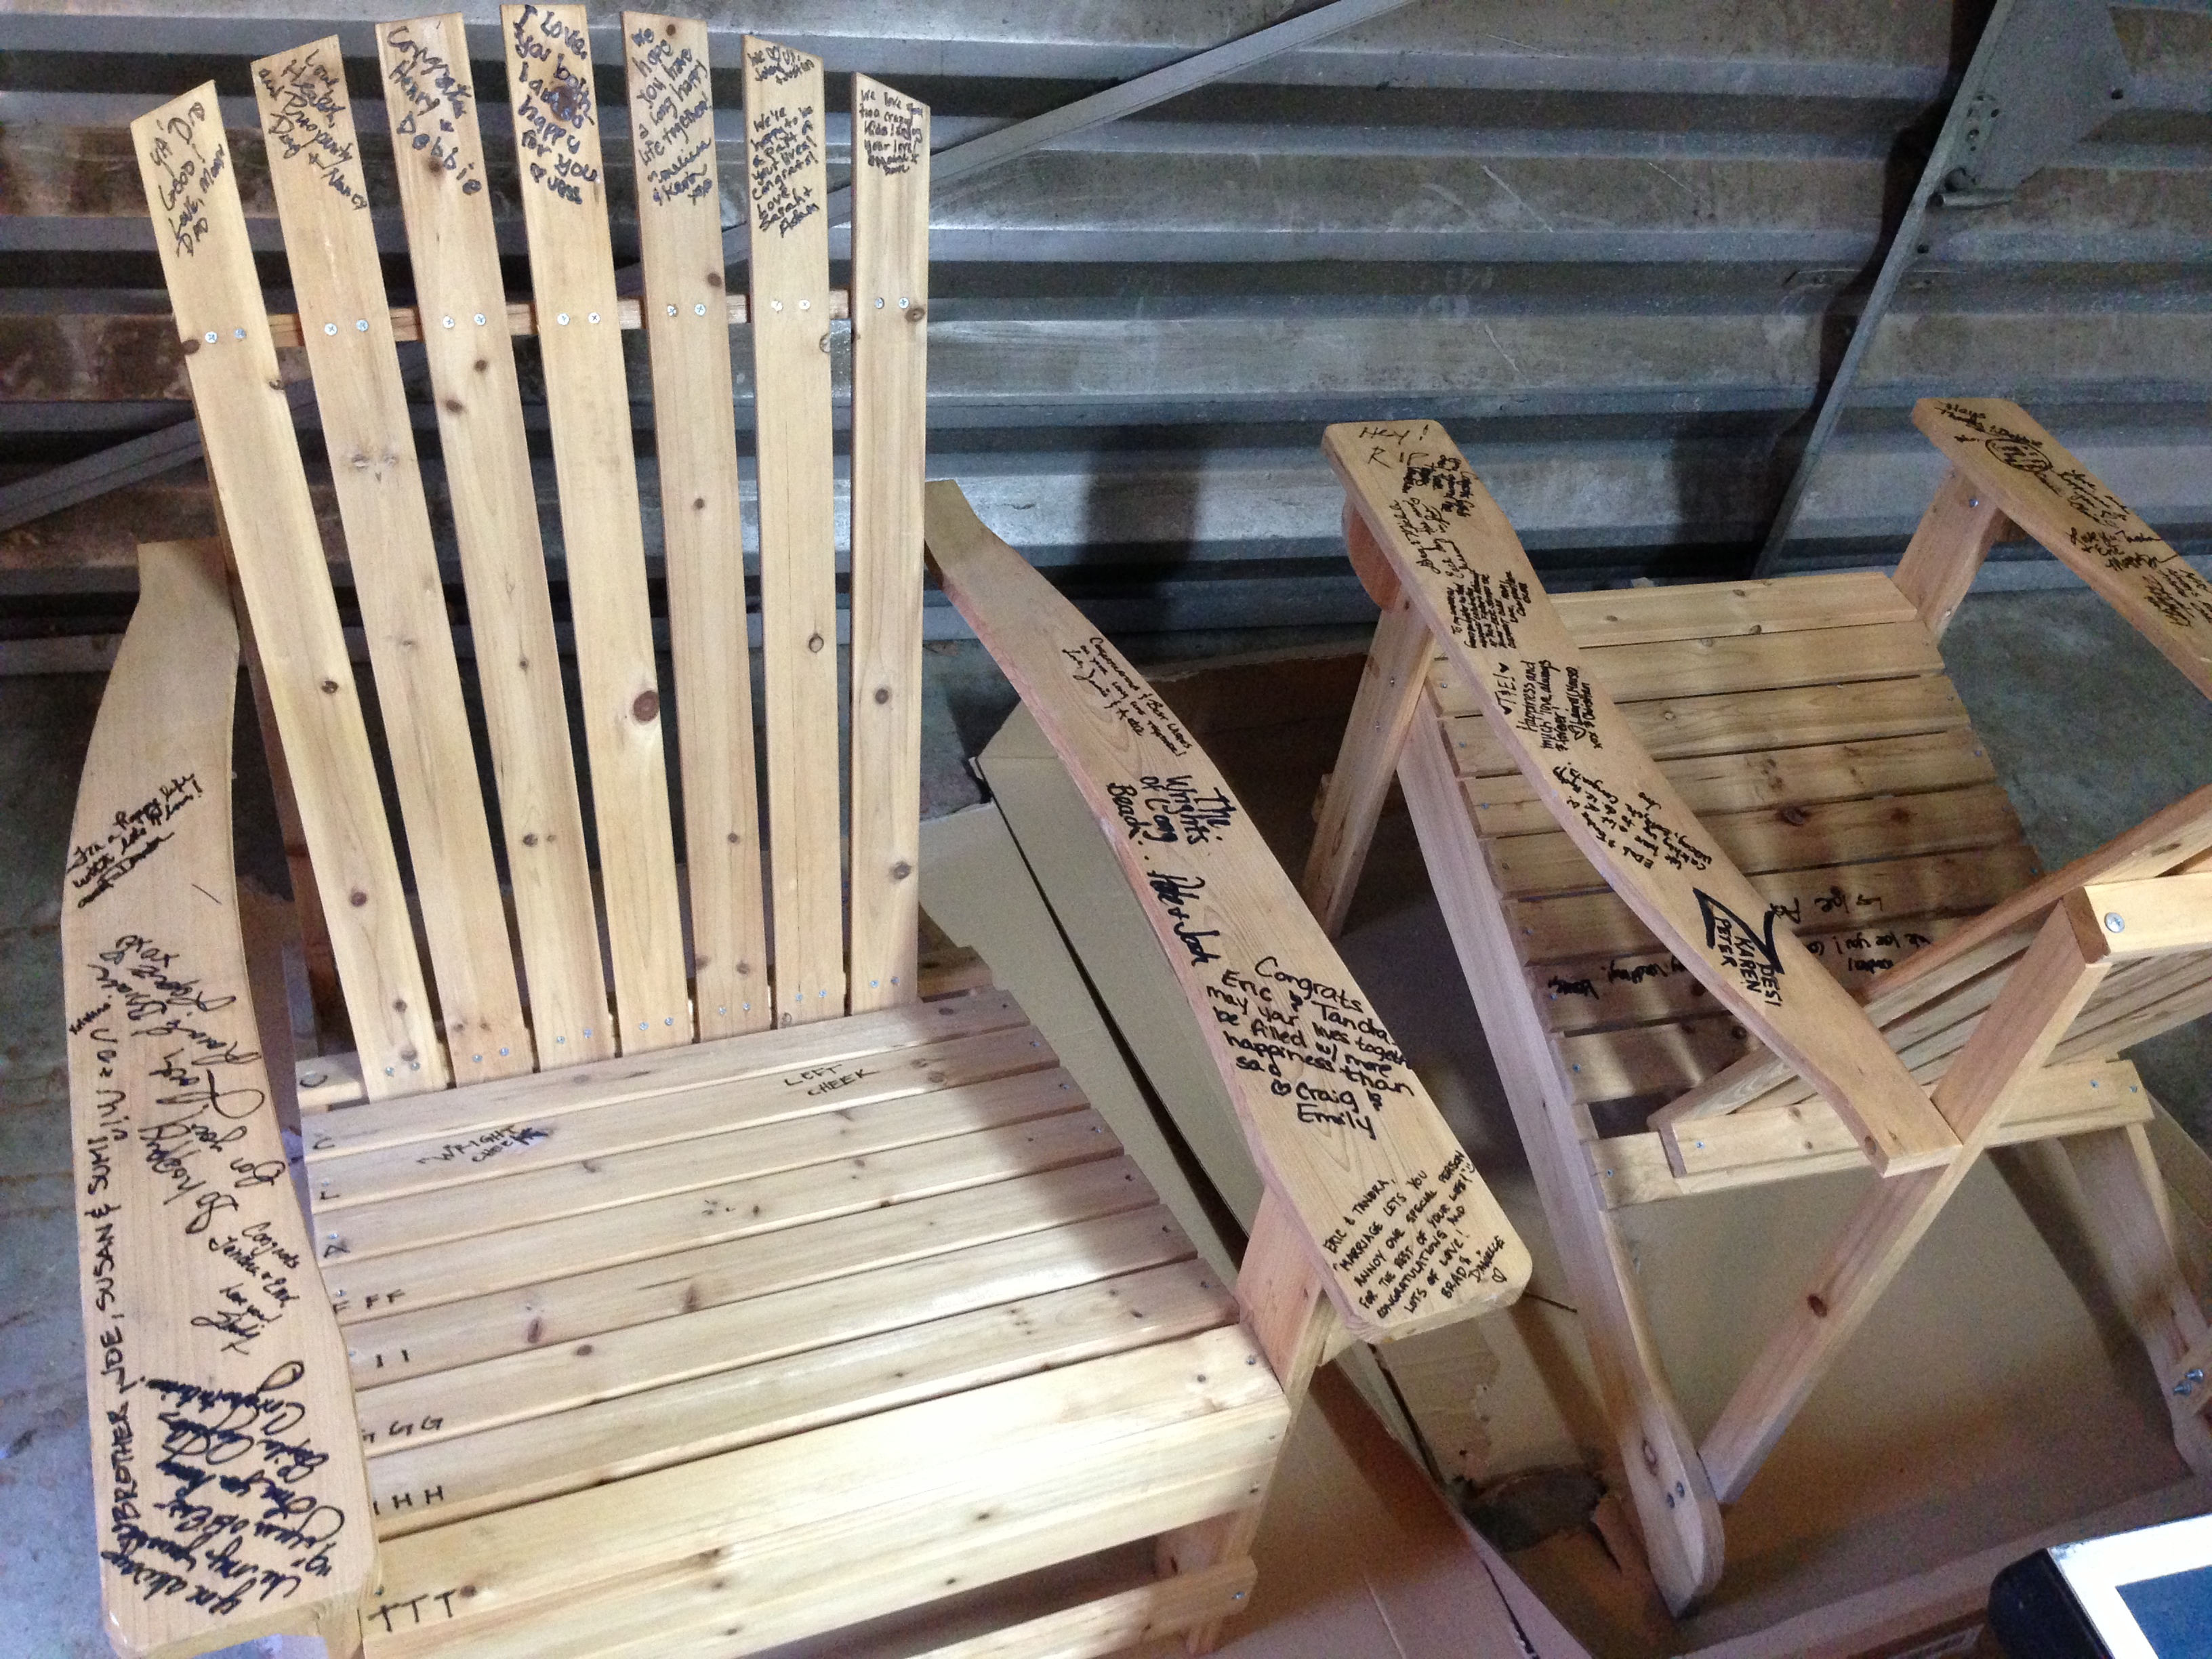
One of the unique touches at our DIY wedding was that we opted for guests to sign wooden Adirondack chairs instead of a guest book.

Pictures courtesy of Kristy Weldon our uber talented wedding photographer!
Our guests and family had a blast both signing and later sitting in them when the heels were finally kicked off. Also the messages became more and more creative as the evening wore on and wine disappeared.
Originally I found these chairs on sale at Home Depot for $29 each, with the intention of making them my first pieces of outdoor furniture at the new house. Only problem my dad pointed out was the elements. If not protected the writing would eventually bleed and wood splinter with age.
The solution: Burn the signatures and messages into the wood so they’d be permanent, then stain the wood for protection from the elements.
Here’s the step by step guide:
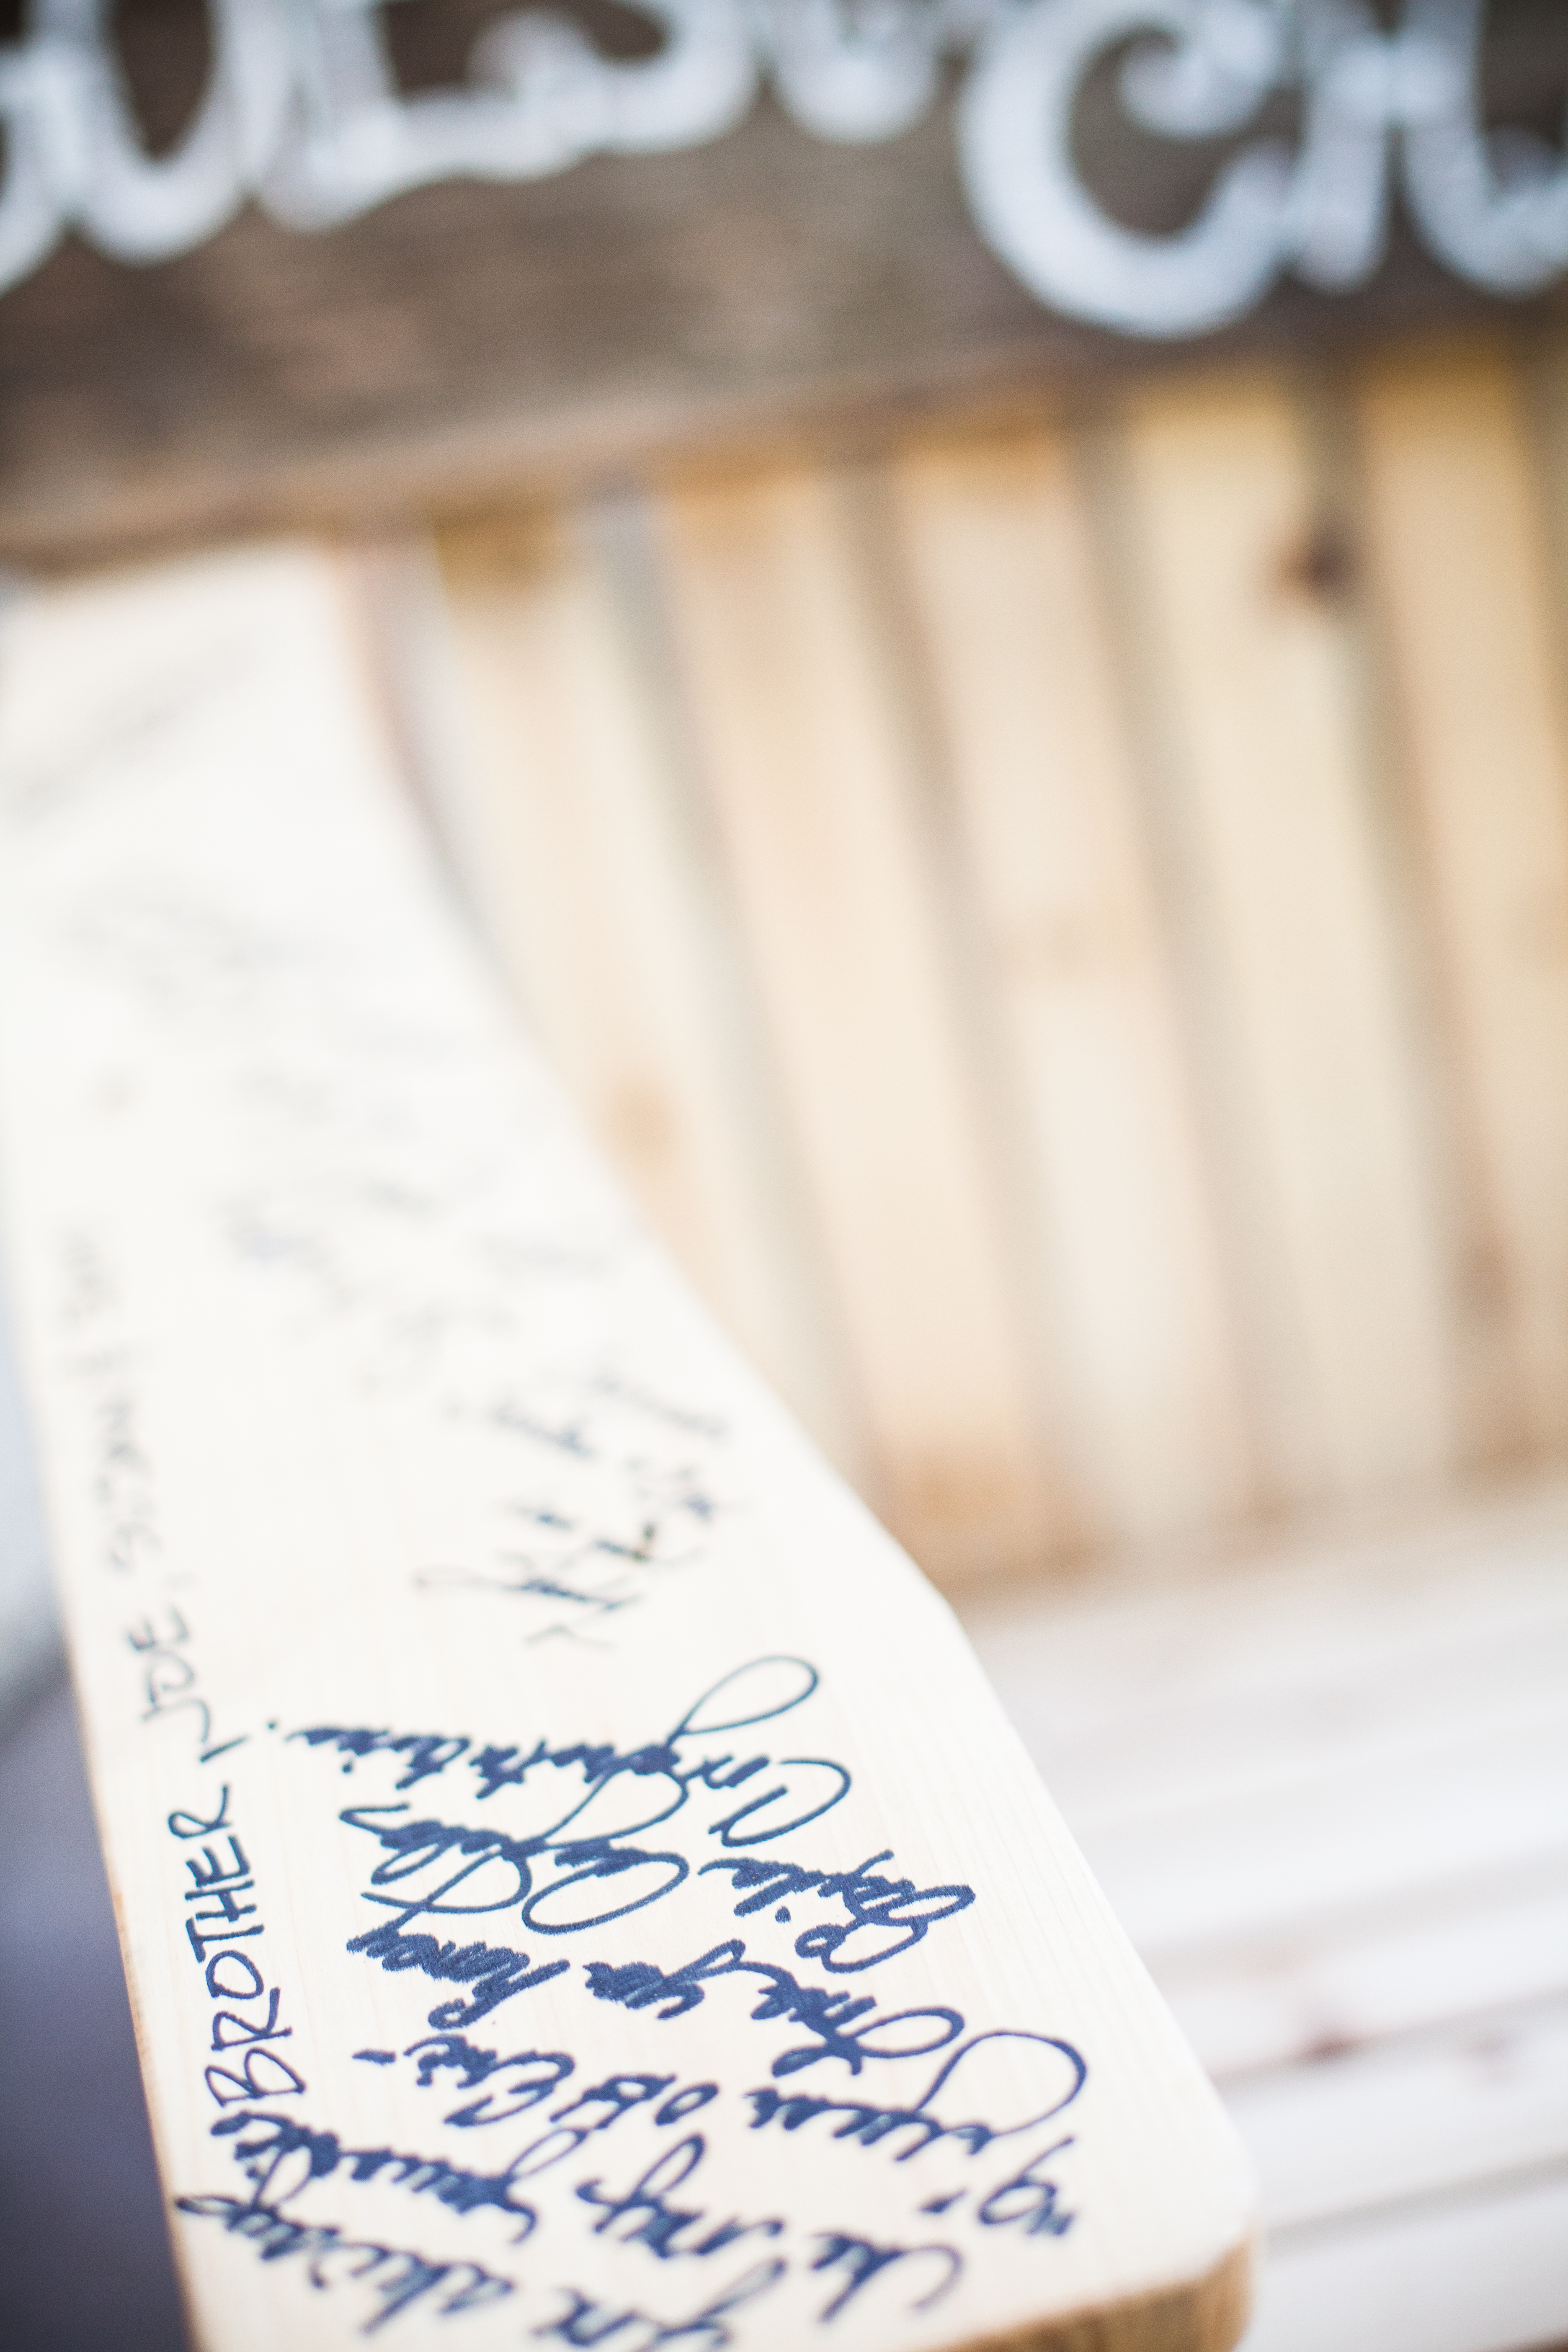
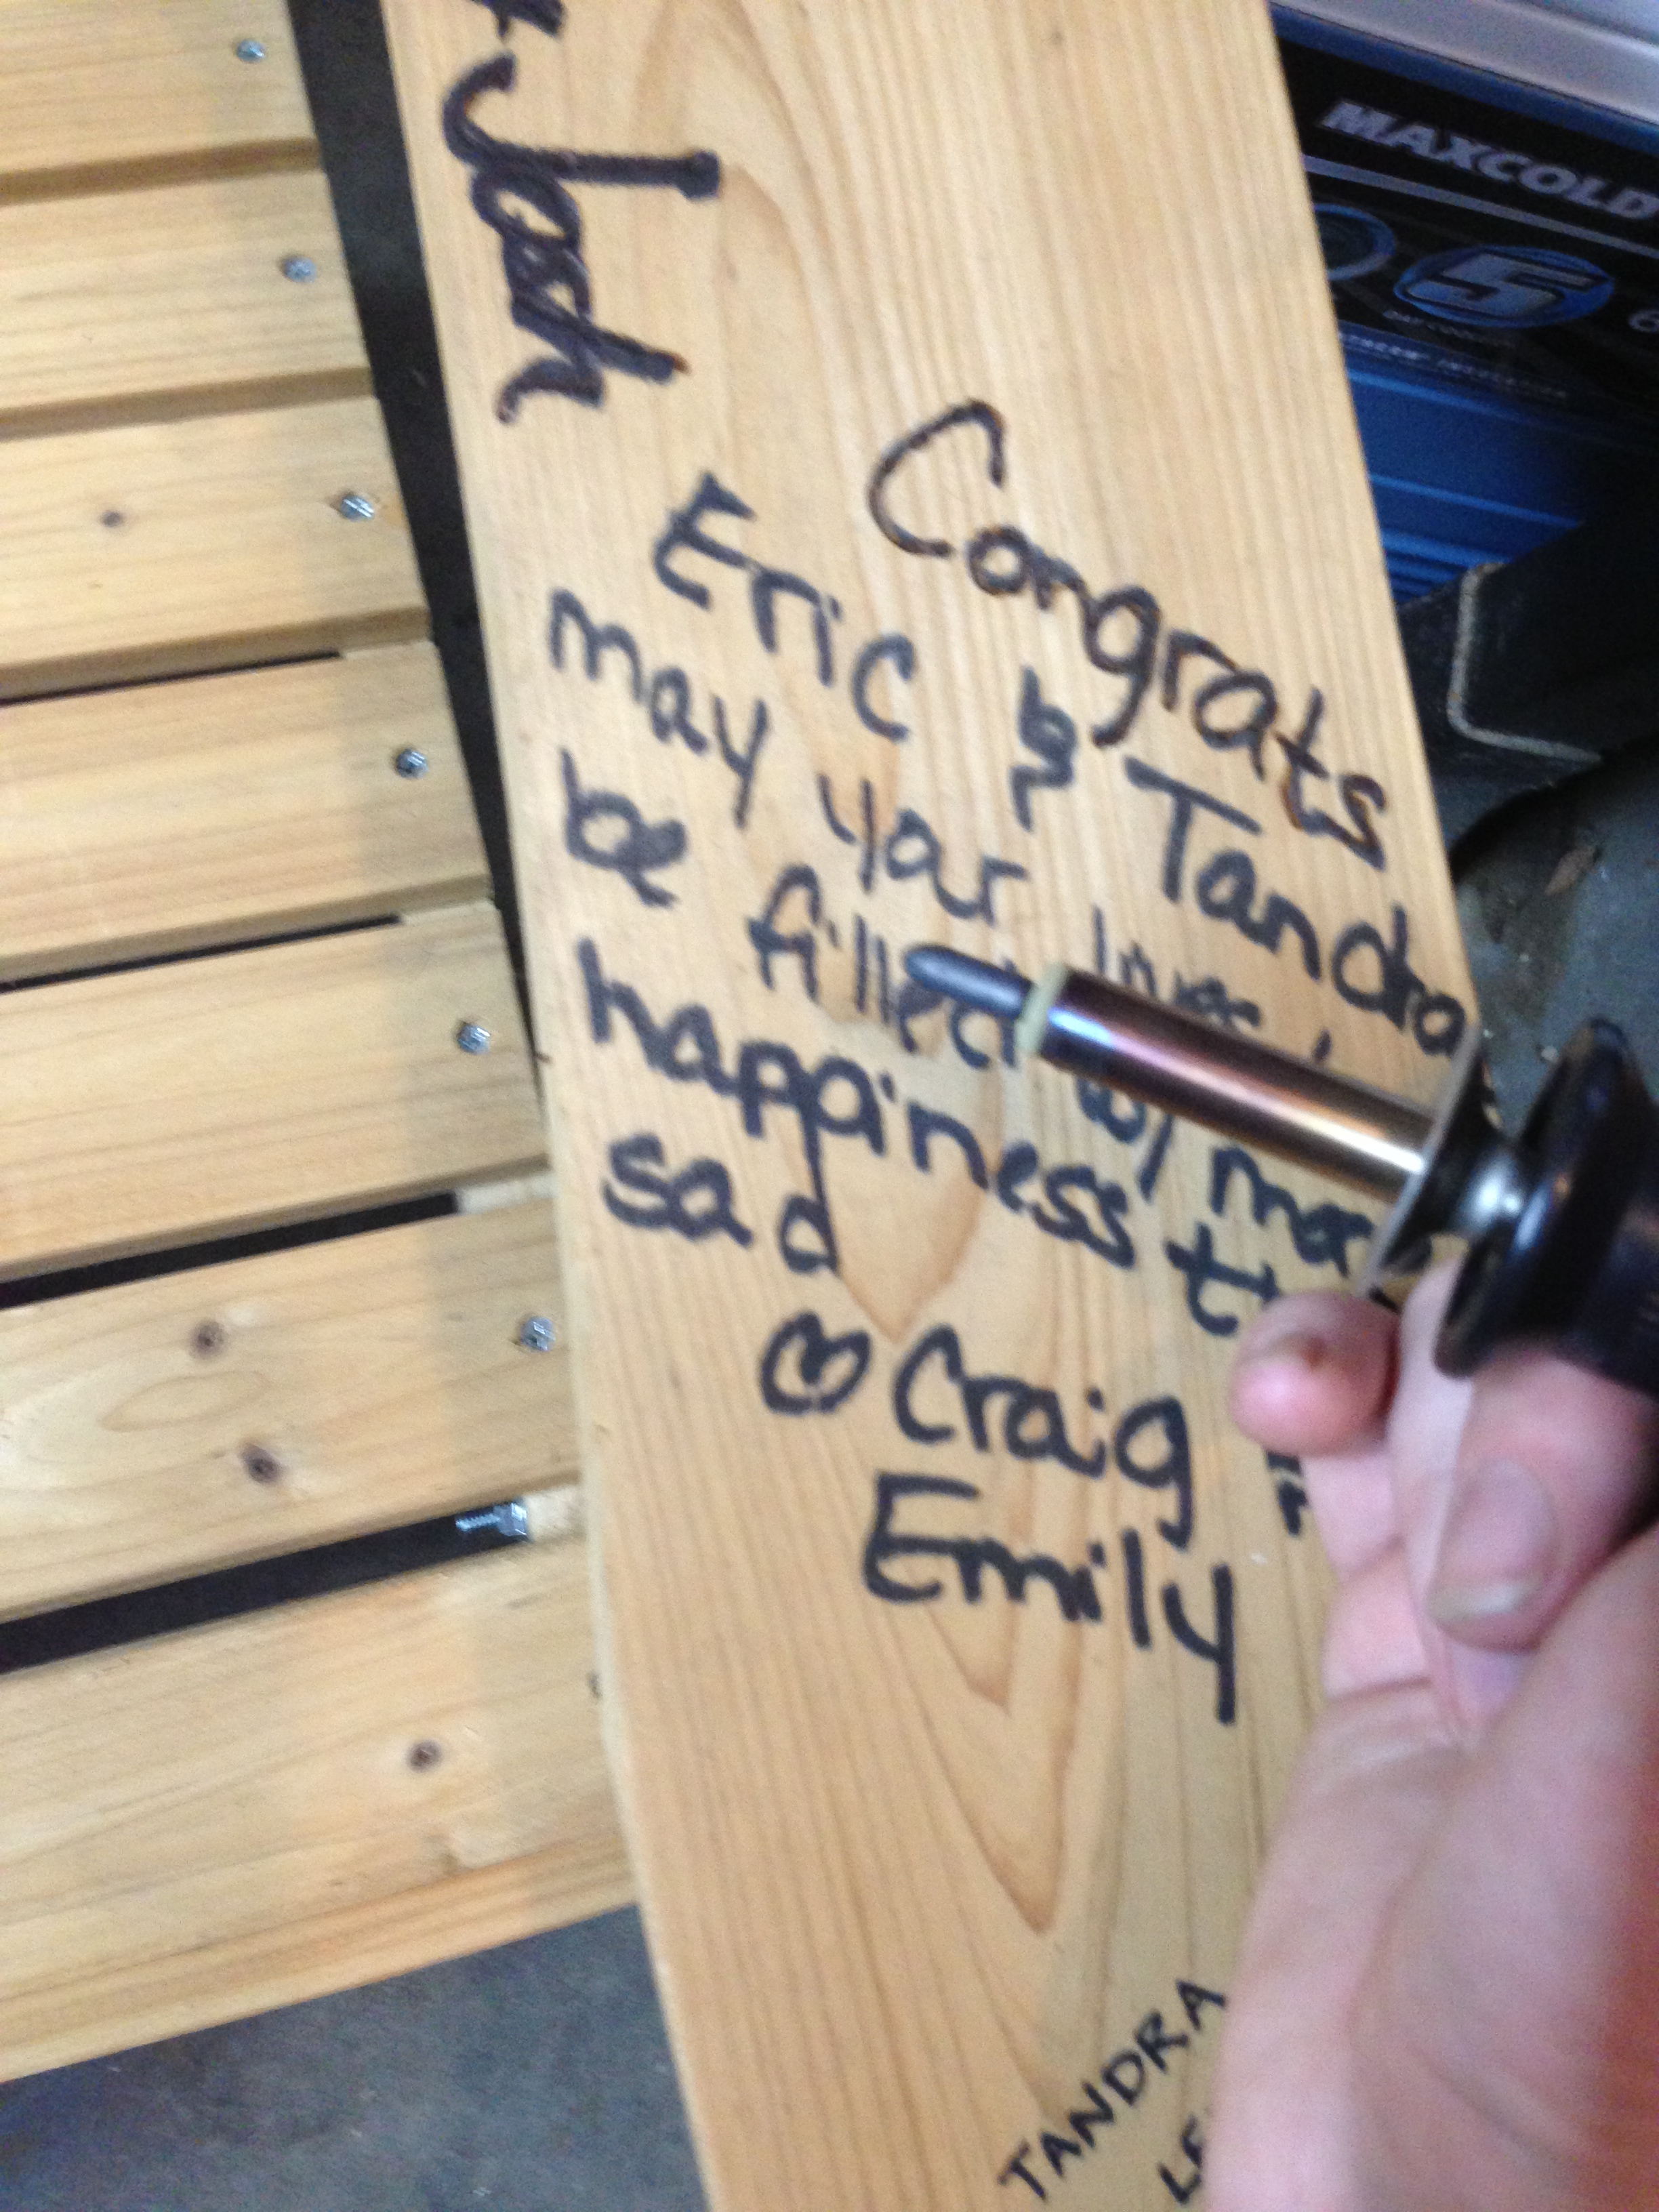
1. I had a wood burning kit from several years back I had bought from Michaels. ($25-$30 price estimate). Be careful, read the instructions before use, and make sure you do not set the hot tool on the actual wood when not in use.
I used the largest blunt tip that it came with. Primarily because I didn’t want to spend my entire weekend on the project. WARNING: If you thought your hand was cramped from thank you card writing, you’ve felt nothing yet!
In our case there were some pretty lengthy messages and awkward hand angles for this project. However just take breaks and pace yourself, just like thank you cards, it doesn’t have to be done in one day.
We loved this next message, appealing to our weird sense of humor!

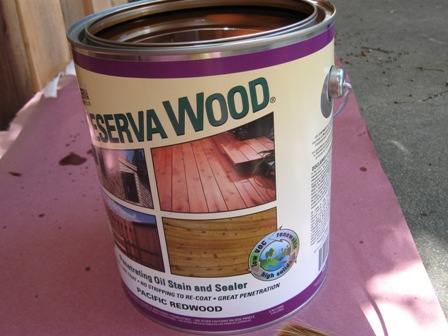
2. Once all the messages were burned in, I protected the garage floor with cardboard and set up the chairs for staining. I used the same old staining brush and some left over Preserva Wood stain in pacific redwood. Since the chairs were not redwood but pine, and I wanted them to match the redwood in the backyard.

Here is a side by side to see the difference in the color

3. Make sure to flip the chairs over for a good coating on the underside of each. Once done staining allow them to dry in a well ventilated area over night.
Voila! Ready for the summer evenings in the backyard!

PS. Might consider another coat of stain and a clear polymer later on…
AND HAPPY FATHERS DAY! We came home from our Dads Day BBQ to find Sierra waiting for us…


Pingback: Starting our Bali Side Yard: Tree Box Planters | littlehousesbigdogs