A Few Inexpensive Updates…Drum light Ceiling Fan

I’ve been ever so slowly updating the office/guest room for the past….ummmm…year! We’ve  been in “hunker down and save” mode these past several months. That said, I hope to someday post some killer “after” pics but for now here are a few inexpensive updates anyone can do.

1) Add a $20 rug…I found this lovely one at Ikea…Our dogs are like magnets to a new rug…They are the official rug “flatten squad”. ipone pics 090

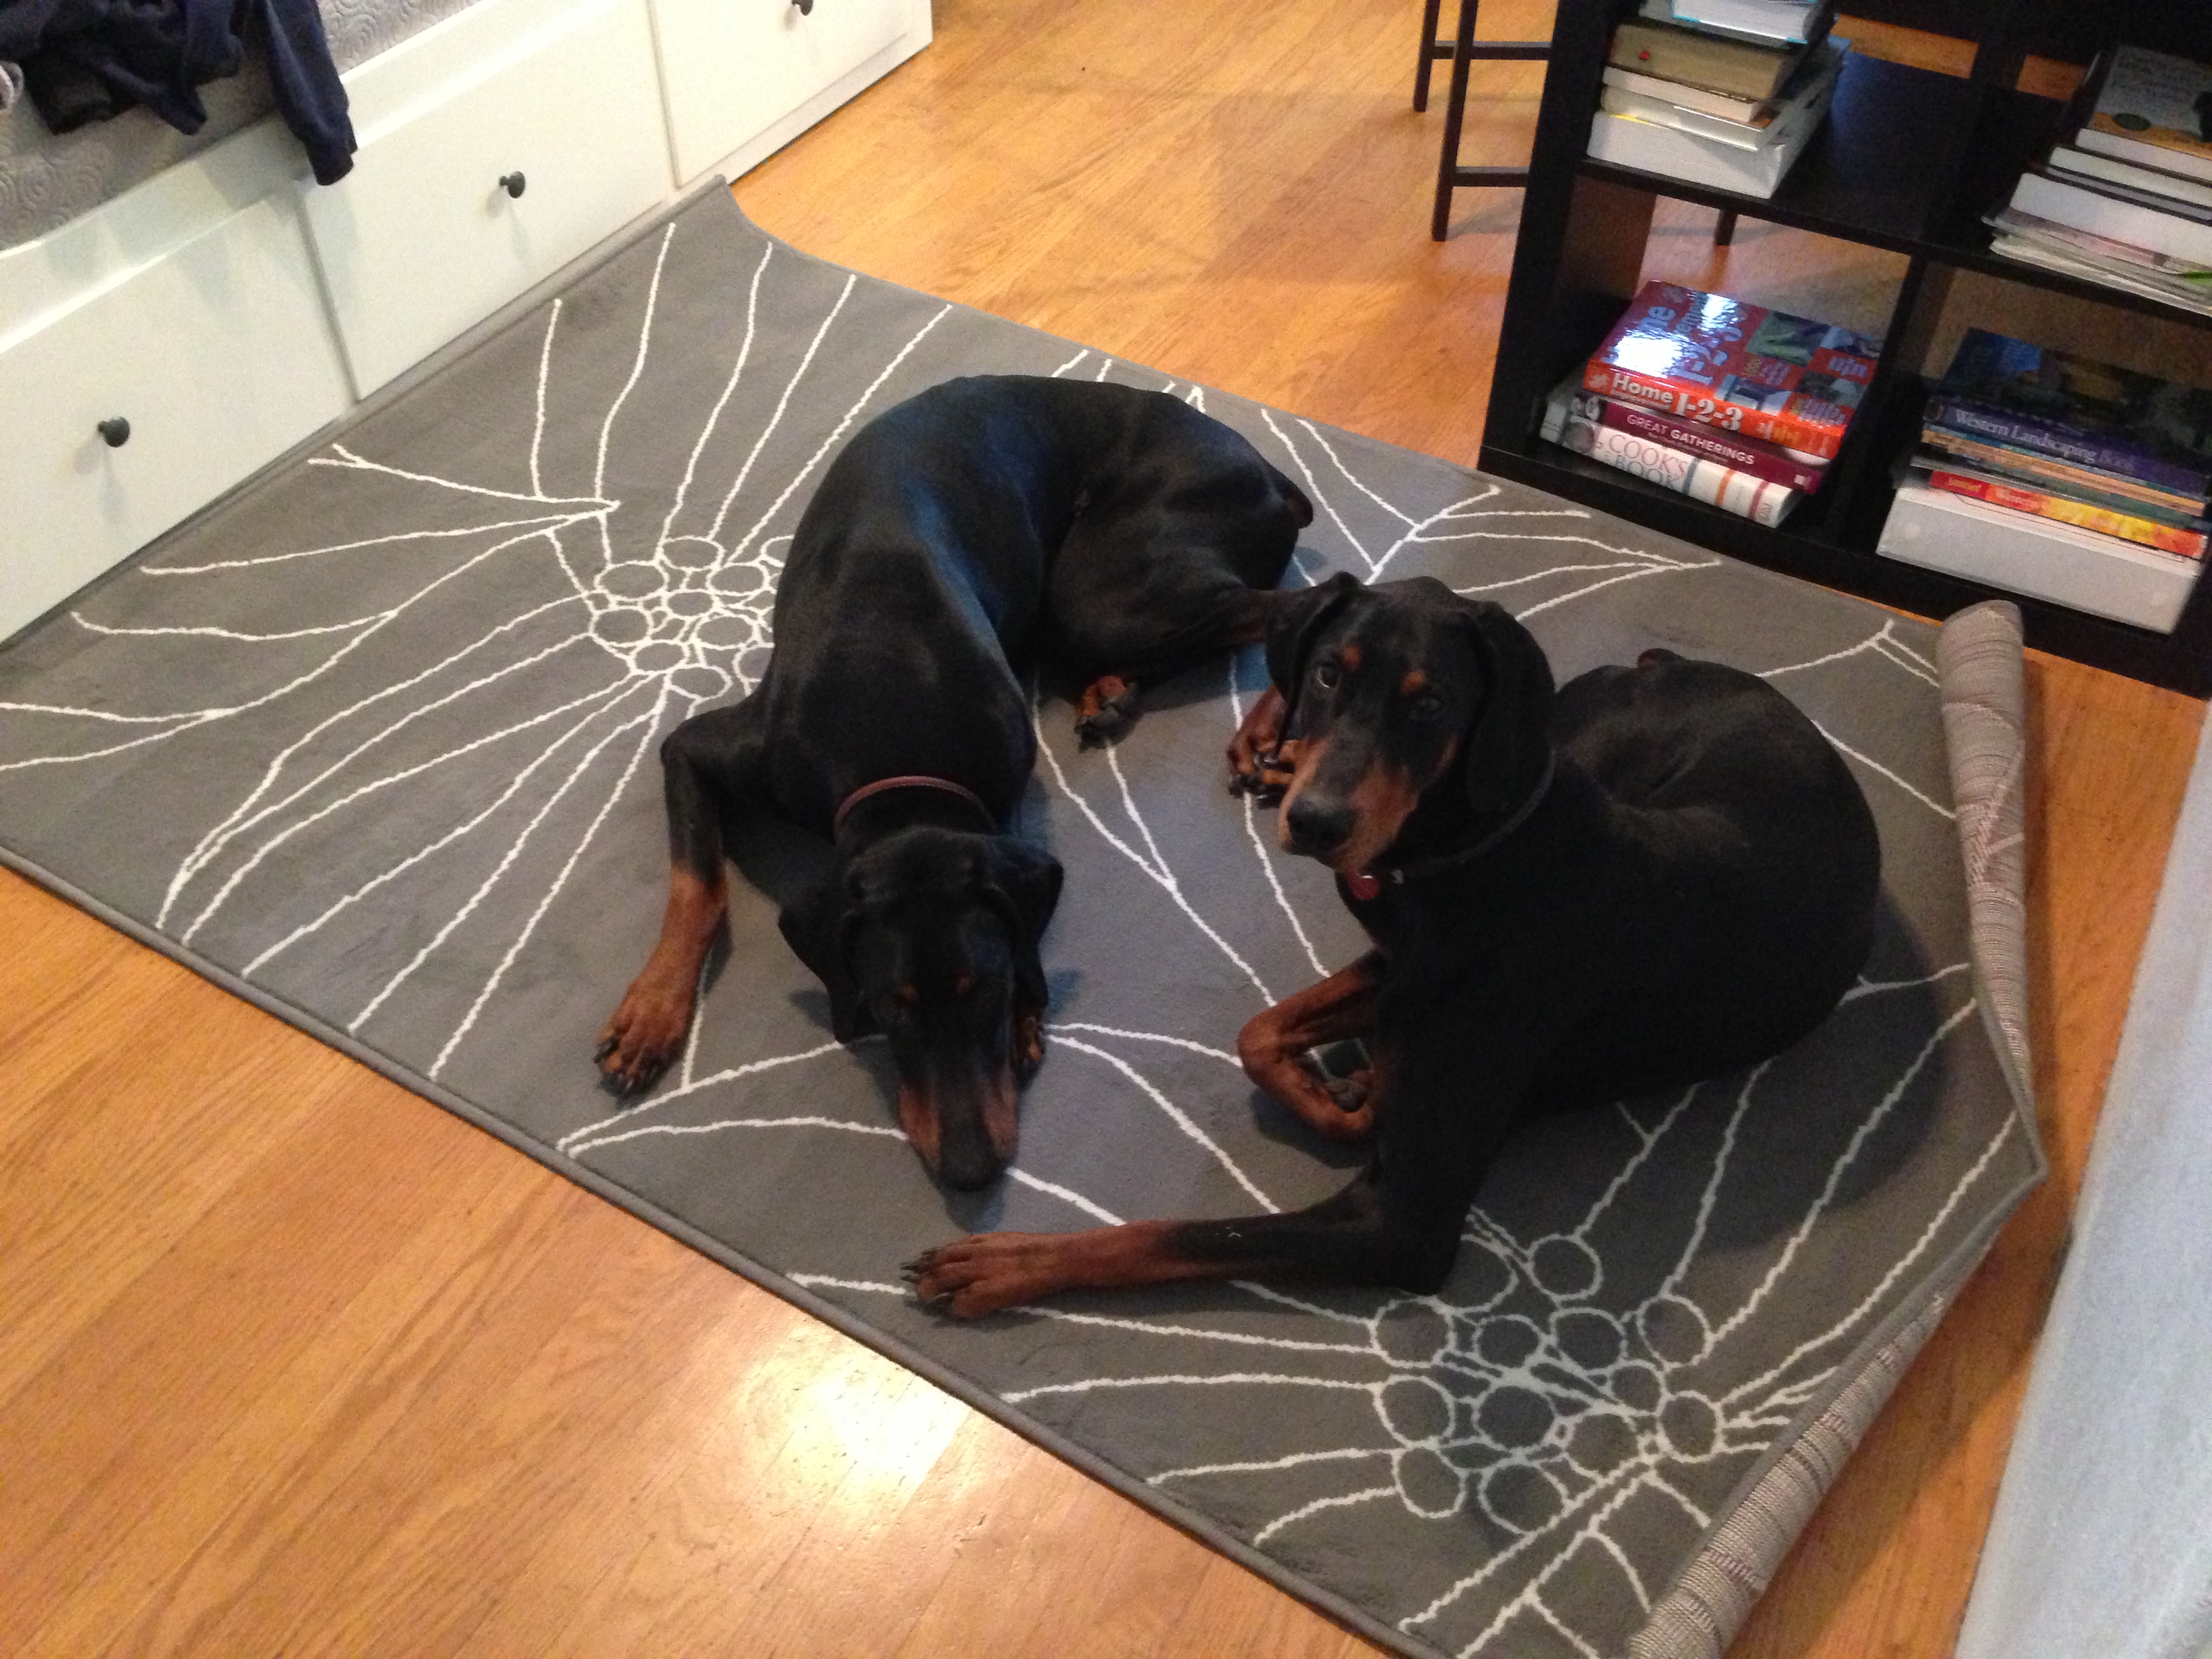
2) Update the room’s lighting…I traded out an old sit-a-top desk lamp for this plug-in Target pendant on clearance for $24. (Luckily I had a left over gift card handy so it was a freebie) I also washed, ironed and re-used hand me down drapes from the master bedroom.

ipone pics 068

3) Go crazy with drum shades! Total cost ($23 thanks to a few Ross finds and some connector pieces at Home Depot)

#1 light update, here is a lamp given to us for free…[Sigh] the difference a drum shade can make…

Before lamp before piclamp after pic After

#2 shade update, modernize an old ceiling fan with a drum shade…

ipone pics 115

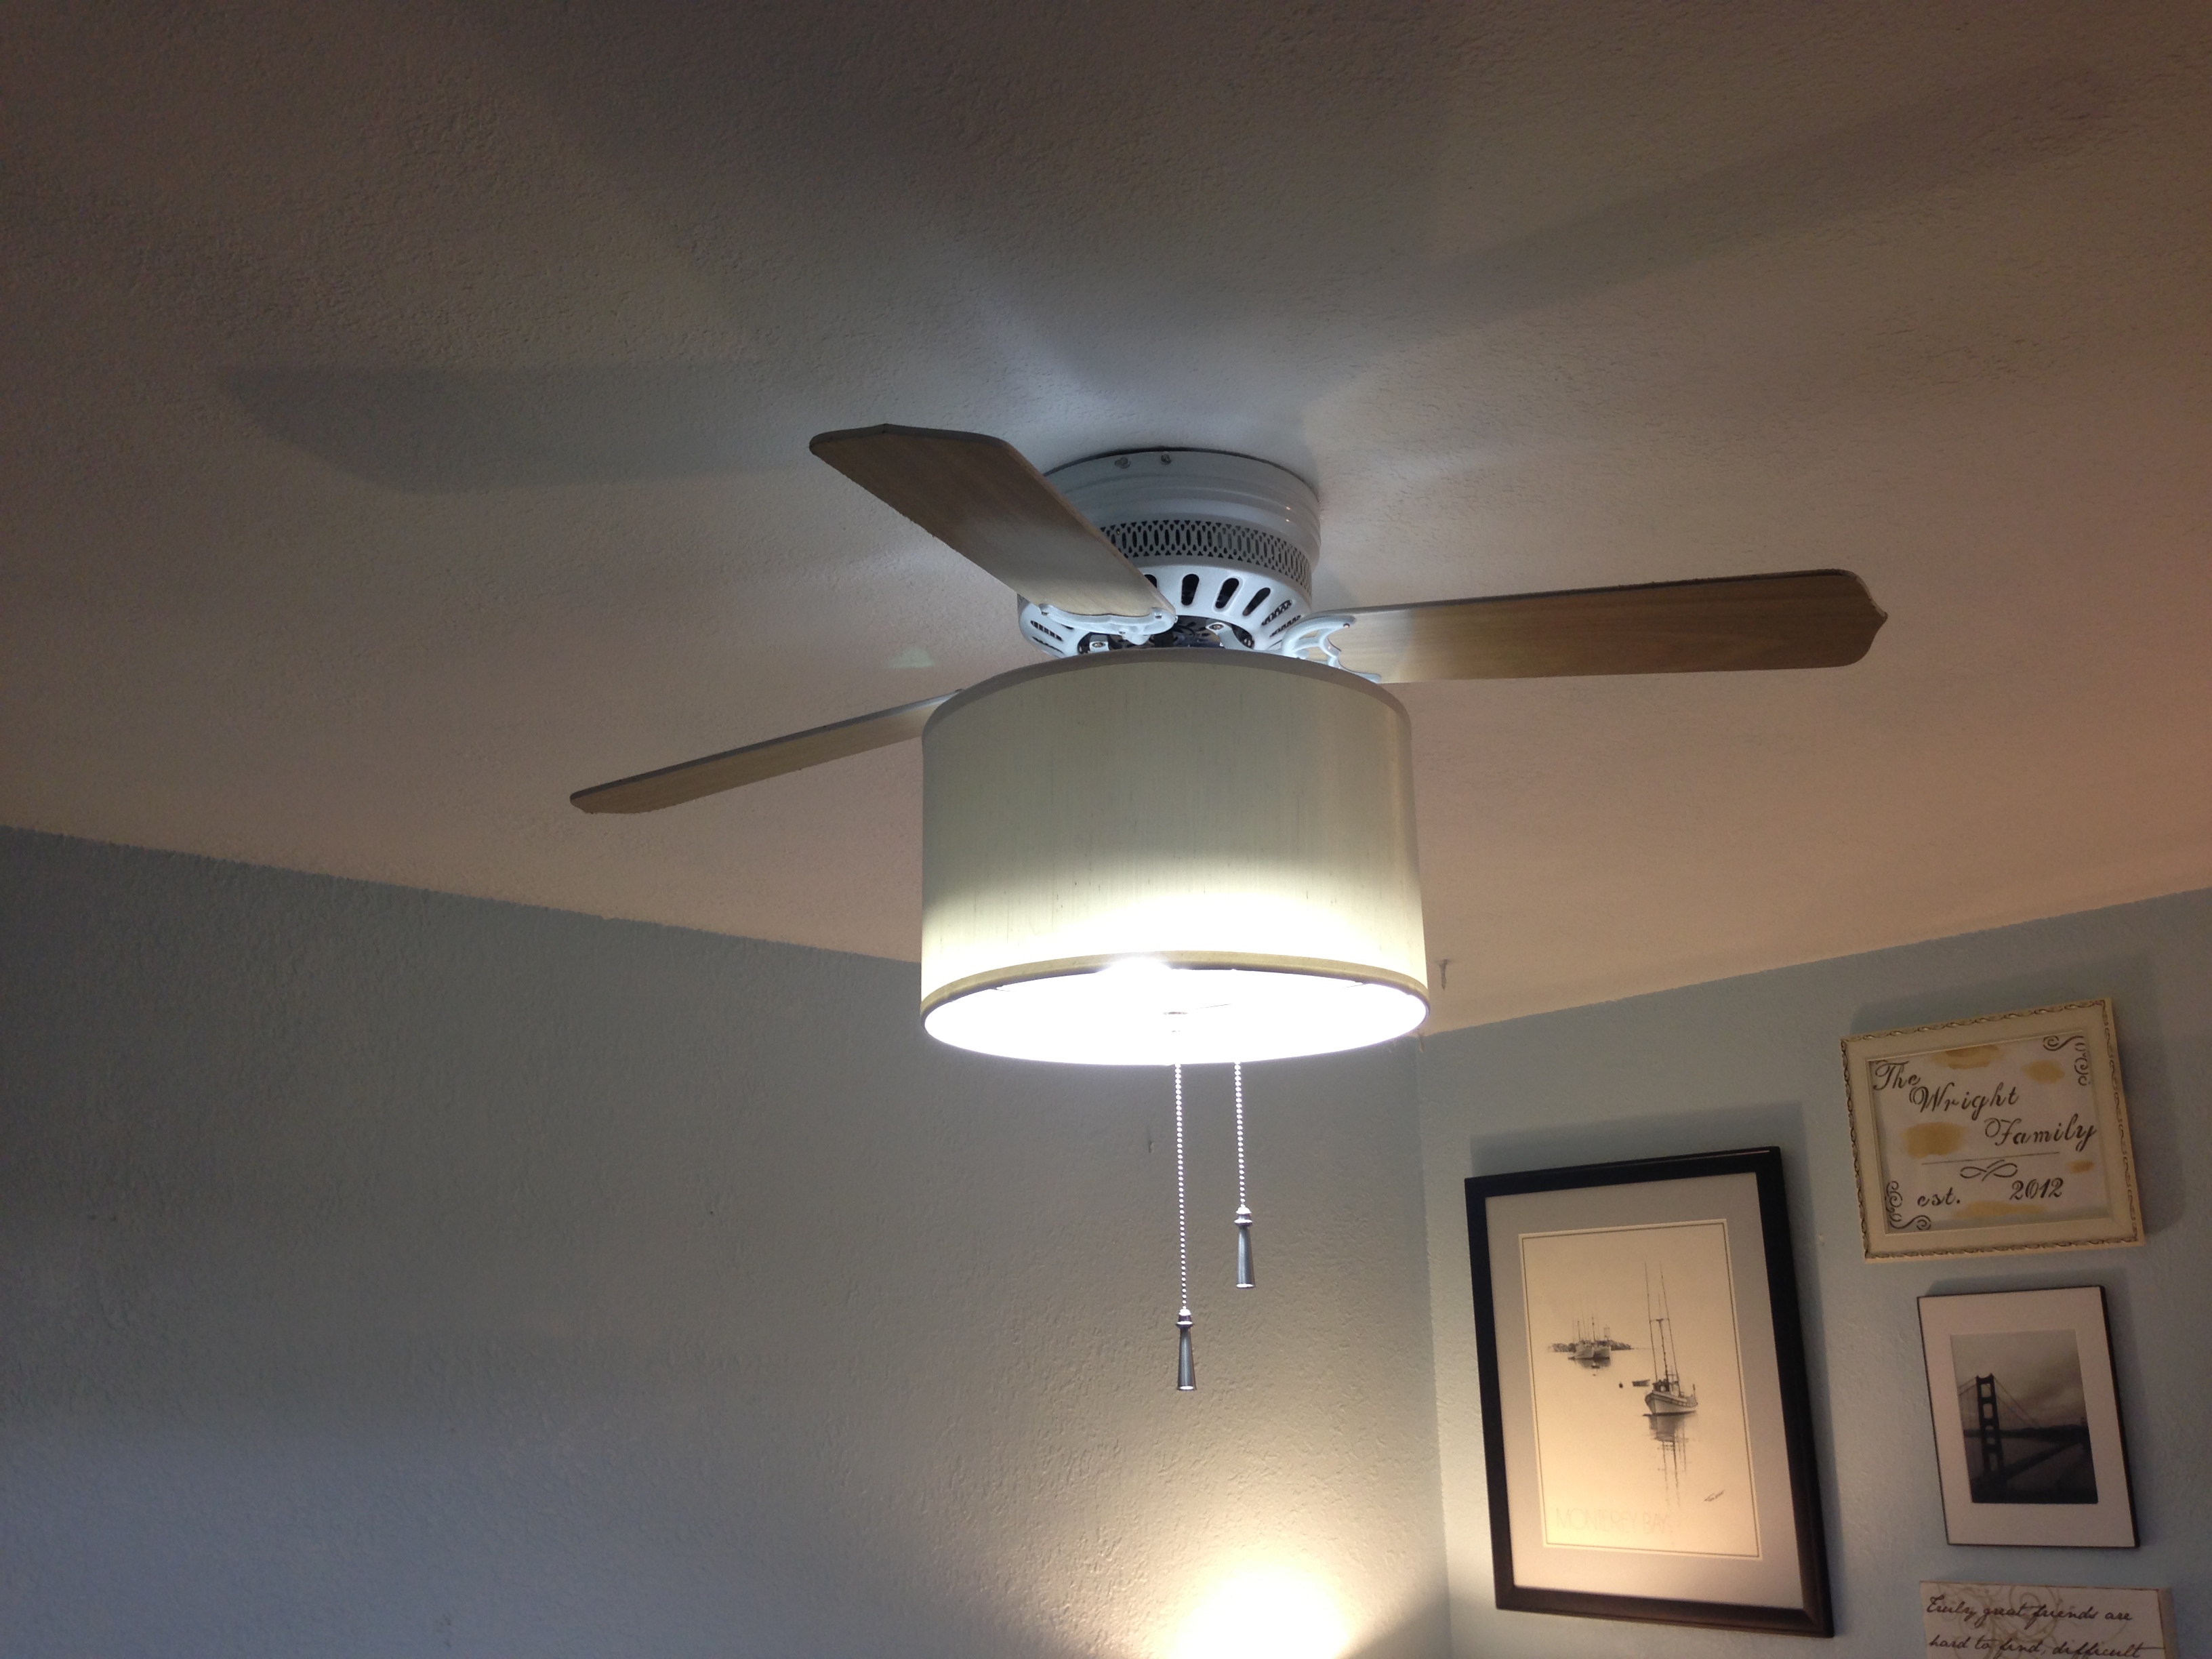
Very easy project…Just see the following steps:

1) Find a triangle or old standard drum shade (not the kind where the shade attaches to the bulb base)

ipone pics 095

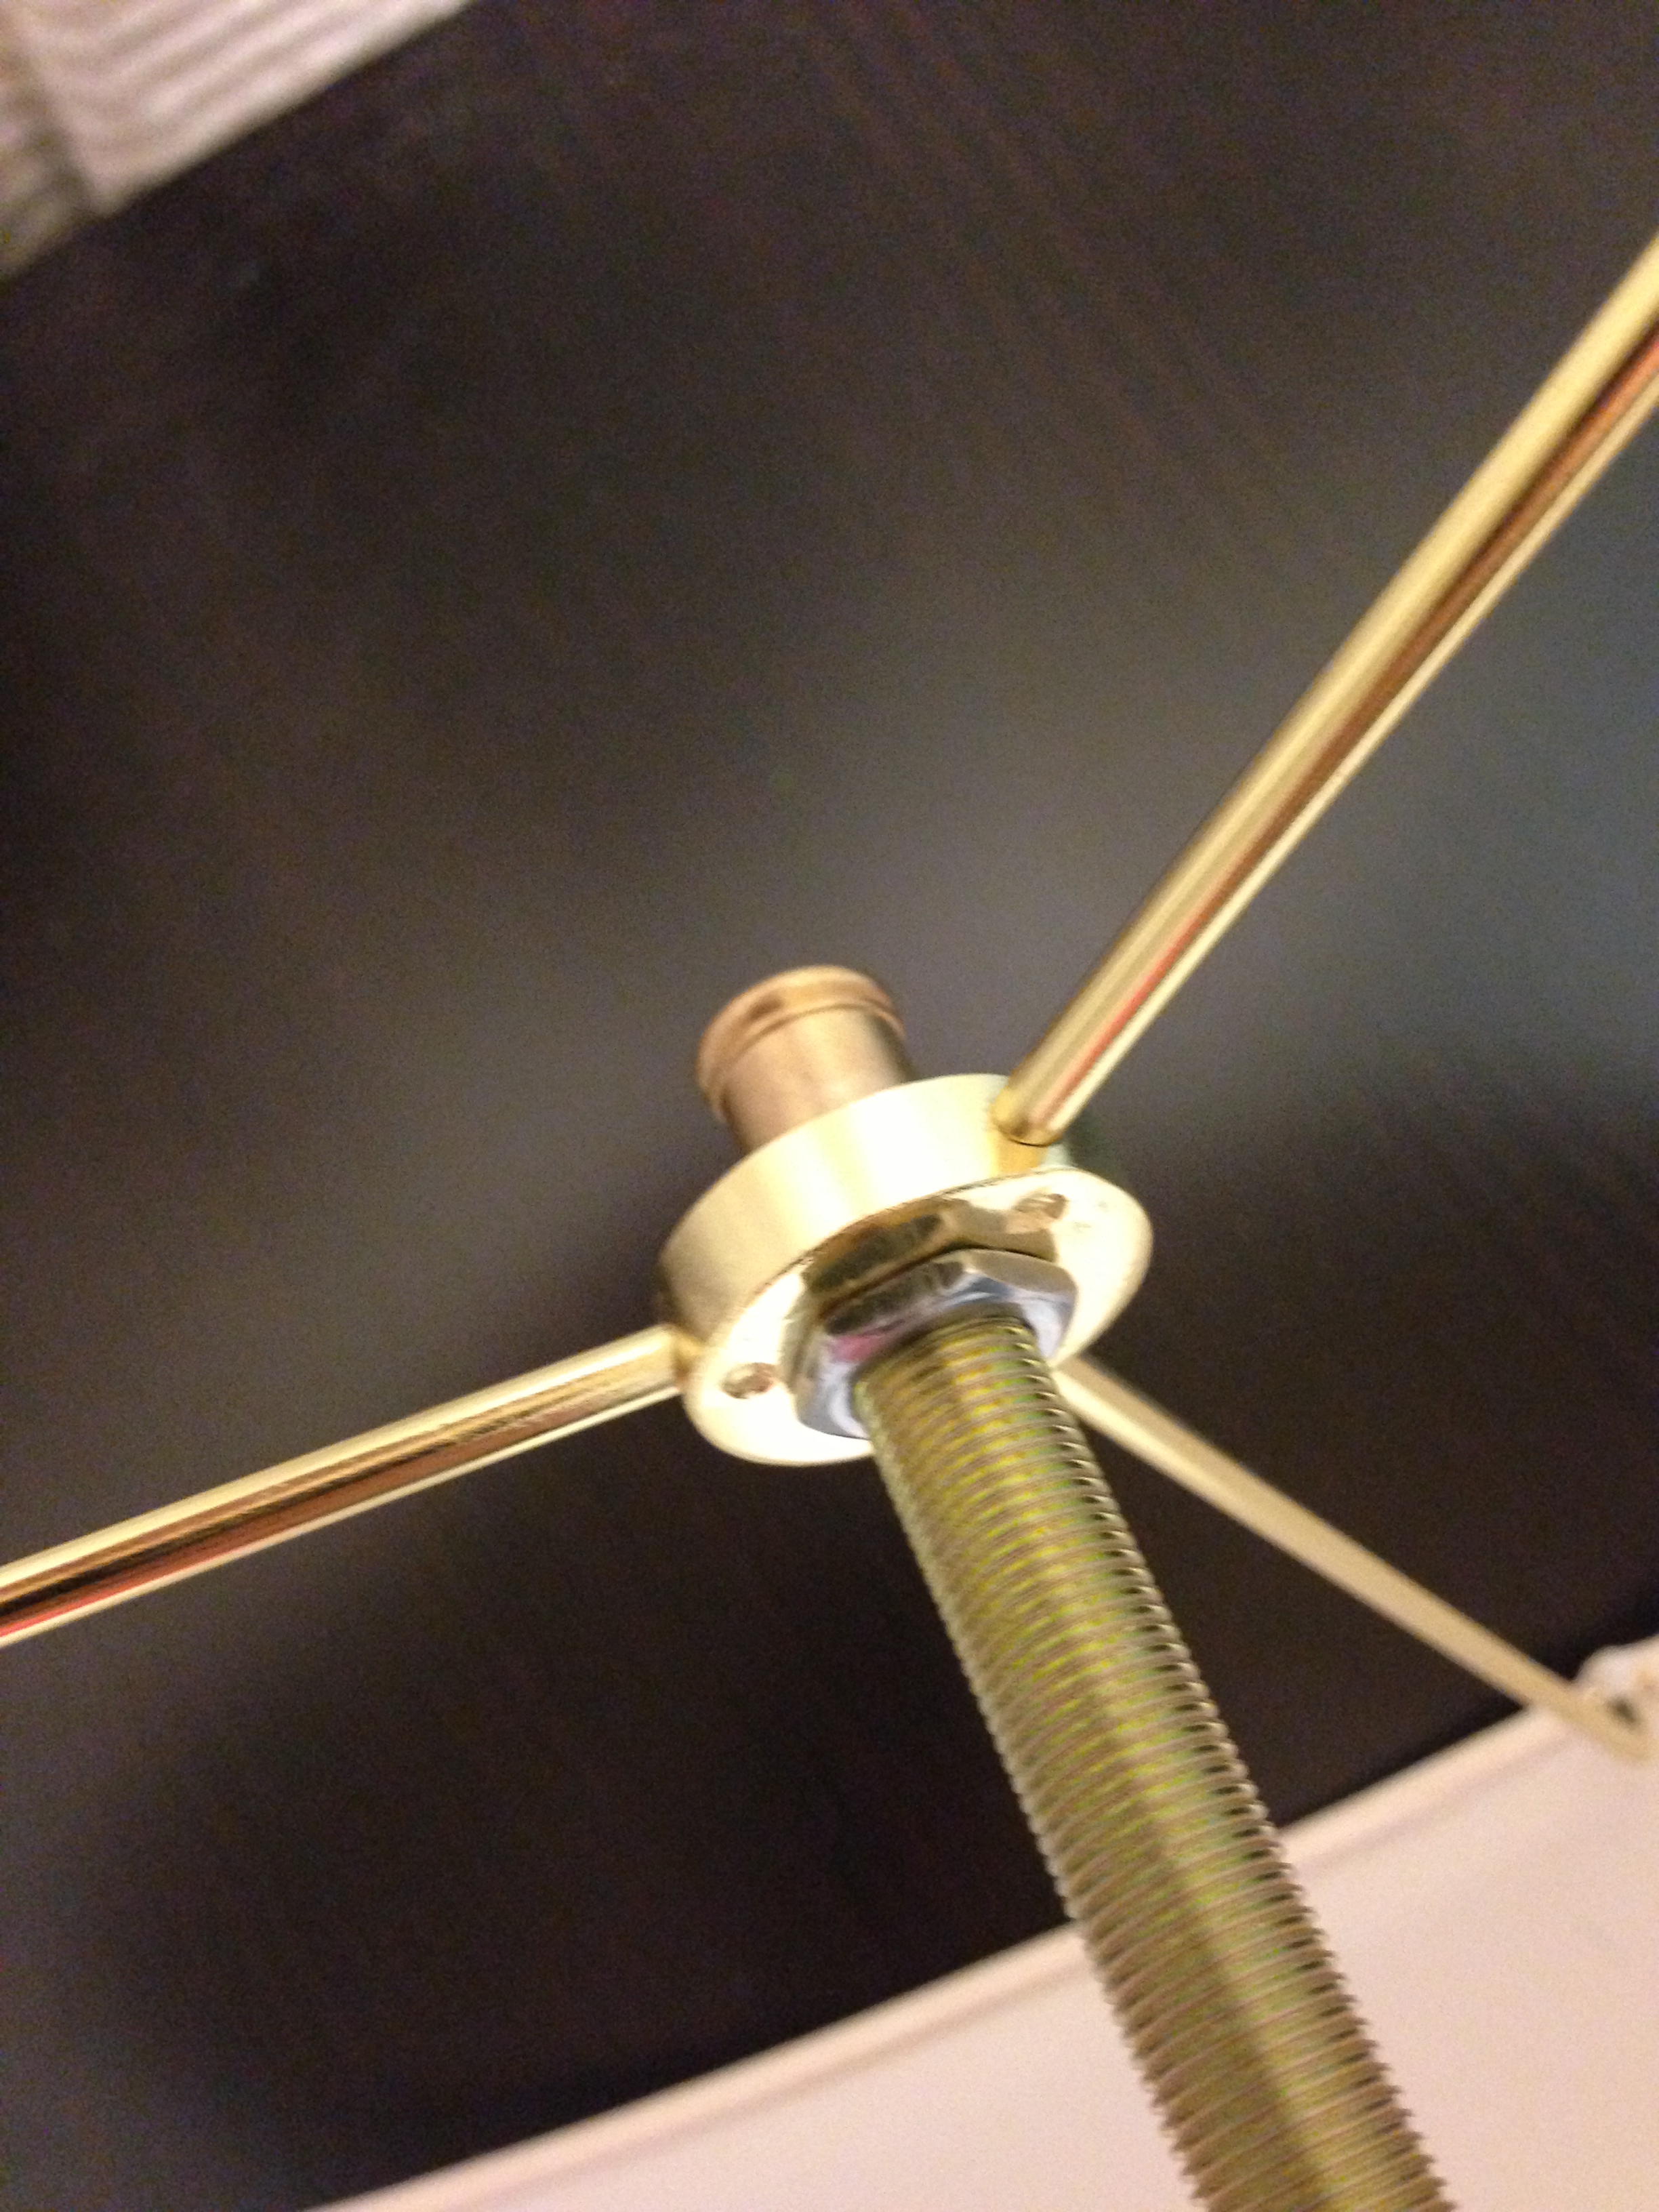
2) Based on the light fixtures you intend to hide, find an extender piece that will allow for enough space and hanging length. (Consider switching out or adding longer pull chains). You will also need some hex nuts and couplings. These can all be found in the lighting section of Home Depot normally next to the fan light kits.

ipone pics 101

3) In our case we flipped the shade over and secured it to the base of the fan light using a coupling and hex nut. Then adding a chain extender to the bottom chain, slid the chain through the shade extender and coupling. Next I screwed the shade extender into the coupling at the base of the fan. (See pics below)

ipone pics 103 ipone pics 098 ipone pics 106 ipone pics 108

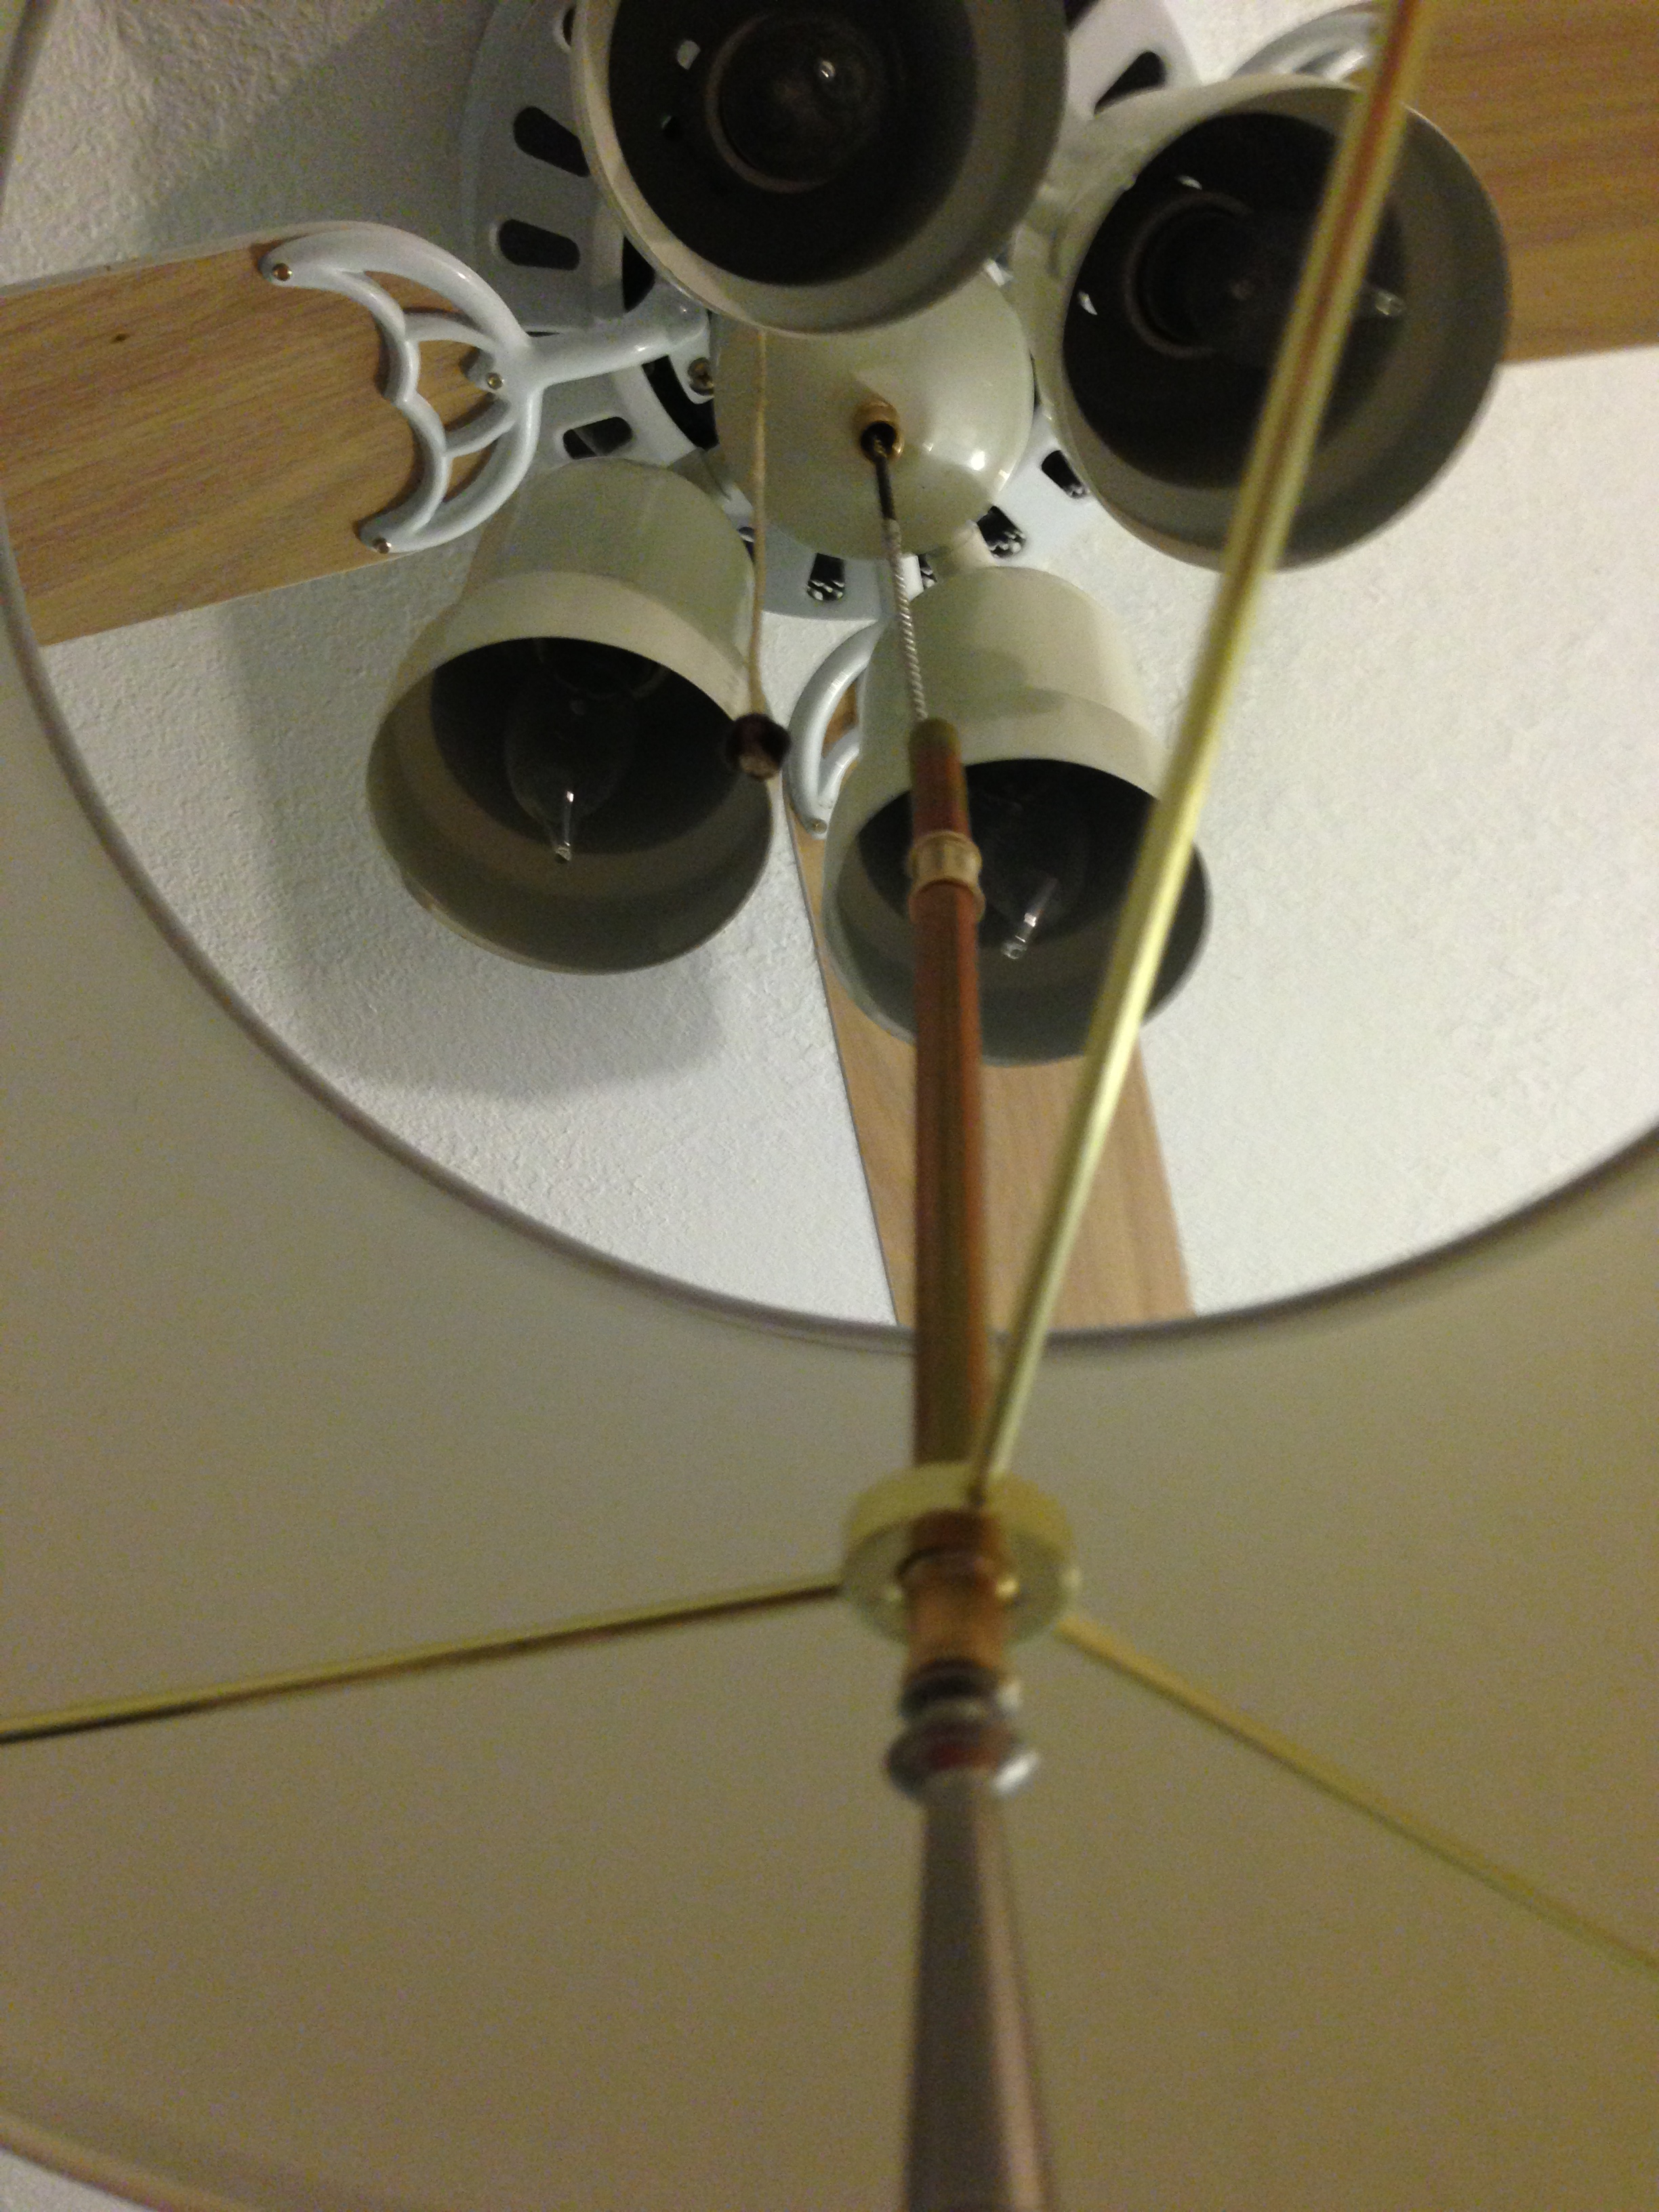
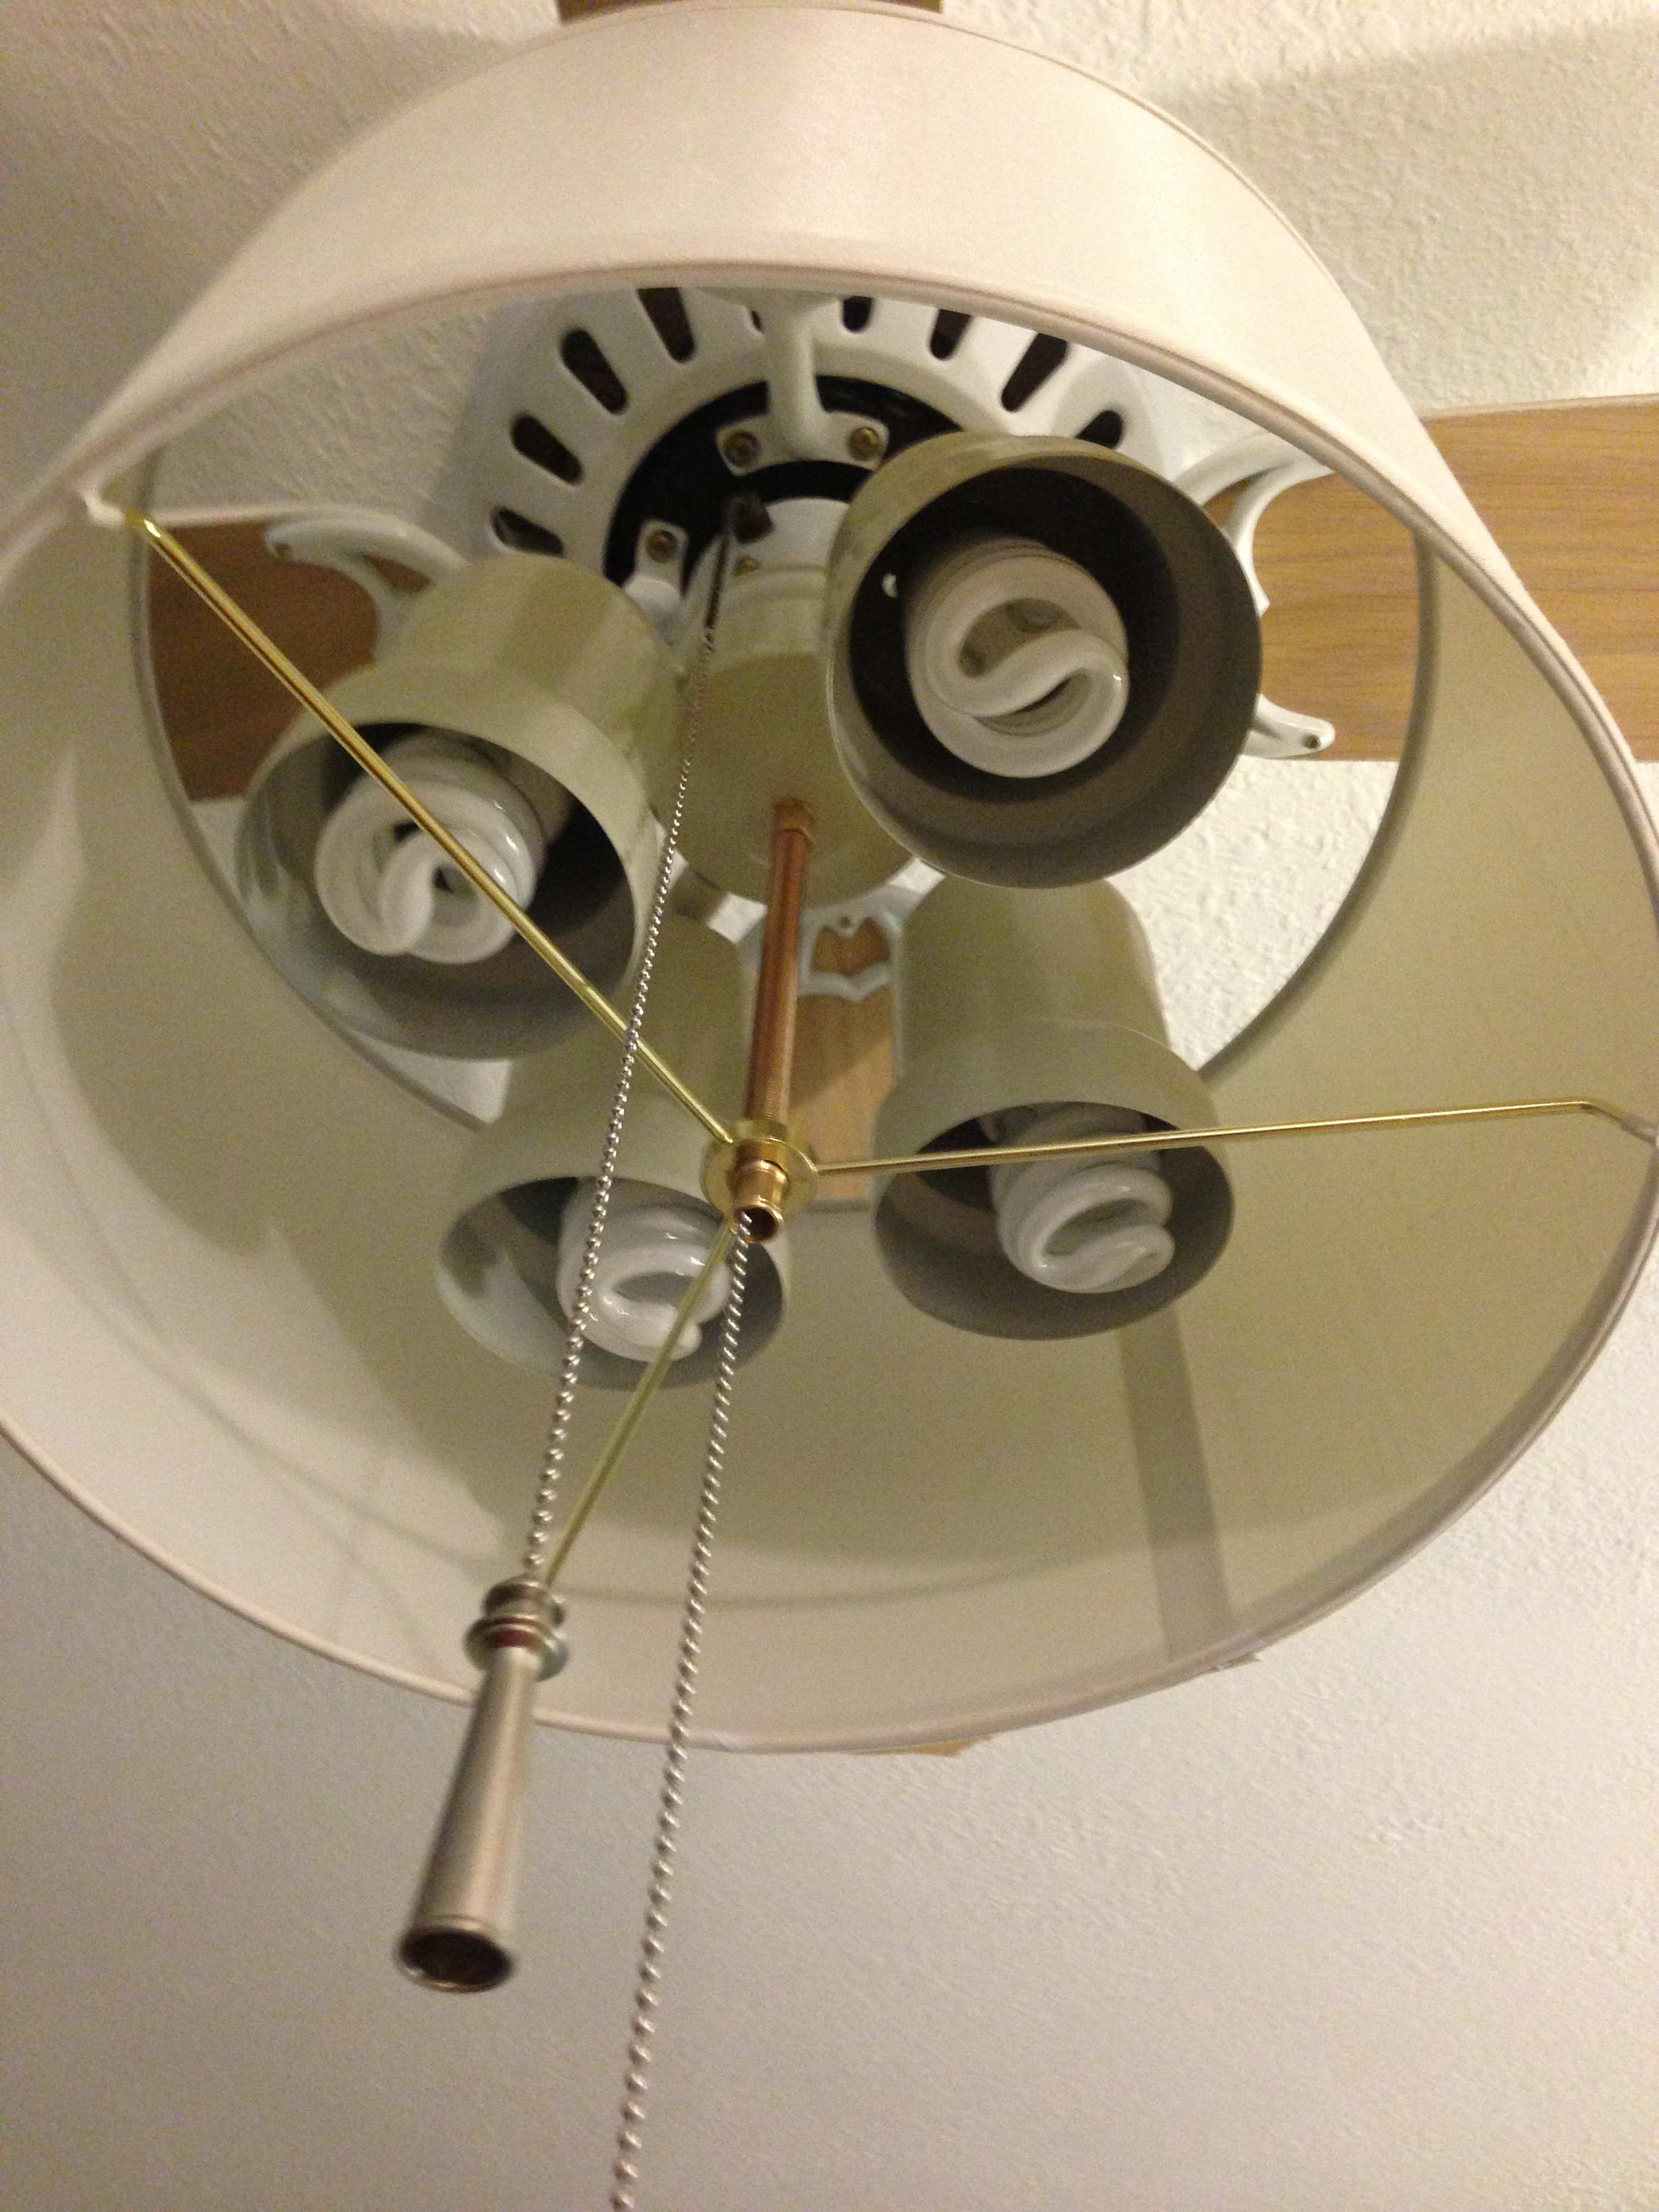
4) We tested it to ensure the fan did not actually hit the shade. We also allowed enough air space between the lights and shade (After all we don’t need a fire hazard in the new home)

Yay! Instant update for a fraction of the cost of a new fan light kit.

ipone pics 112

TV Stand Turned Wine Rack (Ikea Hack)

This is just a little spin off from the in progress Mancave Makeover… We are all about recycle, reuse, and re-purpose. Primarily because of our very little home renovation budget.  We had this old Ikea book cabinet/TV stand from our first home. I had hung some curtains in it just to hide the mountains of mismatched textbooks (Seen below in a First Home Flashback)

wine rack 1

Then it was passed on to the garage for storing odds and ends…(seen below)

before garage pic4

Finally after searching the stores for inexpensive wine racks that could handle 50+ bottles (We had a lot of left over wine from the wedding). Most costing $50 and up!

I found my way to home depot and bought about 20+ ft worth of wooden dowels and battery operated LED lights. (Total cost just under $25) Cutting the dowels by hand and to the width of the shelves, hammering them in, and attaching the lights with sticky tape…VOILA! Beat up Ikea shelving to basement wine cellar.

wine rack 2

Guest Book Adirondacks?

One of the unique touches at our DIY wedding was that we opted for guests to sign wooden Adirondack chairs instead of a guest book.

120929__kristyweldonphotography_414120929__kristyweldonphotography_415

120929__kristyweldonphotography_416

Pictures courtesy of Kristy Weldon our uber talented wedding photographer!

Our guests and family had a blast both signing and later sitting in them when the heels were finally kicked off. Also the messages became more and more creative as the evening wore on and wine disappeared.

Originally I found these chairs on sale at Home Depot for $29 each, with the intention of making them my first pieces of outdoor furniture at the new house. Only problem my dad pointed out was the elements. If not protected the writing would eventually bleed and wood splinter with age.

The solution: Burn the signatures and messages into the wood so they’d be permanent, then stain the wood for protection from the elements.

Here’s the step by step guide:

1. I had a wood burning kit from several years back I had bought from Michaels. ($25-$30 price estimate). Be careful, read the instructions before use, and make sure you do not set the hot tool on the actual wood when not in use.

I used the largest blunt tip that it came with. Primarily because I didn’t want to spend my entire weekend on the project. WARNING: If you thought your hand was cramped from thank you card writing, you’ve felt nothing yet!

In our case there were some pretty lengthy messages and awkward hand angles for this project. However just take breaks and pace yourself, just like thank you cards, it doesn’t have to be done in one day.

photo (9)

We loved this next message, appealing to our weird sense of humor!

photo (10)

2. Once all the messages were burned in, I protected the garage floor with cardboard and set up the chairs for staining. I used the same old staining brush and some left over Preserva Wood stain in  pacific redwood. Since the chairs were not redwood but pine, and I wanted them to match the redwood in the backyard.

staining fences and screen posts 002 staining fences and screen posts 001photo (11)

Here is a side by side to see the difference in the color

photo (12)

3. Make sure to flip the chairs over for a good coating on the underside of each. Once done staining allow them to dry in a well ventilated area over night.

Voila! Ready for the summer evenings in the backyard!

photo (15)

PS. Might consider another coat of stain and a clear polymer later on…

AND HAPPY FATHERS DAY! We came home from our Dads Day BBQ to find Sierra waiting for us…

ipone pics 6-16-2013 061

Privacy Screens Part Deux!

After Privacy Screens Part 1, the second half of the privacy screens/pole hider/dog agility course project was to beautify these random posts and wire with climbing vines. Vines that would add lushness and color to the back of the garden, and also hide dog messes.

photo (31)

The only obstacle was that we needed vines hardy enough to withstand Sutter (oh yes, the marking already started) and the Sacramento summer heat (it reached 106 last weekend).

We already had great success with trumpet vine at our last house. We also knew our dogs never touched the stuff. (they preferred tearing up the lavender and flax) Luckily for us we experienced the puppy stages in our old home with non-toxic plants.

The plant is fairly lush throughout the year except in the winter. Also the orange flowers were so tropical we hope to fake a Hawaiian paradise in Sacramento.

Green Acres nursery in Sacramento is one of our favorites for the non-generic plant varietals not found normally in big box stores. Plus they have fabulous landscaping displays where we can get inspiration and help.

We settled on actually three different honey suckle varieties along with the trumpet vine.privacy screen pt2 001 privacy screen 002 privacy screen 003

Also if you are considering planting a vine and have a plant eating puppy around, Honeysuckle may be the way to go. According to the ASPCA Plant list it was considered non-toxic. However you know your dog best, so maybe living with a backyard desert for a few years til they grow up is the way to go.

Total cost for 5 vines $62.50…(We could have waited for a sale but were impatient to get the plants in the ground before the July heat sets in.)

Next we used the post hole digger again (the fastest way to dig holes for plants.) Centering the vine  in front of each wire screen. You don’t need more than one vine since they will gradually grow in nice and thick.

privacy screen pt 2 005

We placed the two trumpet vines in front of the outer screens (#1 and #5) since they are the hardiest and could probably take the most Sutter “marking” abuse. The honeysuckle were placed in the middle screens (#2, #3, #4) Be sure to break up the plant’s bottom roots a bit after removing it from the pot, place in hole and cover with soil. Finally give it a nice soak… Hubs gets a cameo because he was in charge of clean up and watering. (Once more ignore Stumpy the diseased tree and brown spots in the grass…all are on the project list)

privacy screen 010

Here’s a nice after shot of our little ones growing away…The lillies wanted in on the picture action.

progress pic on the privacy screens

We promise to post pictures along the way as we continue to “dogscape” the backyard.