

Has anyone put together a piece of furniture, toy, anything pre-fabricated and somehow ended up with extra pieces? You sort of scratch your head and wonder what to do with them? Case in point: “Ummm, honey what are we going to do with these extra bed slats?”
Hence the inspiration for our next Ikea Hack! We had leftover Hemnes bed slats from our last hack, Bench Seating Trundle Dog Bed and we weren’t sure whether to toss them in our scrap wood bucket, or actually create a whole new project. Luckily, I had stumbled onto this lovely pic, seen on Traditional Home Magazine’s website:

Unfortunately as I searched through Pinterest, this inspiration appears to be the “Big Foot” of the blogging websites. (People have seen it but does the “how to” really exist?) A quick trip to Home Depot for some hardware and rope, and we sat on the floor of the “Girl Cave”/studio trying to figure out how to make them…
Hubby: “Are you sure you want to try this?”
Me: “Why not? What have we got to lose?”
Hubby: “What mad engineering skills do you think we have?”
Dogs: “Oooh, tug ropes!…” (the dogs were officially banned from the project for obvious reasons)
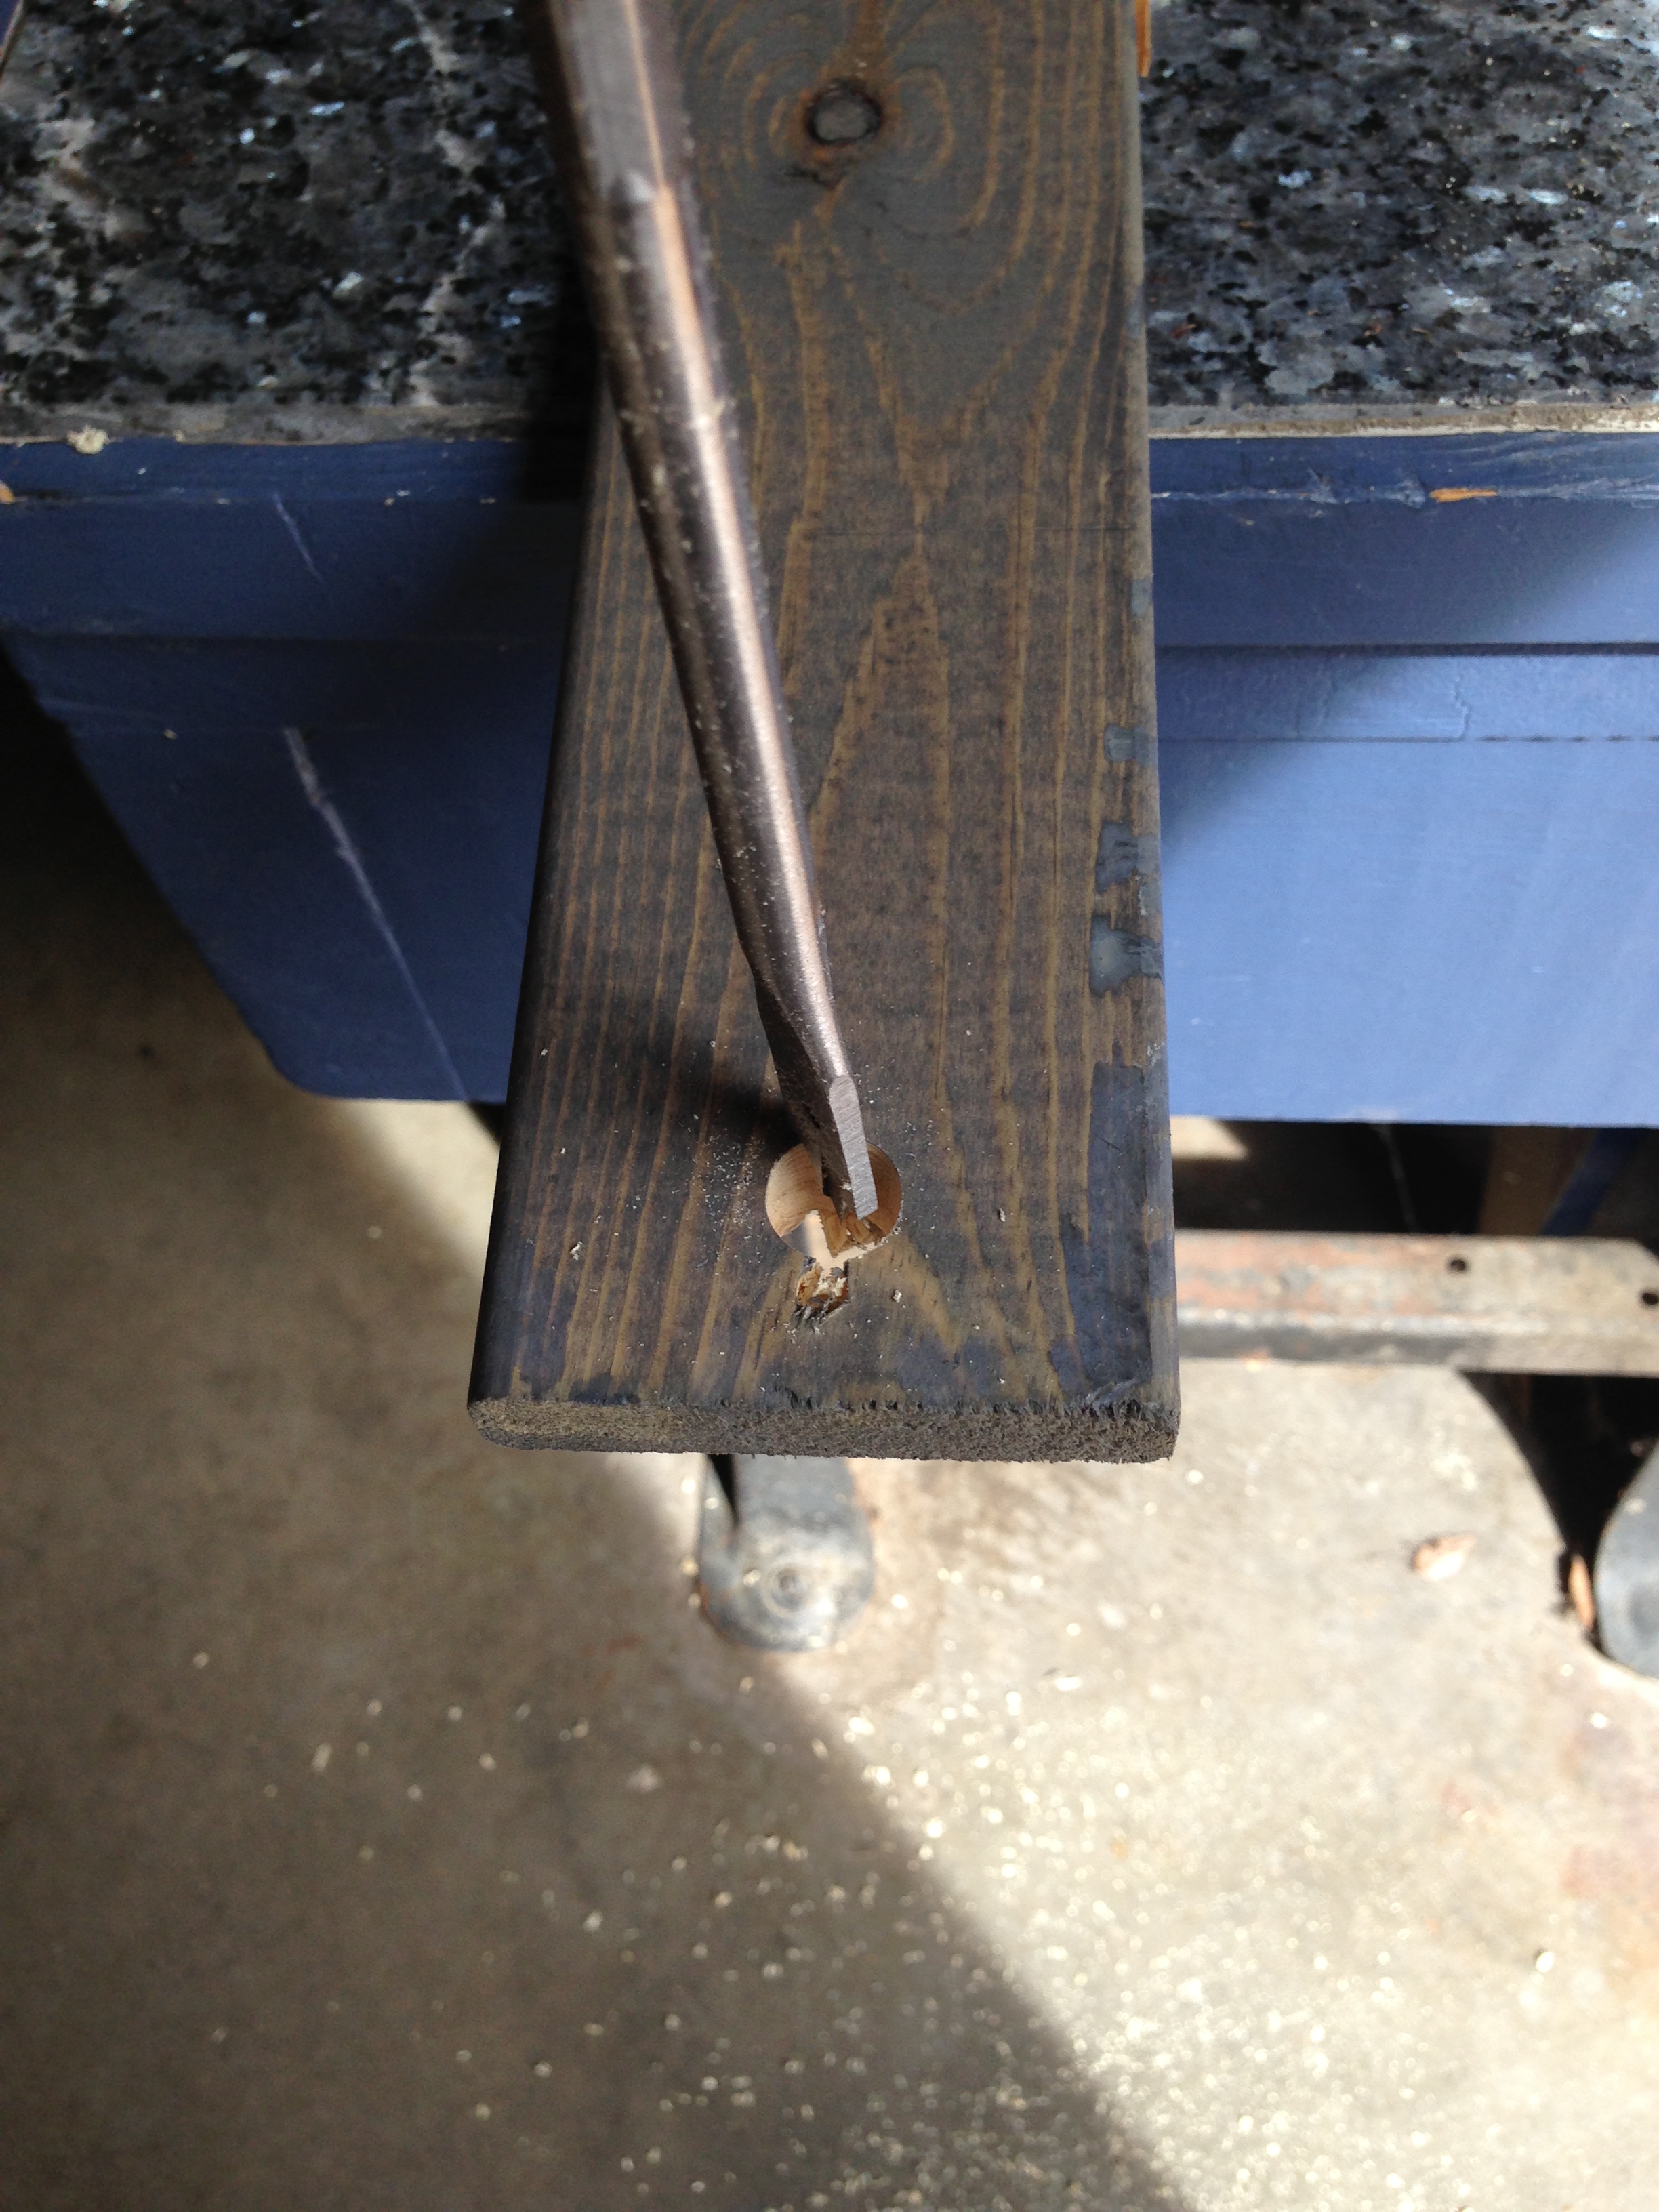
First we stained the slats with Minwax gray stain on both sides and once they were dried drilled larger holes on either end (the width of the rope). We did not drill holes for two of the slats (the top and bottom)

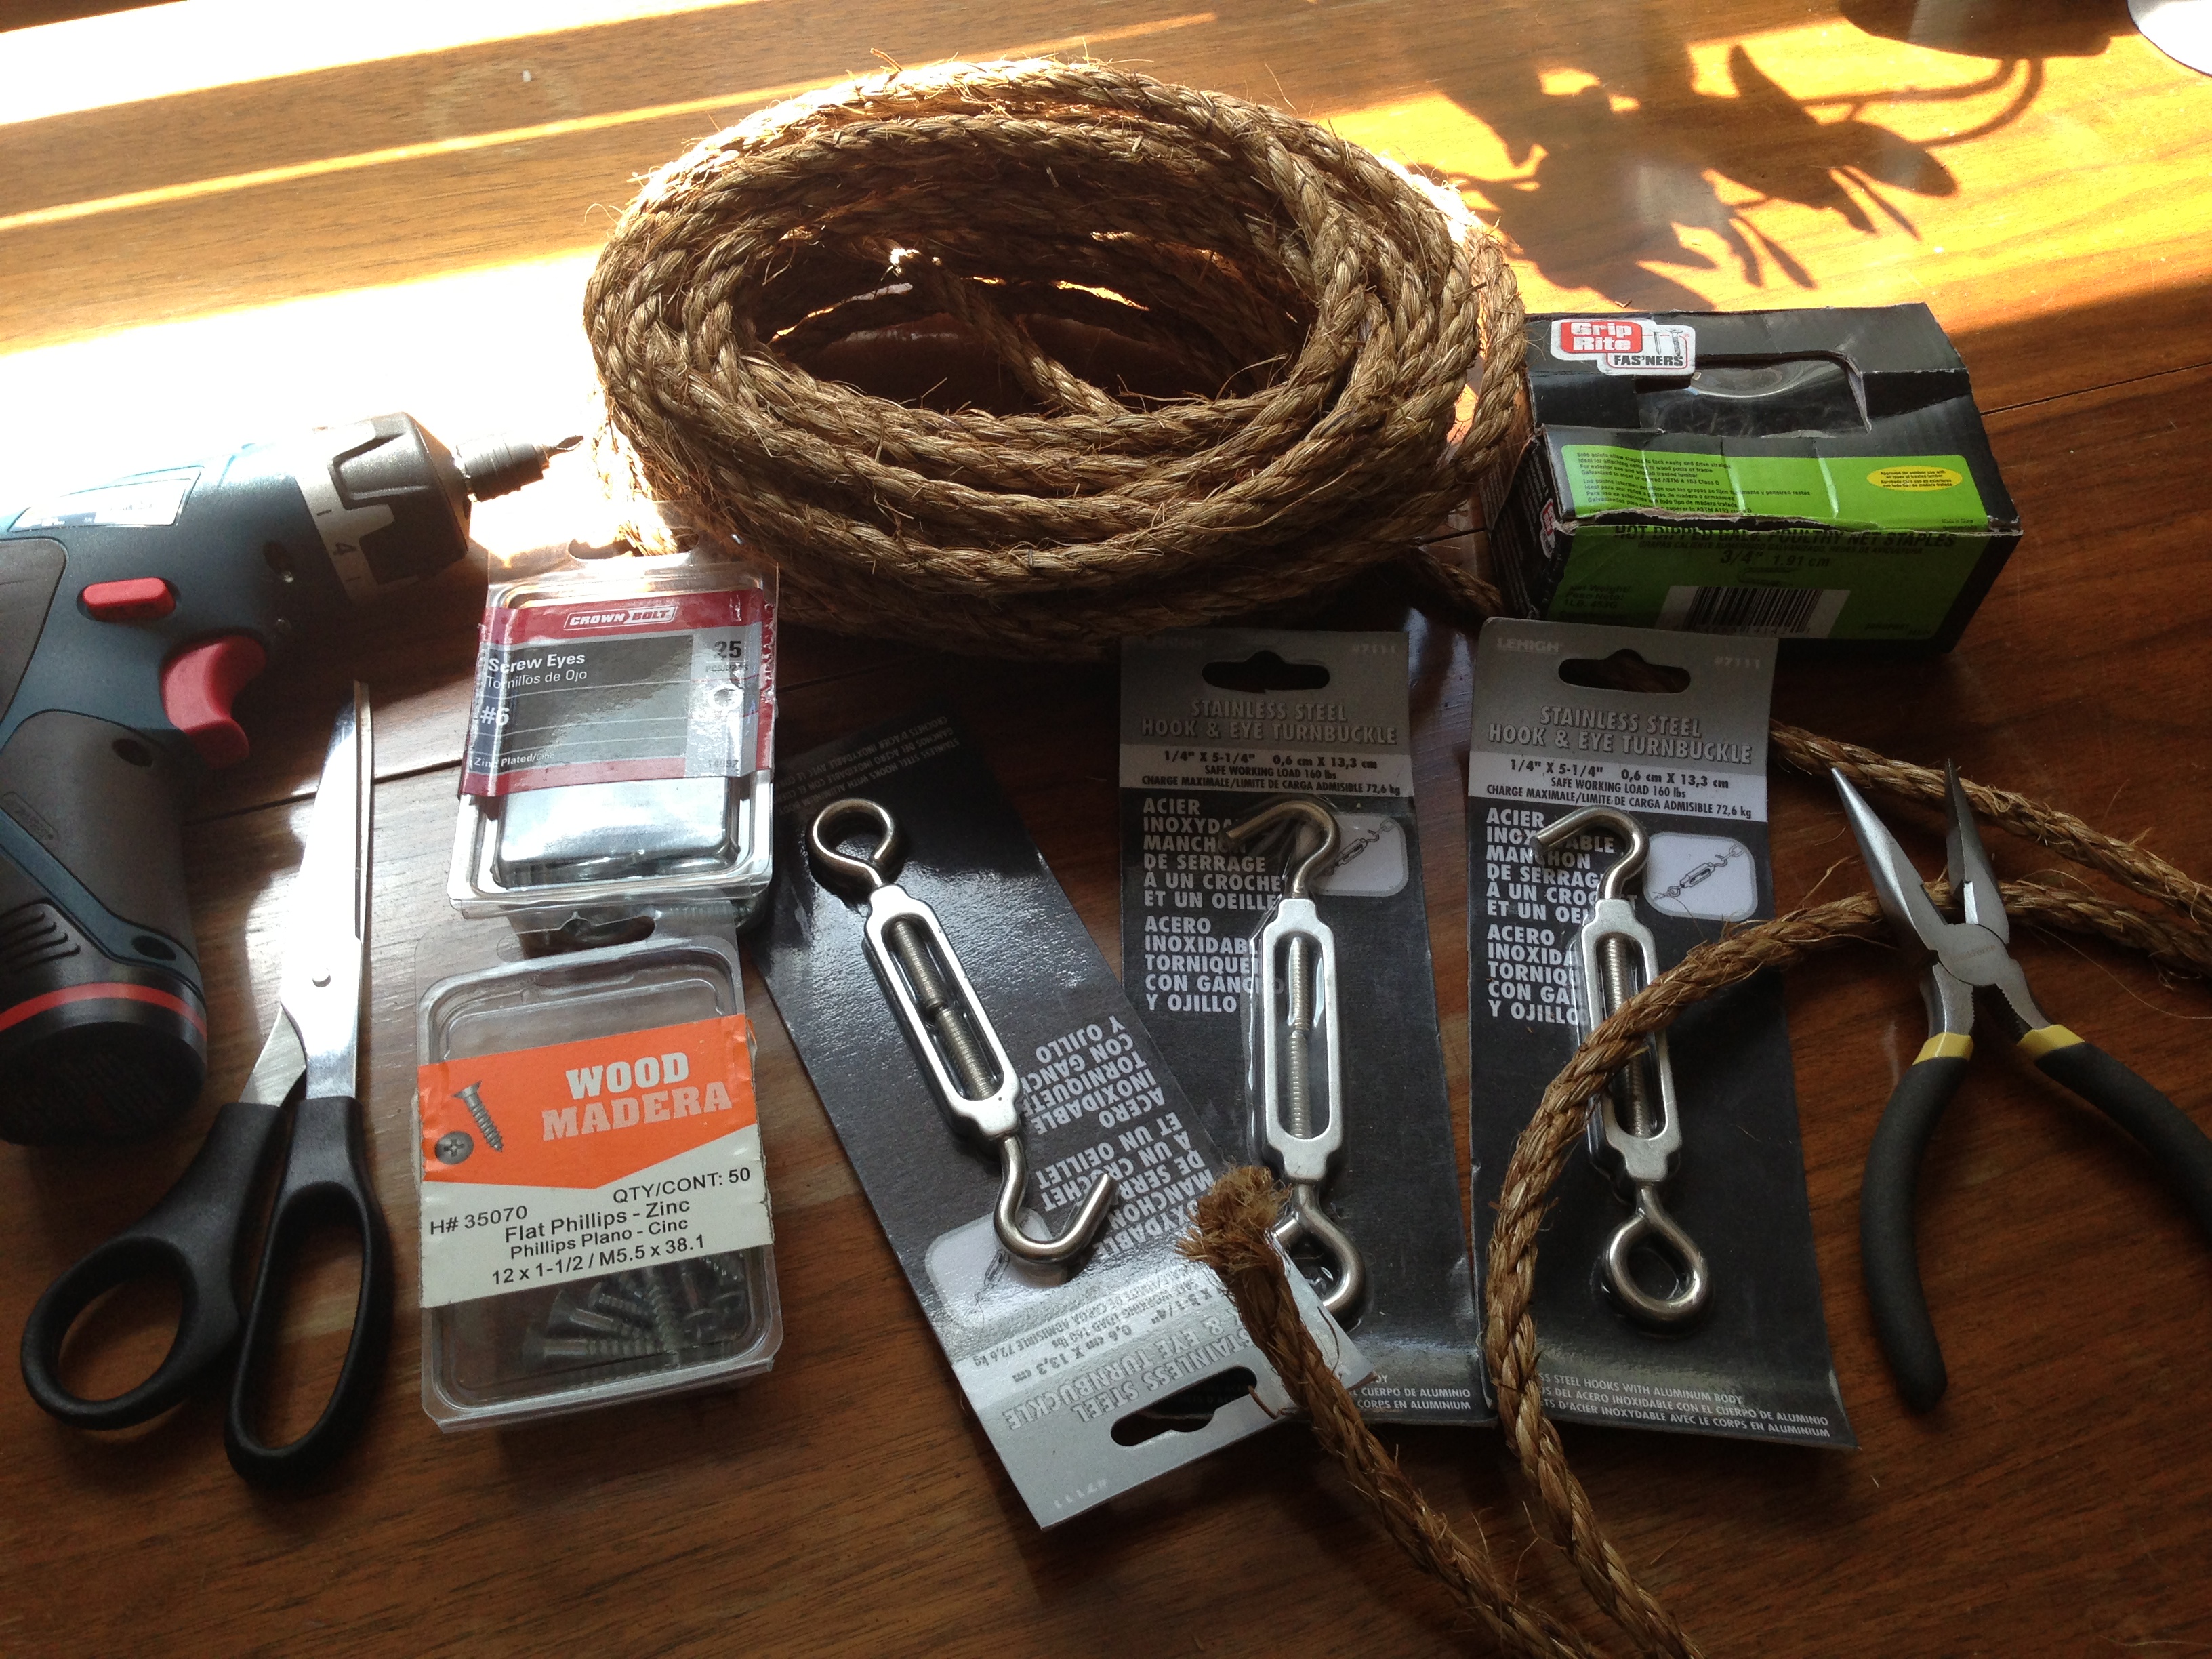
Next you’ll need the following materials and tools for installing the shelves, (including eye screws, and horseshoe nails which are hard to see in the picture) Then with a level and drill, we positioned and attached the top and bottom slats to the wall and screwed them into the wood paneling.

We also found it easier to add the eye screws into the top and bottom slats once they were positioned and attached to the wall.

Finally we lay all the shelf slats on the ground and looped the rope through the slat holes we made, so they resembled a ladder. Laying them off to the side and giving ourselves ample slack and length, we cut the rope to the length we thought we needed. Then added the hardware to each end of the rope length and tied knots. (Just be sure the hardware was fully extended out). Once the hardware was looped and tied onto each eye screw, you can easily tighten the rope by retracting the hardware)


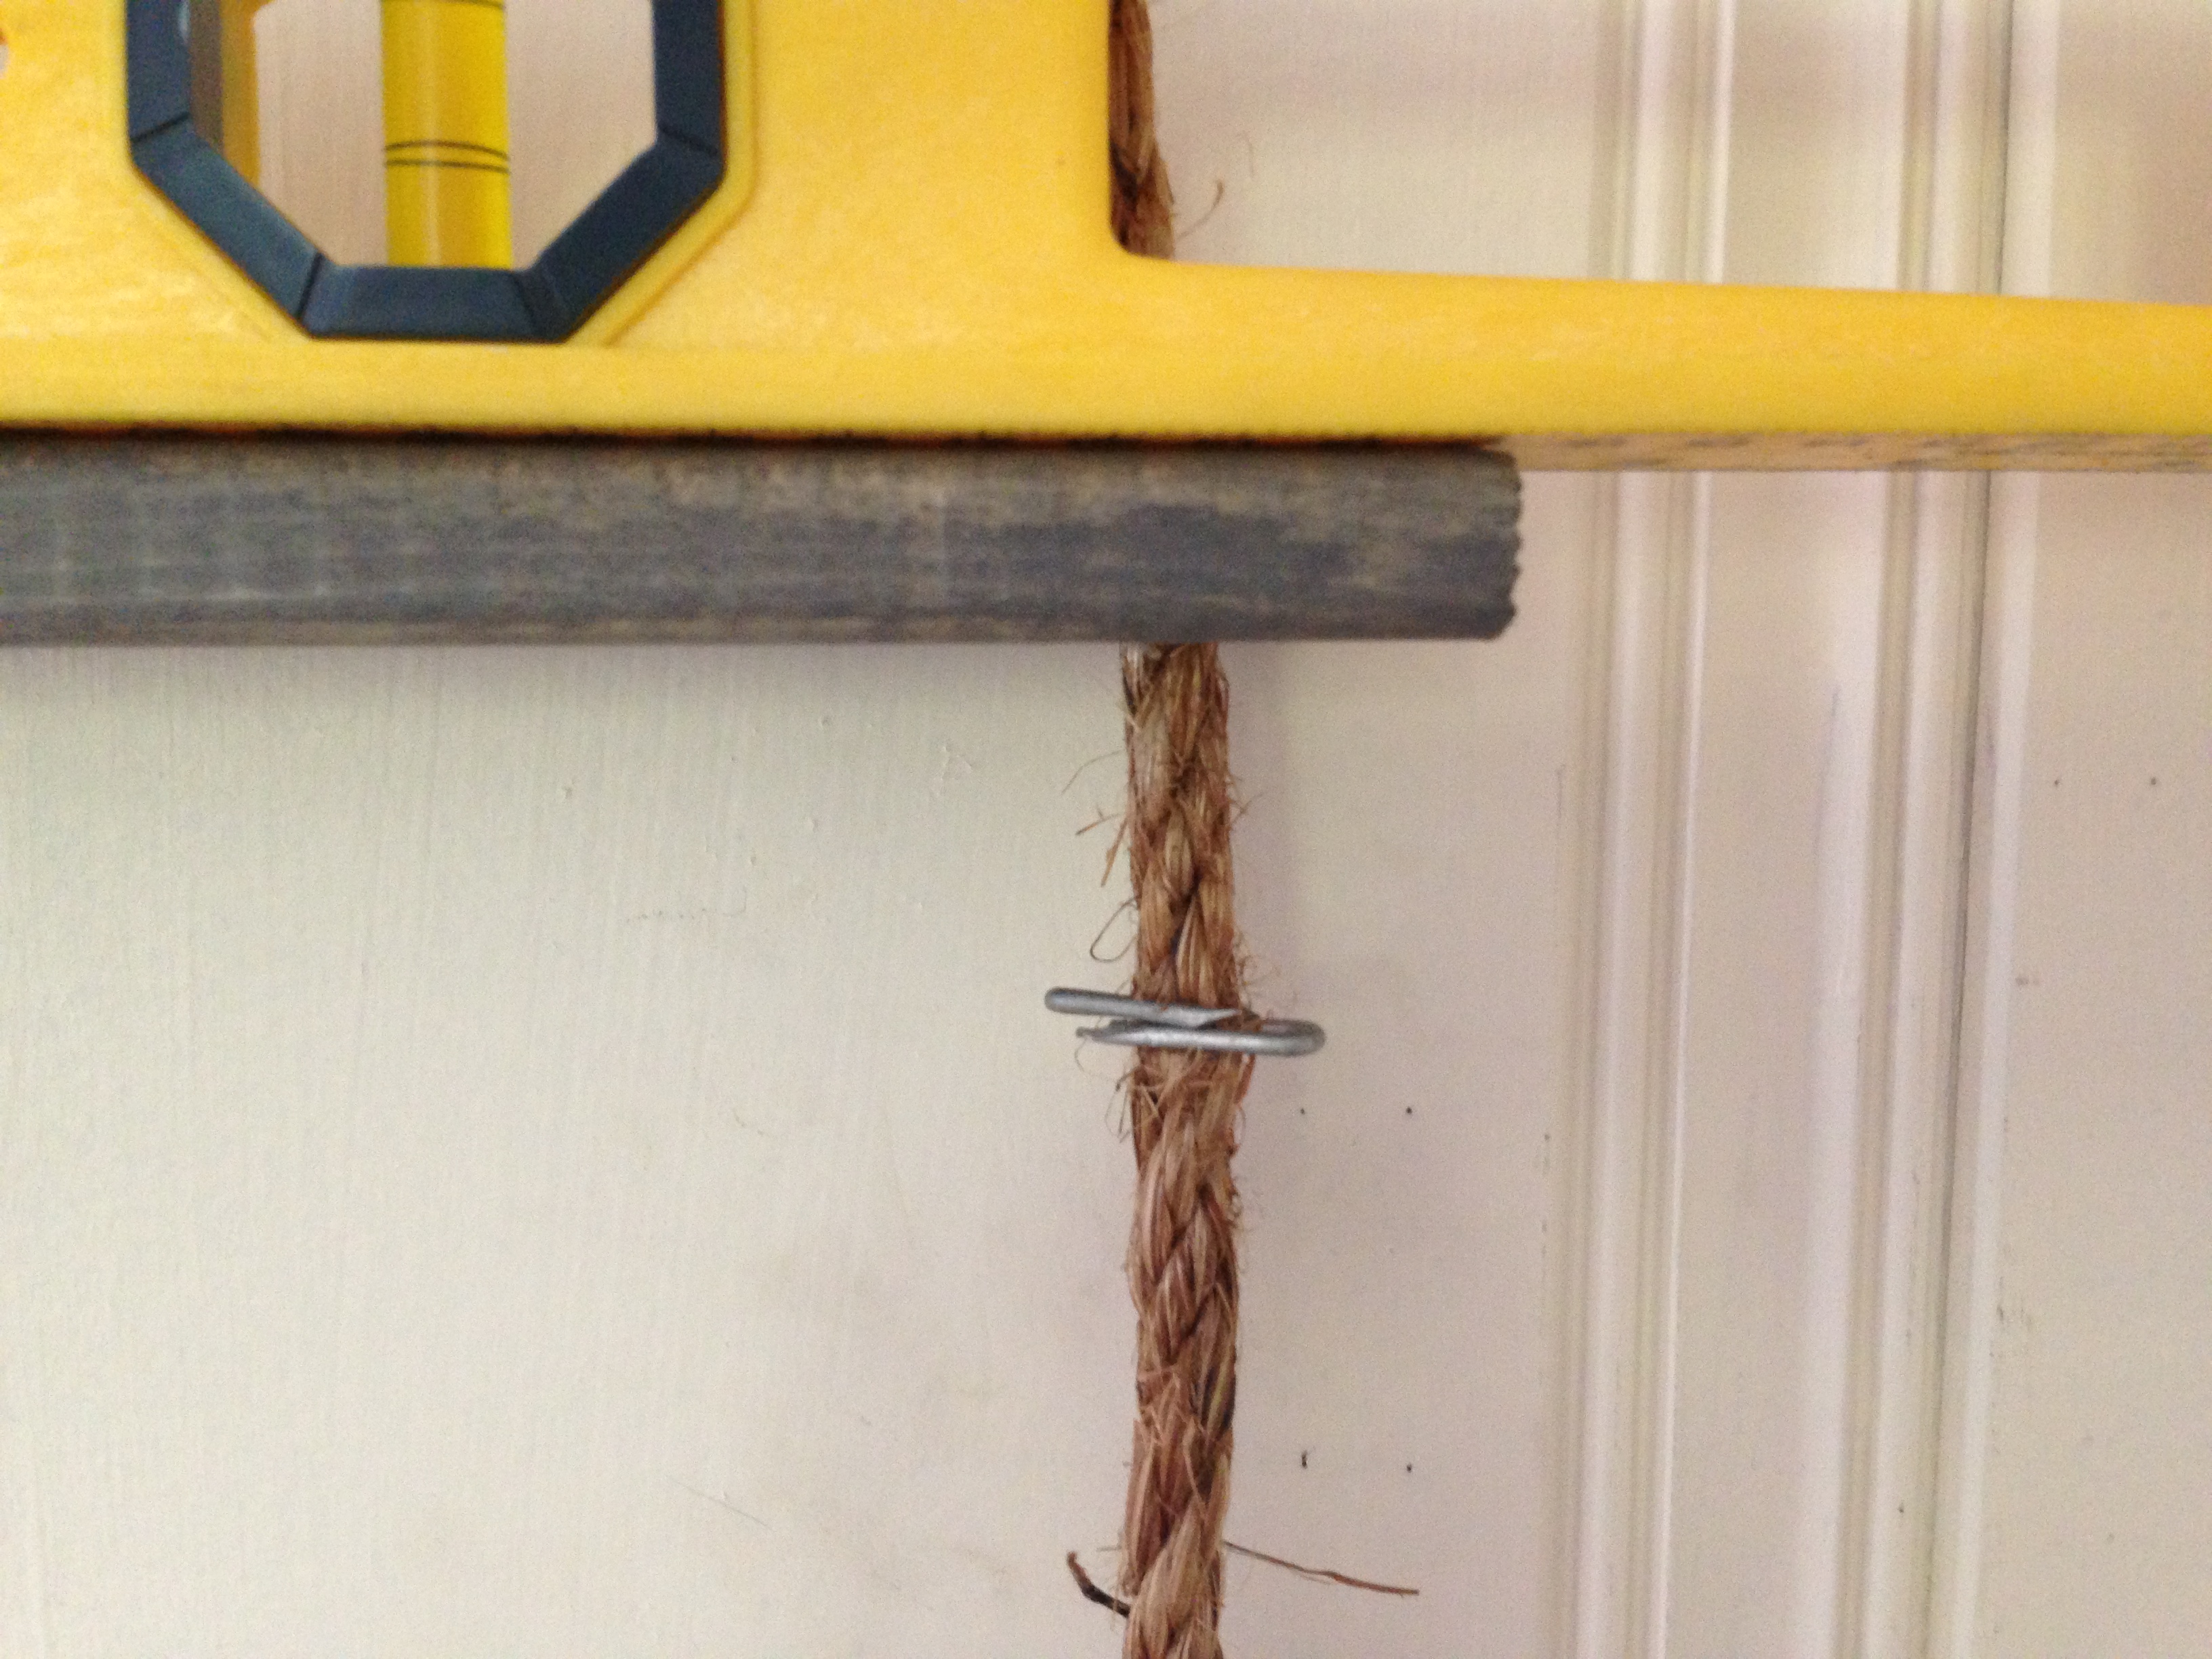
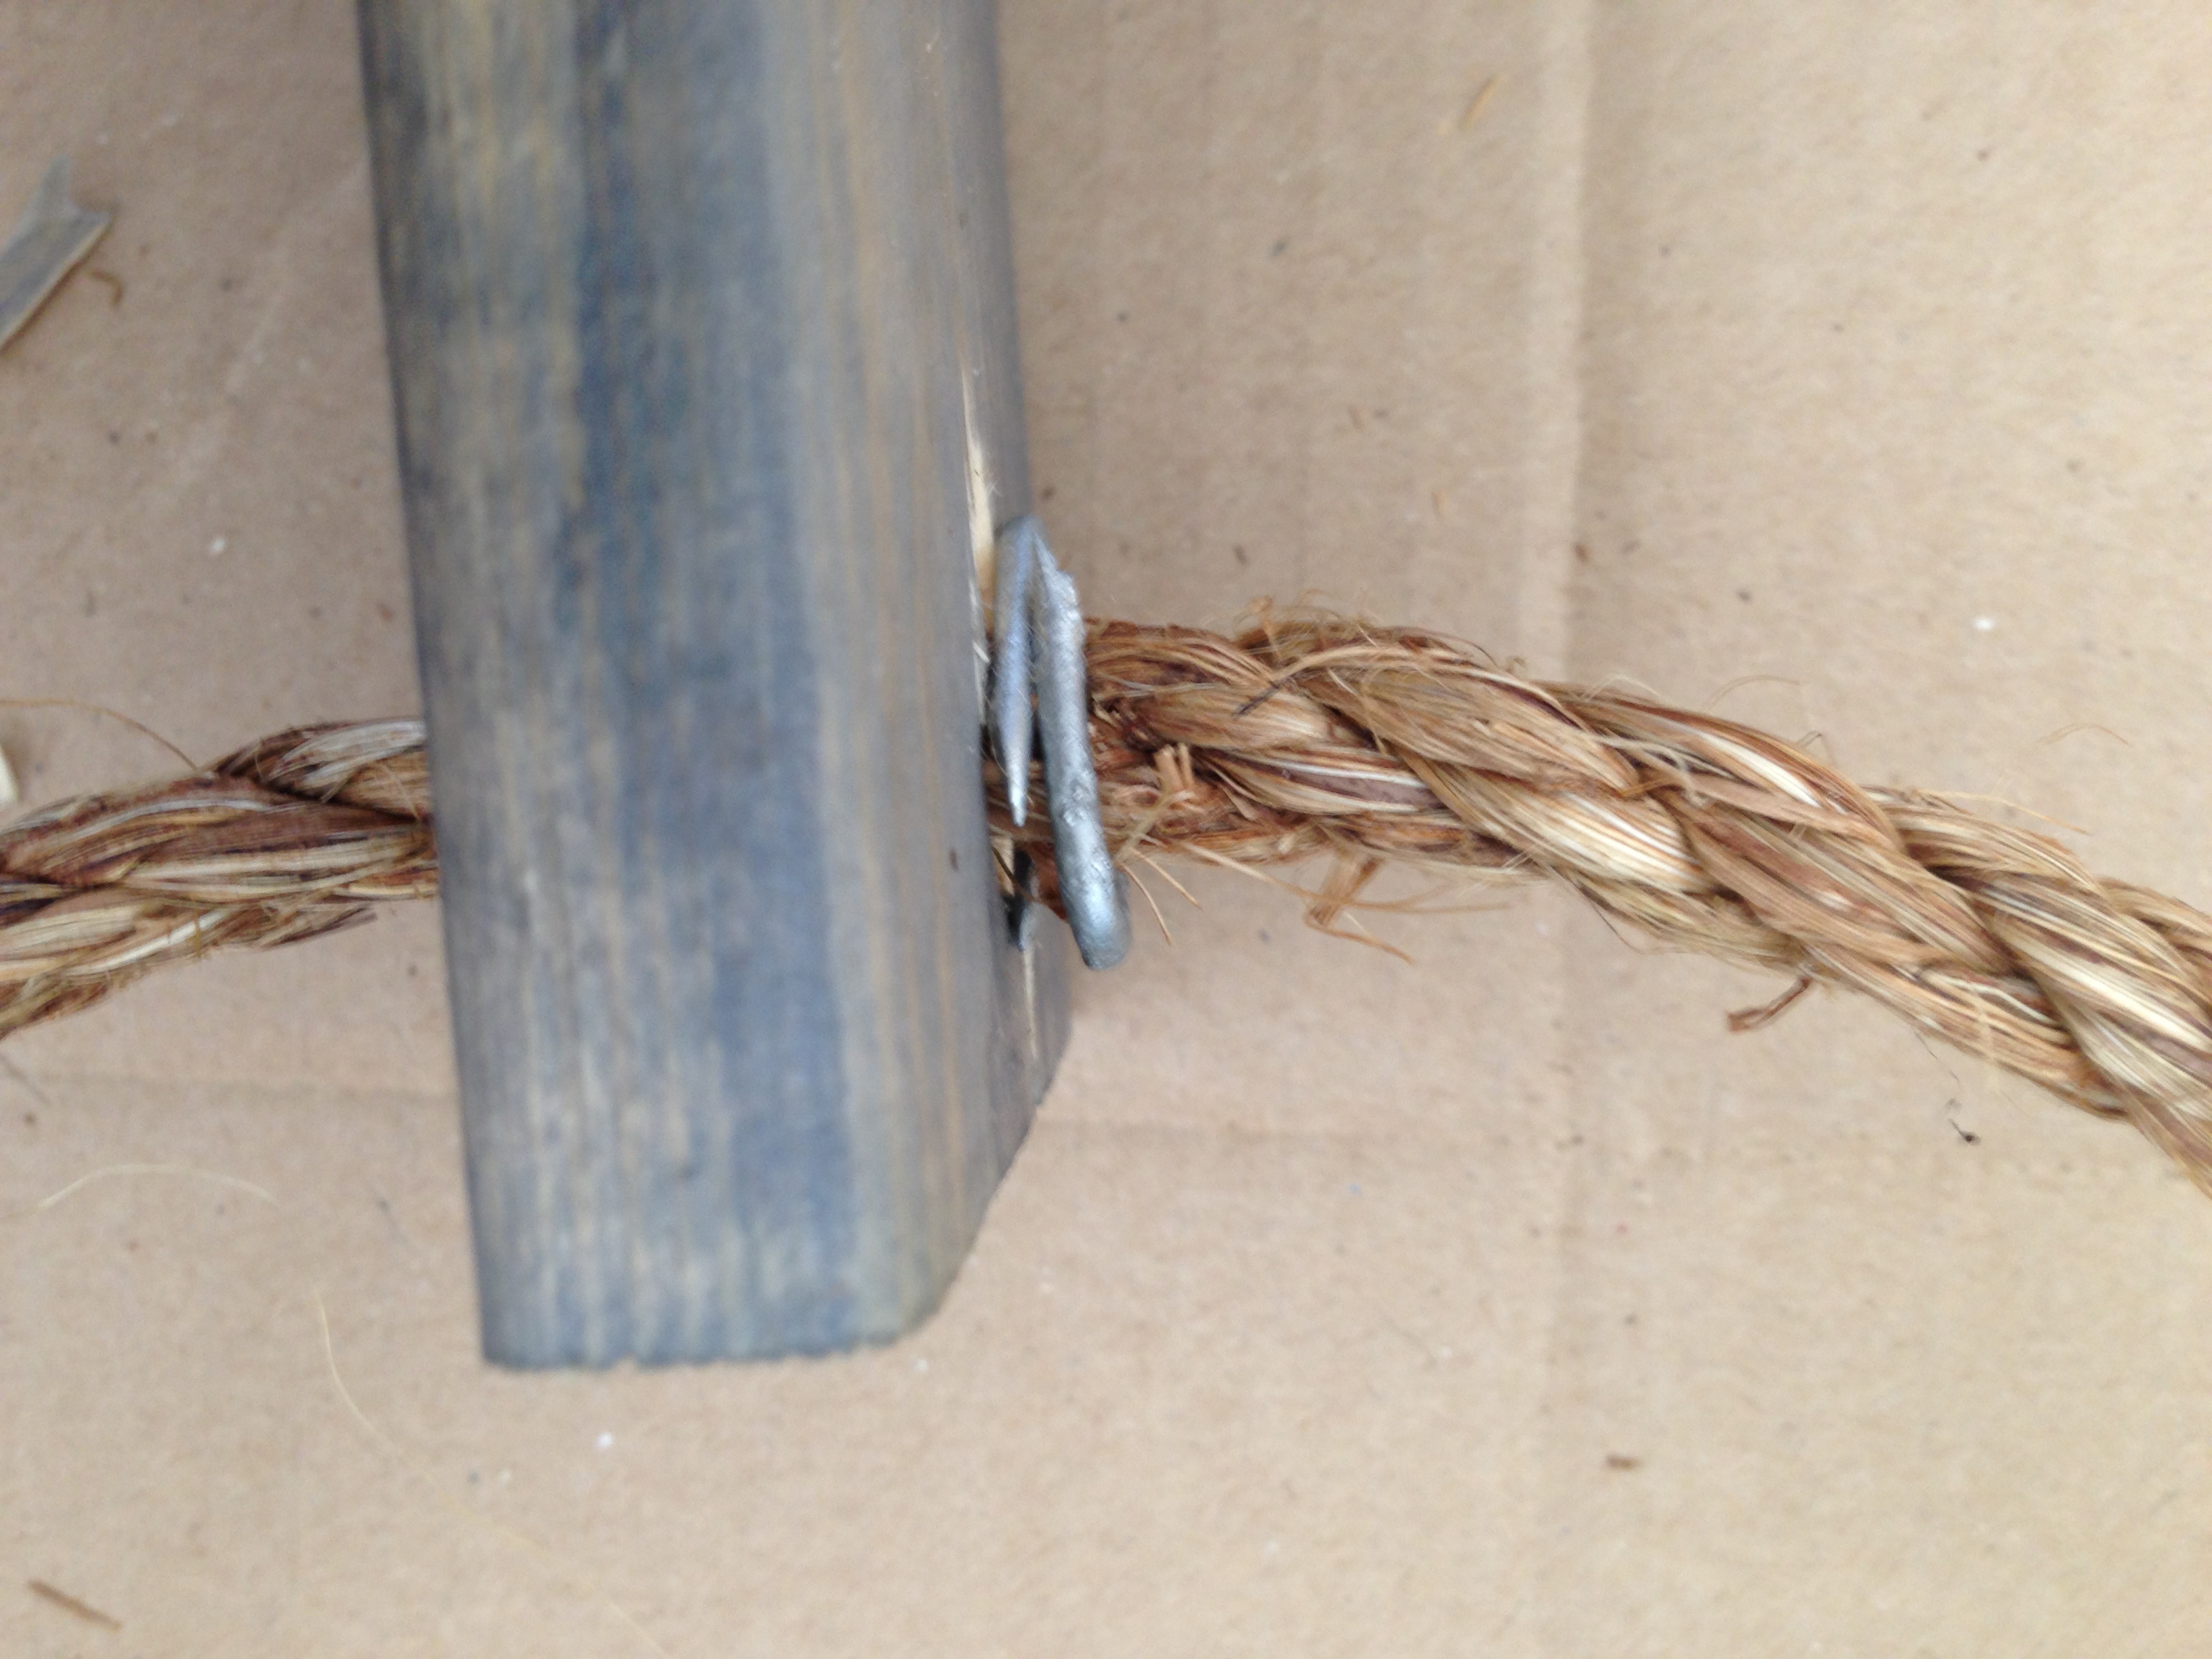
The final part is to set the slats/shelves in the position you want, using a level. Once you’re satisfied with the shelf placement, place two horseshoe nails facing towards each other and use pliers to clamp the middle of the rope (see below and close up). Just be careful not to get your fingers poked by the nails. (Gloves help)
Position one slat at a time, and one side at a time working downward until they are all in place and level. You may need to retract and adjust your rope length to make it tauter since it can loosen up during this process. We ended up using a total of 6 slats, 2 for the top and bottom, and 4 for the actual shelves. Of course these rope shelves are not meant for heavy items or kids trying to climb them like ladders, but they are great for displaying small items, beach combing finds and a few votive candles.
Our one regret is that we didn’t line the eye screws on the top and bottom, with the shelves’ actual holes. However not bad for a nearly free shelf display! Do you have any ideas from your wood scraps, Ikea slats or project leftovers? In the words of Madam Stewart…DIY project from scraps, its a good thing.

Pingback: “Getting Skimmy With It”…Ikea Hack: Skimboard Coffee Table | littlehousesbigdogs
Pingback: Guest House and Concrete Counters: Finally a Before & After! | littlehousesbigdogs