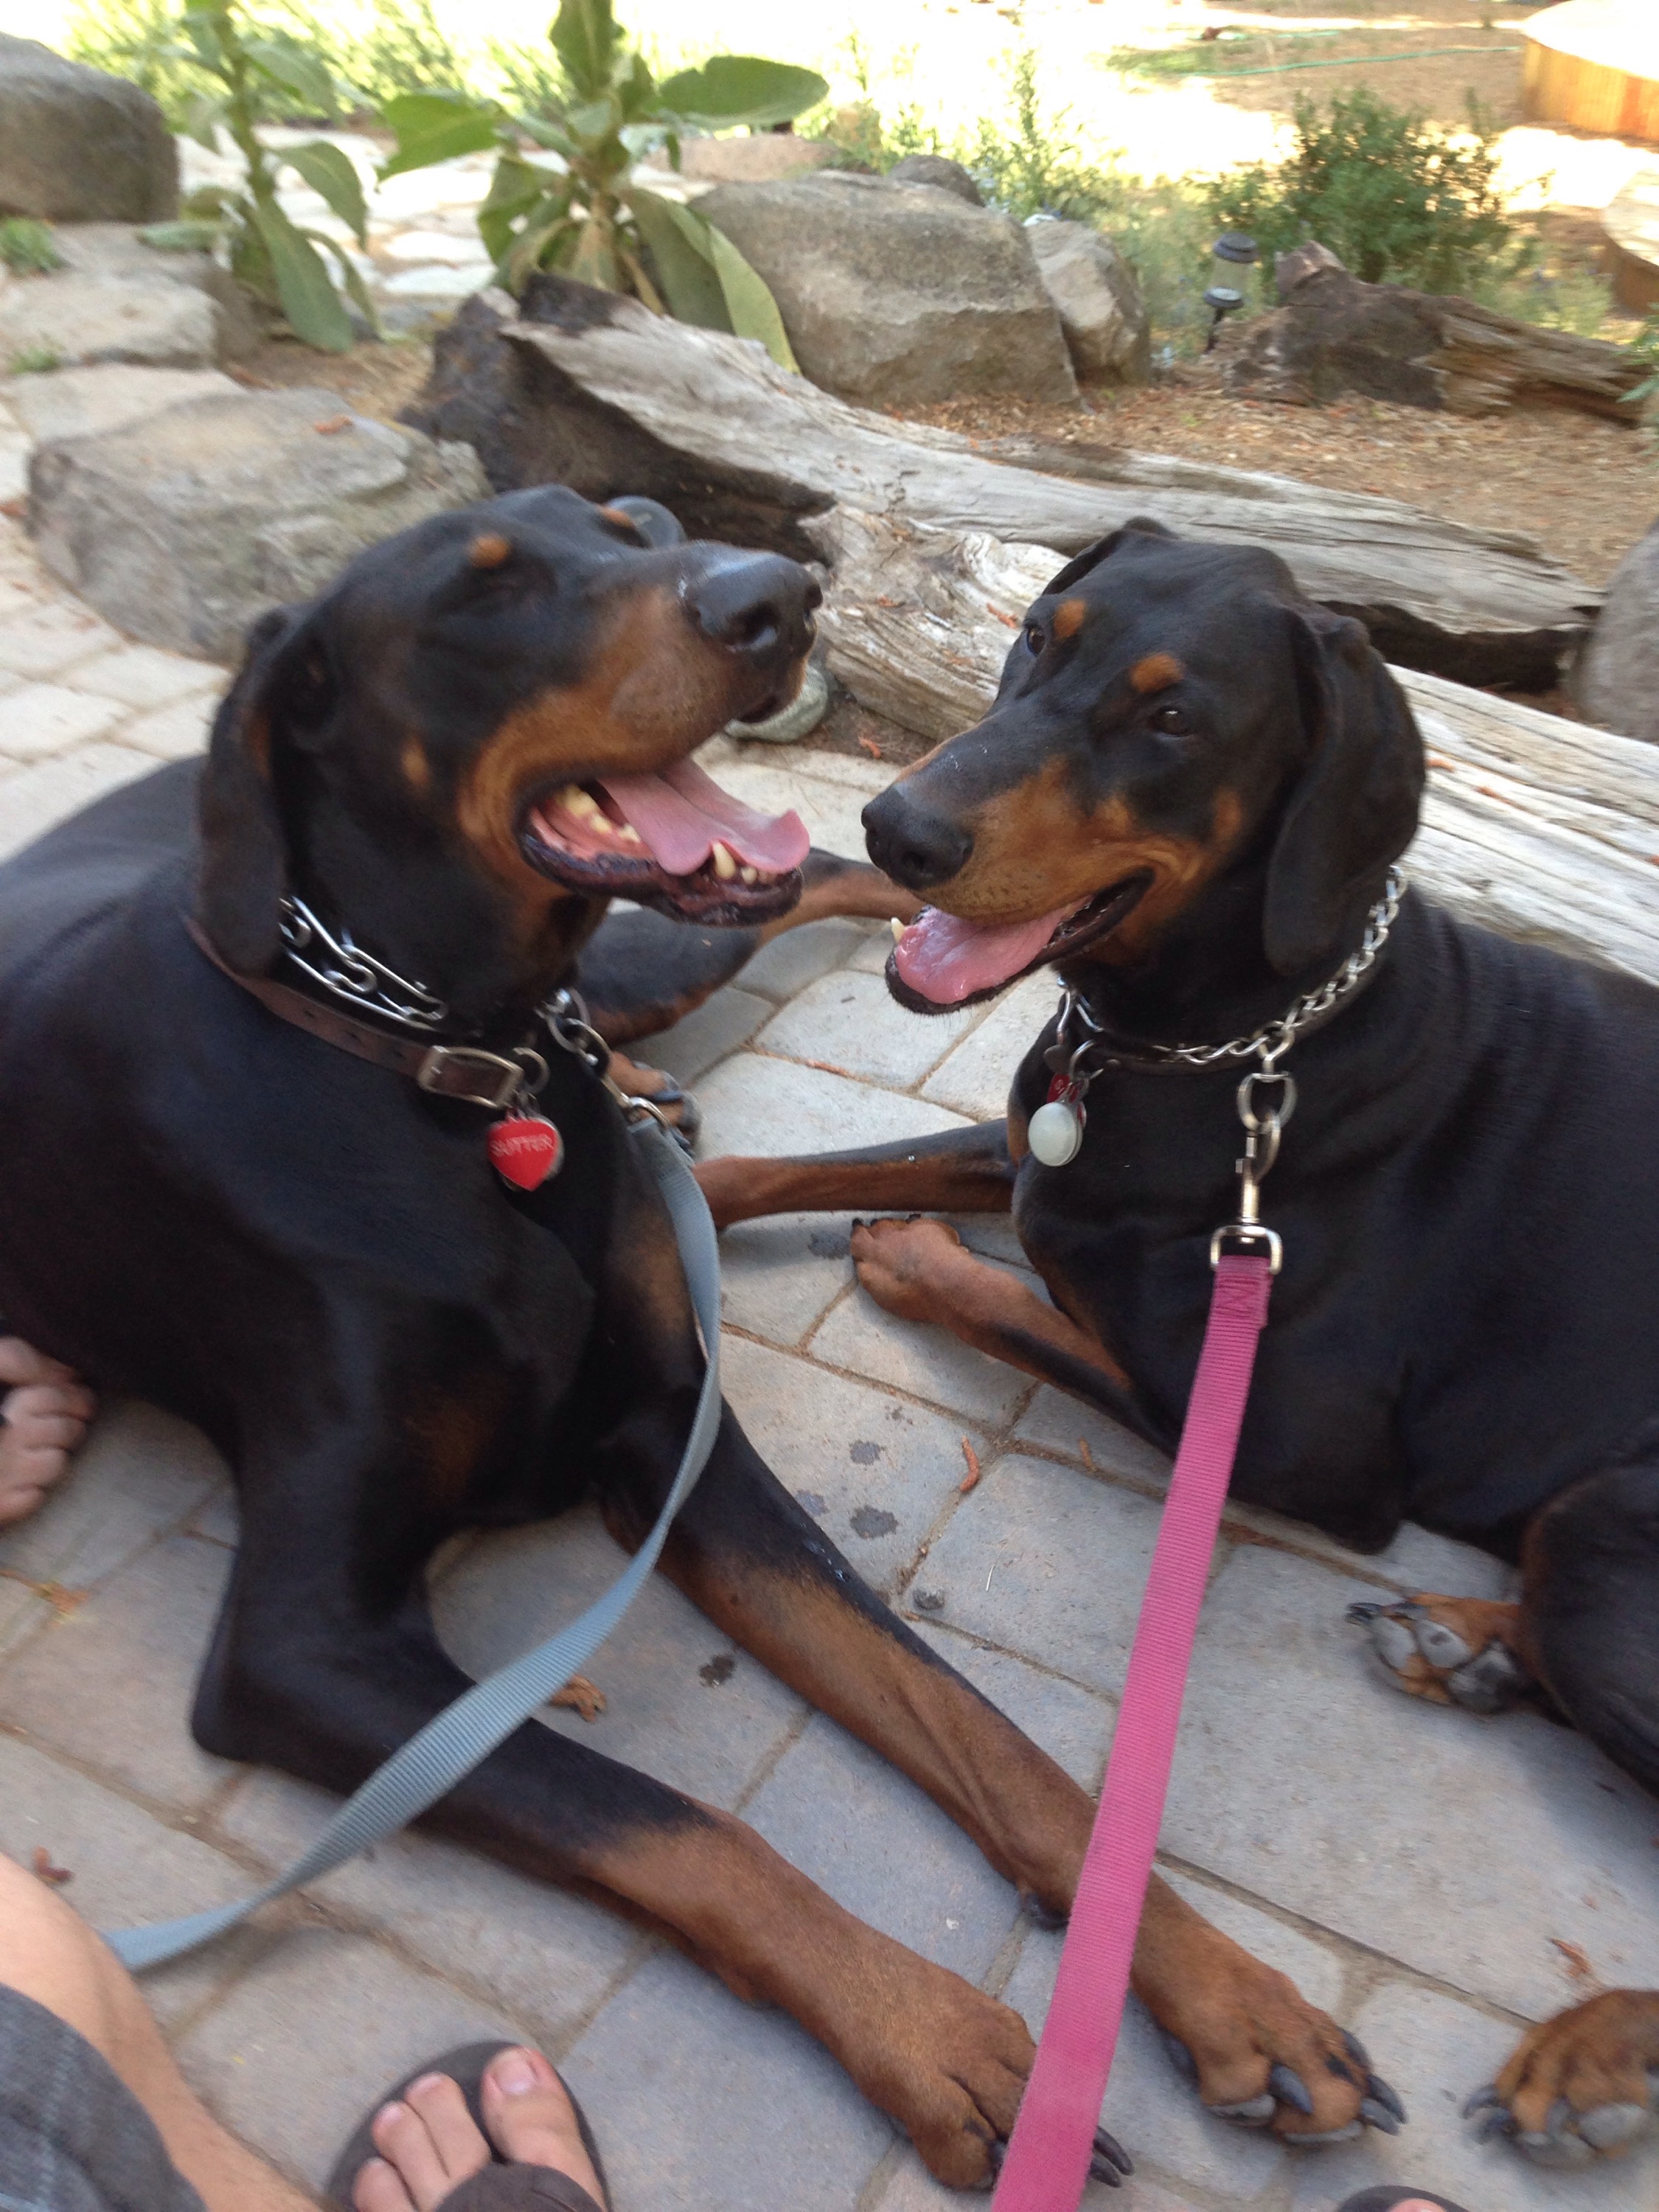
Where were you two this past weekend? Here… Here…
Here…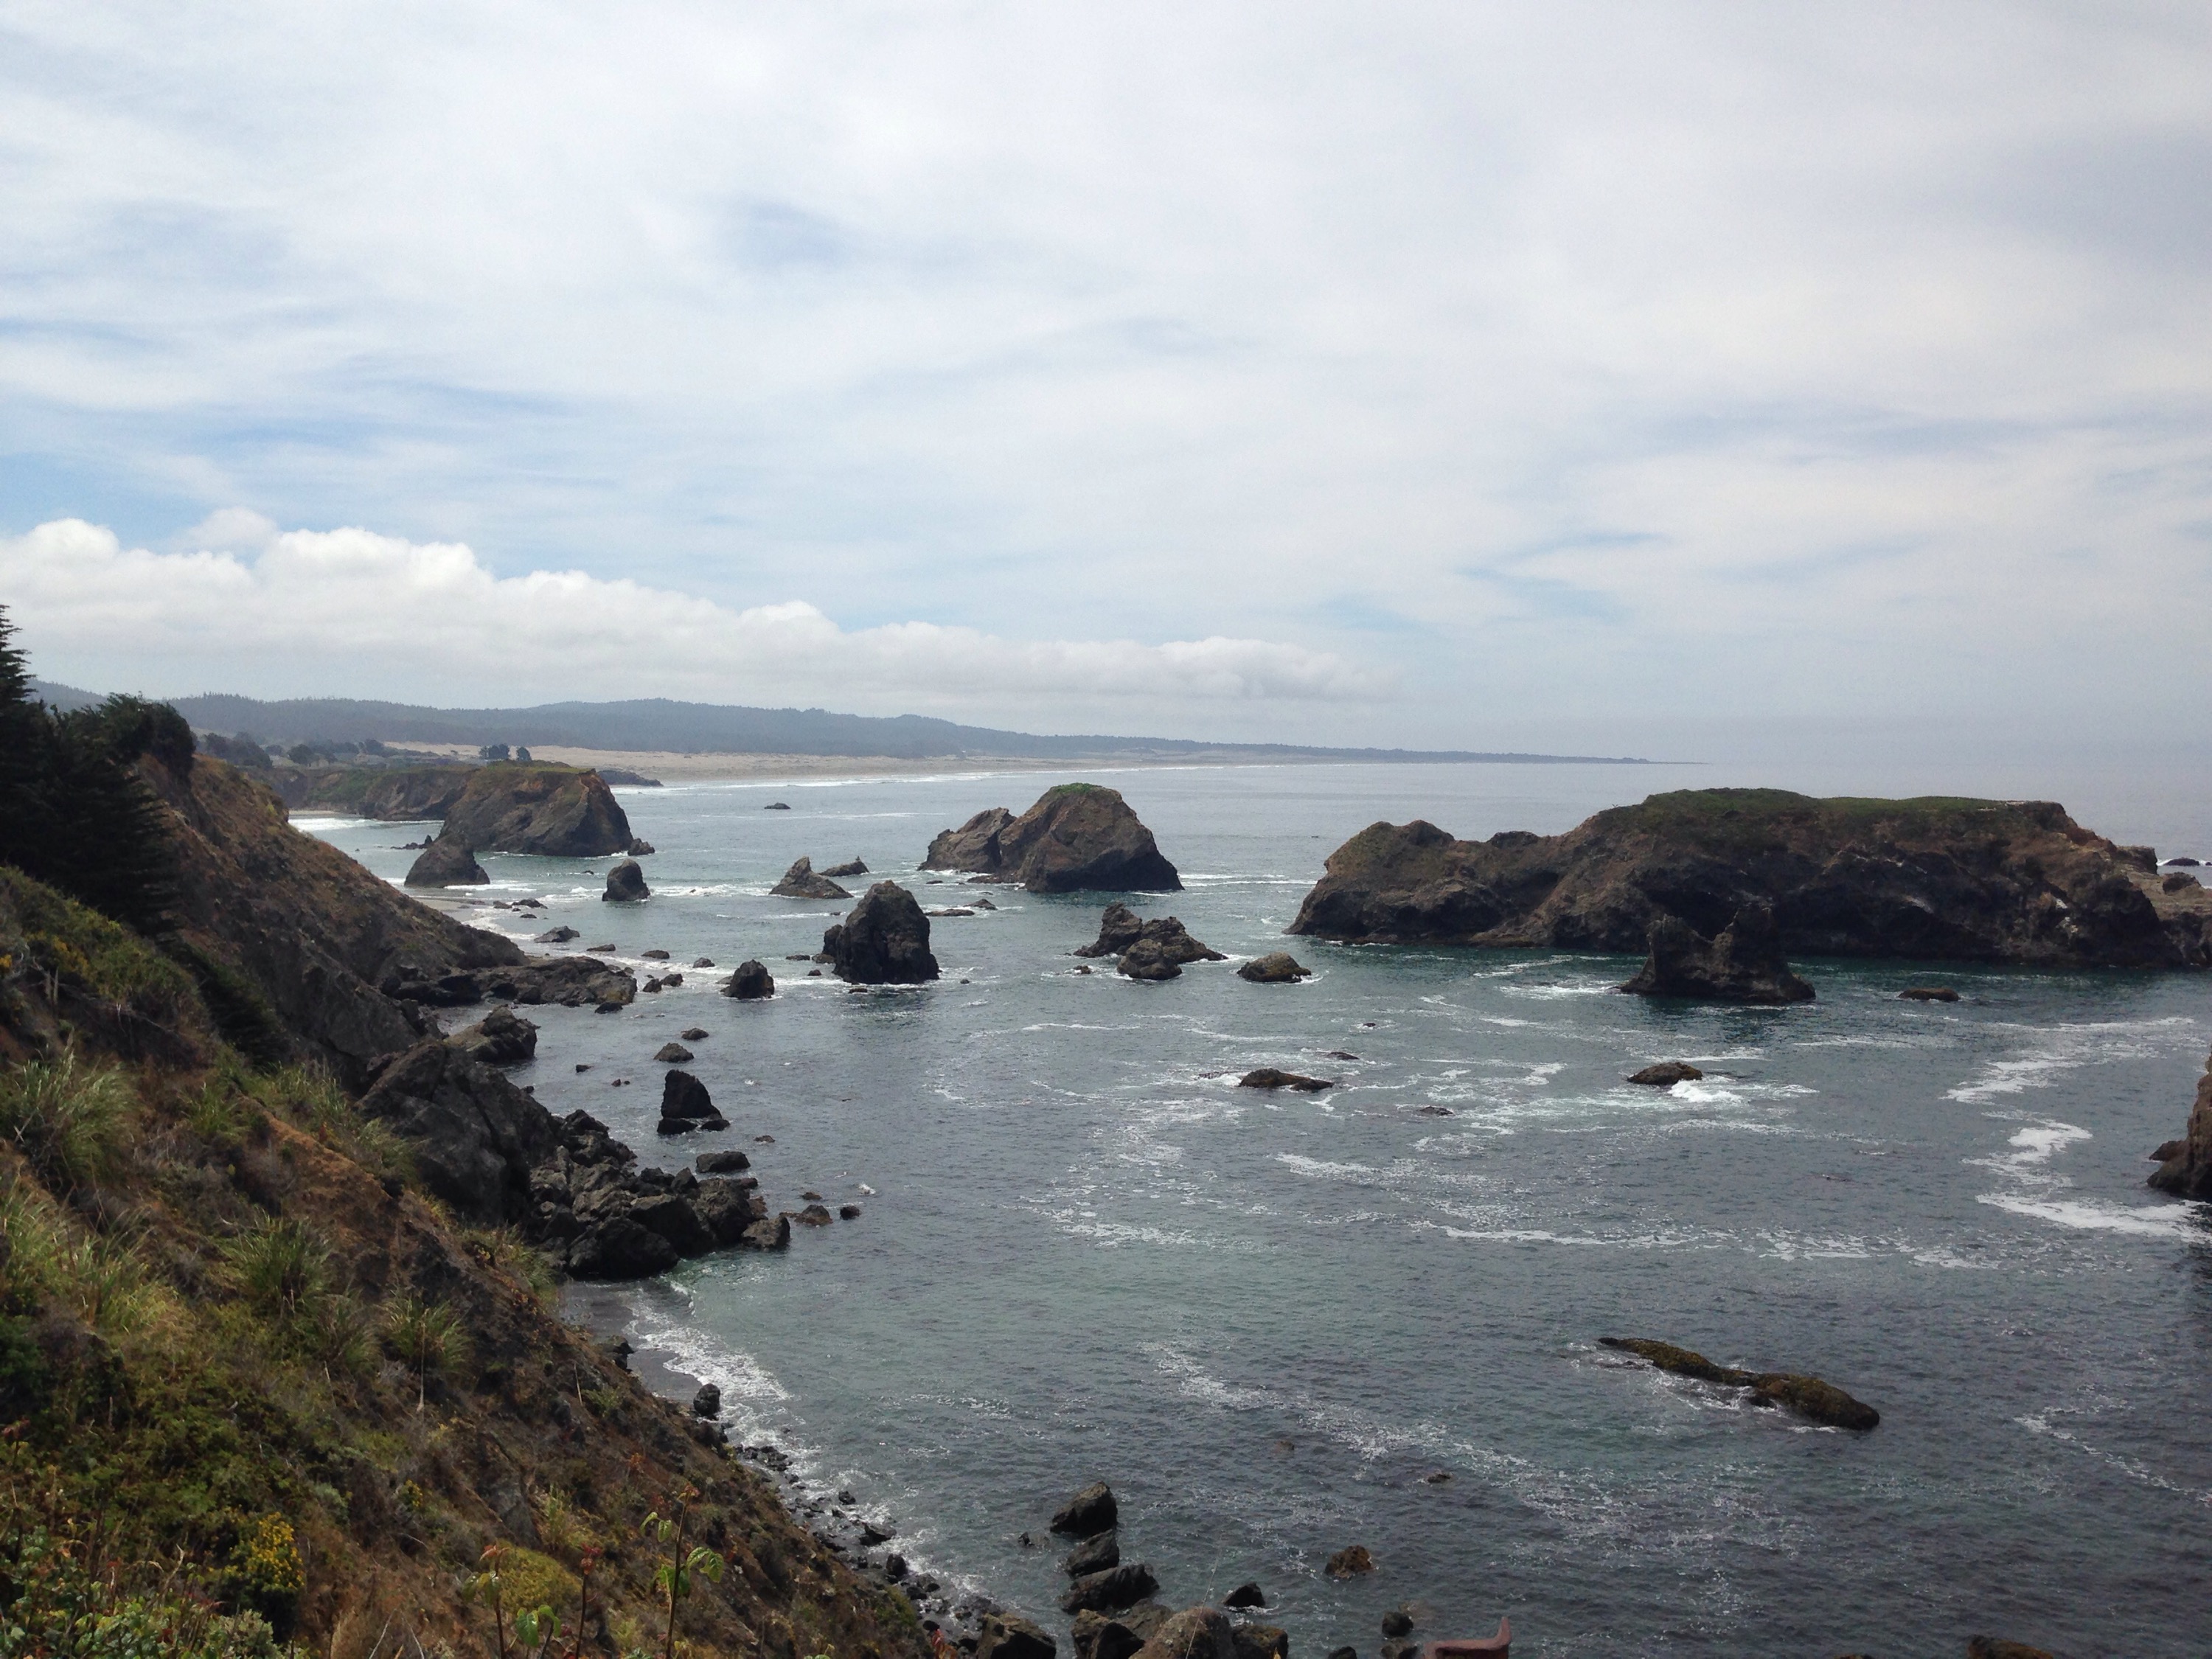 And of course every dog friendly beach in between.
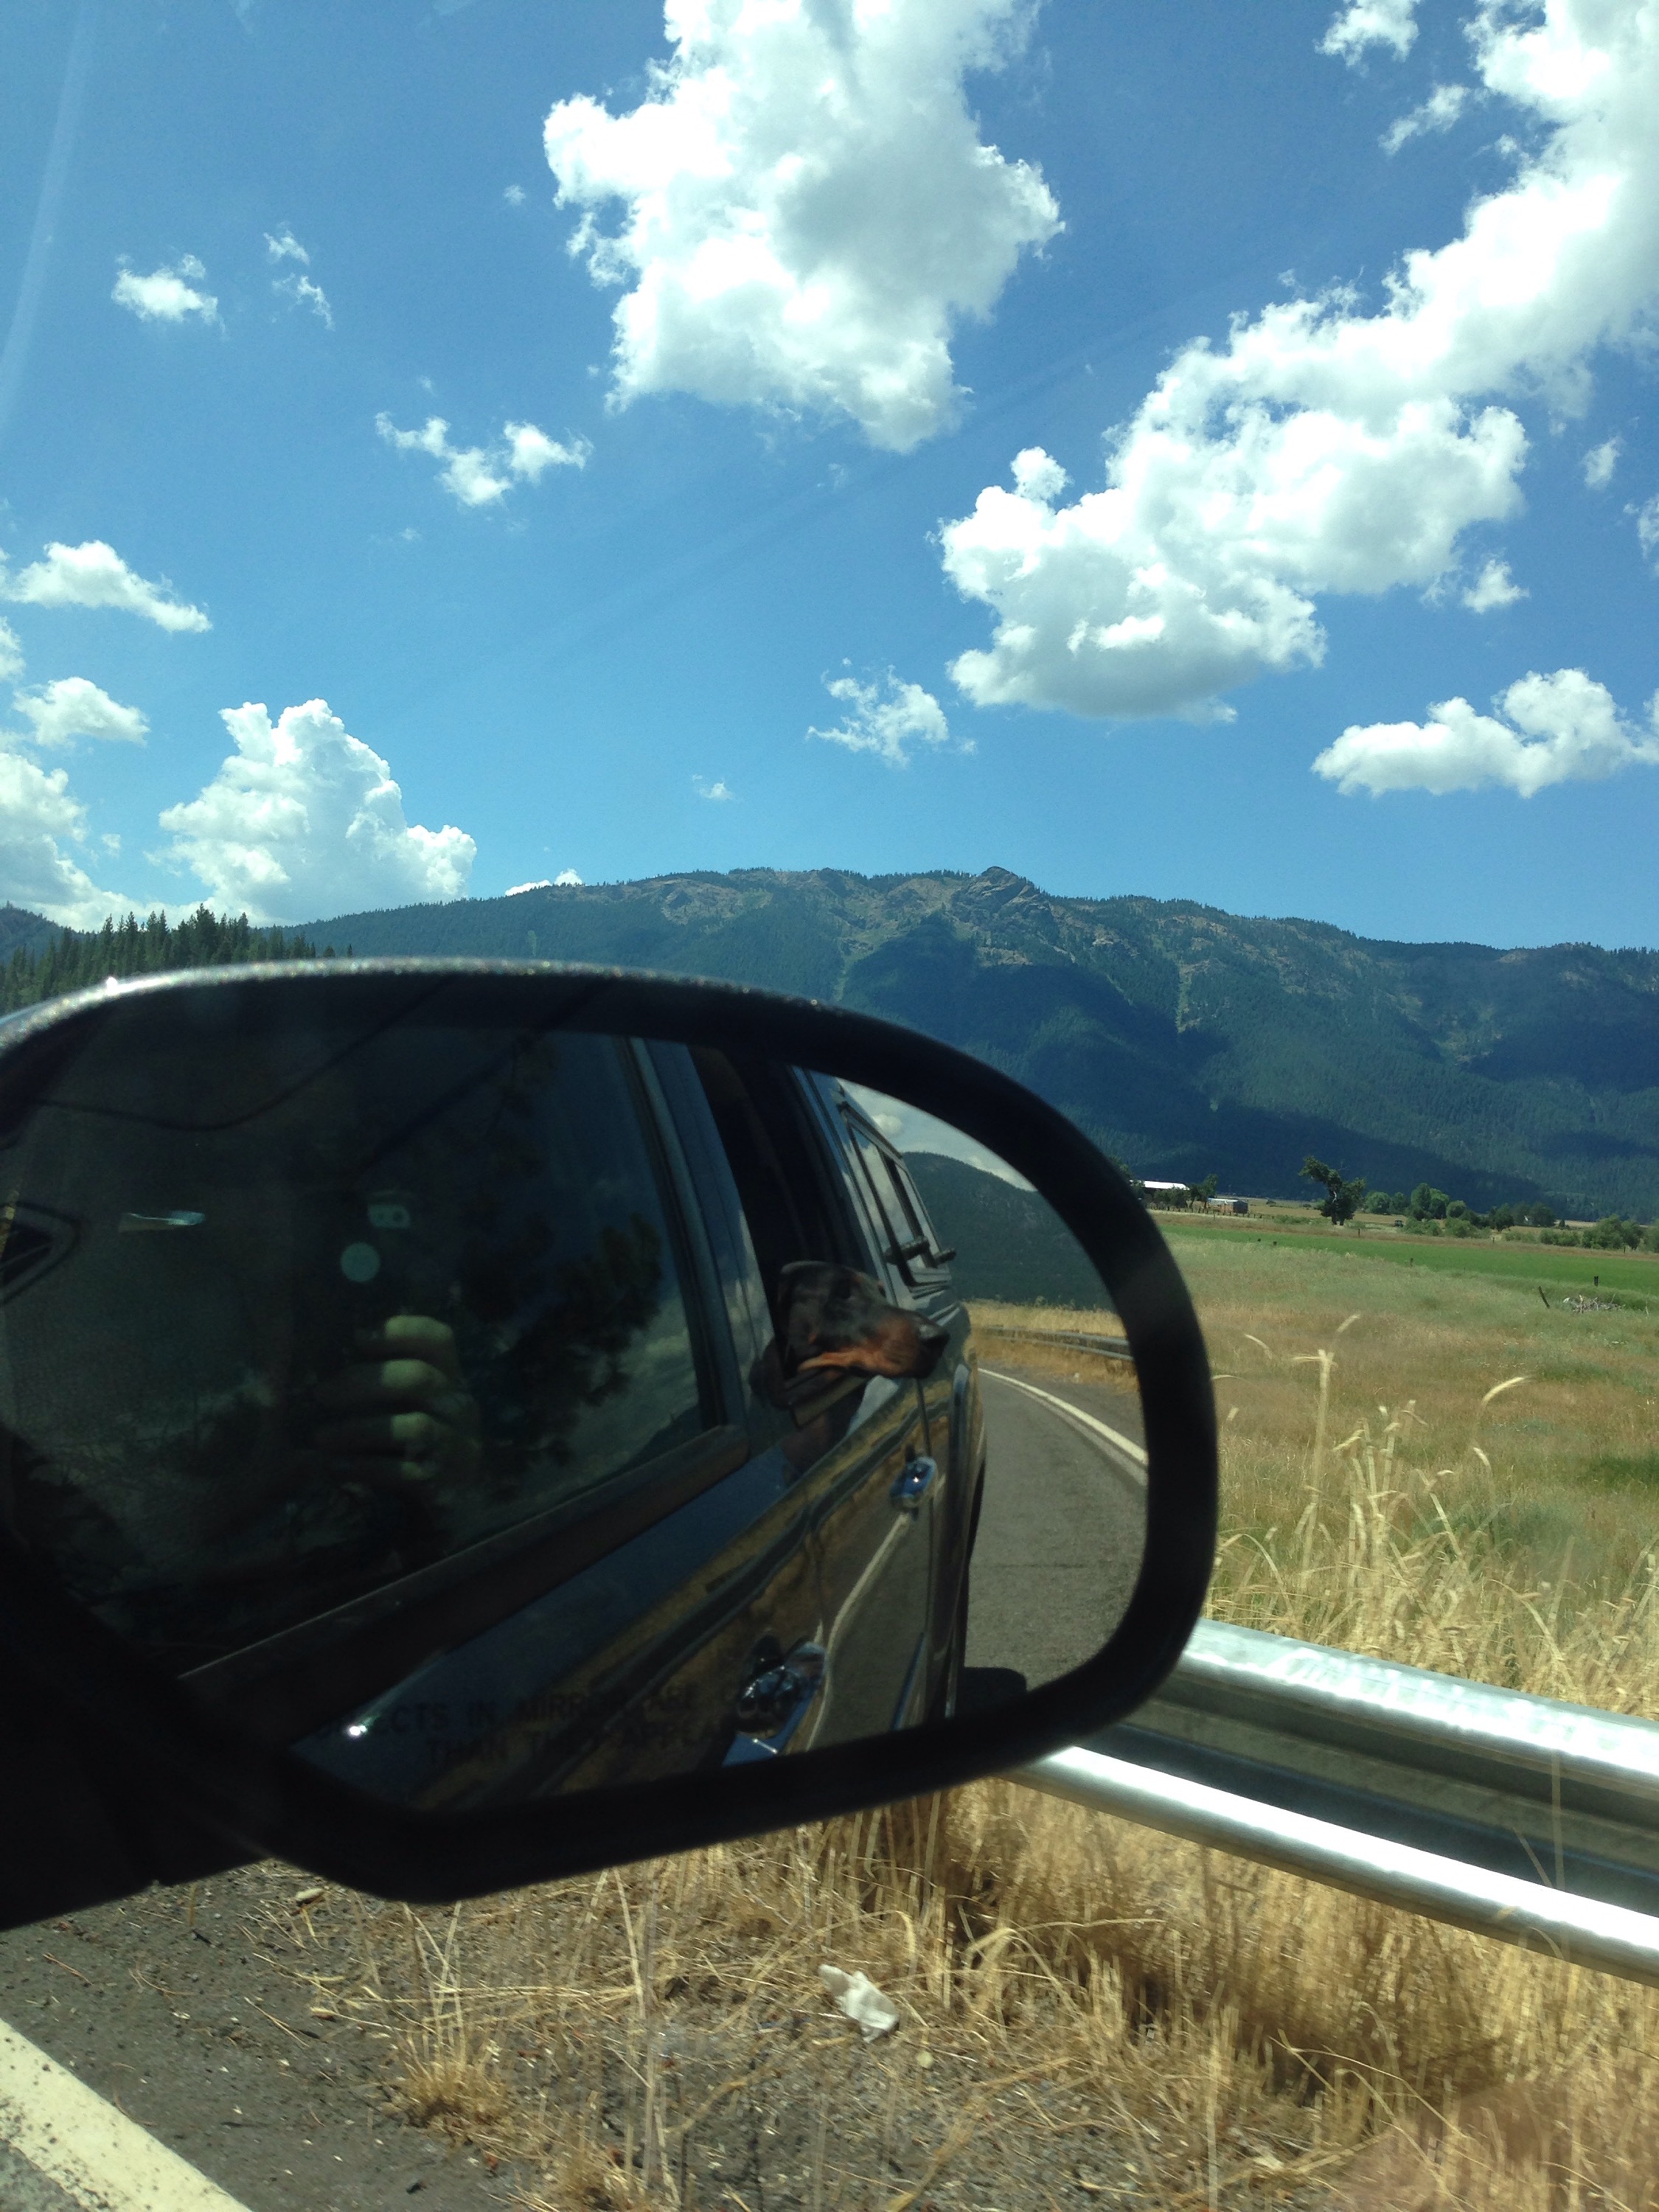
  We were out exploring California’s north coast to Mendocino. If you follow us on IG you’ve probably seen some of the puppies living it up. (and then crashing…its a hard “dog” life for us)
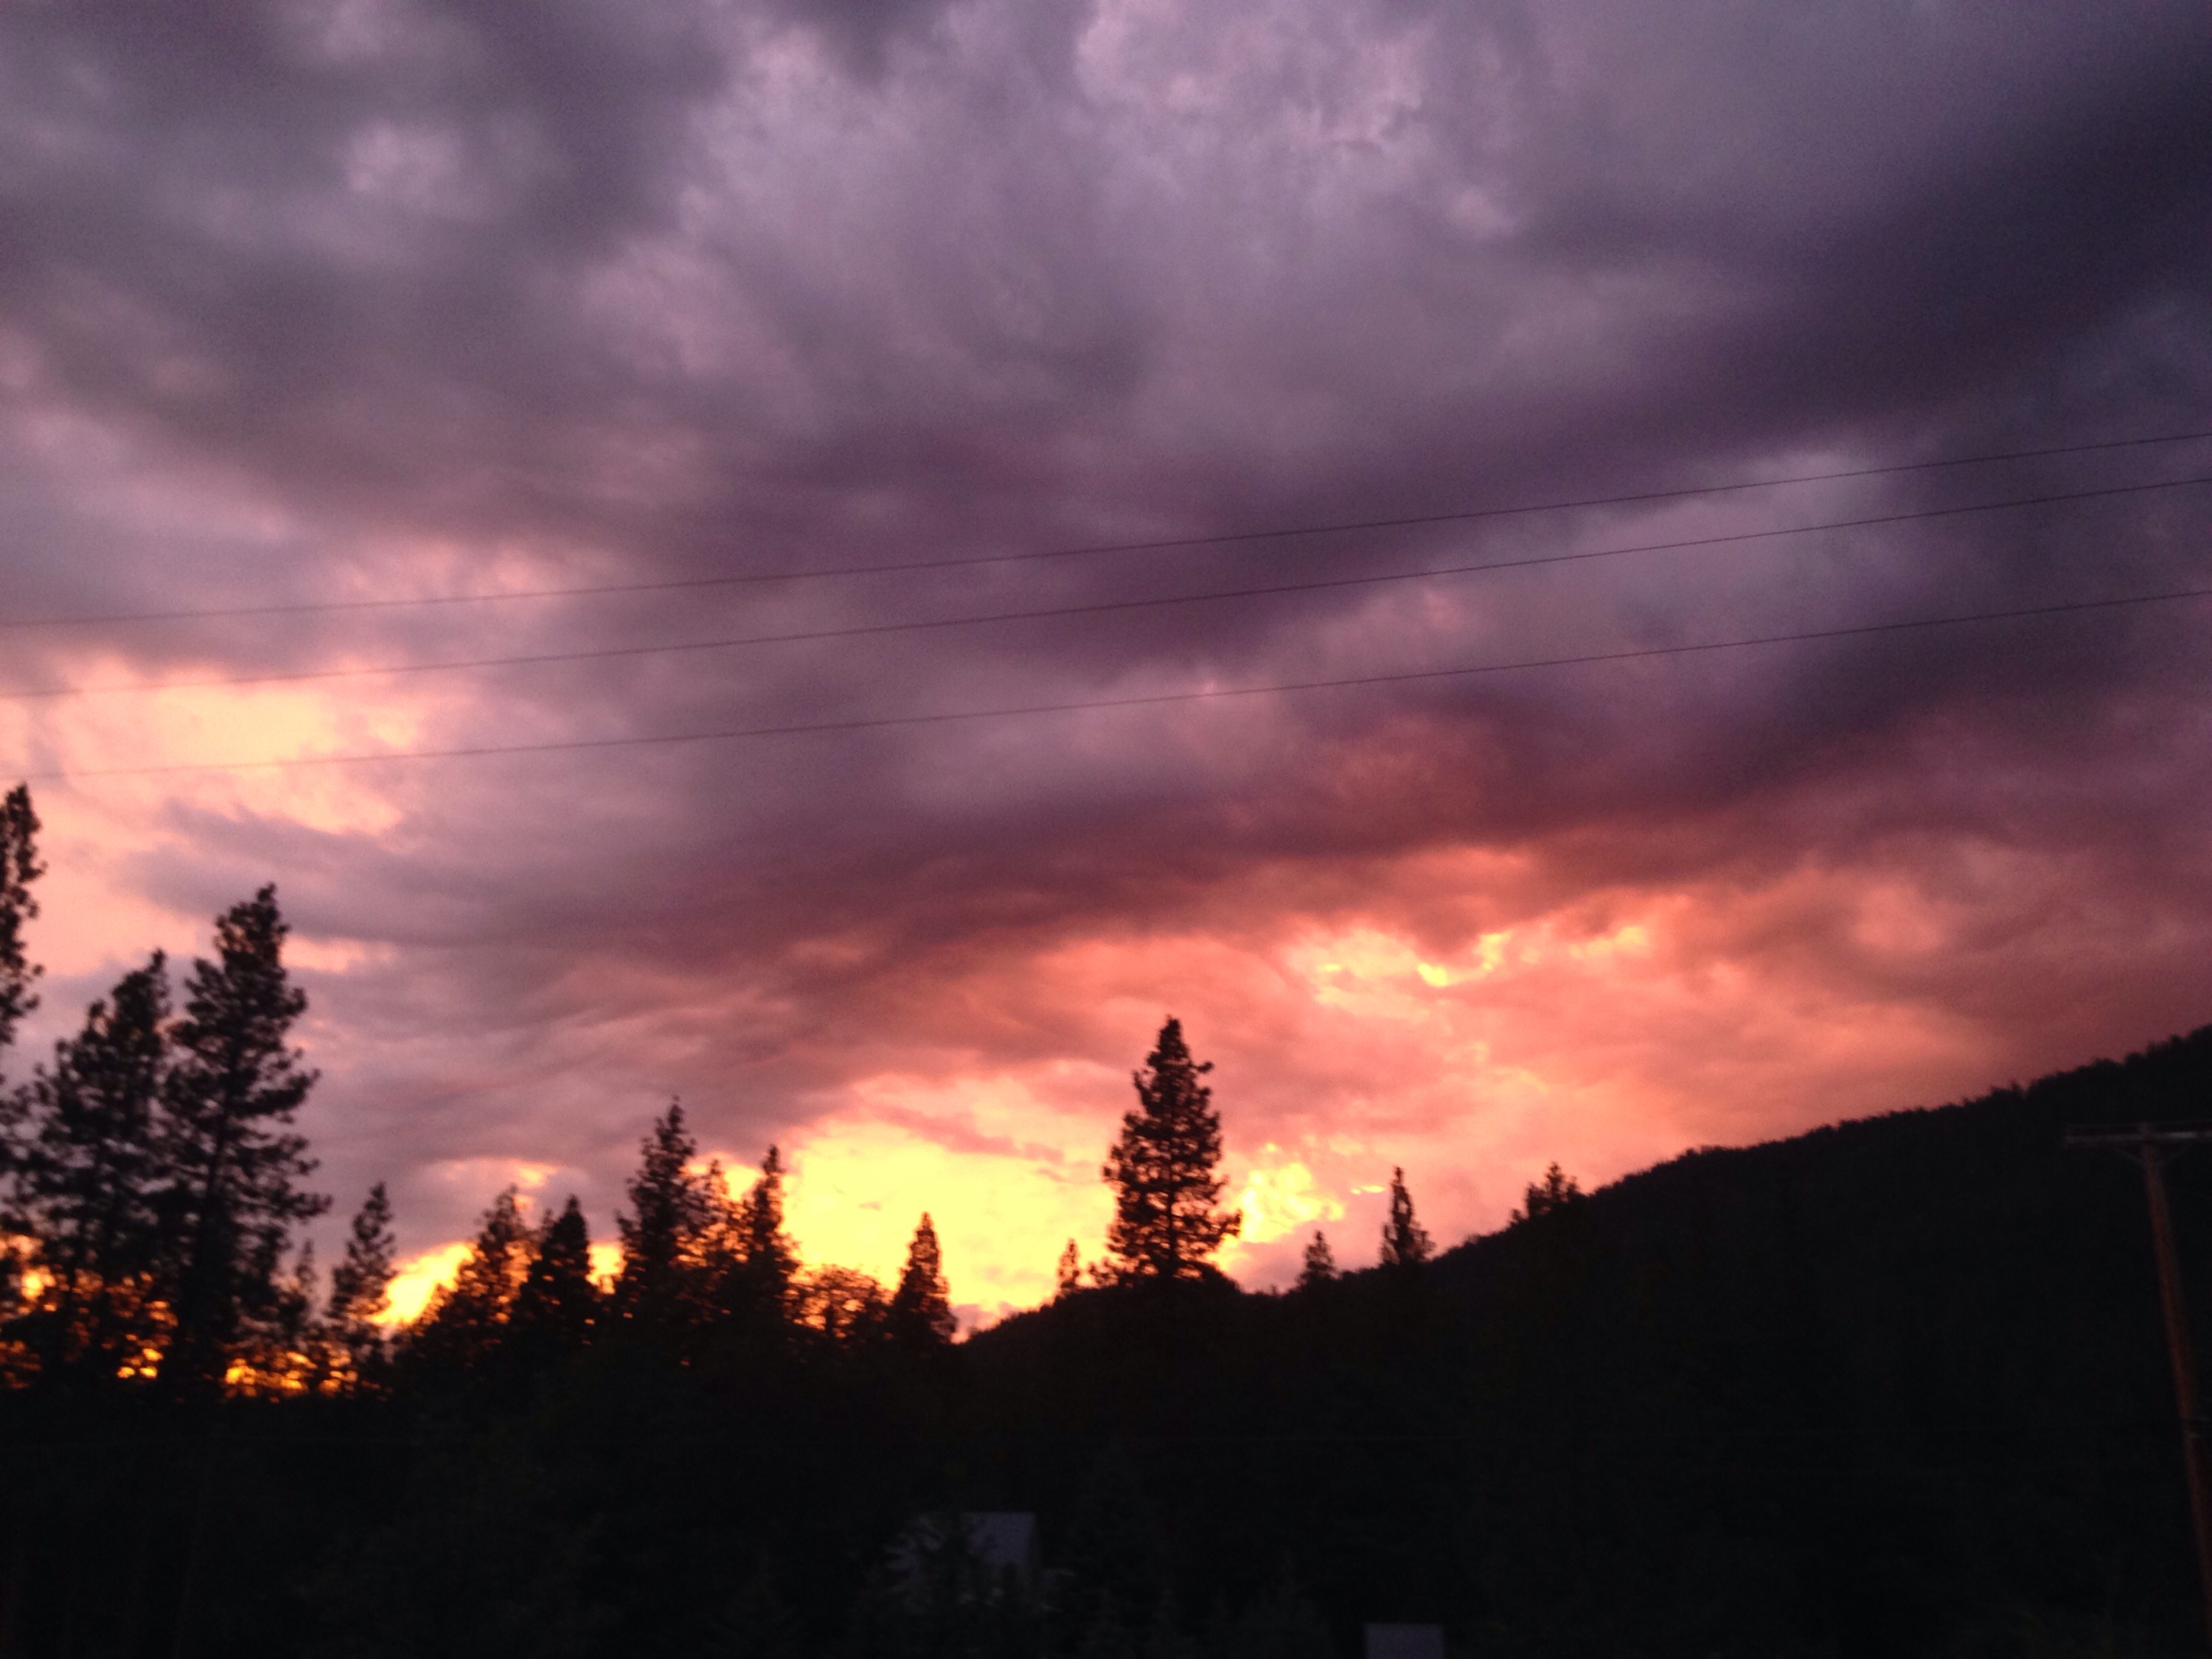
 We fell in love hard, (like with every California coastal community we’ve explored) Maybe it was the redwoods and multiple rivers merging with the sea, but the scenery is dramatic and breath taking. I think the hubs liked it better for lack of cell phone service and the solitude at times. (With our jobs we need that disconnect more often then not.)
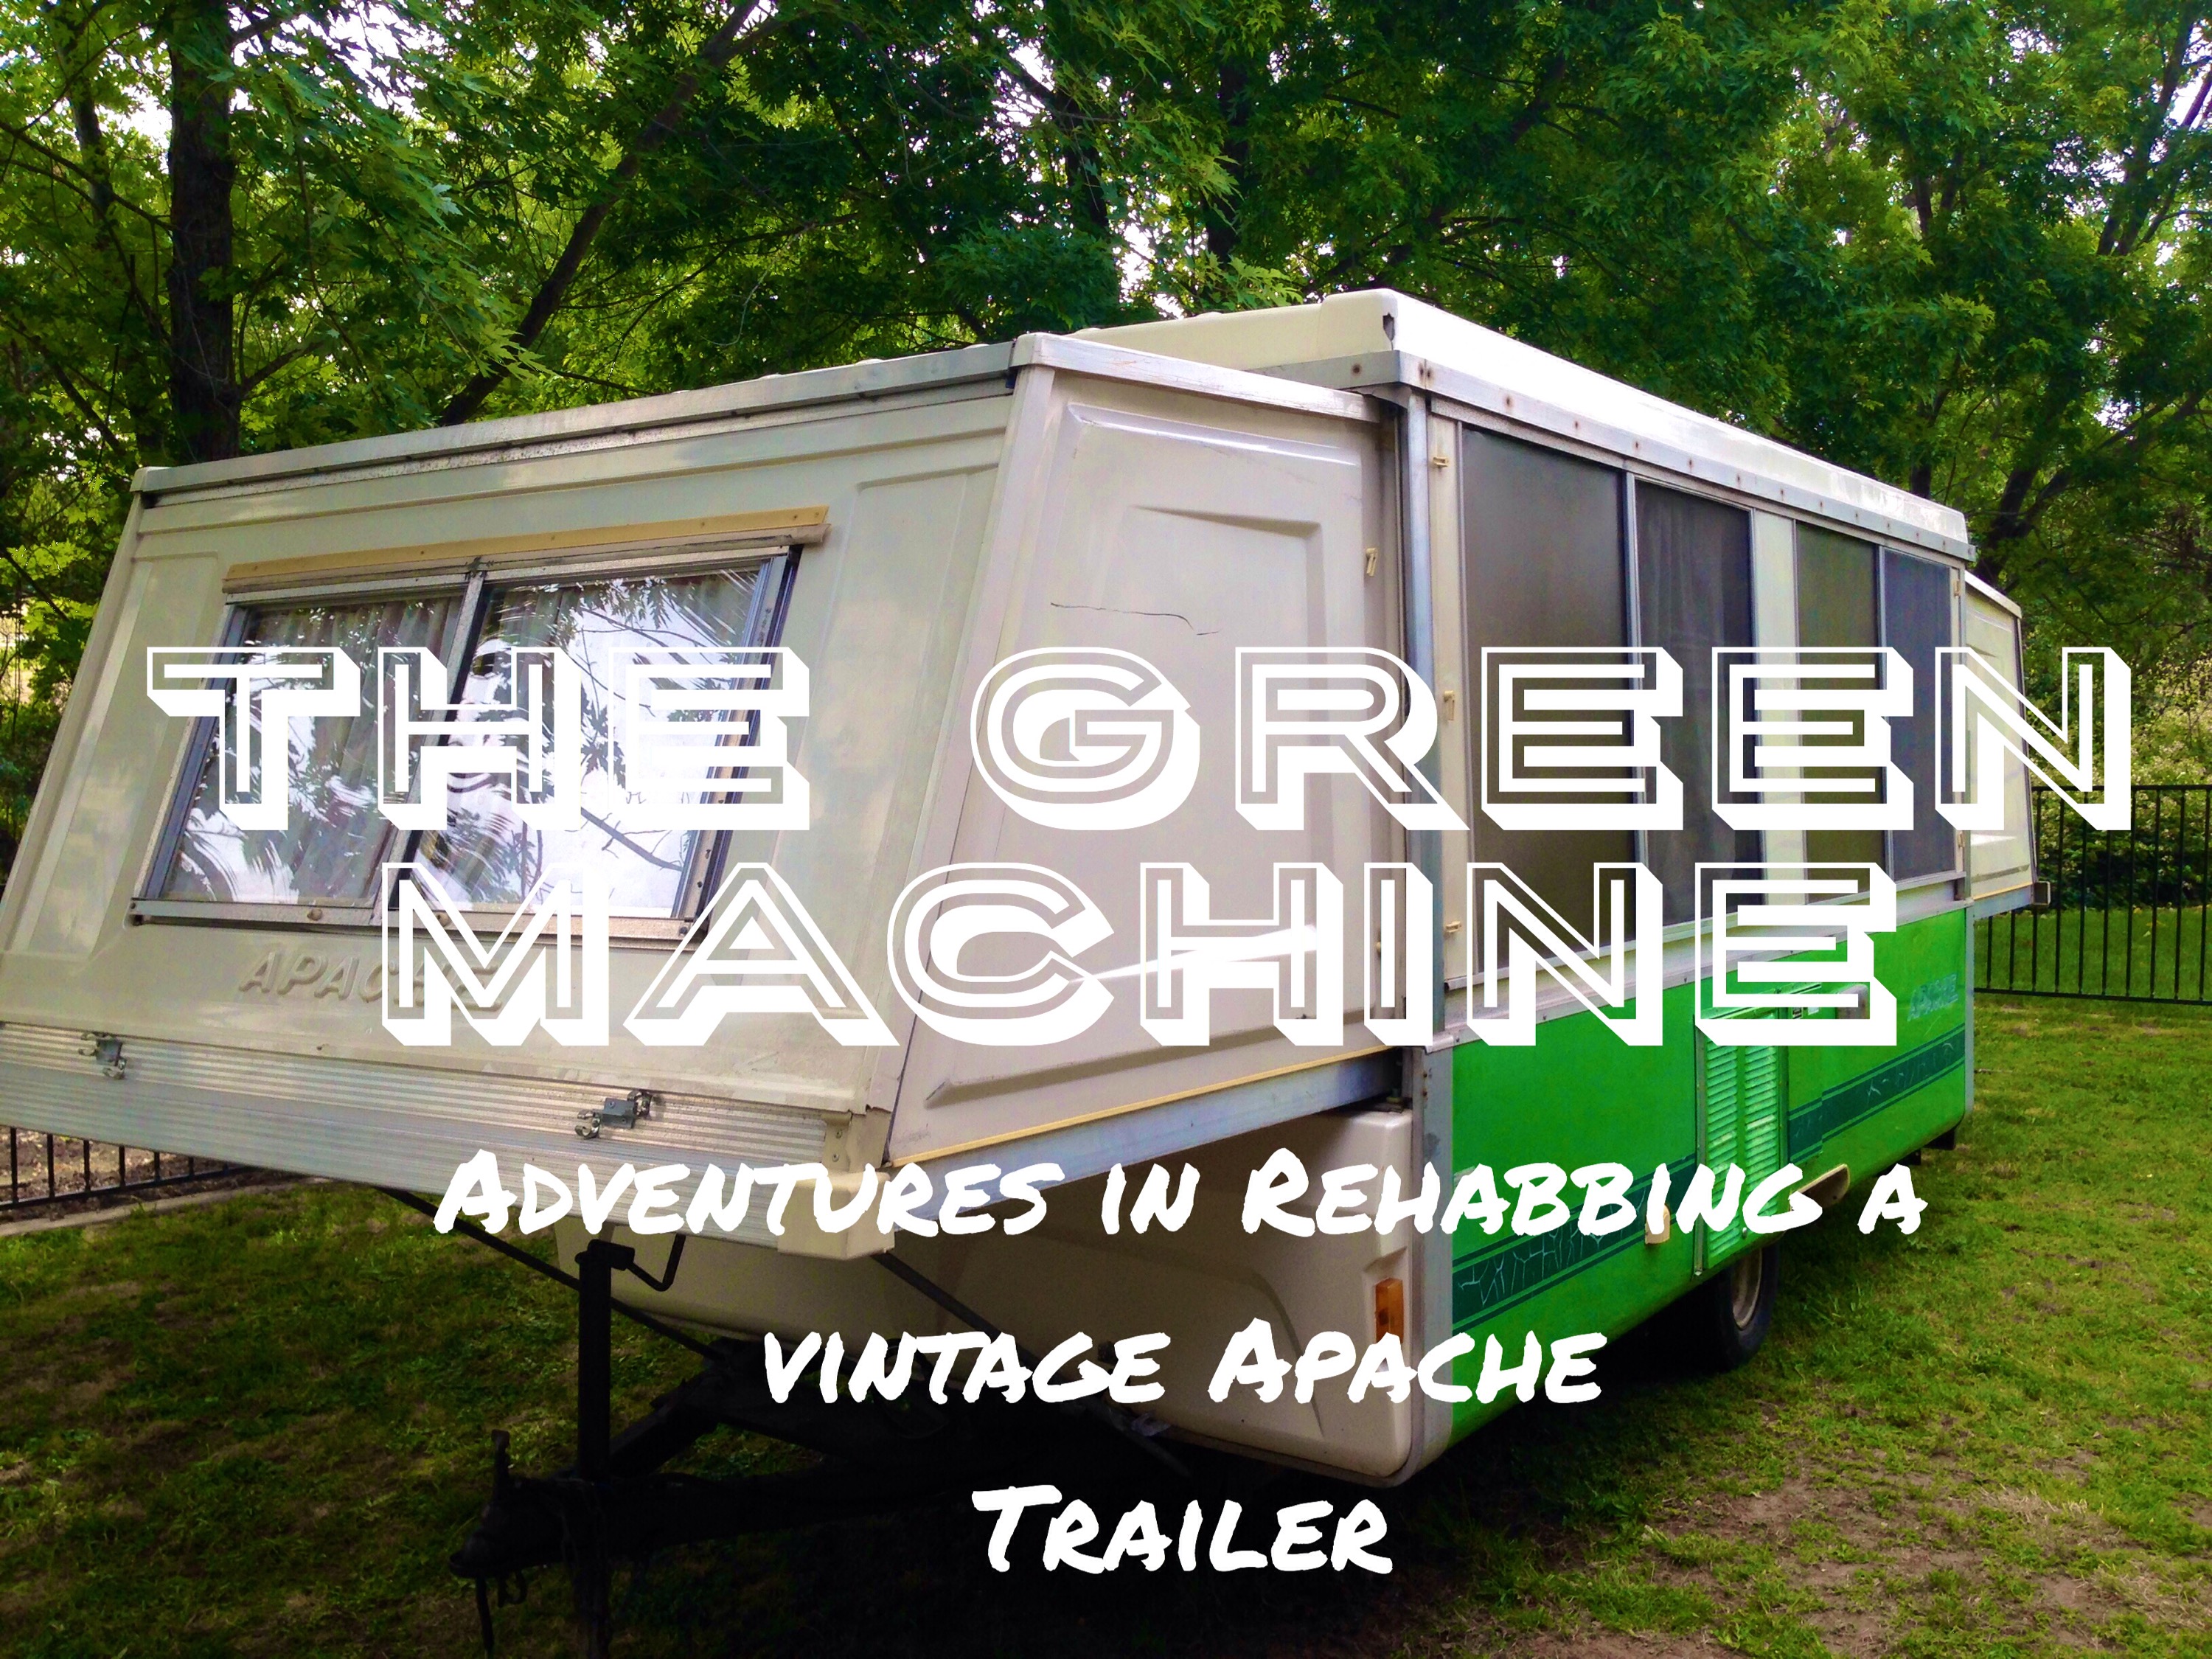
In the meantime we can’t wait to explore some more, which is why I kicked it into high gear on rehabbing our vintage Apache Pop up trailer yesterday. First up removing all the rusted out screws of the exterior and replacing them with stainless steel.
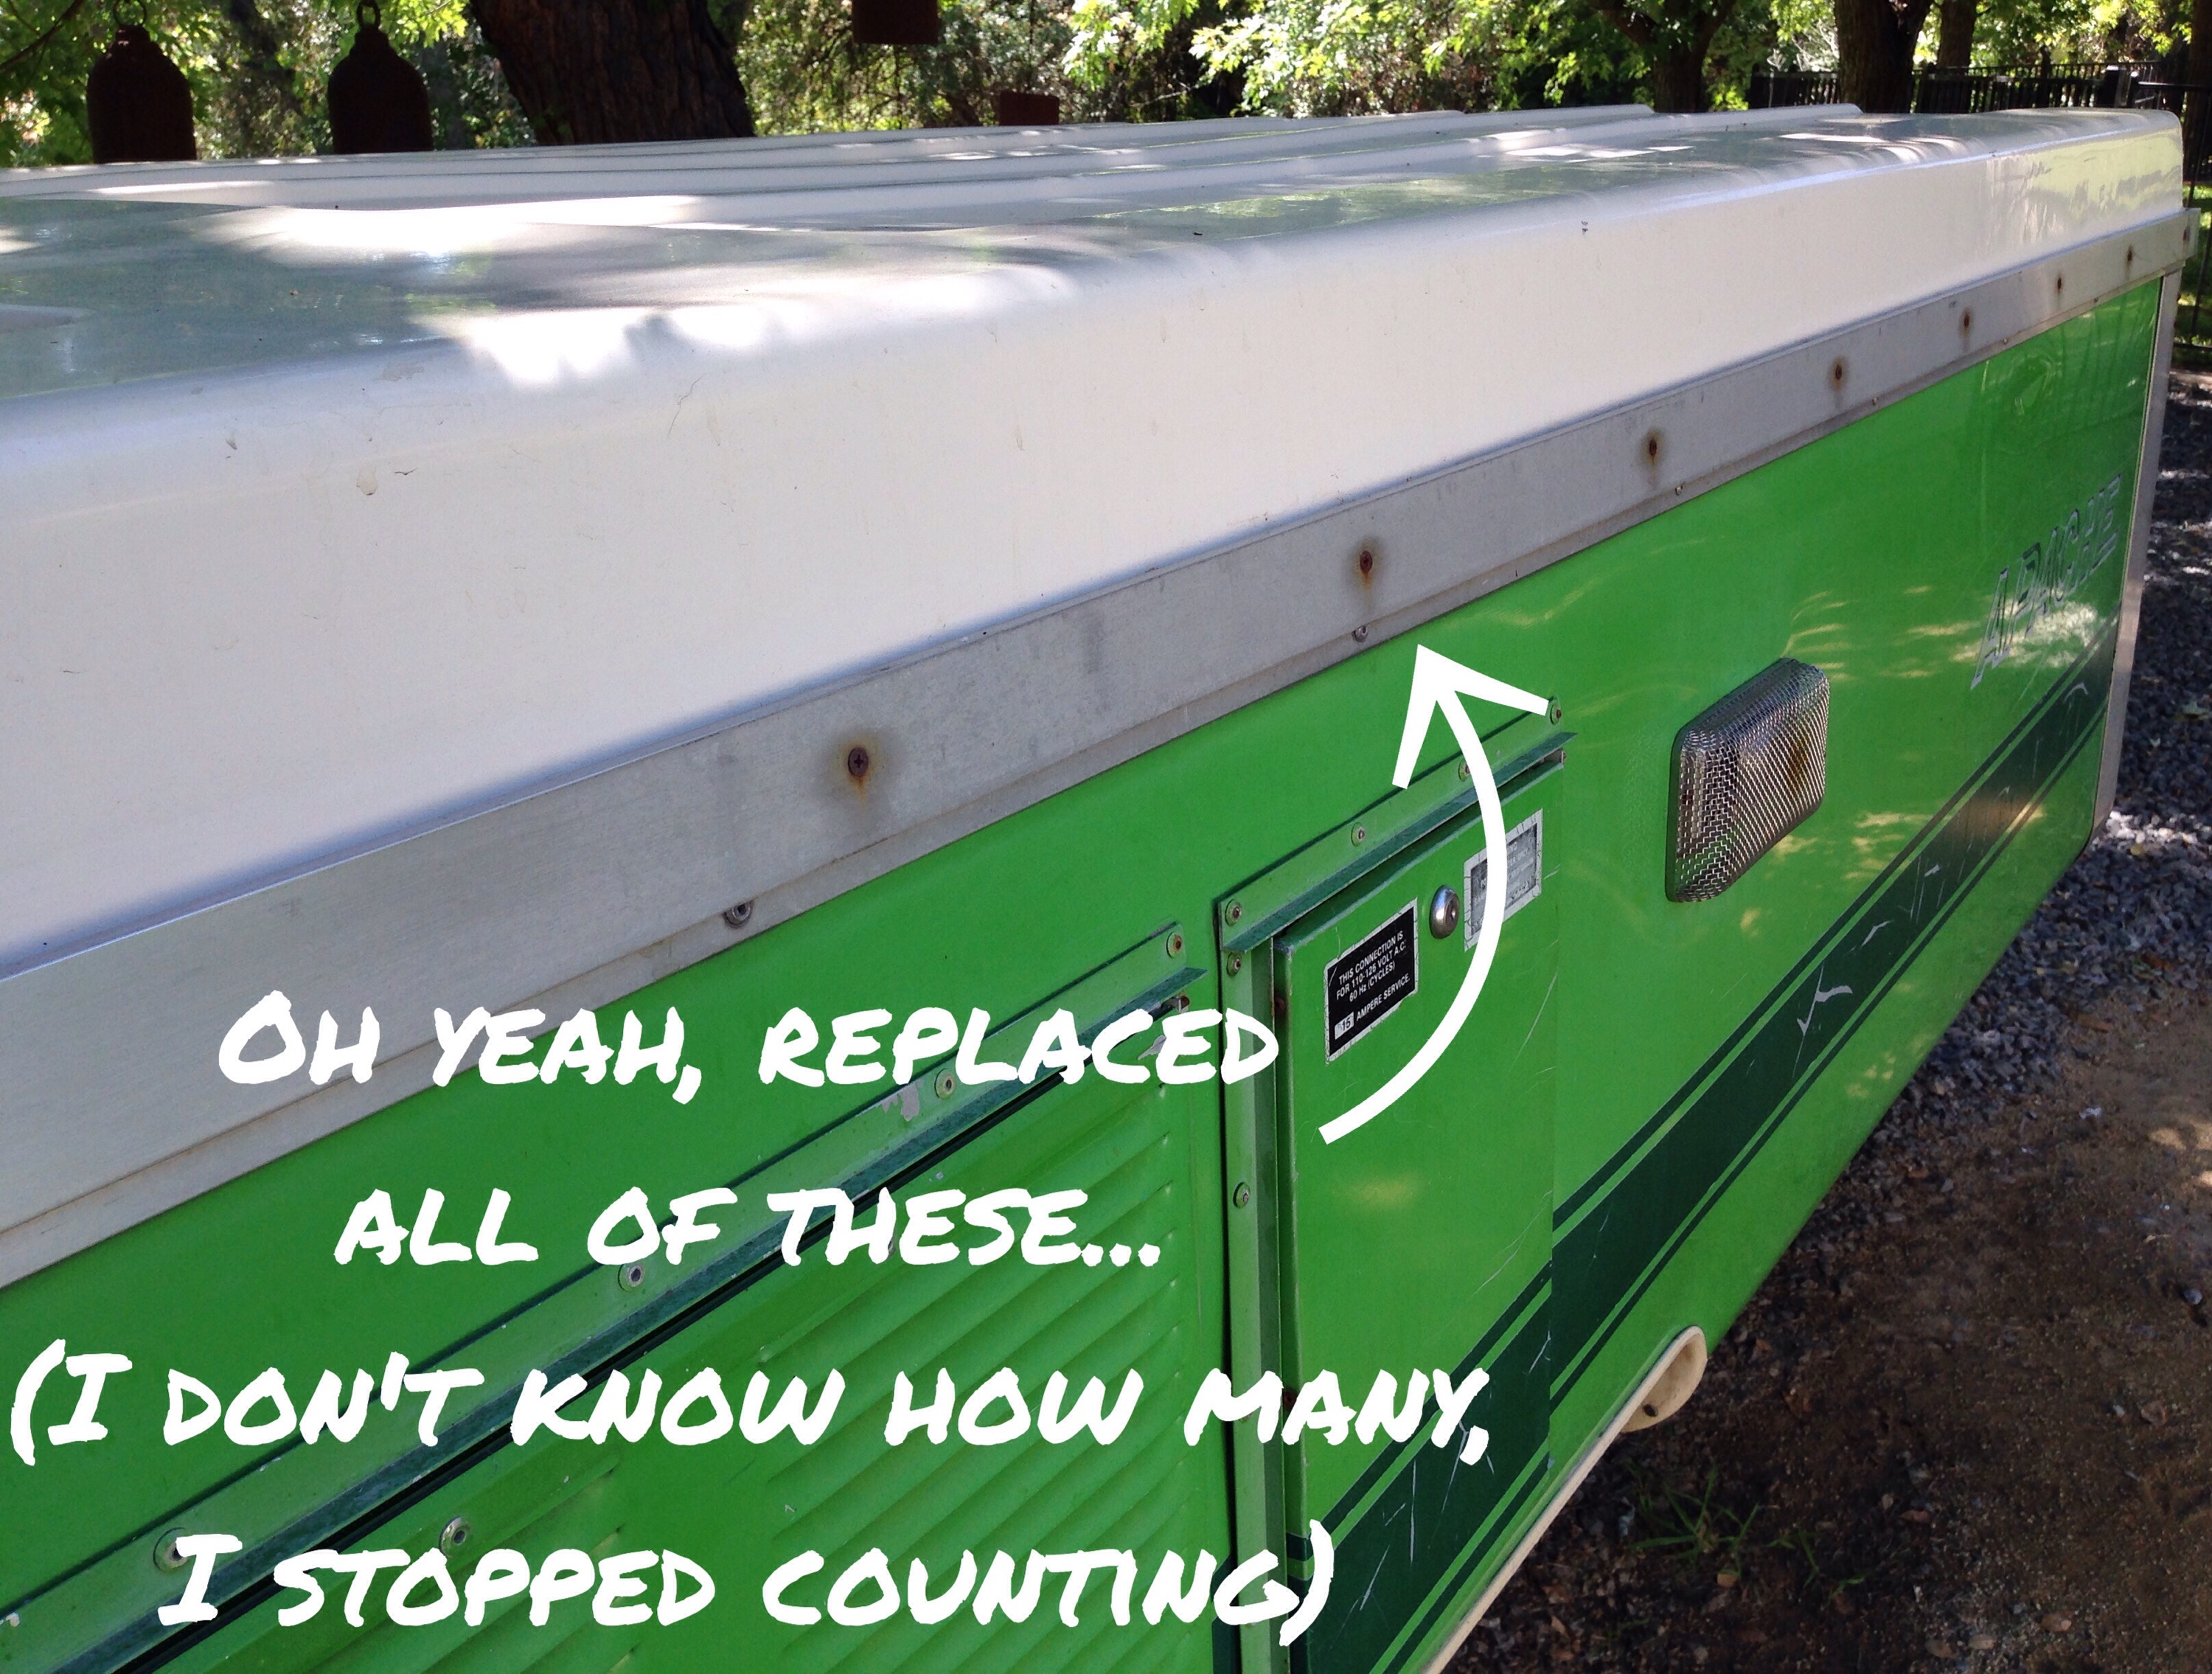 Yet replacing the screws wasn’t hard, it was sanding away all the leftover rust stains, with steel wool by hand that made my arms feel like jello today.

Here’s a perfect side by side to see the before and after:

Second project up was grinding and wire brushing away years of rust from the trailer bumper, hitch and step…

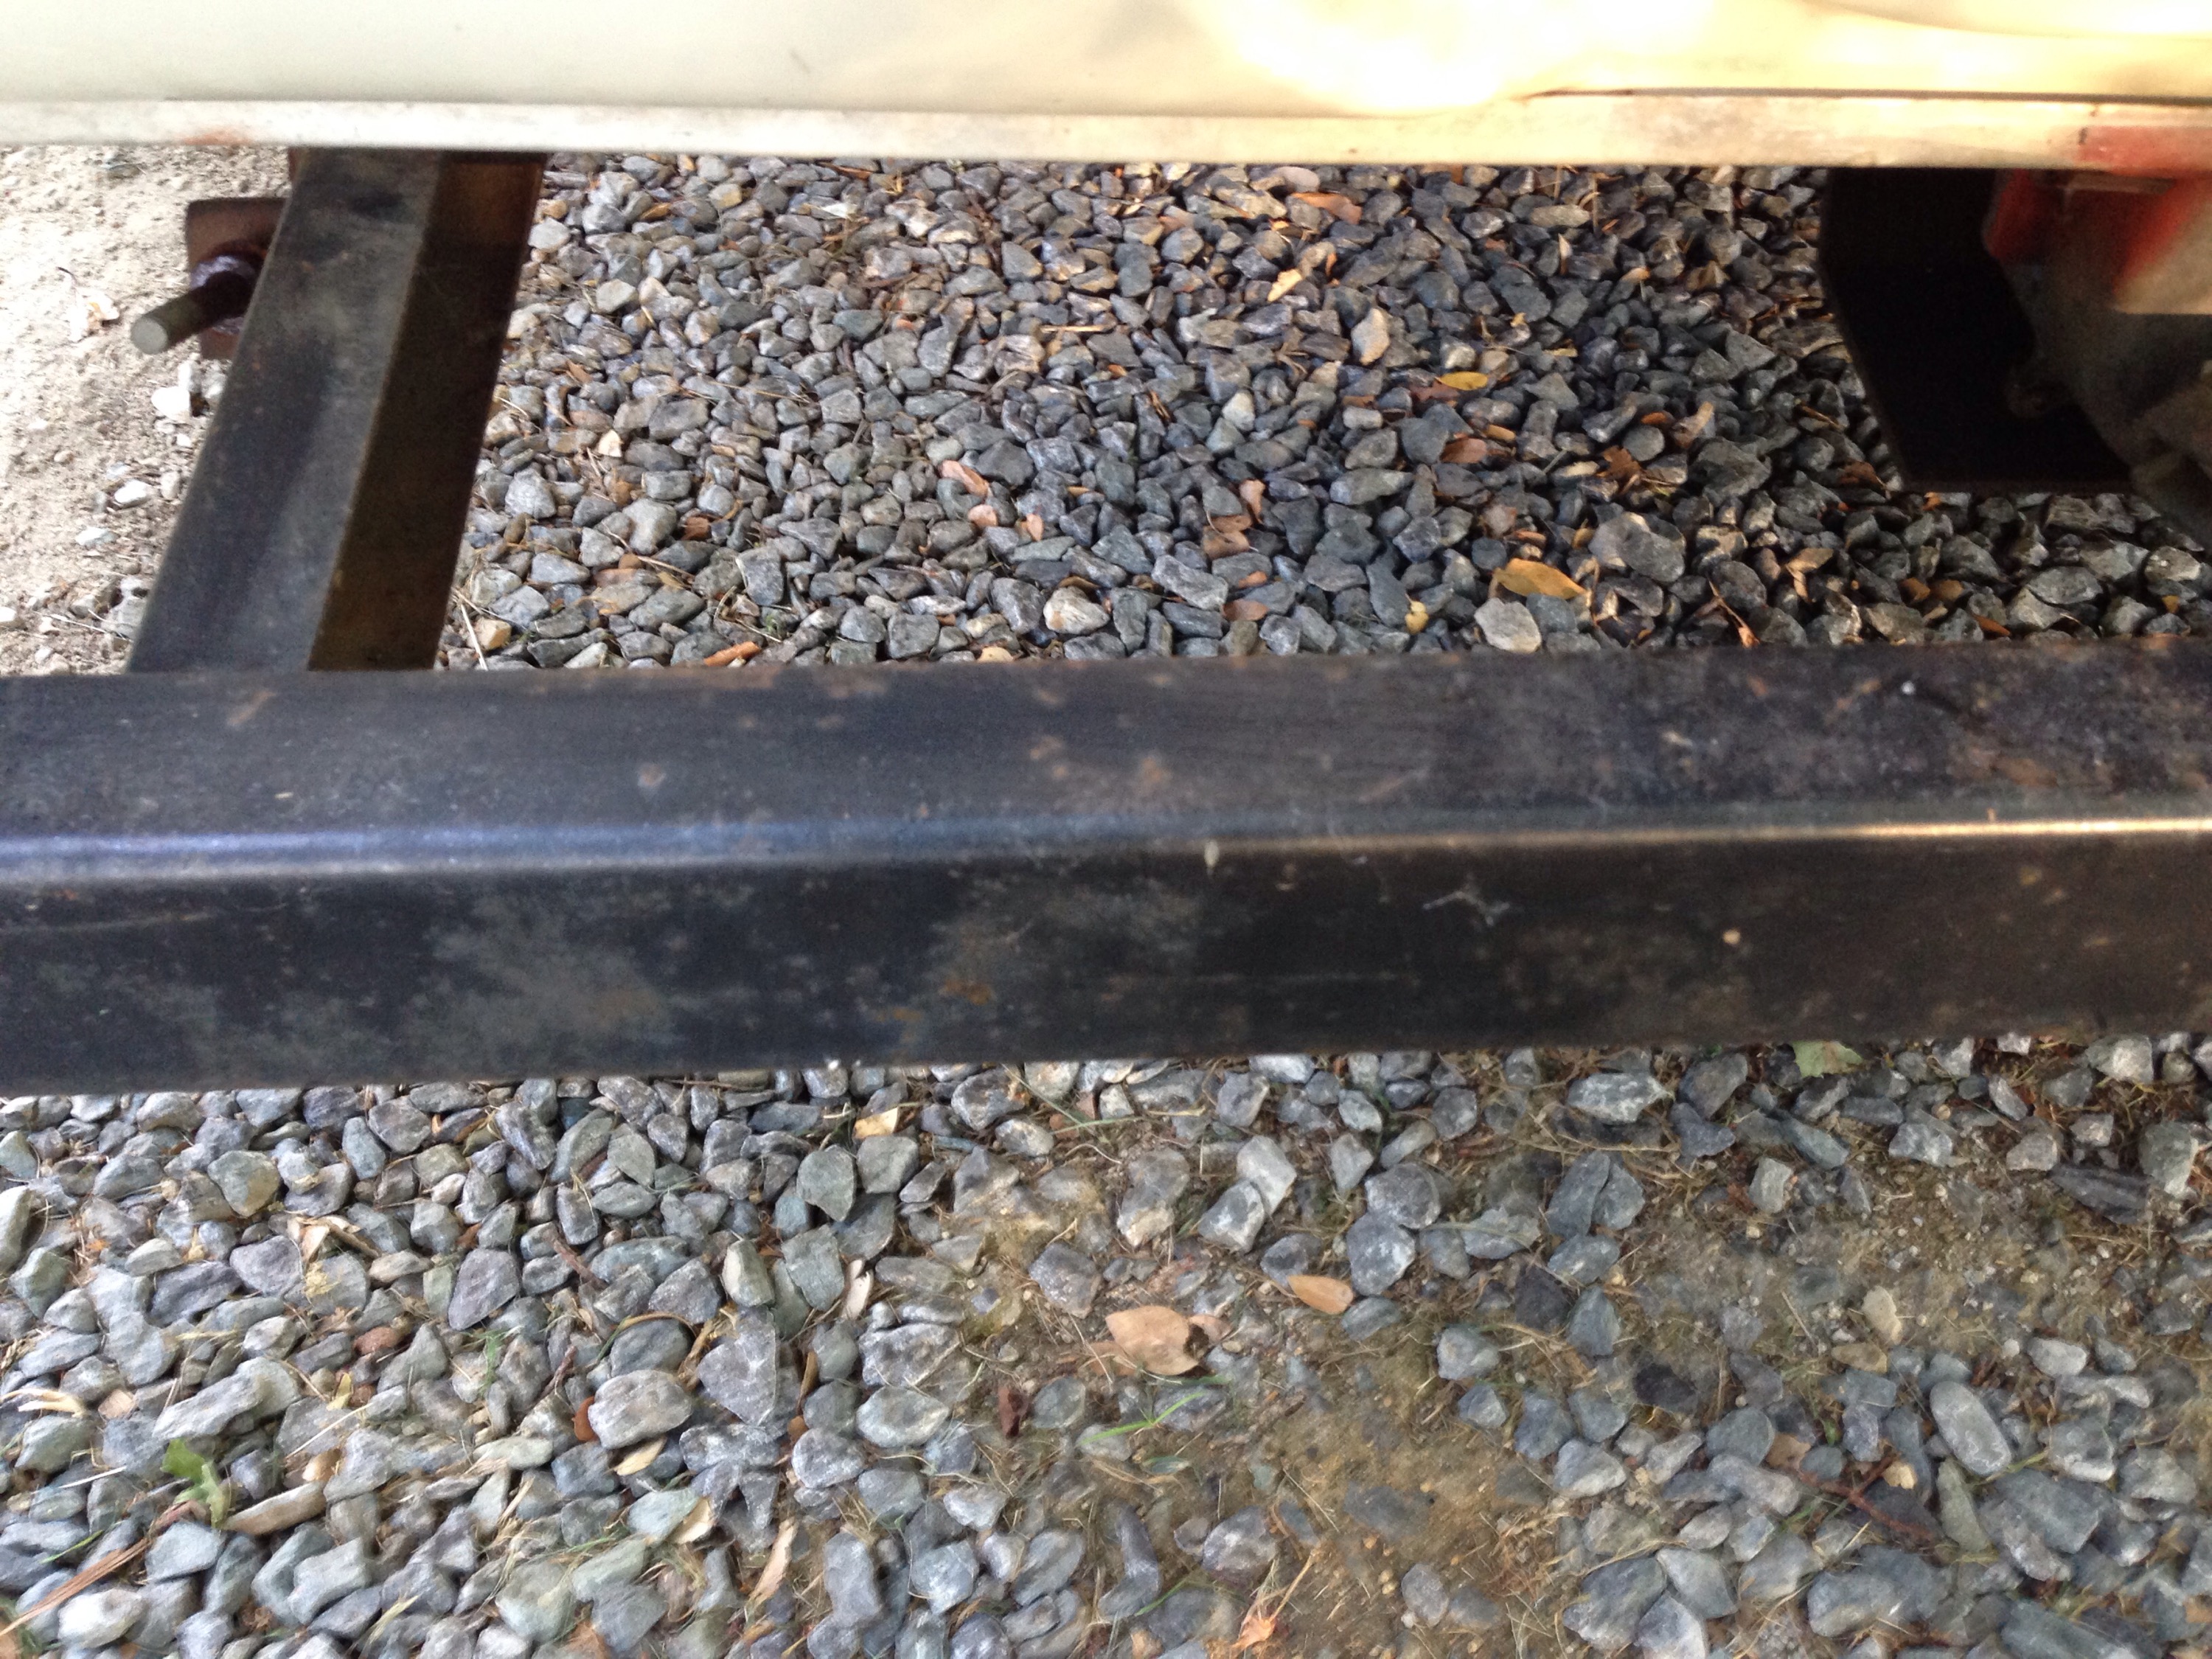

After a few hours, (and a metal shard embedded into my shin- I never complete a project unscathed) I sprayed painted the areas with Rustoleum Rust Reformer in matte black.
 I sprayed two coats and this stuff seemed to work like a champ, completely covering, and creating a pretty flawless finish. (I still don’t know if it is just a primer and an additional paint is needed? More to come after further research…) Here are some before and afters:

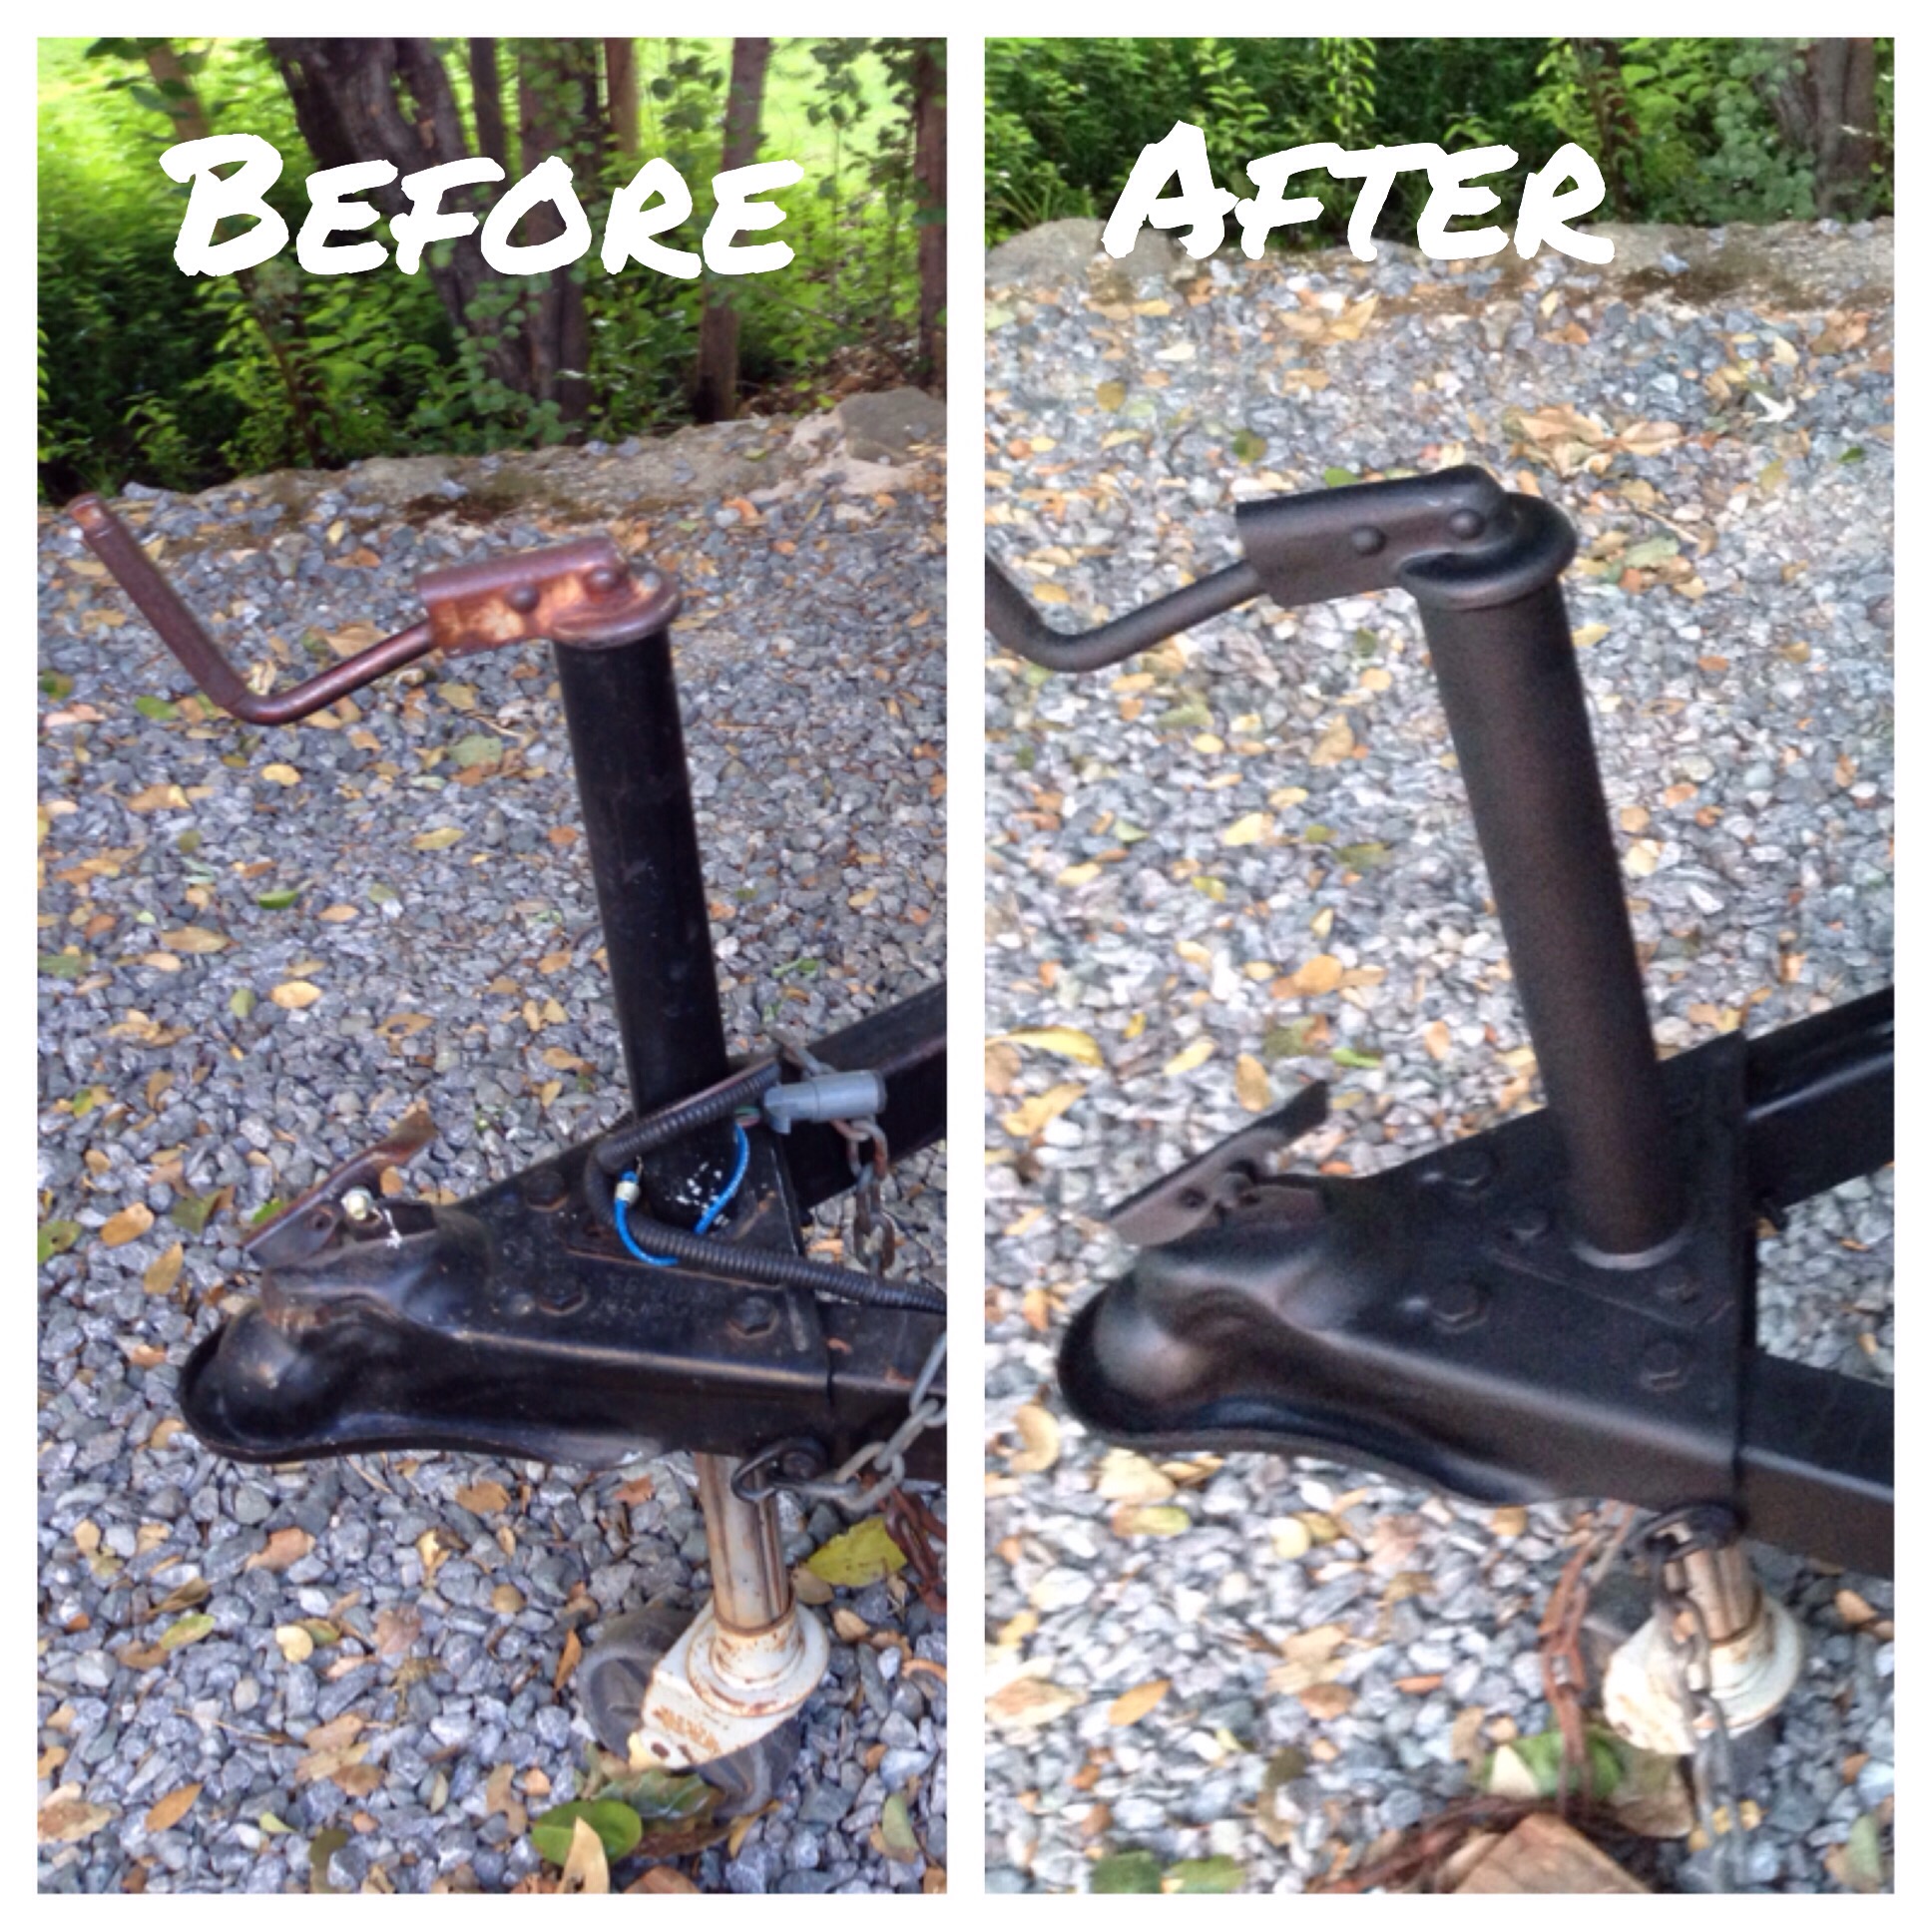

 Quick FYI- I hurriedly snapped “after” photos before the paint cured, however once dried the finished product is pretty flawless.
Finally, around 9pm at night I made a first attempt to remove the old Apache decals with a heat gun and failed miserably…
 I barely got 5cm of the decal removed, burned an inch of paint and called it quits. I belatedly realized I need to research this further and 1978 decals were made of stronger stuff than our whimpy modern day decals.
We may even have to call in the professionals for the bodywork. However, since professional paint jobs are not in the budget I don’t know what we’re going to do?! I wish there was an auto body fairy who would magically grant me a $200 bid😉…More to come as the Green Machine saga continues…Happy Sunday everyone!