It’s the Little Fixes that Count

I wish we had some amazing before and afters this week but really we haven’t done anything DIY. (That will have to wait till next Sunday😉) We’re keeping this week’s post short and sweet. We have a big new summer project in store, and right now knee deep in the midst of it. Yet we did manage to complete a small project that has been bugging me for two years… 


Good bye two tone ugliness…How do you like the closed-off cat door? (At least we scraped off the duct tape around it before I took this pic) And it wasn’t just one back door but two… 

   One of the reasons we ignored this little project was because replacing all the doors has been on the “someday” list. Well, I couldn’t wait around for “someday” and just pulled out the leftover exterior trim paint. So here are now the afters…

Guest house…


 Back mud room… 
No duct tape, no chipping, and dirty light blue paint.#PaintForTheWin!😀 Closed off cat door is still there but less ugly. I love the windows in these original doors and now they just pop against the light blue exterior. We promise next weekend we’ll have an exciting new project. Yet these little fixes count in the long run  and sometimes a lot of satisfaction. Always one small step in the right direction. Happy Sunday everyone! 

Super Easy (and Cheap) Curtain Rod Hack: West Elm with Wood

For 6 months I was secretly watching these beautiful West Elm curtain rods, crossing fingers they’d drop in price… 


Um yeah no…Sorry West a Elm we just can’t drop a dime on curtain rods right now. (As pretty as they are😞) 

Instead we had these Martha Stewart “door knob” curtain rods, as free hand me downs… 


I guess these might be pretty but they aren’t the clean and simple lines of midcentury. West Elm seems to have captured that with their curtain rods. Darn them and their addicting product lines! Oh the decorating torture! 

After putting up our oversized map in the guest room I soon realized the existing curtain rods were too traditional and “knobby”. Also the “wood” frame of the map gave inspiration and would help tie the wood and metal together in the room. 

First we had some random dowels left over from our guest house cabinet project which I cut in 4 equal sizes. (I went with a longer 3inch length since I only have a hand saw and did not want to cut off a finger.) Then sanded each piece smooth. 


I found theses handy dandy curtain rod connector screws, and drilling pilot holes, screwed them into each piece.


Once done, I unscrewed each of the existing rod ends and replaced them with the new wooden dowel ends. 


Ridiculously easy way to change your existing curtain rods style without spending a mint. Hope you all have a safe and fun holiday weekend! Happy Sunday everyone! 

Framing Huge Art for $30

It’s that time of year again…Weather is perfect…Campsites are being reserved…And the last thing we want to do is be stuck at home…California is calling us…  


 Which is why it was kismet to find an enormous map of California at the Sacramento antique fair. I’ve been wanting one for our guest room/office for the past year. There are so many places to camp, enjoy, and discover in our home state that I wanted to mark off the travel bucket list. This map will be a visual tracker of our progress and very cool art piece. 

Plus maps seem to look fabulous against (already painted) baby blue walls… 

 (An example from the amazingly talented Emily Henderson’s guest room) Well, I’ve got blue walls too why doesn’t it look the same? Ours just looks sad?!

 I quickly realized the map needed a smooth backing and frame to finish it off. Yet to custom frame a map like this would cost me hundreds of dollars…So in the budget conscious style of LHBD we faked it. 

Here’s how we did it… (This is also super temporary should you be renting or just like to change your art around constantly)

  We bought some very thin cabinet backer board cut by Home Depot to the dimensions of the map. Then duct taped the two pieces together.   Command strips were our friend, lots and lots of them, all over the back of the boards. 

 Then stuck the boards to the wall. 

We hung the map using poster (light weight) command strips flattening it against the boards. 

 We then found pvc/faux wood baseboard at Home Depot.  

  Much cheaper than wood, lightweight, and very easy to cut the angles for the frame.    Next we used the scotch indoor mounting tape for the back of the frame pieces.  (Now if you’re renting we can’t guarantee this tape won’t take a bit of paint away. However a couple finishing nails at the corners and command strips may have the same results) 

Voila! Giant framed art for $30! 

 We can’t wait to start marking off the locations we’ve been, dog friendly places we’ve stayed and campsites to swoon over. Hopefully you have fun vacations planned for the summer and memories to make! Happy Sunday everyone!

What a BIG, DIY Sunburst Mirror for $15?! 

I’ve been hiding a diy project for months…(Well, not really) Rather it has been like a ninja, hiding out in the background, waiting for its chance on the blog. Some may have noticed it here:  


Then here: 


And like a ninja, it’s cloaked in mystery. .. Everyone  assumes we either bought it at some high end furniture store or its an authentic antique from the 1960s…   

  (When in reality, I had only $15 to spend and needed another diy decoration for our Mad Men party.)

This big, sunburst mirror had very humble beginnings, and started out like this: 


A huge $10 thrift store mirror (bought at half price), kabob sticks, some rustoleum gold metallic spray paint and my glue gun. 

One rainy, cold day, when the pups and us were trapped indoors, I thought I’d attempt this mind numbing project. I’d seen the diy sunburst mirror made from paint sticks and wood shims but really hesitant to try with kabob sticks. Maybe because this might have something to do with it… 


And this…(an hour later)…


The actual project is really simple and easy, but I recommend watching a marathon of your favorite TV show when attempting to hot glue hundreds of kabob sticks. 

As you can see I had traced out a star pattern on the back as a guide. Once all the glue had dried, Eric helped me spray paint it. We taped the actual mirror surface with painters tape to avoid spraying it gold. (Warning: large mirrors like this with pointed wooden sticks are incredibly awkward and somewhat heavy to try moving and hang by yourself– also one of the reasons we didn’t get a chance to take pictures) 

Now we have our big, diy, faux designer Sunburst mirror to go along with our big, diy, faux midcentury buffet😉


Honestly the mirror was intended as 1960s party decor but I think we’ll keep it up for awhile. (It’s grown on me) Plus it looks just elegant enough to be mistaken for a Z gallery or pier 1 design. (Not kabob sticks held together with hot glue) Happy Sunday everyone! 

Party Favors for Bachlorette/Bachelor, Weddings and Adult Birthday Parties—DIY “Hangover Kits” with Free Printable

Dont deny it, as kids one of the best things about parties was the party favor we got to take home at the end.

When we first decided on a Mad Men themed charity dinner, we knew we needed to pass out “thank you” favors for all the guests who donated. We had a prize raffle drawing, but needed a little “fun”  adult favor to show our appreciation.

Surfing pinterest for an upcoming Bachlorette party I discovered “hangover kits” were a  neat way to round out a long weekend. A scaled down, mini version would be perfect for our Mad Men party.  

As promised here is the little How-to for these adult party favors. As well as the free (and customizable) printables so you can recreate them for your event.

Firstly all the items were bought on Amazon and/or at our local grocery store.

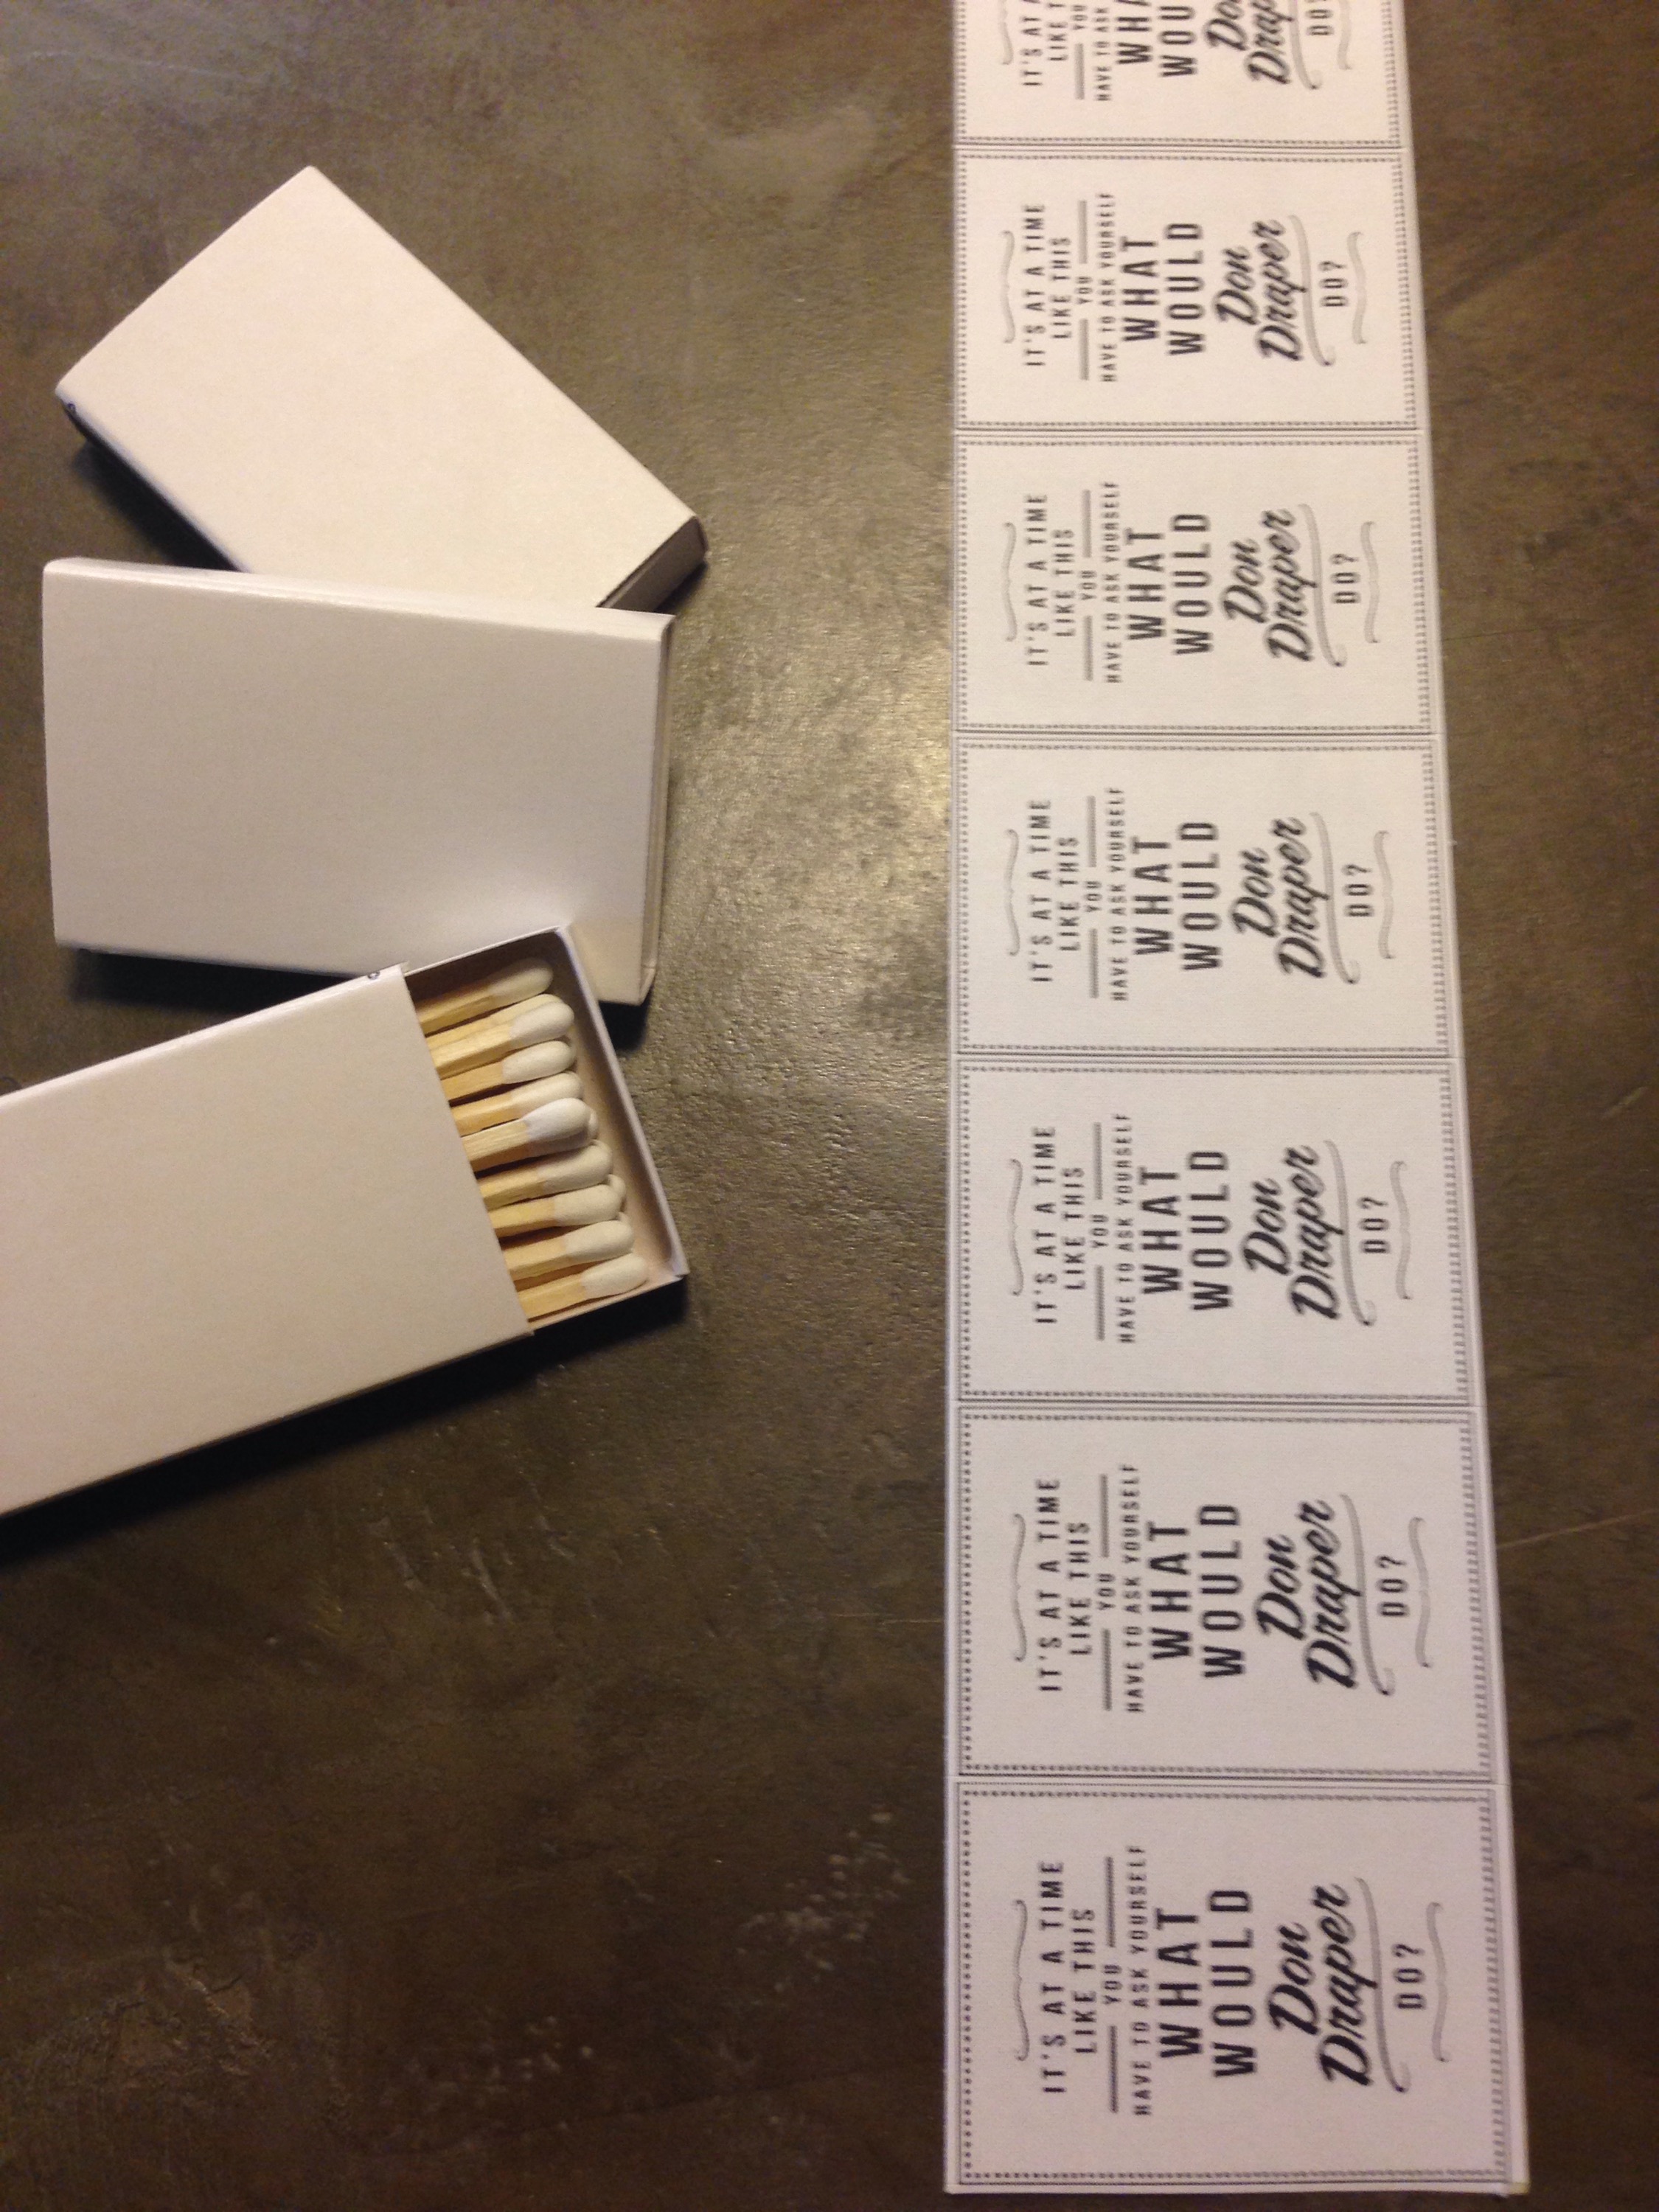
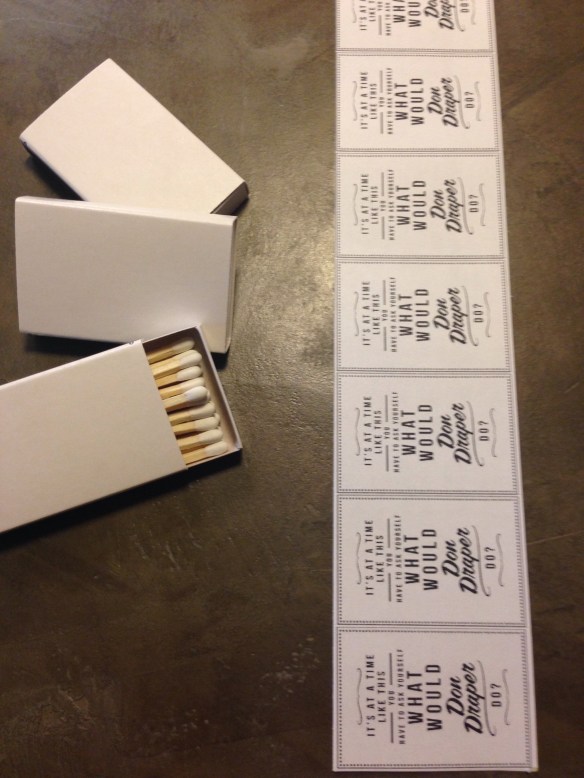
The kit includes Advil, a packet of instant coffee, some life saver breath mints, and a box of matches with the label “At times like this what would Don Draper do?”

People asked me why matches? Well for one, they were just so fun to customize, and perfect for our Mad Men themed party. The second, (I will try to explain this as delicately as possible), did your old school grandpa ever tell you there is a box of matches in the bathroom?😉( a hold over from the depression and WWII, but still an effective technique) Just say’in, and just in case…

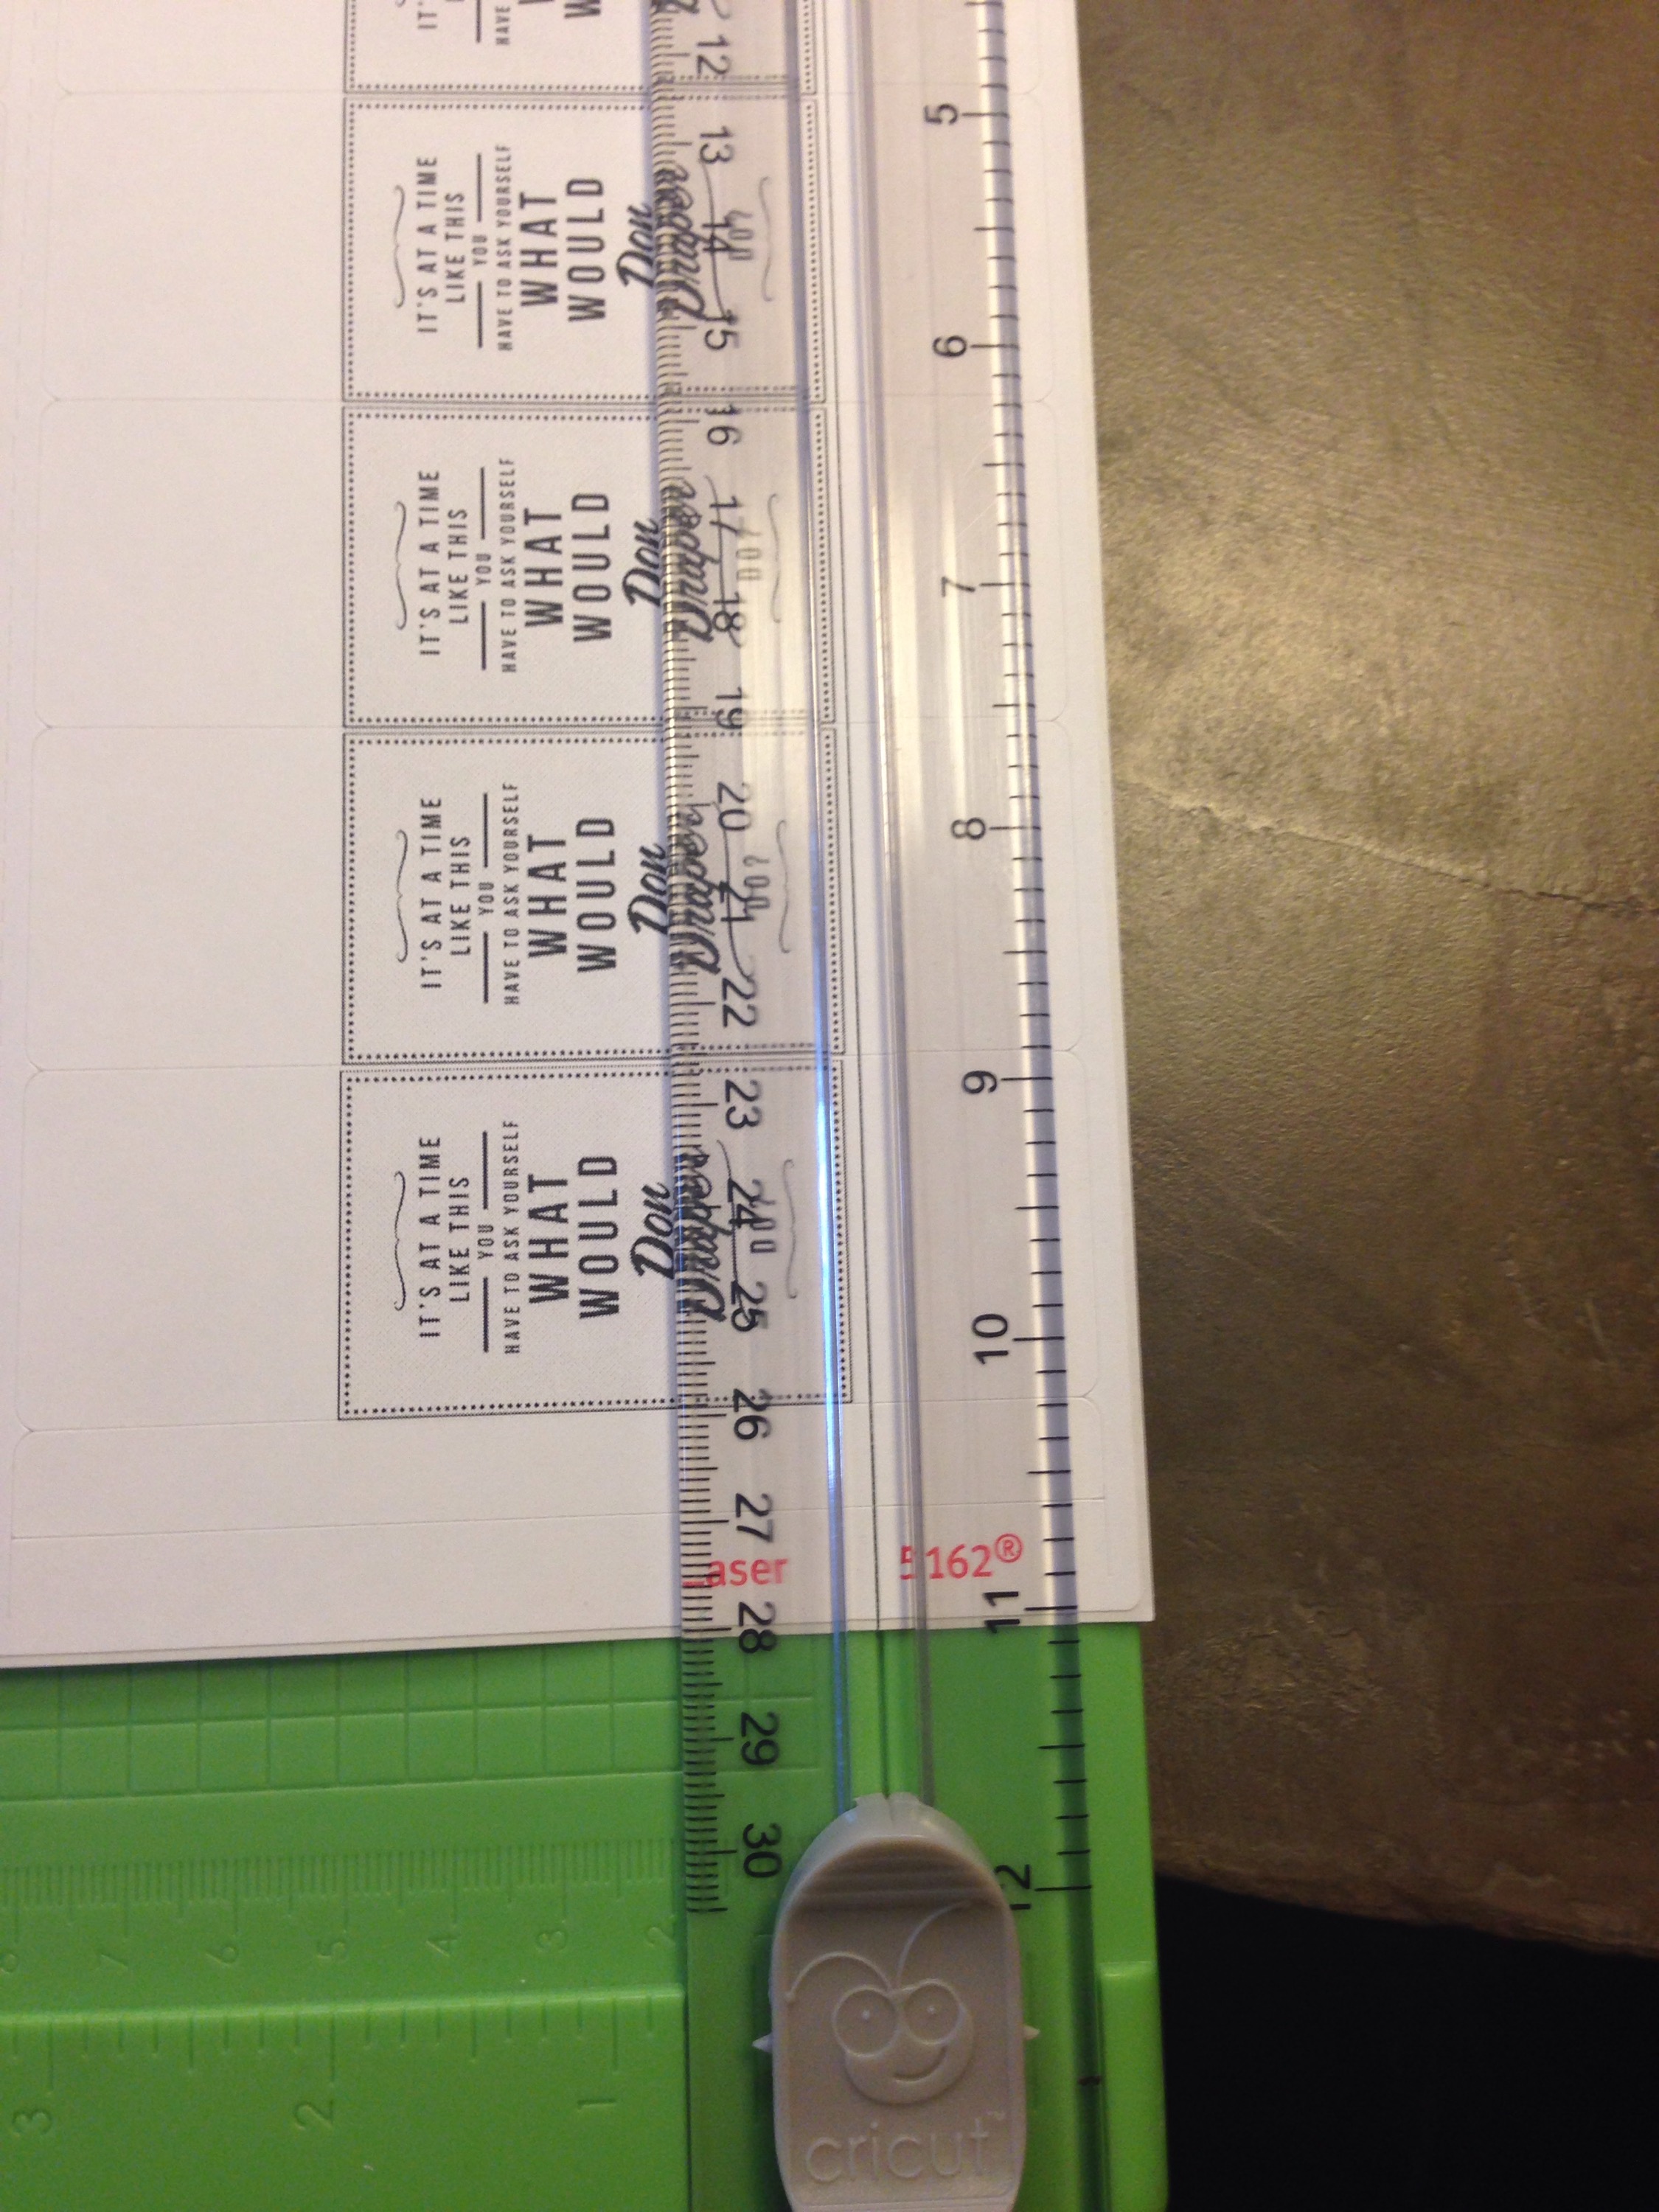
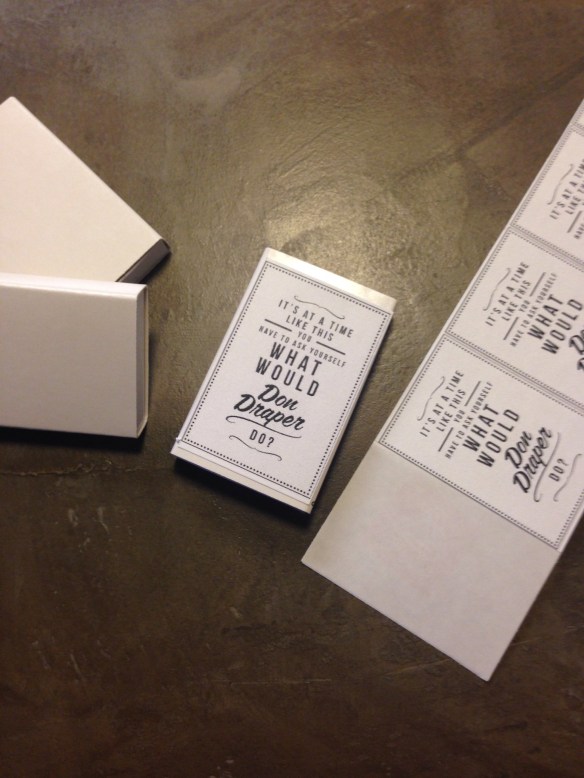
Either way customizing match boxes is one of the easiest projects for your themed party. Just print, cut and stick. Theses labels print perfectly on the Avery address labels 5162

Here is the free matchbox printable: MAD MEN Labels Don Draper

You will need to cut them to the size of your match boxes. However I just used my cricut straight cut, peeled them from the backing and stuck them on the match boxes.


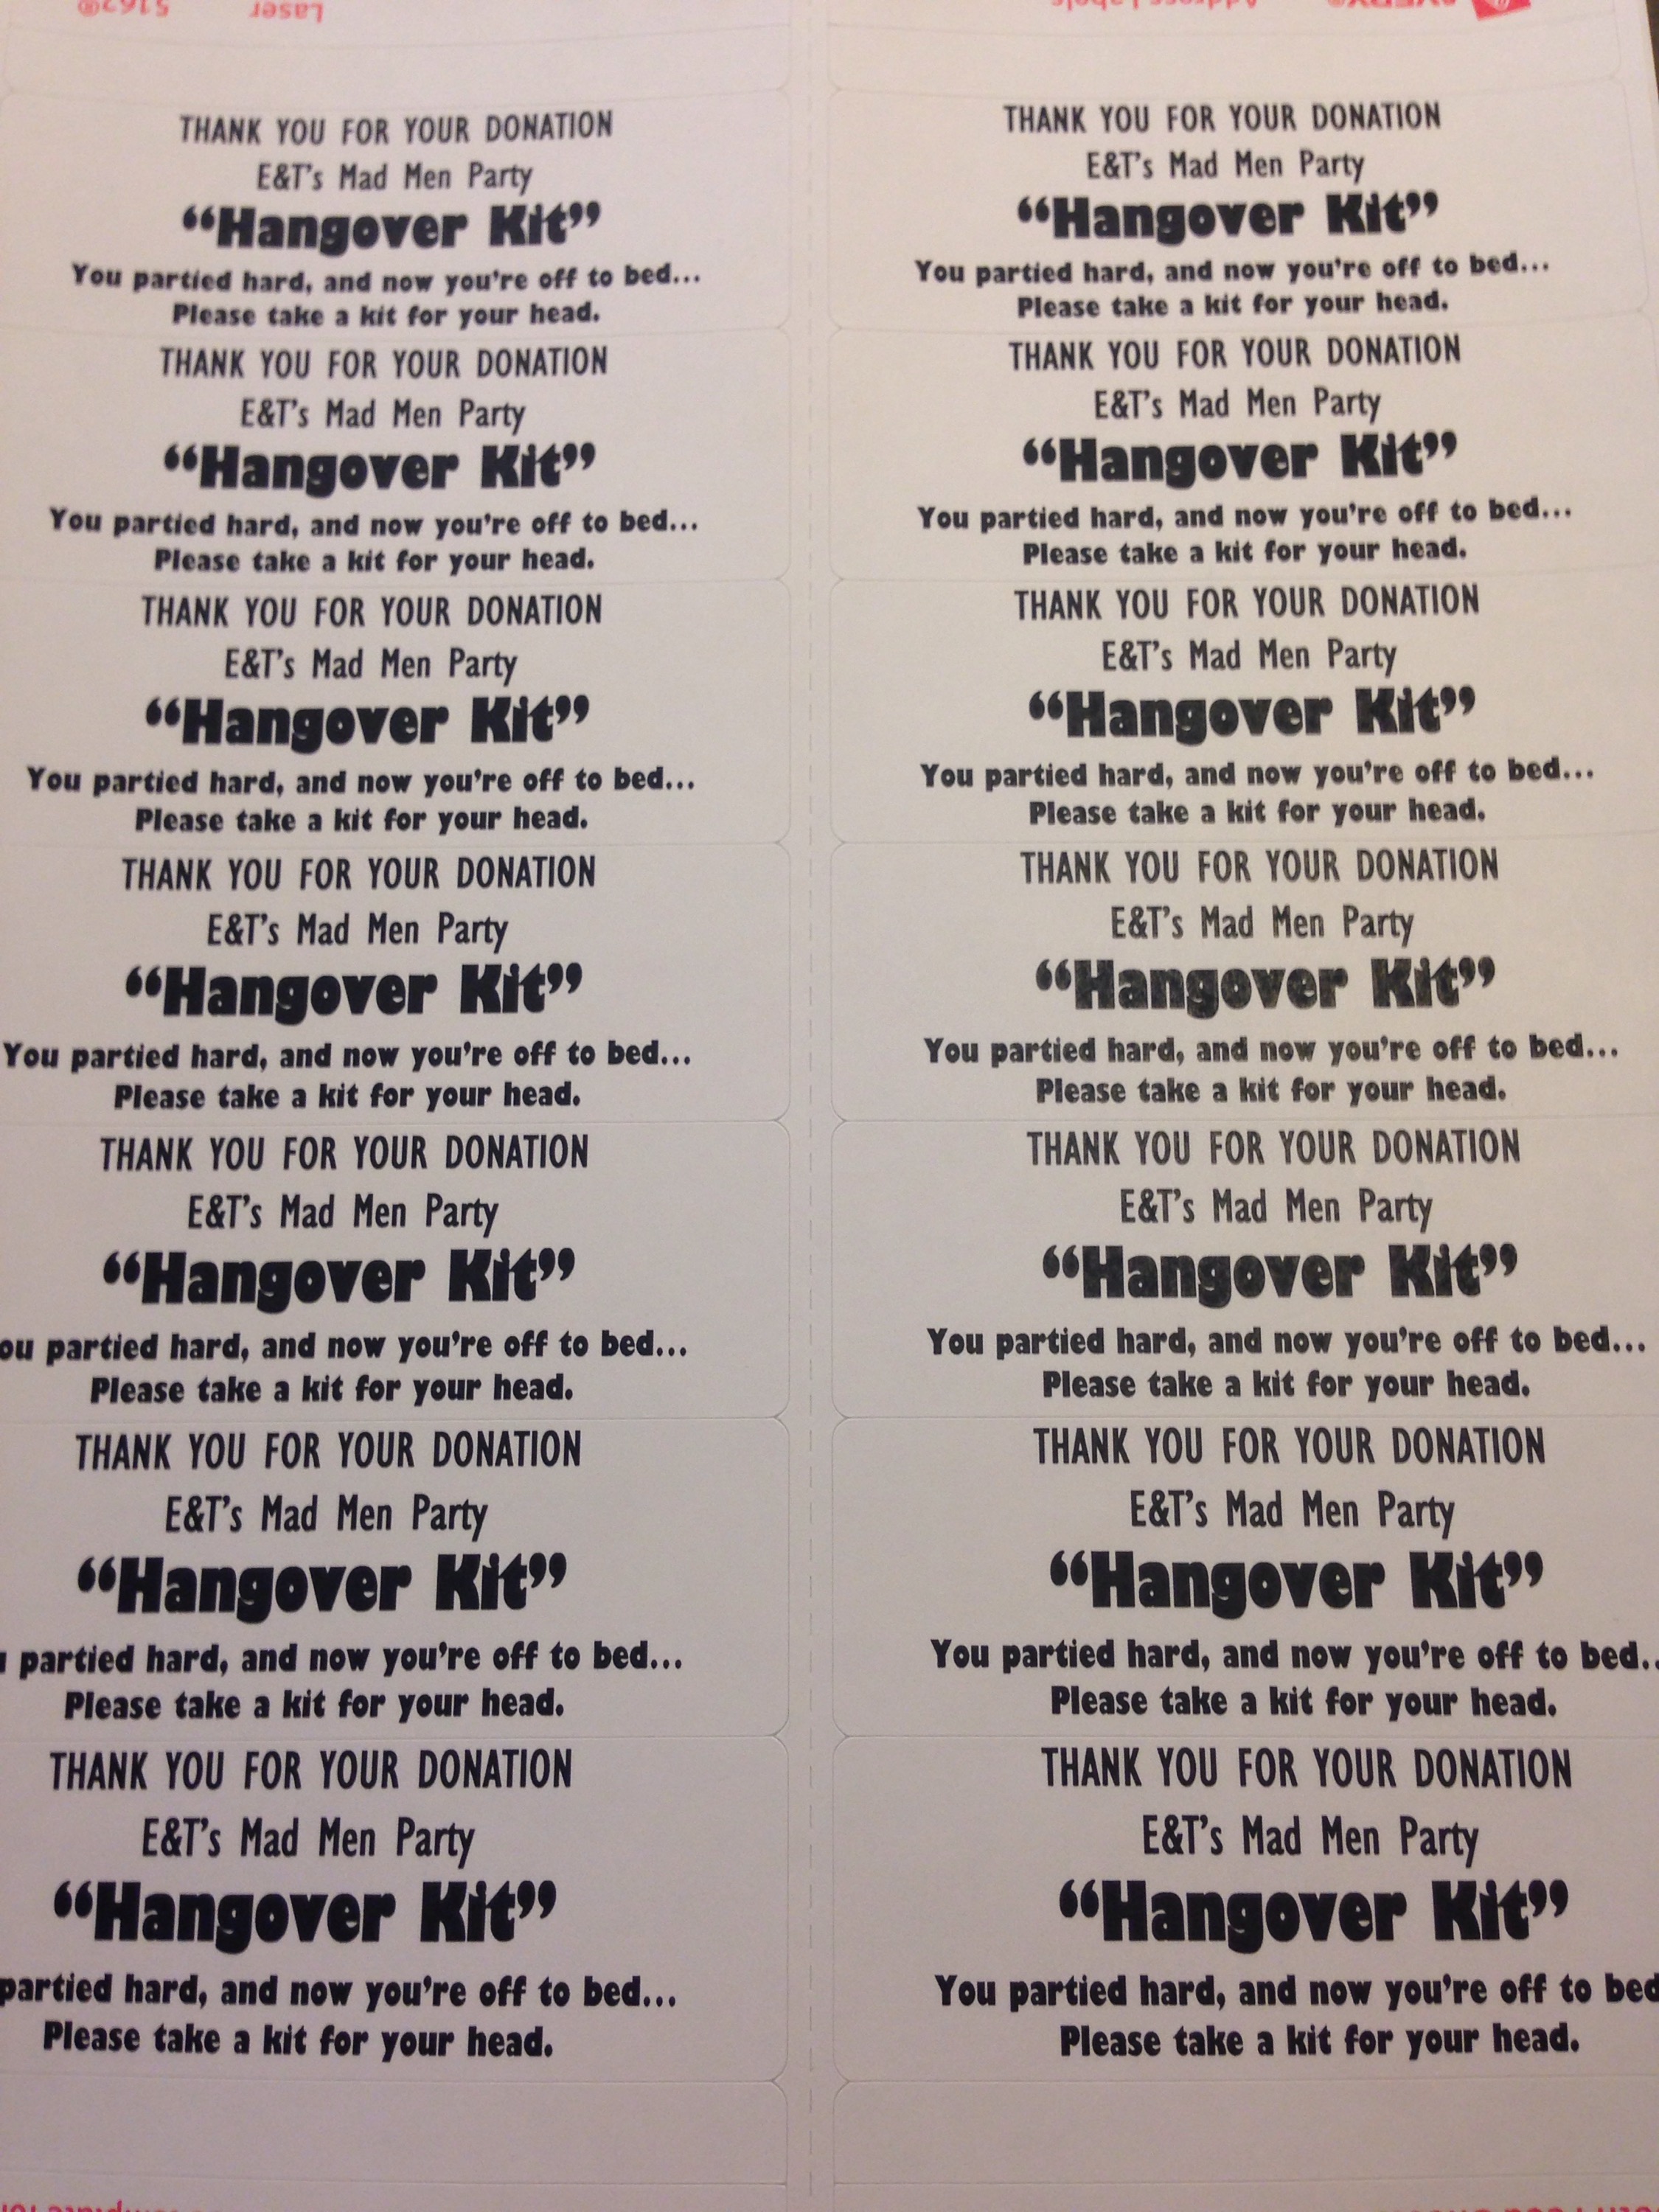
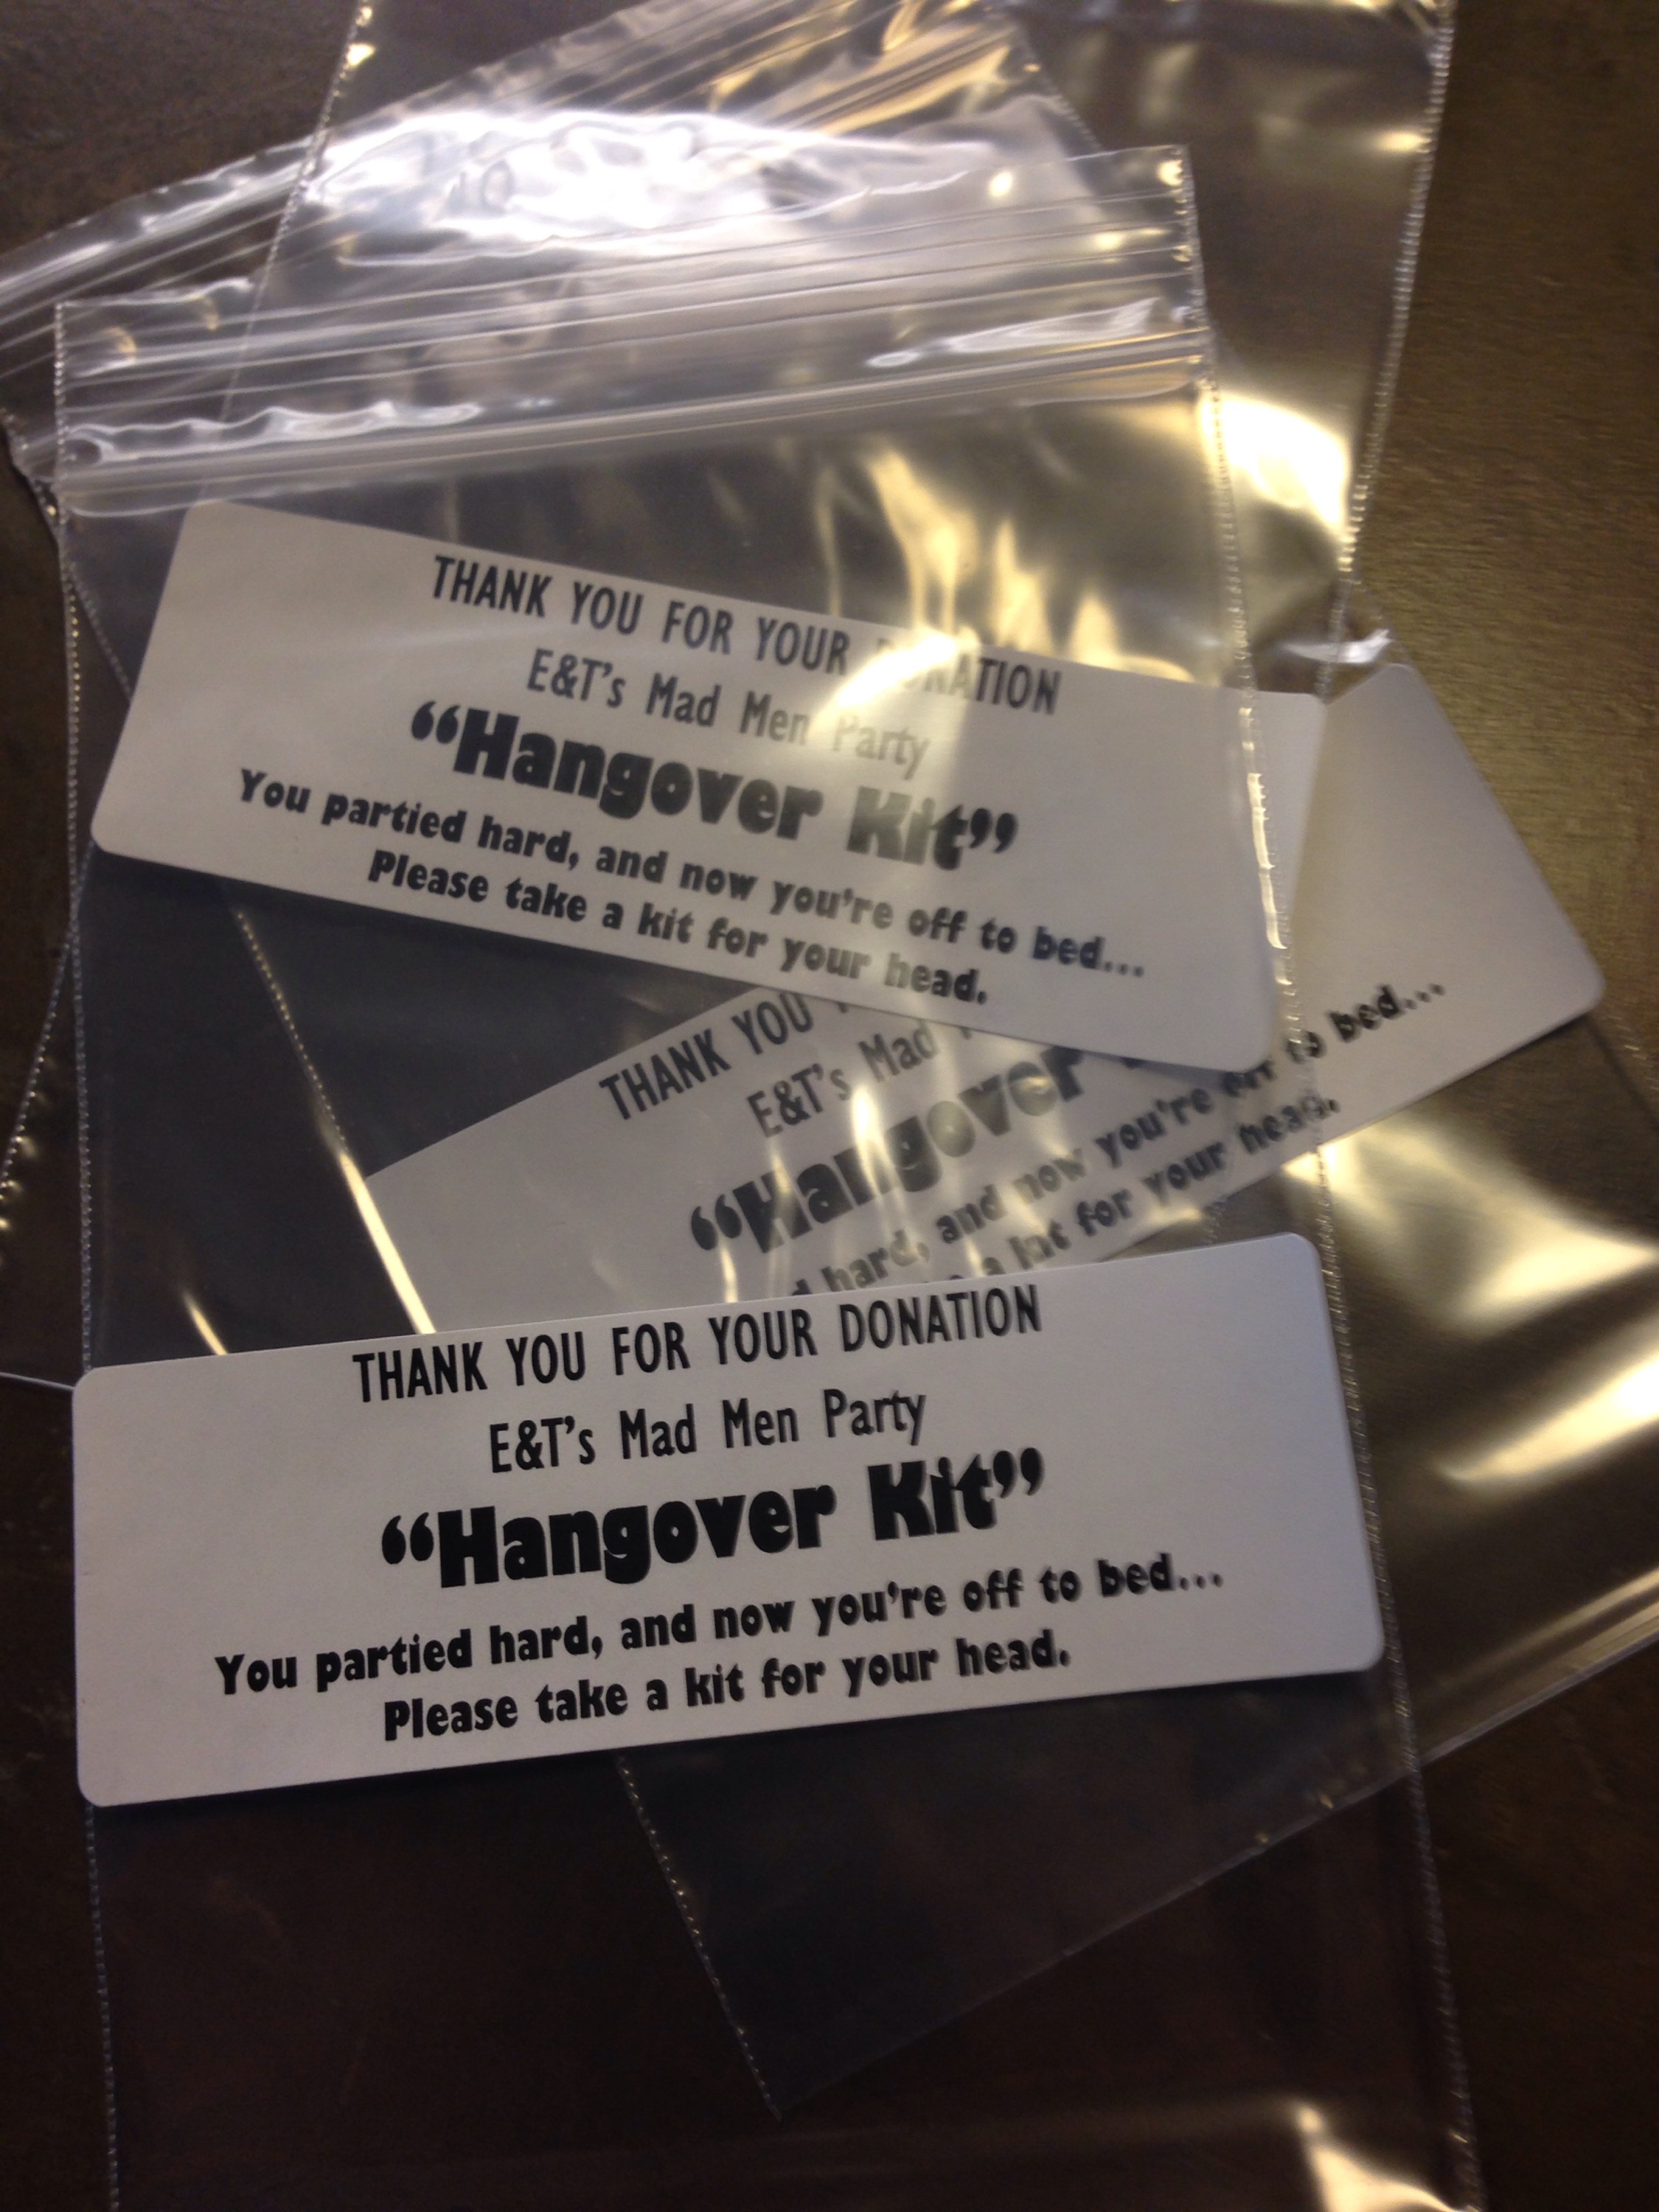
The second printable for the favor bag, you will be able to customize your name and event, but these are also printed on Avery 5162 labels.  No cutting necessary but you may need to ensure your favor bags are large enough for these labels. (I had extra bags leftover from my wedding or I’d provide more details, but they can be purchased at most craft stores)

Here is the Hangover Kit Printable (minus our initials and events info)


Then we just packed them all full of “goodies” and were passed out at the party. You can also customize the favor goodies, such as attaching them to mini water bottles, adding starbucks gift cards, including cold packs and/or cheap sunglasses etc. (Anything that might help a hungover friend the next day😉)

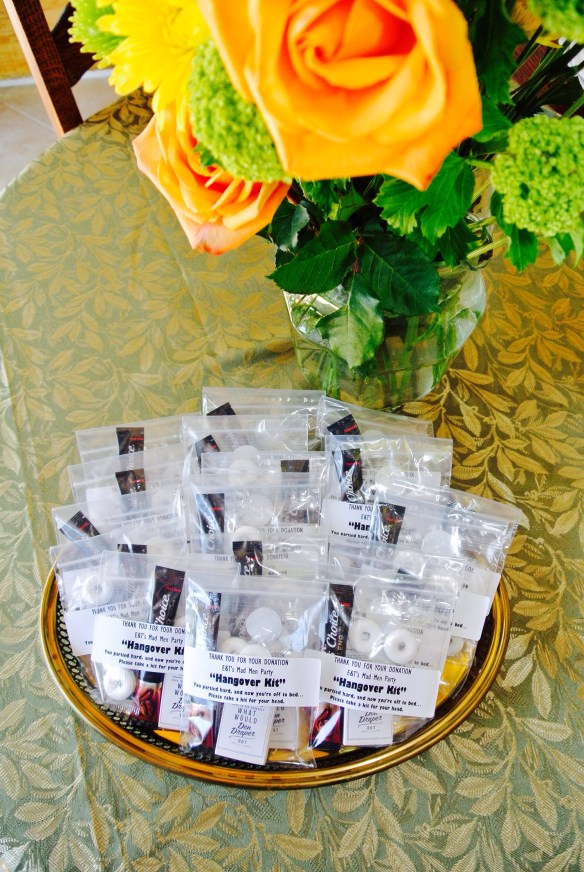
 However for our little shindig these were perfect. Easy, simple, and budget friendly, we were glad to provide our friends with a little laugh and a big thank you. Hope your next adult event is amazing! Happy Sunday everyone!
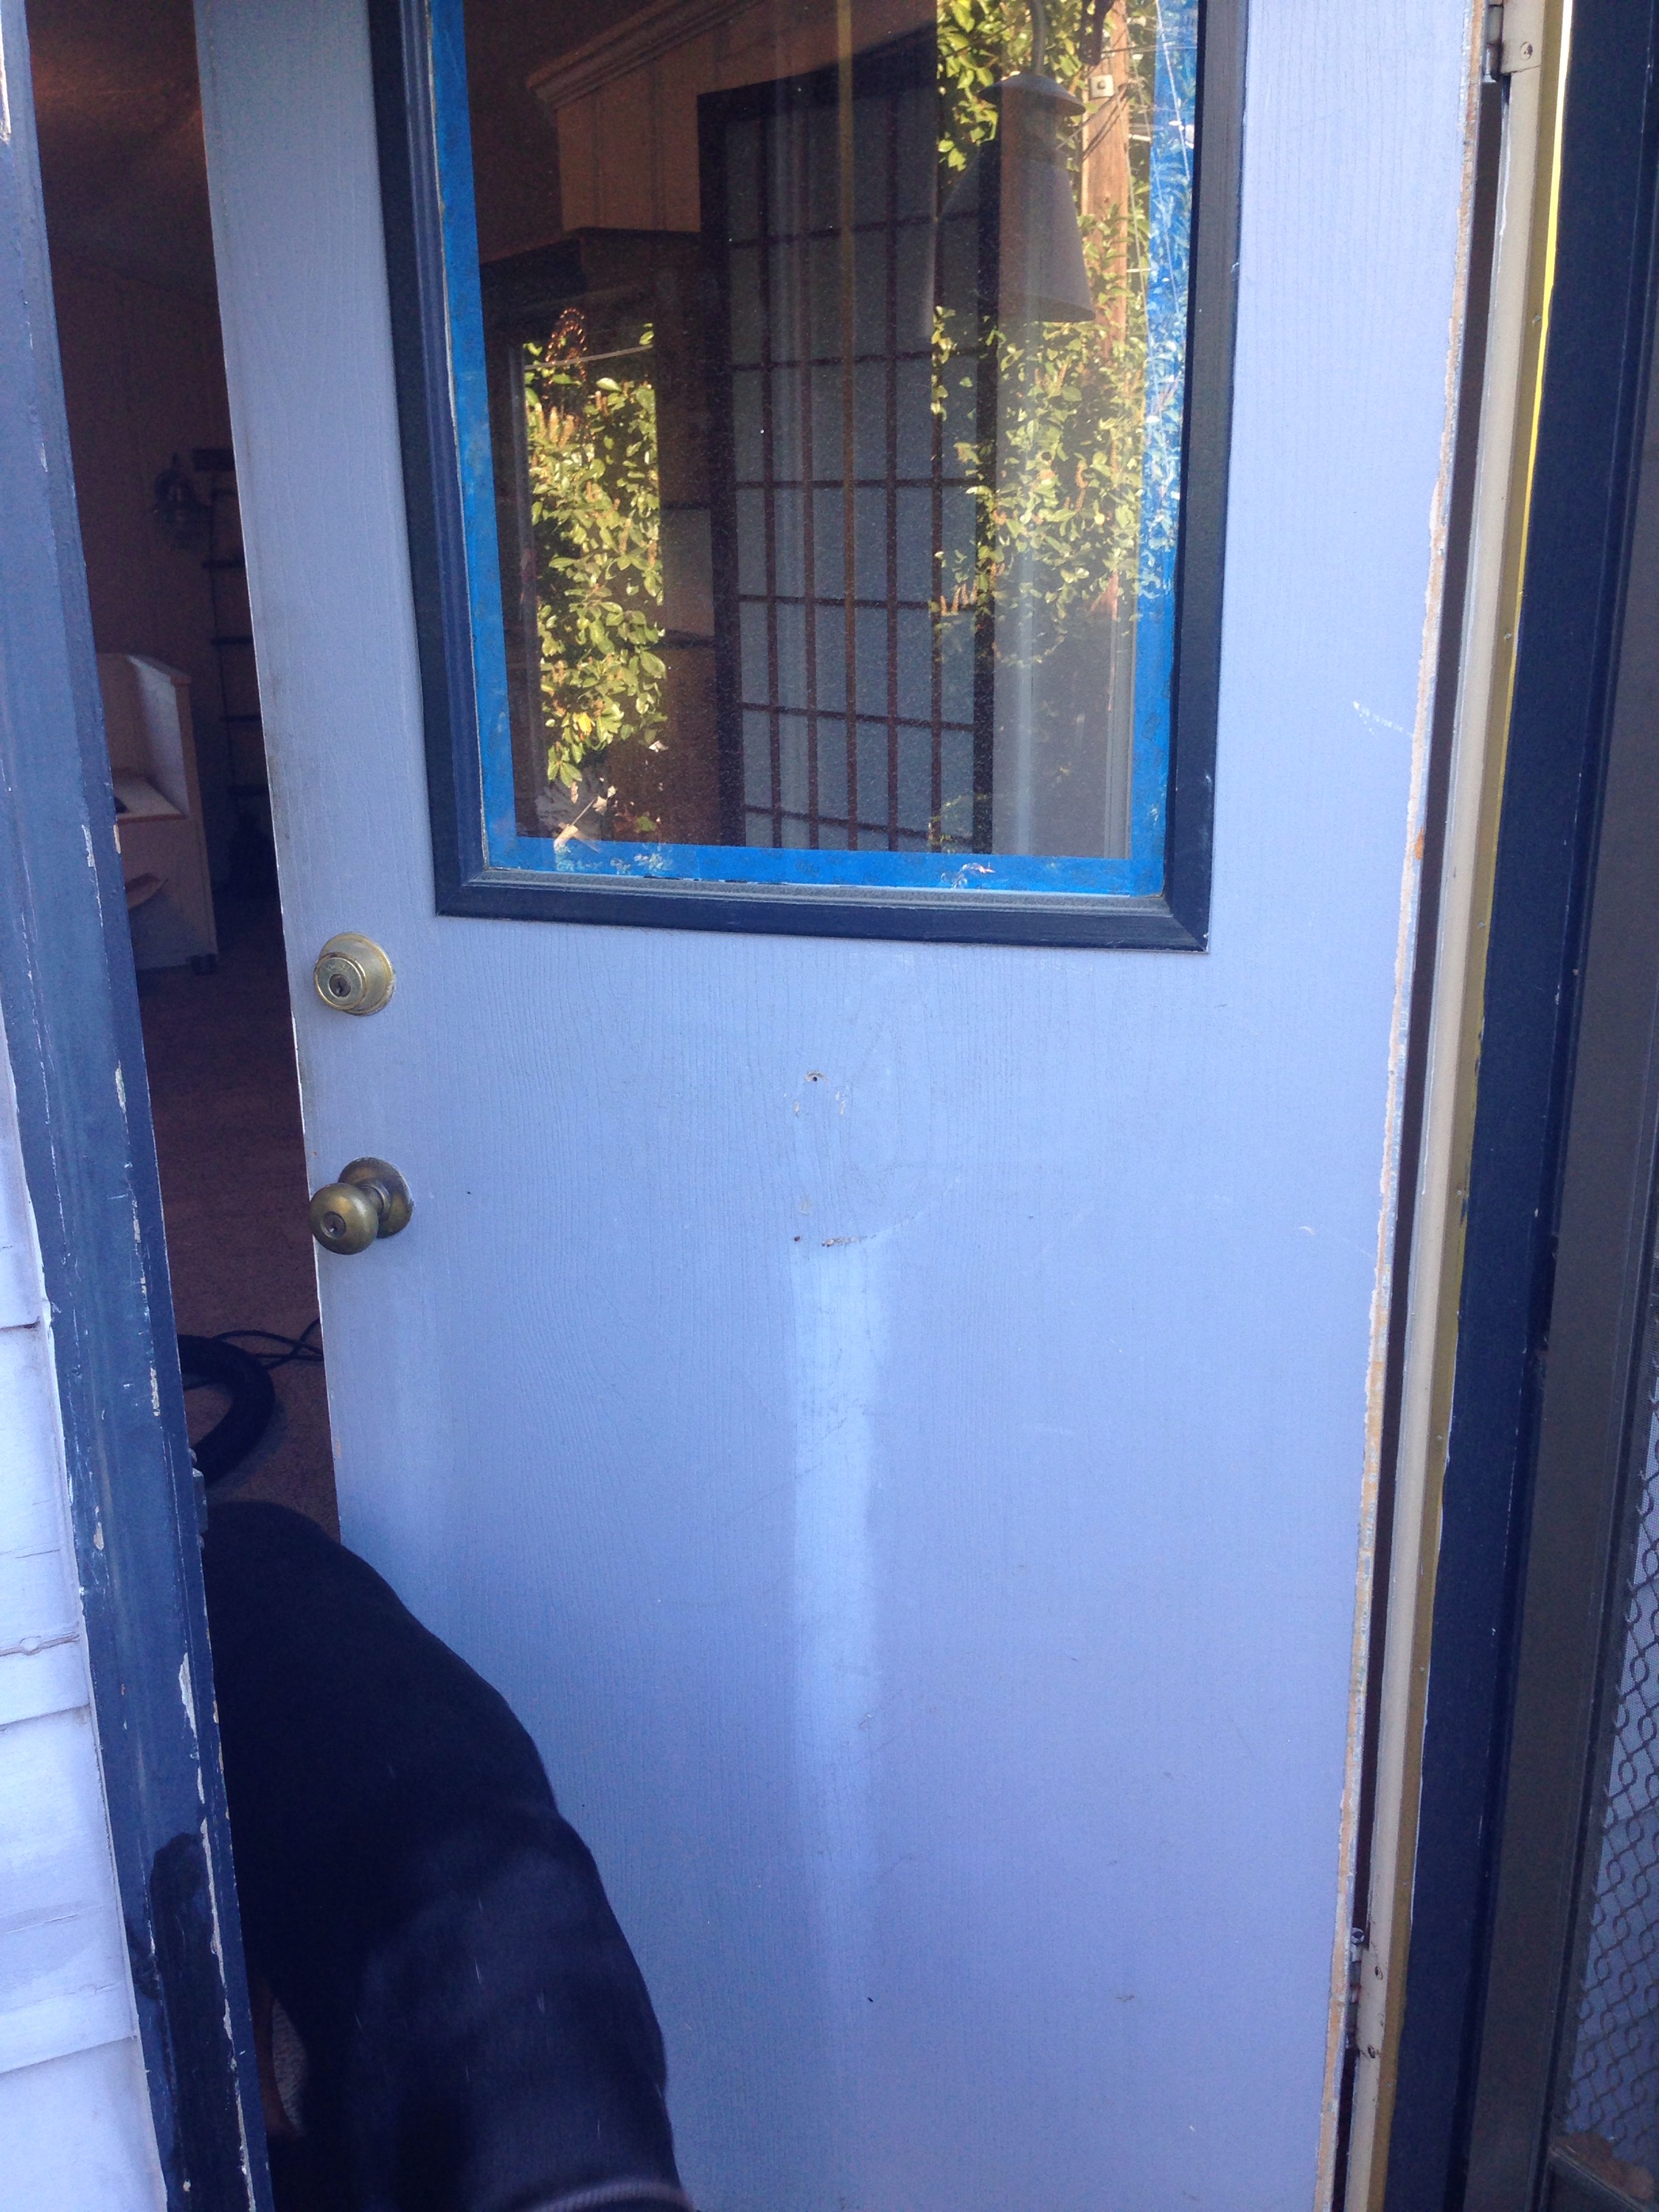