Are We Done Yet?! (Guest House Concrete Countertops Semi-Reveal) 

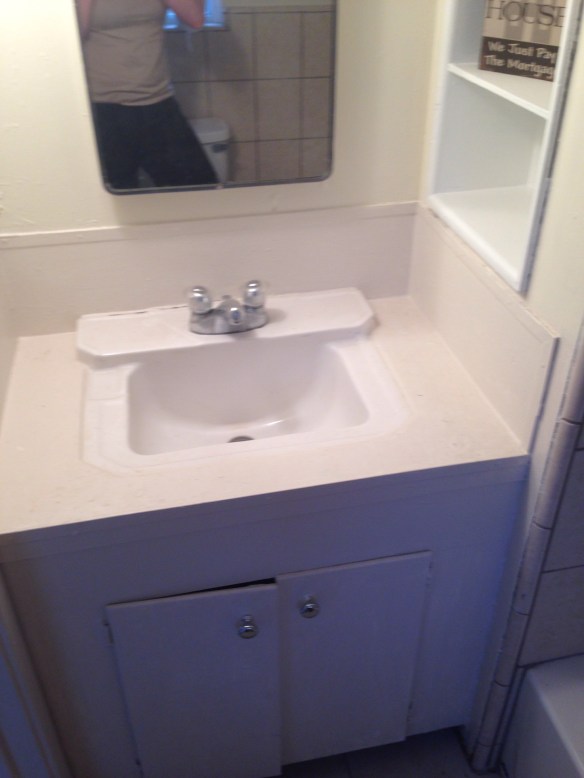
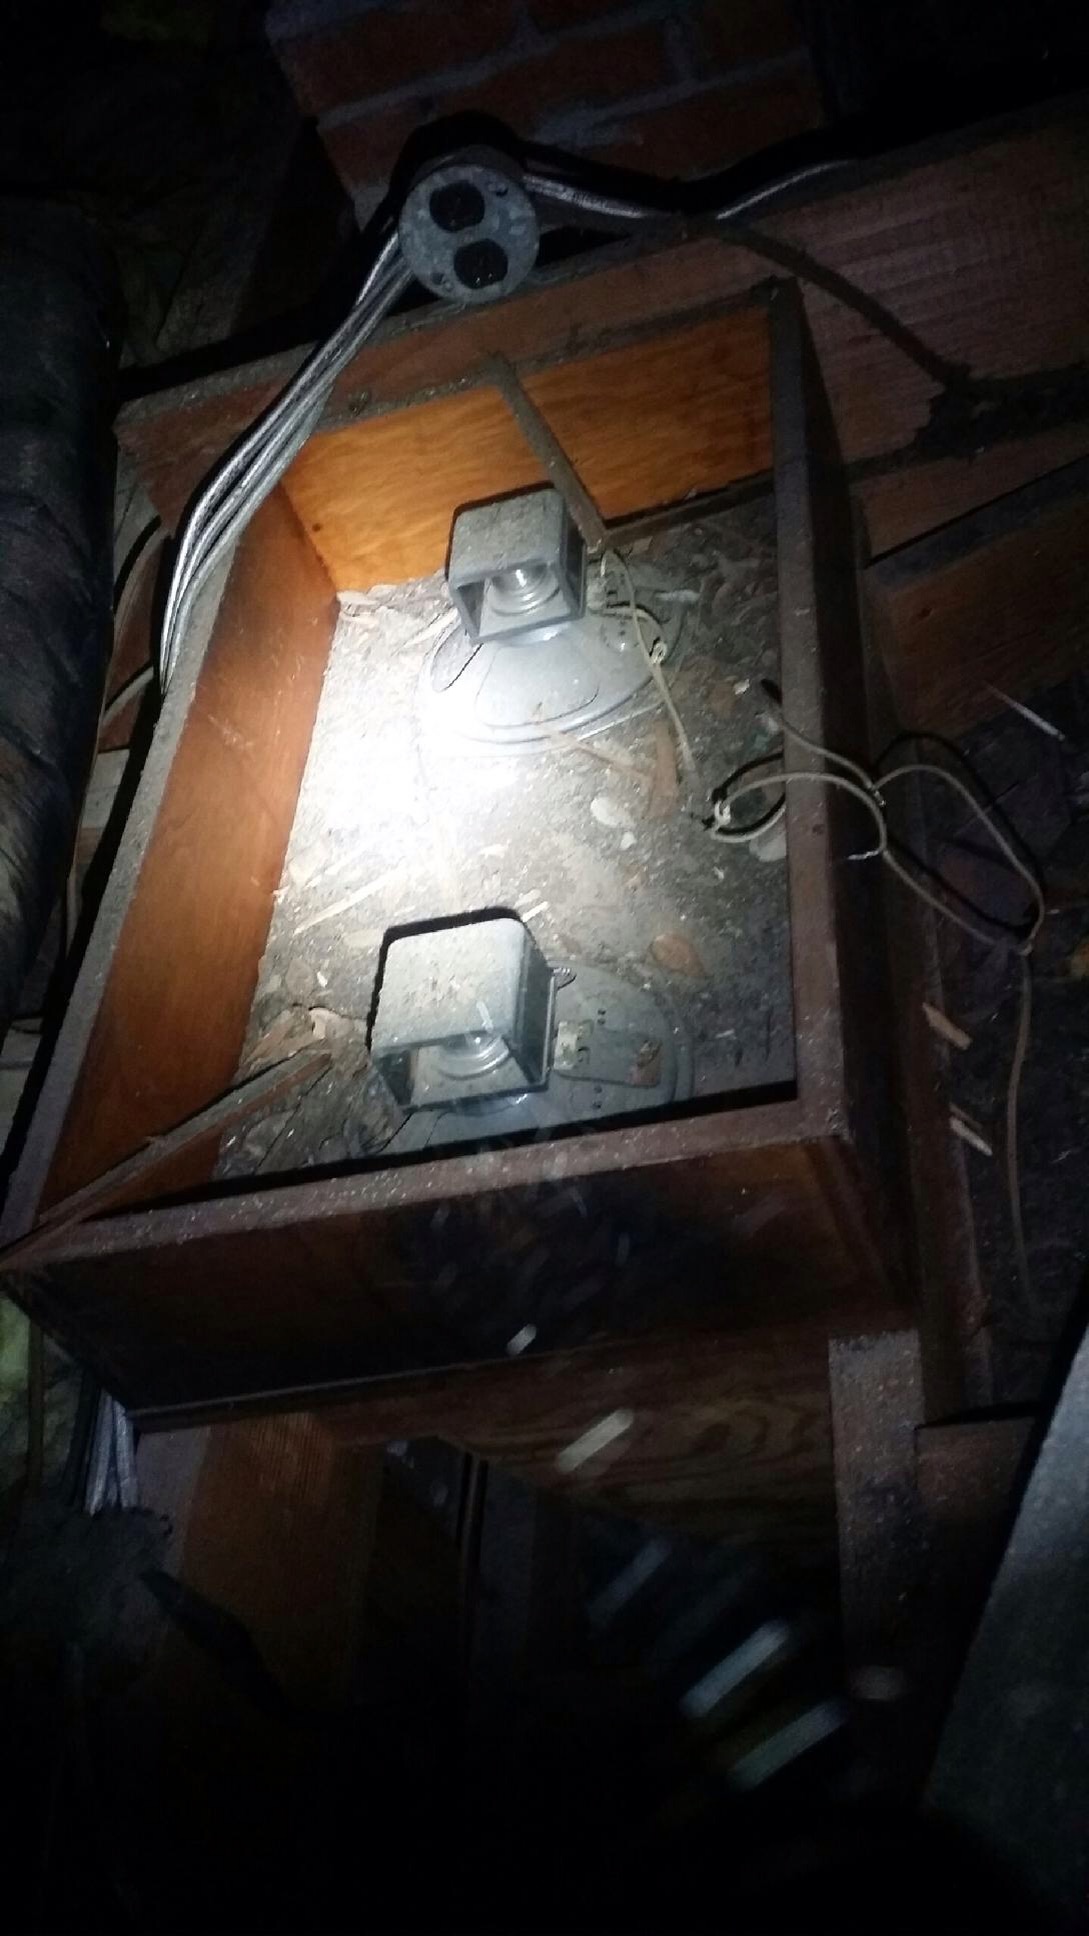
We started 10 days ago with a “hot mess”~I mean blank canvas…

(Like the light pinkish/grayish painted vanity?)


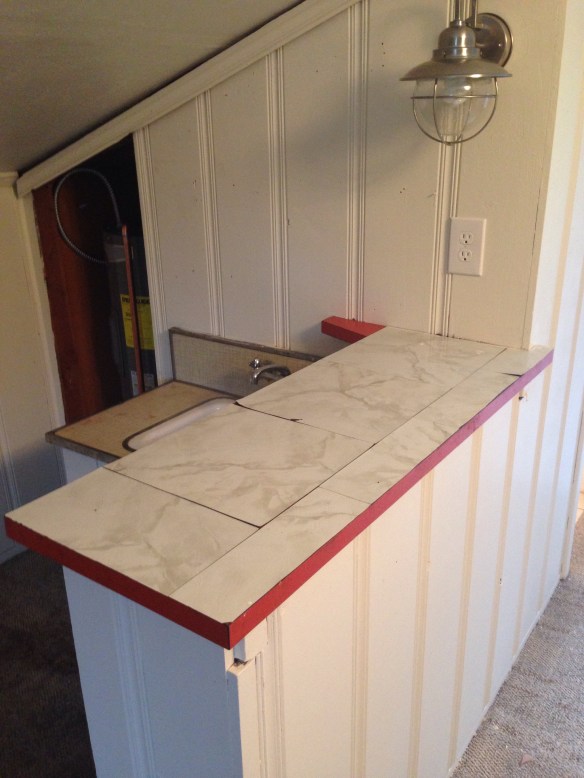
Also the  kitchenette to our very neglected guest house/apartment above the garage.

 All original from the previous owners and literally never touched by us. A nasty combo of grease coated, rusted out, painted over, sticky back linoleum, vinyl, wood and laminate surfaces. (Seriously I was two seconds away from calling our plumber and having both the bathroom sink and kitchenette torn out.) I thought the job impossible. 

Only Eric knew to make me a deal. If concrete wouldn’t work I get new vanities. But if it does work I get Carte Blanche on the decor budget. Which would mean…(what he hates the most)…Accent Pillows! Lots and lots of accent pillows!😄 Deal accepted! 

 This indeed would be the ultimate concrete countertop challenge. Especially when we didn’t have a complete Encore countertop kit! Yikes! (More on that later)

So here is where we started…Cleaning 10+ years worth of gunk. 


Like our last concrete project, Encore kitchen countertops, we knew to horde cardboard and stockpiling 3m painters tape. Next came repairing parts of the counter. (Ie re-gluing  down peel and stick linoleum) 


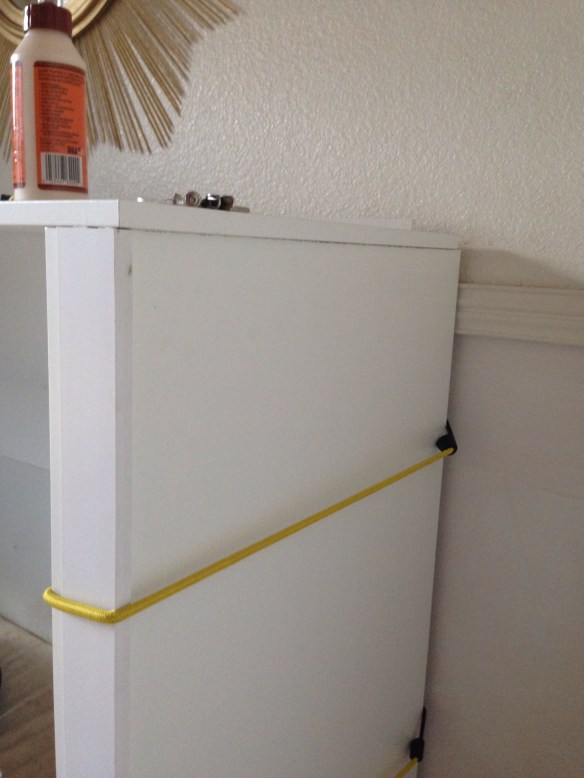
(And when you don’t have enough clamps, bricks work just fine) 😉

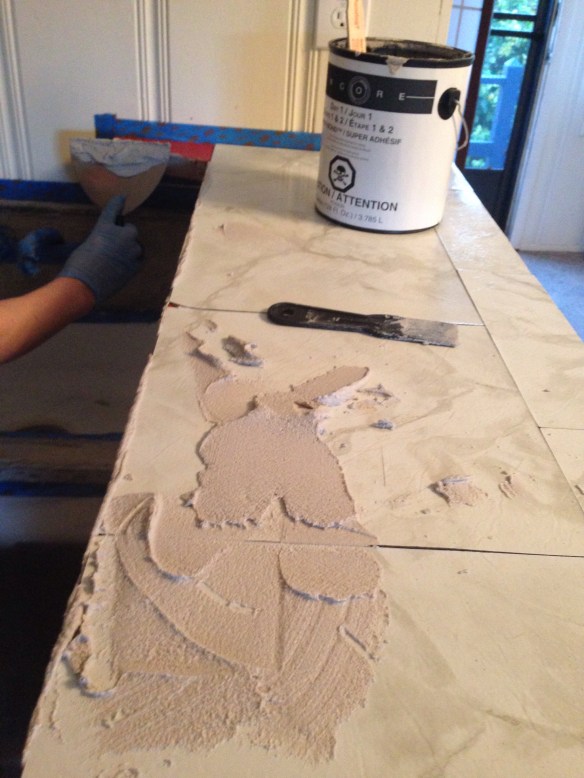
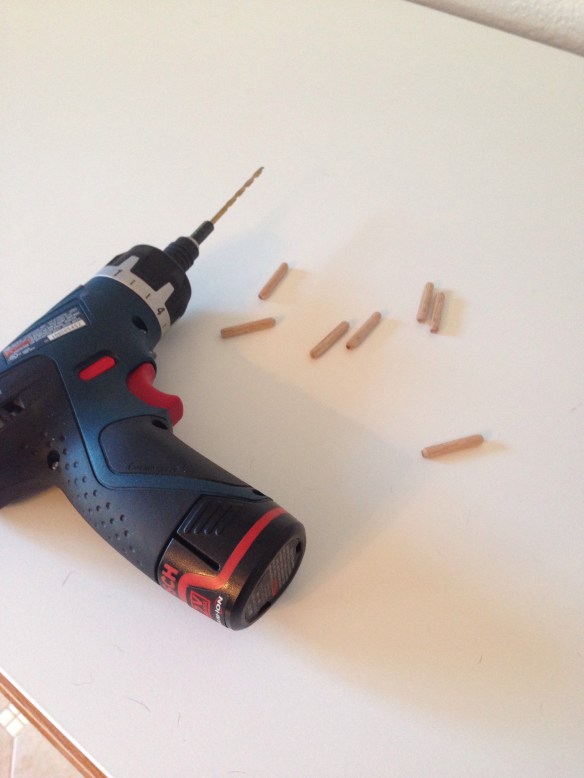
As I mentioned before we did not have a full Encore countertop kit available this time around. We were missing the actual concrete. Instead we had just a leftover gallon of superbond and the Proseal/activator concrete sealant. Therefore I took a gamble (because accent pillows were on the line) and picked up some Henrys feather finish at Home Depot. I also tested the combo out on a piece of scrap board:


Superbond and Henrys feather finish…They went together like peanut butter and jelly. However I must admit,  I prefer working with the Encore kit. Their concrete was easier to control, smoother/fluid and a bit more durable as it dries. (Which is another reason why the project took so long, I wasn’t experienced working with this brand of concrete and more sanding was required between layers.) Yet it all came together, so we were confident enough to tackle the counters. 

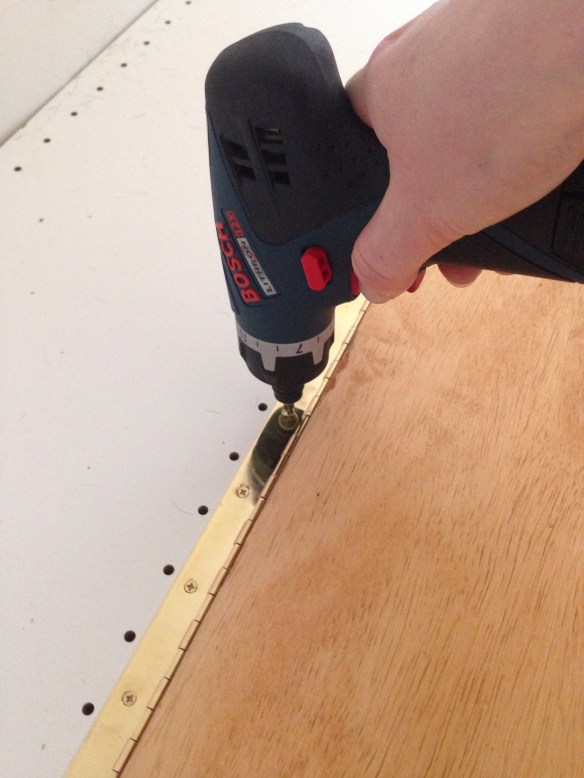
First layer of superbond…


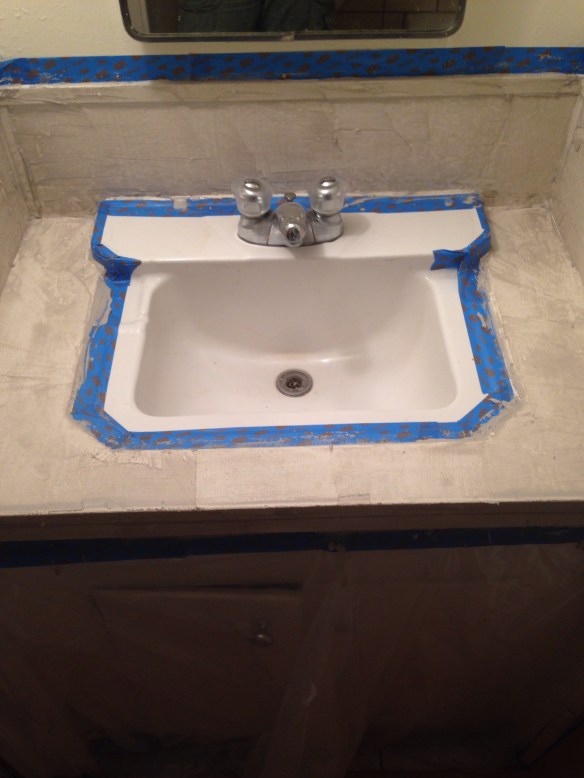
Layer two of superbond and right before sanding…


Also quick reminder…Don’t forget to remove all the painters tape before the last coat of superbond dries. This will help immensely with clean sharp lines. 

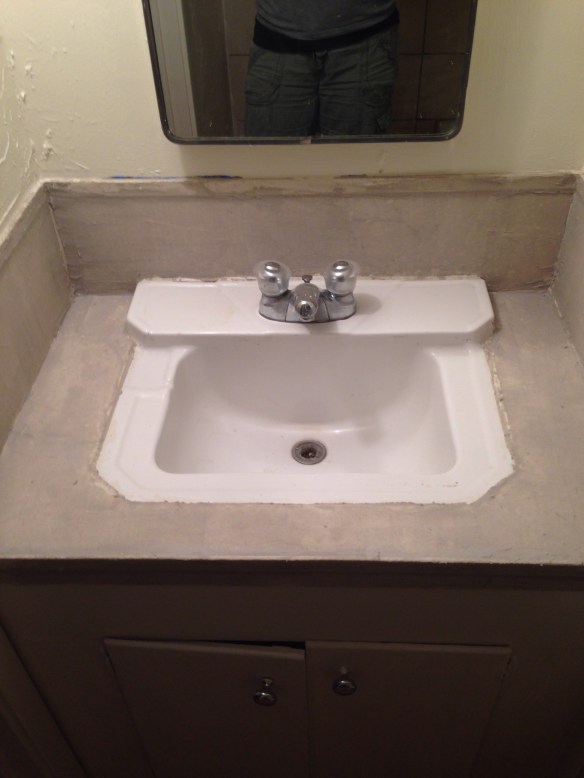
Next came the Henrys feather finish concrete and concrete sealer…


This time we’re not delving into all the details and steps on our countertops as we did here. Unfortunately we don’t have perfect “after” photos yet. We still have to silicone seal the sinks and clean before final photos can be shot. Overall so glad to check this one off the list!😀…Now I’m off! I have accent pillows to buy! Happy Sunday Everyone!

Psst!..This is our 100th blog post today! And we’re finally on Instagram! Follow our guest house progress and check out the sneak peeks. 

Spring Has Sprung! (Unless you Live in California, then it  was Back in January)

We were hoping to share our latest foray into concrete countertops…


…But it just wasn’t meant to be. 

I should know by now that no DIY project goes according to plan.(Especially when you tell all your readers ahead of time-then its a sure thing your project will run over schedule) So instead of showing you our new concrete counters in the guest house, we’ll distract you with pictures of pretty flowers…


Yes we’ve been in full bloom out here in California since January. Lovely weather but unfortunately we all are expecting a long hot summer. (No really the east coast should start selling us snow, we’re in a water crisis over here) 

In the meantime we’ve  taken the opportunity to add a few new flowers and finish another unfinished project that has sat around since last spring. Like these hanging baskets…


Which have been hanging around without any plants, and just collecting leaves all through the winter. (Project procrastination” it’s a real sickness people)

Last year we were so busy landscaping our drought tolerant, “dog proof” backyard, I’d forgotten about the baskets in the sideyard.  

One thing we’ve learned with our dogs is that they are magnets to new plants and fresh soil. (Especially soil mixed with manure – they go nuts for the smell) Therefore we’ve learned to plant “up”. Whether that be with tall pots or hanging baskets, the technique keeps curious wet noses out of our plants. Also when you do plant “up” it means you can add not so “pet friendly” plants to your garden. Like jasmin, lilies and begonias, which may be poisonous to dogs. 


Although the jasmin was not planted in a basket (the papyrus died so we had an extra tall pot sitting vacant) We instead wrapped it with green chicken wire to keep the dogs out. Also the sideyard is shaded  and sheltered enough for the lillies and begonias withstand the summer heat. To conserve water/moisture we’ll probably add mulch to all the pots and baskets. 

We still have more updates for the sideyard and cleaning  up but it feels good to cross another unfinished project off the list.


This area is still one our favorite places to sit in the shade. Now you’ll know where I’m drinking my coffee this morning and beating  the spring heat. Happy Sunday everyone! 

Lights, Water Heater, Arbor…Action!

We stumbled unintentionally onto another “blog series”…Its called finishing projects…


(This second lamp sat in a box for two years and we finally installed it this weekend)

Every home dweller can relate to the unending list of projects or house maintenance. We often ignore certain issues and take the road of “if it ain’t broke, don’t fix it”. Only when something is glaringly ugly and/or integral breaks do we call the handyman or pull out the hammer. 

I am soooo guilty of project procrastination. Literally I kept a Big Lots arbor for 6 years and only until this week put it together…Yeah it’s that bad…


So why the sudden change and working on projects that have sat around? (some apparently for years) Well we have a deadline of sorts. In only a month we need to decorate a few rooms, do some major spring cleaning, and finish the unfinished…And there is no better motivation to knock out pesky house projects than giving yourself a deadline right? (Just as long as you’re not giving yourself an ulcer too😉) 

I wish we had an amazing project or fabulous “after” reveal but to be honest, this week has been spent schlepping boxes of stuff to goodwill. The guest room/office is in complete chaos as we’re trying to reconfigure it for more usable space. Also we can finally walk through the guest house without tripping on camping gear or college textbooks (oh yeah we said goodbye to three boxes of our undergrad books! Happy Day!😊)

Unfortunately our only “after” reveal was replacing this rusted out 70s style outdoor light with a brand new “beachy” style one from homed depot. 


As well we’ve finally replaced our second water heater (in the guest house) Another boring maintenance project but necessary. In two years since we’ve bought our home we’ve replaced two water heaters. I’m hoping now that I will not have to budget for new ones within the next 10 years. (Grrr…money that could’ve been spent on new flooring)


Yet having running hot water for guests is probably a good thing. We’re also setting up for (hopefully) another concrete countertop project. This time we’re tackling a mini bar, and bathroom. I’m crossing fingers that we’ll be done by next Sunday. Especially since countdown is now 30 days away! Yikes gotta get back to work! 

Unlike us, we hope you have an amazing weekend full of fun times. Don’t be like us kids, just say no to project procrastination. Or you end up digging holes and shoveling mulch on your Sunday. #TakeBackYourWeekends people! Happy Sunday everyone!

Finishing the Unfinished…(IKEA Hack Pax Side Murphy Dog Bed)

On our blog we don’t try to hide the mess, the mayham or the unfinished…


(We just pretend it was meant to look that way) 😉

Last year we hacked a clearance Ikea Pax wardrobe to create a simple Side Murphy bed. Super easy and fun project! (Even though we use this for our dogs, the bed could work for us two legged folks as well) 


You can click here to read the original How-to, however we’ve made some minor changes recently (like actually finish this project) …


What an improvement! Subtle, but changes the look completely. (It’s like  having braces on your teeth to now a perfectly white, straight smile)

  To be honest, it was out of necessity that we changed it from an awkward, not-quite-bar, into a faux Midcentury sideboard/buffet. The necessity turned out to be Super Bowl 2015, and we needed a very tall snack station. Mainly to prevent super-sized puppies from sticking their noses in bean dip when no one was looking. (Sutter is the height of a small Great Dane so standard tables are no obstacle for him) Heres what we did:


Moving the wood front piece was pretty simple, we just unscrewed the piano hinge connected to the Pax. Placed the board at the edge of the bottom piece (towards the front) and screwed it back in place.


The second change required more thought but still pretty easy. First we went shopping for matching board and had it cut to size at Home Depot. 


Then if you have ever hacked IKEA furniture I’m sure you have extra dowels hanging around the house (if not they are normally available to buy at Home Depot). 


We drilled holes in the board the size of the dowels and then lined up the board at the end of the pax. 


Once satisfied with the placement we glued the pieces in place with gorilla wood glue. The weight of the boards kept the side piece in place but we had to get “creative” when gluing the small front piece…


The one safety tip we highly recommend is to add a “safety chain” to the inside of the pax wardrobe and drill it to the front piece. In case the latch slips or you have little ones you don’t want the front piece to fall on a toe, etc. (Unfortunately we can’t recommend a specific kind because it’s based on the weight and how you customize the front piece of you Murphy bed) These types of door safety chain kits should be available at your local hardware store. 


Overall the  dogs are happy, and we’re happy with the final outcome to this project. 


For someone with limited space, it is absolutely fantastic to hide away a bed. As a pet parent, it’s even better to hide dog beds, toys, etc for two massive pups! Hope our Ikea hack helps your doggy dilemma! Happy Sunday everyone! 

Ikea-hack-side-murphy-bed-dog-murphy-bed-pax-wardrobe-twin-murphy-bed-diy-midcentury-sideboard-bar.jpg

Psst…We’re hanging out at the Remodelaholic link party this month…Check out all the budget friendly ideas!

 <a href=”http://www.remodelaholic.com&#8221; target=”_blank” rel=”nofollow”><img class=”nopin pib-hover-img” border=”0″ alt=”I party with Remodelaholic” src=”http://www.remodelaholic.com/wp-content/uploads/2014/04/remodelaholic_party.jpg”/></a&gt;

Resurrecting 67 Year Old Sound!

Do you remember our last picture of the built in’s speakers? If not, here they are again….

IMG_4790
67 year old speakers in our attic, buried under roof debris, blown insulation and rat nests. (Oh yeah, our house originally came with a bad roof and a family of rats).

For those of you new to the blog, in the last two years we’ve been “respectfully” renovating a 1948 home. In the beginning, it felt like the house was just one huge money pit. (New roof, water heater flooding our basement, evicting rats, etc) Yet in the last year we’ve managed a few fun projects, and finally feel like we’re making progress towards “beautifying” a house versus just “maintenance”. Some of the fun projects has been uncovering little surprises, like our Midcentury built in with speakers!

IMG_4809-0
We also found out our home was once a designer “showcase” house on the block. Hidden cabinetry, unique mid century details and amazing craftsmanship. In this case we chose to restore versus demo the built-in. Even though open concept is the popular thing our hearts (and wallets) weren’t in it. Now we’re glad we never picked up that sledgehammer. Especially when your electrician friend comes over to help replace the speakers. What we didn’t expect was this (ps. I apologize ahead of time, my voice sounds so annoying through a cell video. Quoting my brutally honest husband, “no hon, your voice does not sound like that in person, I think our readers will understand, and not want to punch you in the face😉”)~thanks hon, and hopefully you all don’t… Thank goodness hubby and friend were curious enough to test if the original speakers still worked! We expected (just based on first glance) there was no hope for them, that we’d have to pry off the built-in speaker grills and buy completely new ones. Instead we’re blown away Tony Bennett can still hold a note on these 67 year old speakers, despite years of abuse and neglect.
Even though the quality could be improved we decided in the short term, use them till we lose them. Why replace when the point was to try to keep the original vintage qualities of the built in?
Hence our friend shuffled around in our attic for an hour, cleaning and rewiring at least one speaker on each side. image
image
He placed a couple thin boards over each temporarily (just to keep the dust away). We really will need to replace these old girls, just for sound quality alone, but for now we’re content to listen to the warm tones created by 60+ years of age. Add the tube receiver and vinyl, it’s like taking a trip back in time to the 40s and 50s. Here is my attempt to recapture the listening experience of our grandparents since many of us youngsters have never heard it…
(FYI the clicking sound in the beginning is not the sound system but the puppies in the kitchen, they were curious about the sound coming from the attic and were enjoying it too)
We are really happy with keeping this vintage piece. All I need now is more vinyl and some staging ideas for the shelves. (Admittedly I have a severe “styling bookcase” disability) Any suggestions will be gladly appreciated😉. Happy Sunday everyone!