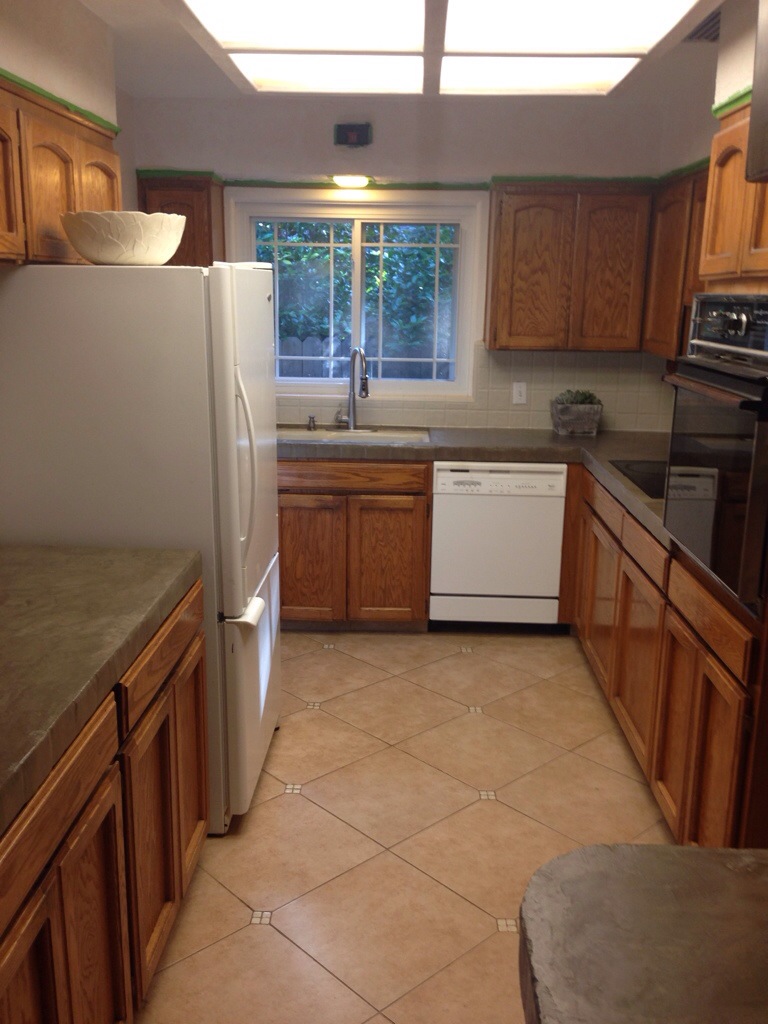
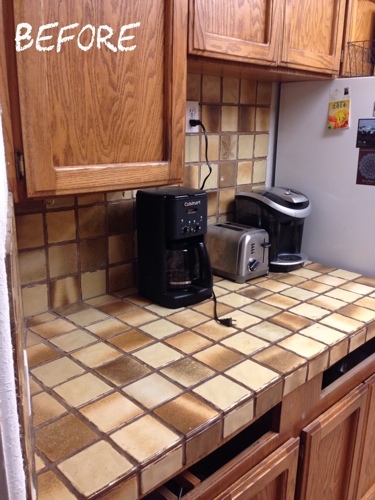
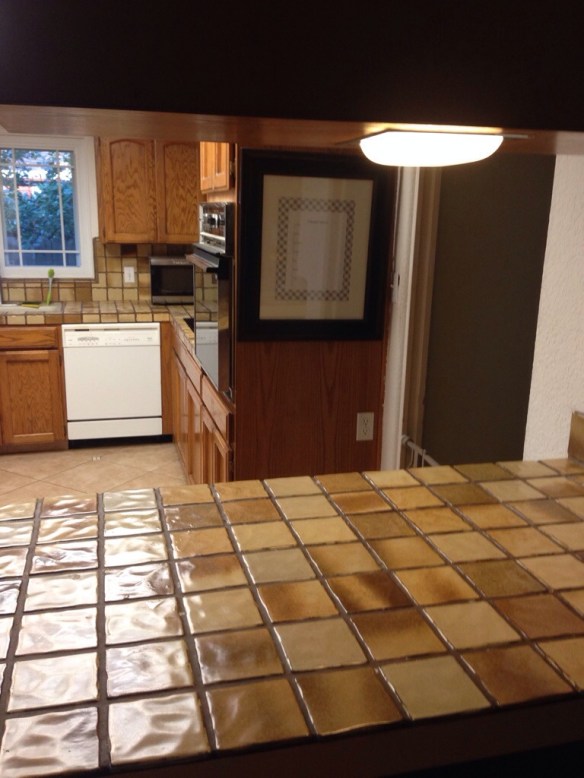
Last we left off Encore Decorative Countertop System was rescuing us from ugly tye-dyed yellow and brown tile countertops…
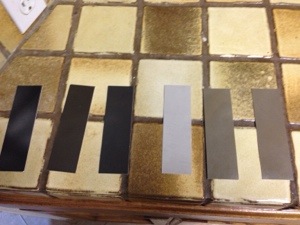
Our first step in the process was choosing the right color for our kitchen and measure the countertops. We went with River Rock a newer color offered by Encore. A mossy grayish (soapstone-esque) the next shade down from their lightest color Cement. One of the big factors in our choice was “PTSD” from our fireplace experience and we were worried a traditional gray would look bluish in different lights. However I still labored under the decision…We had two sets of parents over to confirm our colors…(It’s totally normal in our family to hold “family conferences” over decor selections) 😉

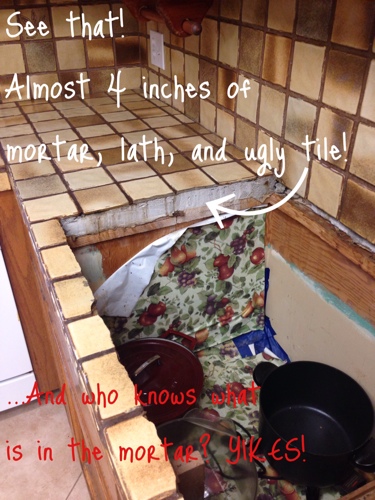
We also measured out our countertop space and the awesome folks at Encore came up with just over 50 sq ft (not including our backsplash) of tile to cover. Which in “normal” circumstances would have been fine however we’re (ahem…) special and not in a good way…I’ll explain later…
As for supplies DO NOT SKIMP, when the kits arrive, take your detailed list of materials/tools needed in the instructions and buy exactly what’s on that list at one of the big box stores. Get the disposable buckets, the plastic, 3M Tape, etc. (except buy an extra three rolls) Totally worth it, if you’re busy like us and want your project to go as smooth as possible.
Important supply tip: Collapse and flatten cardboard to lay on the ground, this will save your floors. Also when you are done with each step, take the cardboard outside and give your floors a quick vacuum with the shop vac, keeps dogs and husbands from tracking dust and materials around the house. (Remember this pic…)

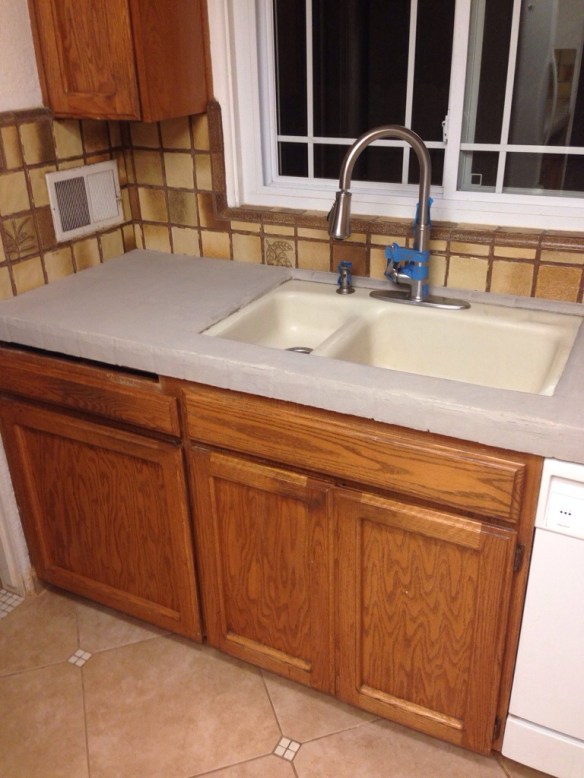
As for prepping we had our electric cooktop removed since we needed to update the electrical with a junction box, however we did leave our semi-under mount sink in place.
Another great tip we found to be helpful: If you need to recaulk your sink like we needed to, remove the old caulk and using the 3M tape, line the edges of the sink and protect basin with plastic. Just replace the tape between each step in the process and we were good to go. (After the countertops cured we caulked the sink with waterproof clear silicone)
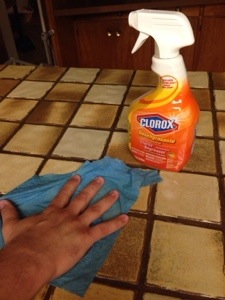
Next came the task of degreasing 30+ year old tile. Luckily we found the Clorox degreaser to be fine and didn’t need to use TSP.

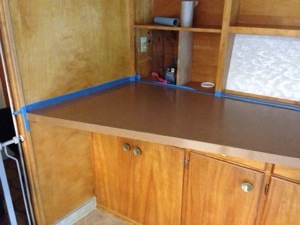
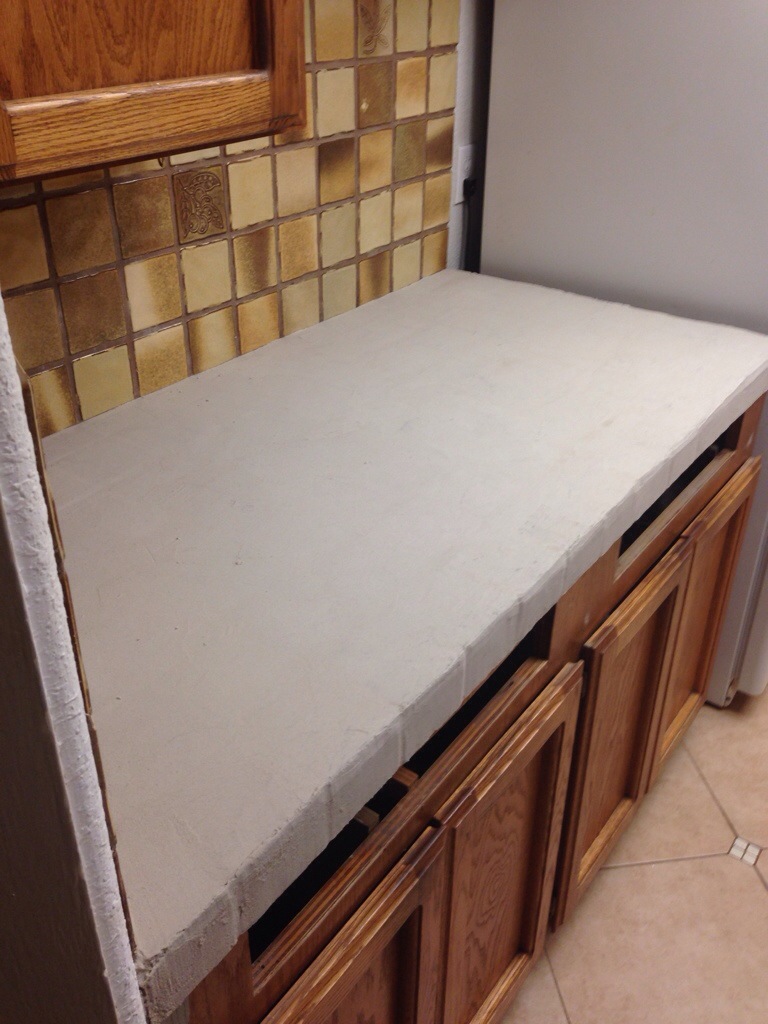
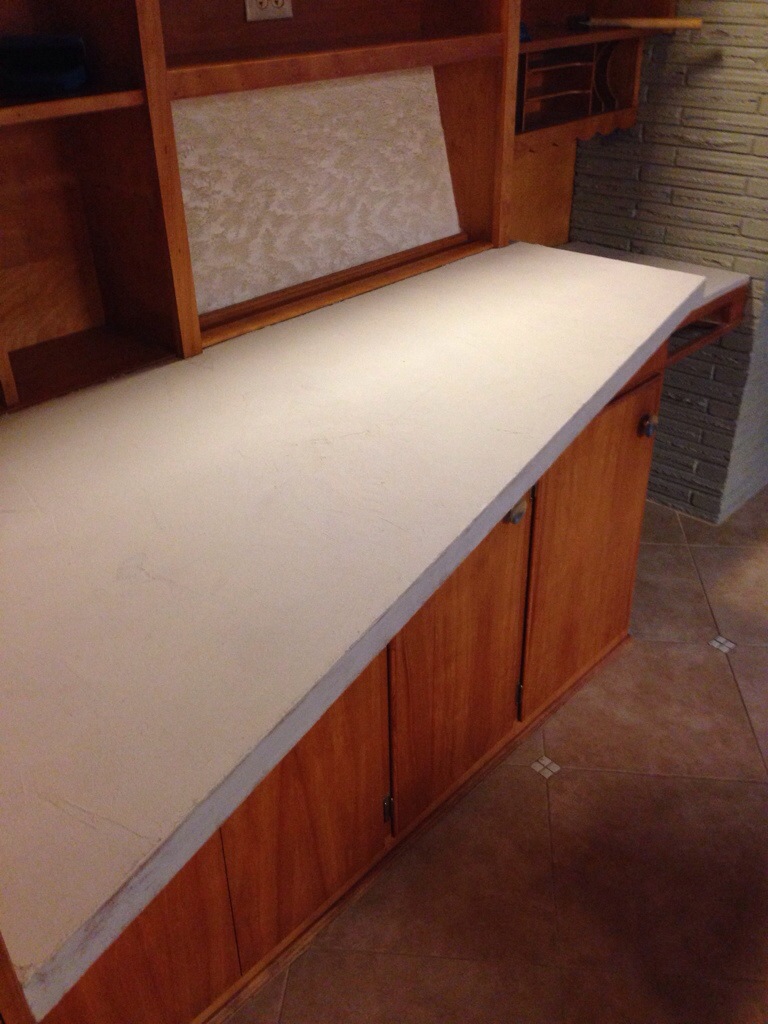
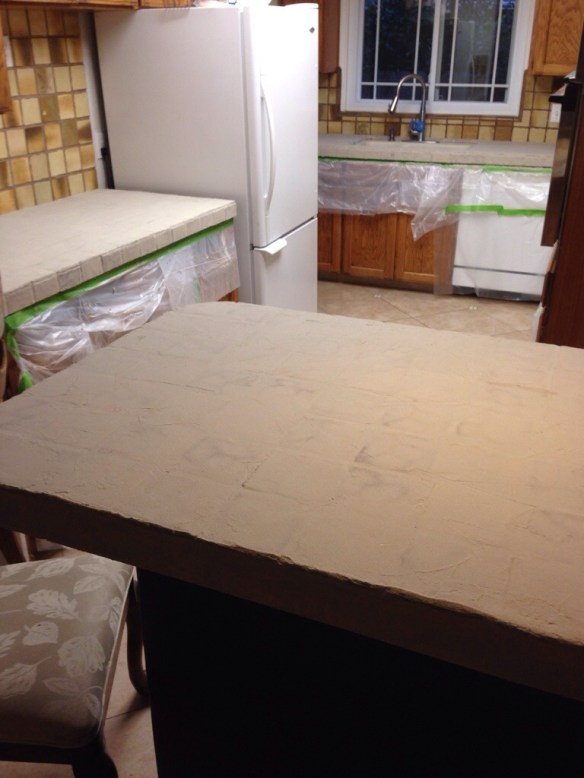
As for the rest of prepping we taped off the backsplashes, and wood paneling of our built-in since it acts like a secondary counter space. (Notice the top is laminate…It was really awesome to have a comparison between applying Encore to a tile versus laminate surface)


Next came applying the first step of Super Bond…This stuff is the “magic sauce”

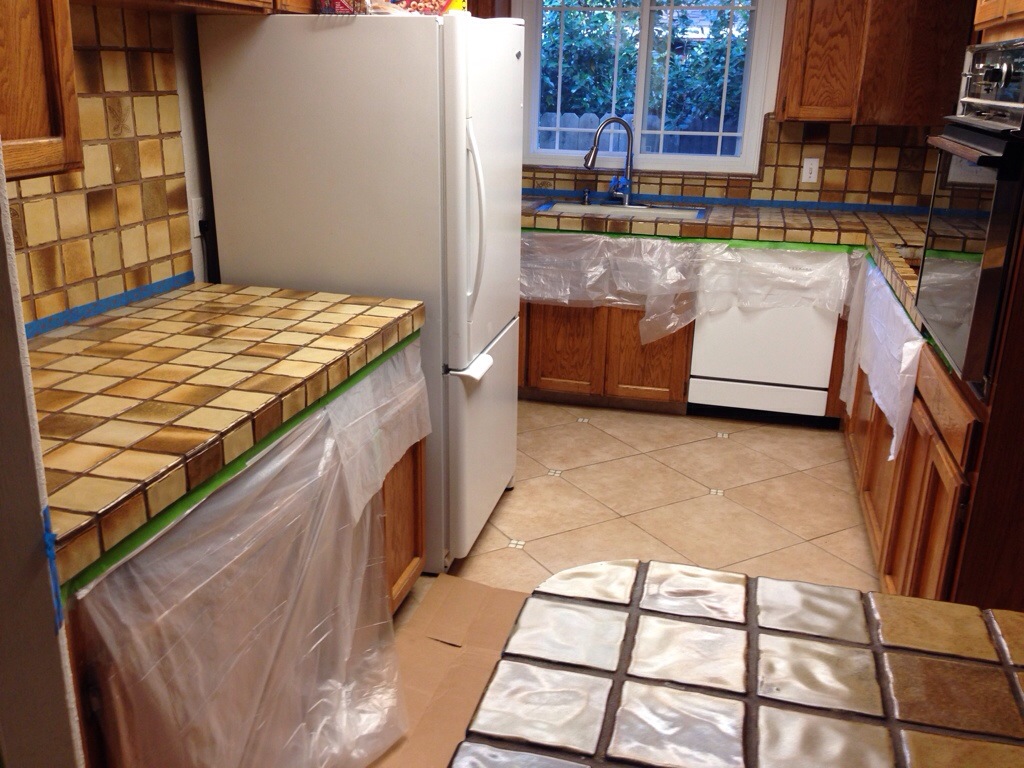
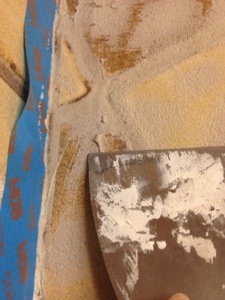
Now unfortunately we had a hiccup in our process that many will hopefully not encounter…Its called 1970s nearly a 1/4-1/2 inch, wide and deep grout lines with “textured” tile. See the grooviness after our first application of super bond.
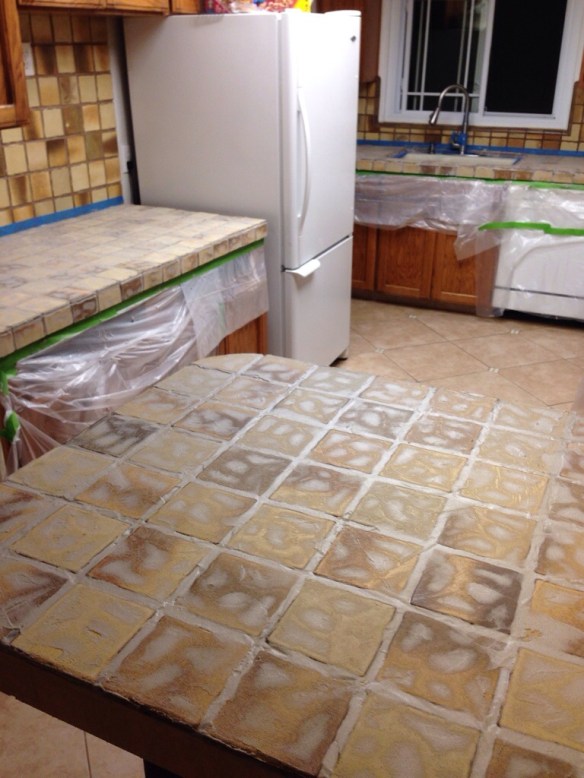
Here is layer two…
And this is where we ran out…The recommended layers of super bond for tile to prevent grout lines would be three applications. In this case if you have tile like ours we recommend buying an extra can of super bond. Here is layer #3


The laminate still only needed it’s two normal layers and looked of course fabulous.

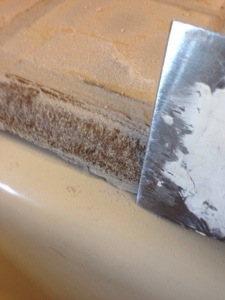
As you can see in the pics we found removing the tape and plastic between the kit’s “Days” to be very helpful, it kept everything cleaner and felt less like a project zone. Also the basic four inch putty knife was the best for sanding/scraping away excess build up and smoothing out the super bond. We lightly scraped at a 45 degree angle and it seemed more effective for us than the sandpaper, but we still used both.


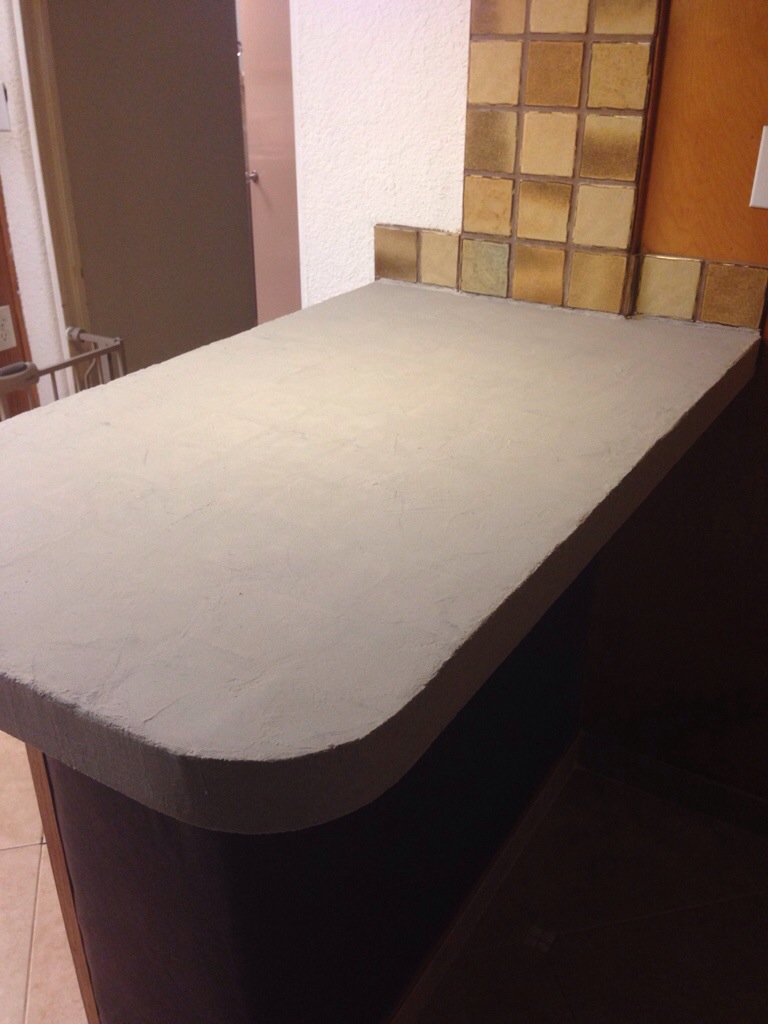
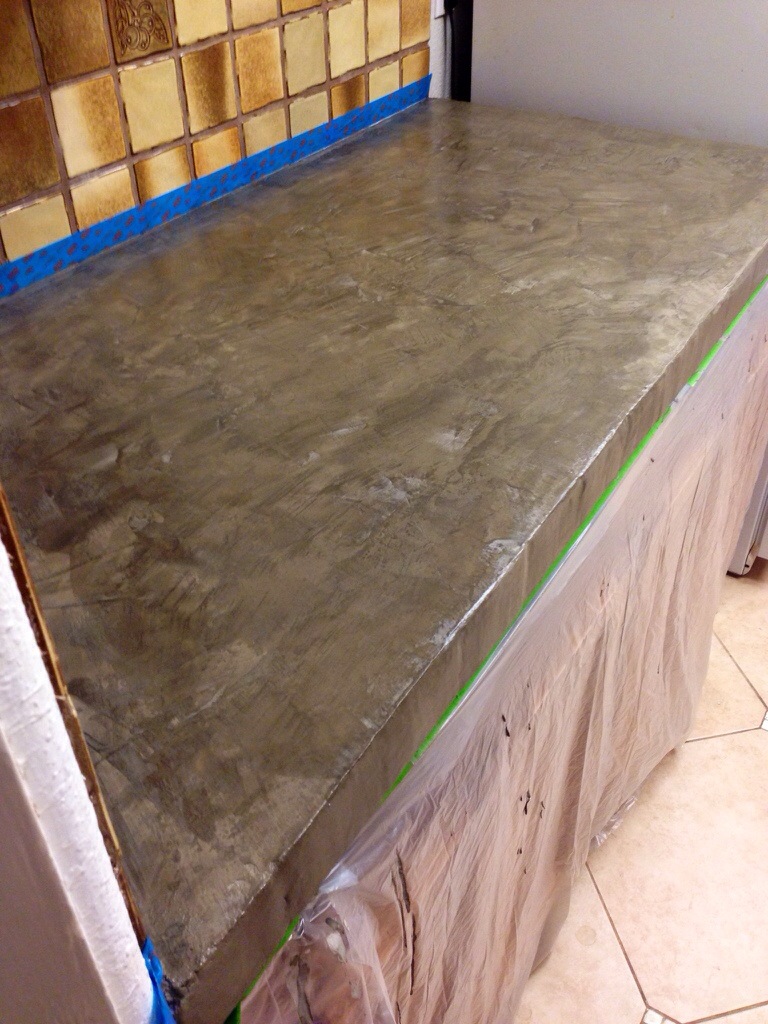
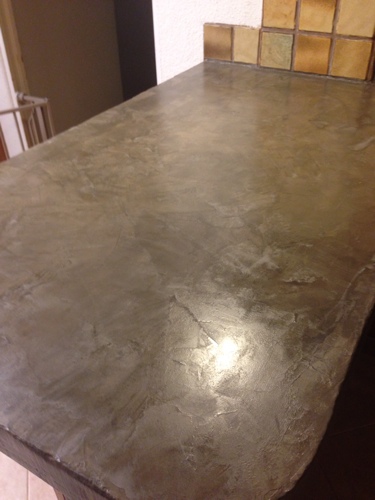
Now onto the fun part…Last stages Day 2 and Day 3… This is when we saw the countertops emerge from grainy cement-glue to beautiful gleaming surfaces. FYI Save these steps for a weekend. We devoted an entire hot Saturday for Day 2 to allow for dry-cure times. Sanding by hand was also a breeze. One layer…
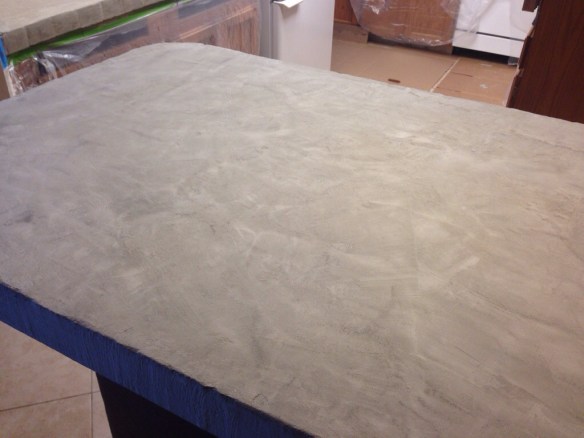
Two layer…Three layer…Four

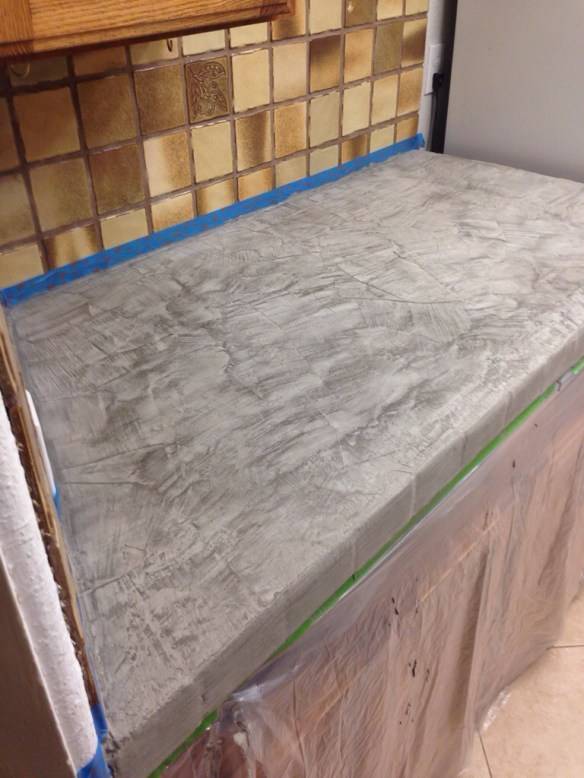

The sealing was the easiest and only took us a couple hours of applying and dry time Sunday evening.
We found to be a great technique through the “Day 2” and “Day 3” process if working with another person, is one be the “applier” and one be the assistant kind of like a surgeon needs someone to hand him a scalpel. The person who’s taken the most ceramics and art classes should probably be the “applier” since the materials are different than the super bond. The “assistant” in our case was the dog wrangler, cleaner, troubleshooter, tool assistant, supply handler, etc. One person can probably do the entire project on their own easily but we found it to be faster with the both of us using this technique.
Last tip, start your project early to allow for long cure times. This will maximize the strength of the bonding. We found this schedule to be helpful since we have full time careers:
WEDNESDAY:Prep, clean, and apply first layer of Super Bond in the evening afterwork, then allow to dry overnight and next day while at work.
THURSDAY: In evening sand and then apply second layer, allow to dry overnight and next day.
FRIDAY: Evening again, sand and apply last coat. Remove tape.
SATURDAY: Sand, clean, remove and replace the tape and plastic. Then follow all directions for DAY 2. We also removed the tape on backsplash and sink at the end and allowed to cure/dry overnight.
SUNDAY: Afternoon re-tape, then apply sealant, allow to dry followed by second sealant. Remove tape, plastic and dry overnight.
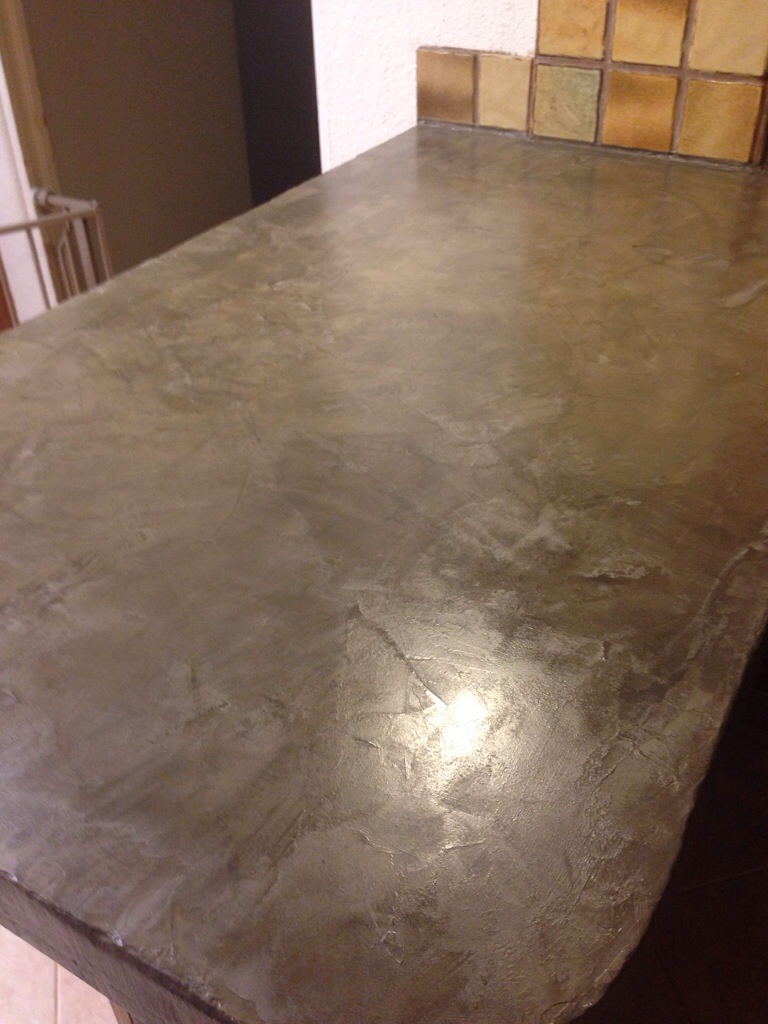
However we did not rest a single item on the countertops or use the kitchen for a week. We know how un-careful we can be and didn’t want to risk it. Again cure/dry times can vary so this schedule may not be be necessary. Also your tile may not be as “groovy and grouty” as ours was. Therefore your process will probably be simpler and easier. Yet to go from this…


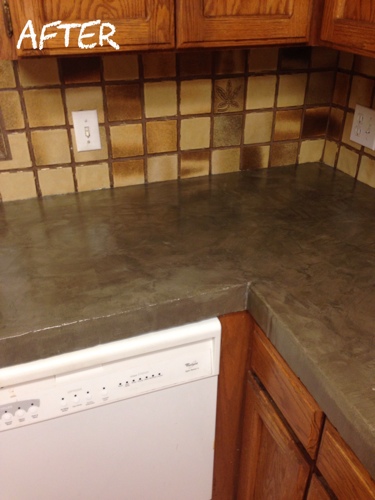
We can’t wait to share more of the “after” pics in the coming weekends. Especially with our updated backsplash and painters tape gone, the countertops really pop! We are truly grateful of Encore’s generous support and their beautiful product! We couldn’t be happier with the results! Thanks everyone for hanging with us, more make-over posts to come…Happy Sunday everyone!