 We’re back! Sorry we’ve been posting every other Sunday. Remember it’s summer, and we suffer from a severe condition called “wanderlust”. Truly it’s an addiction that requires heavy doses of camping, and the great outdoors…
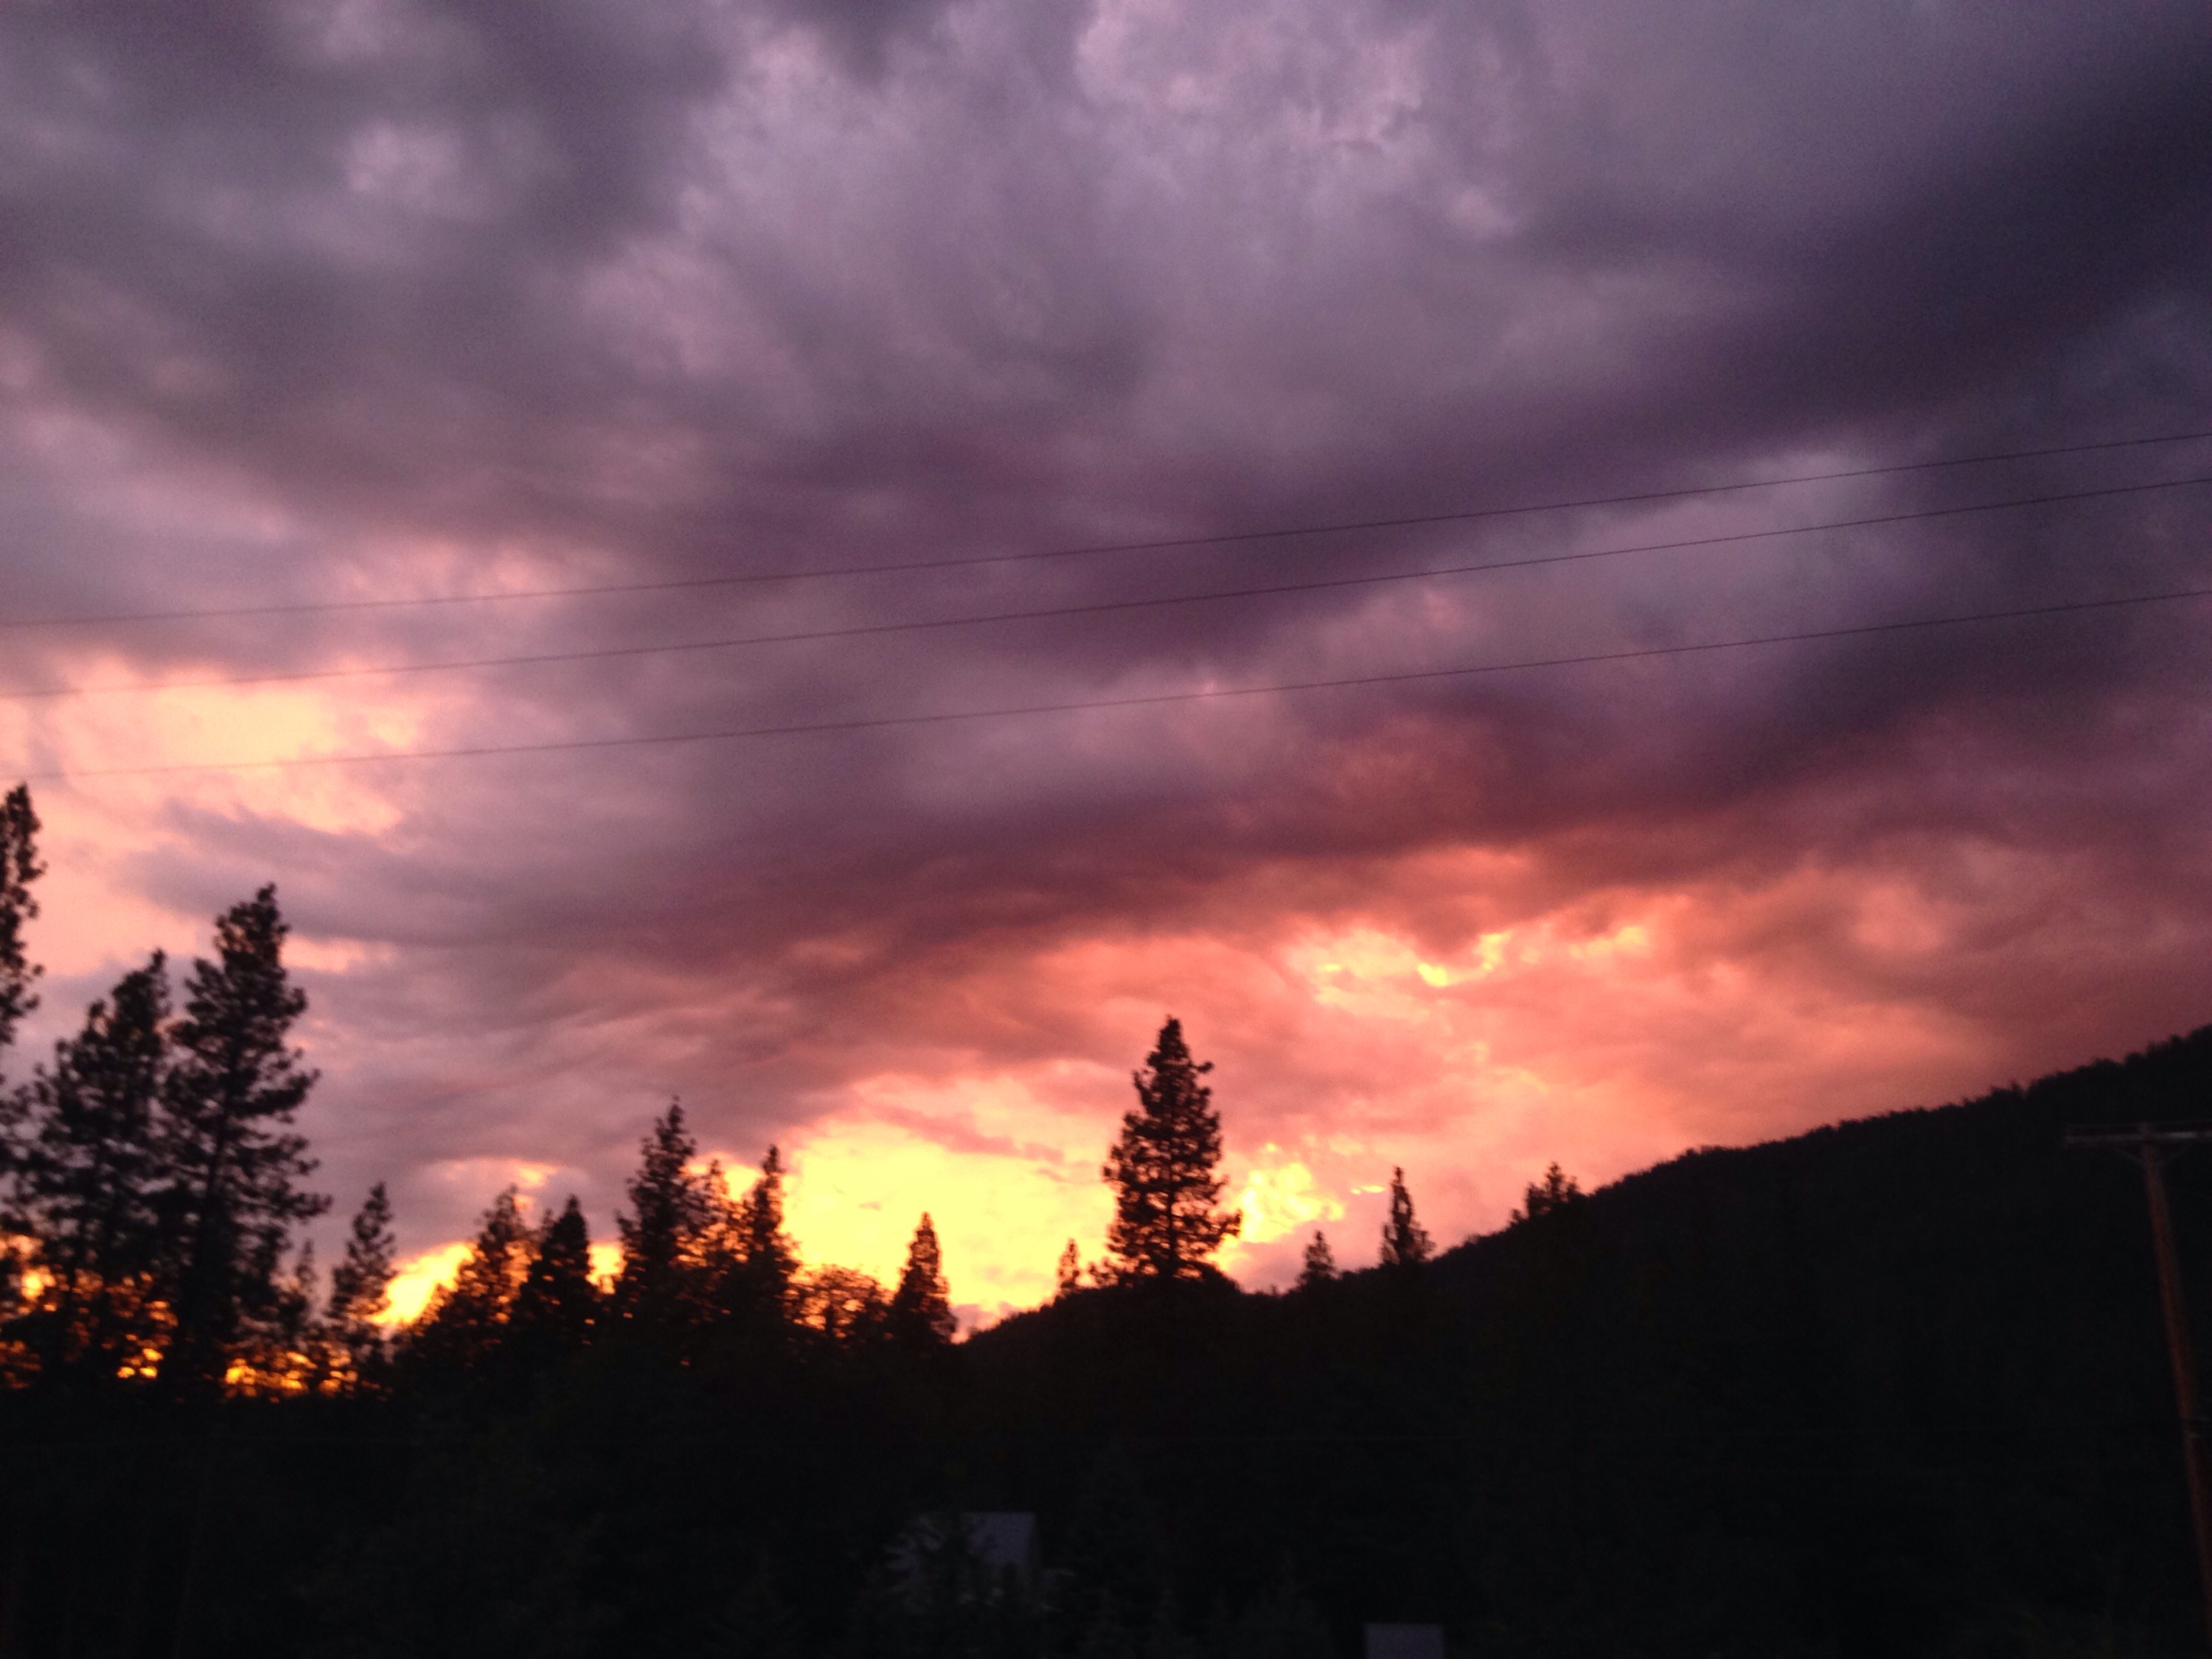
 Also the occasional good brewery or winery is mixed in…
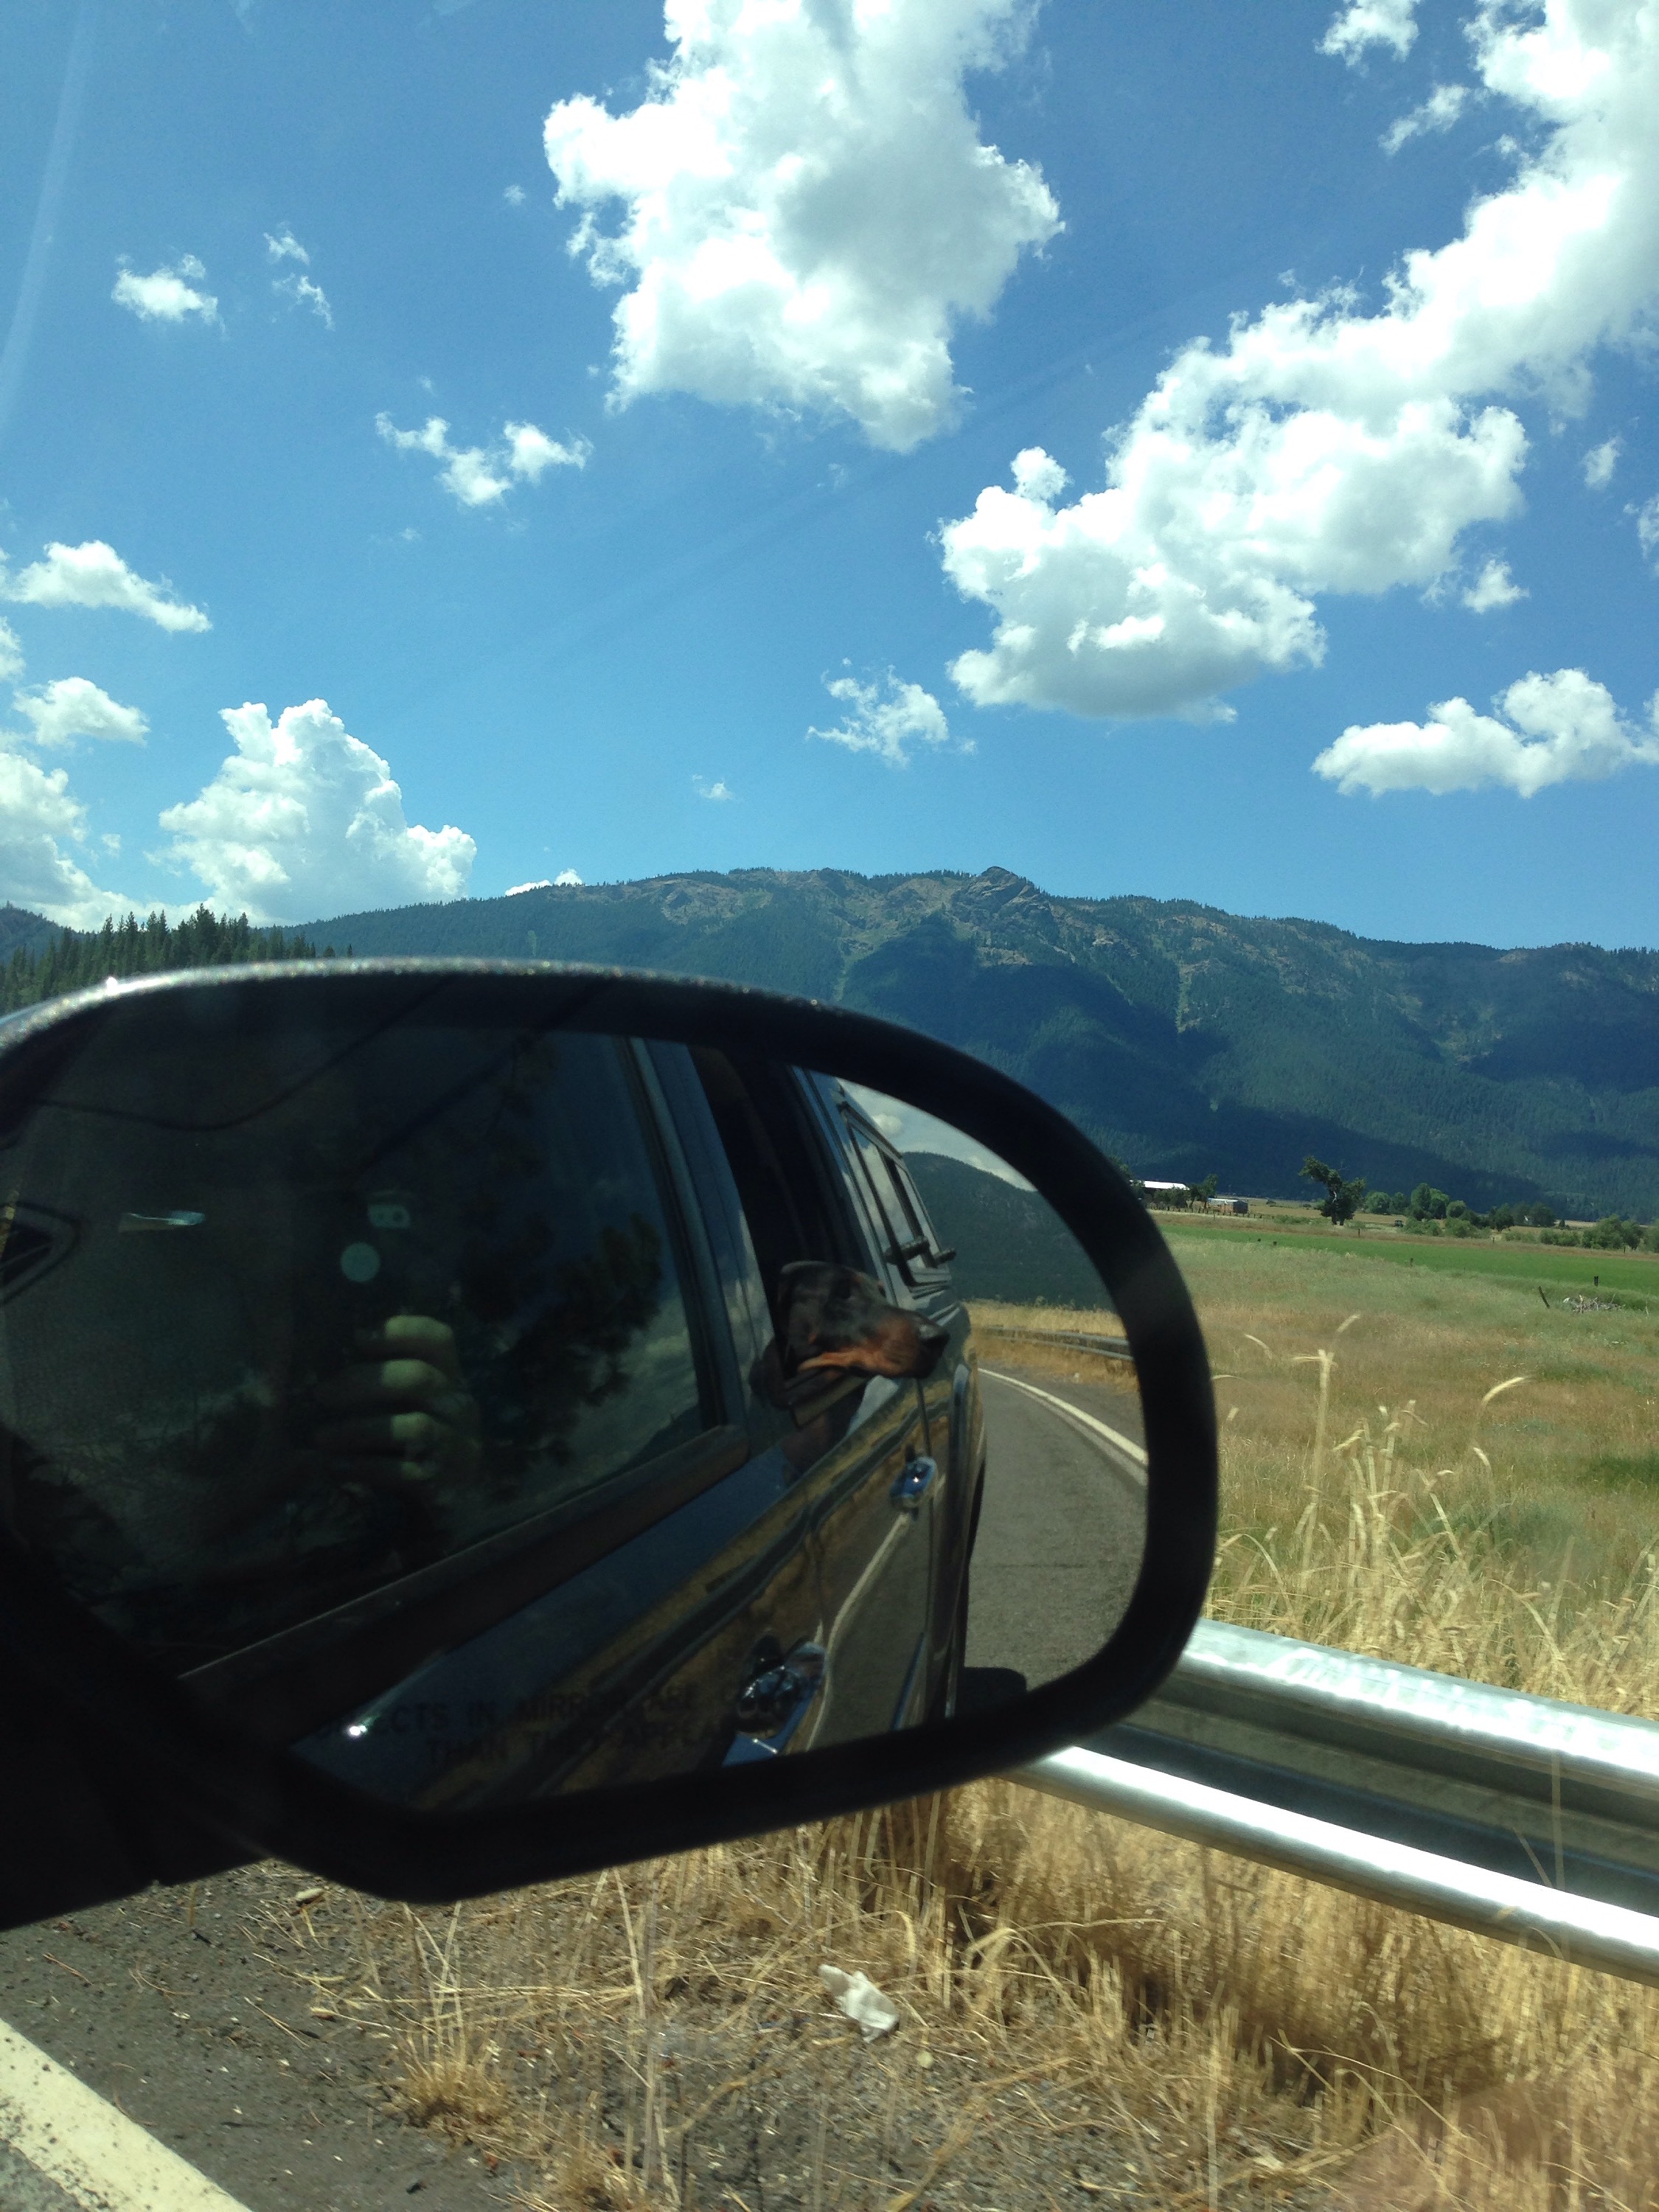
 We work desk jobs and thus need to unplug from the computer, phone etc, just for our sanity. The dogs are co-dependent of our wanderlust addiction as well…Can you tell?
 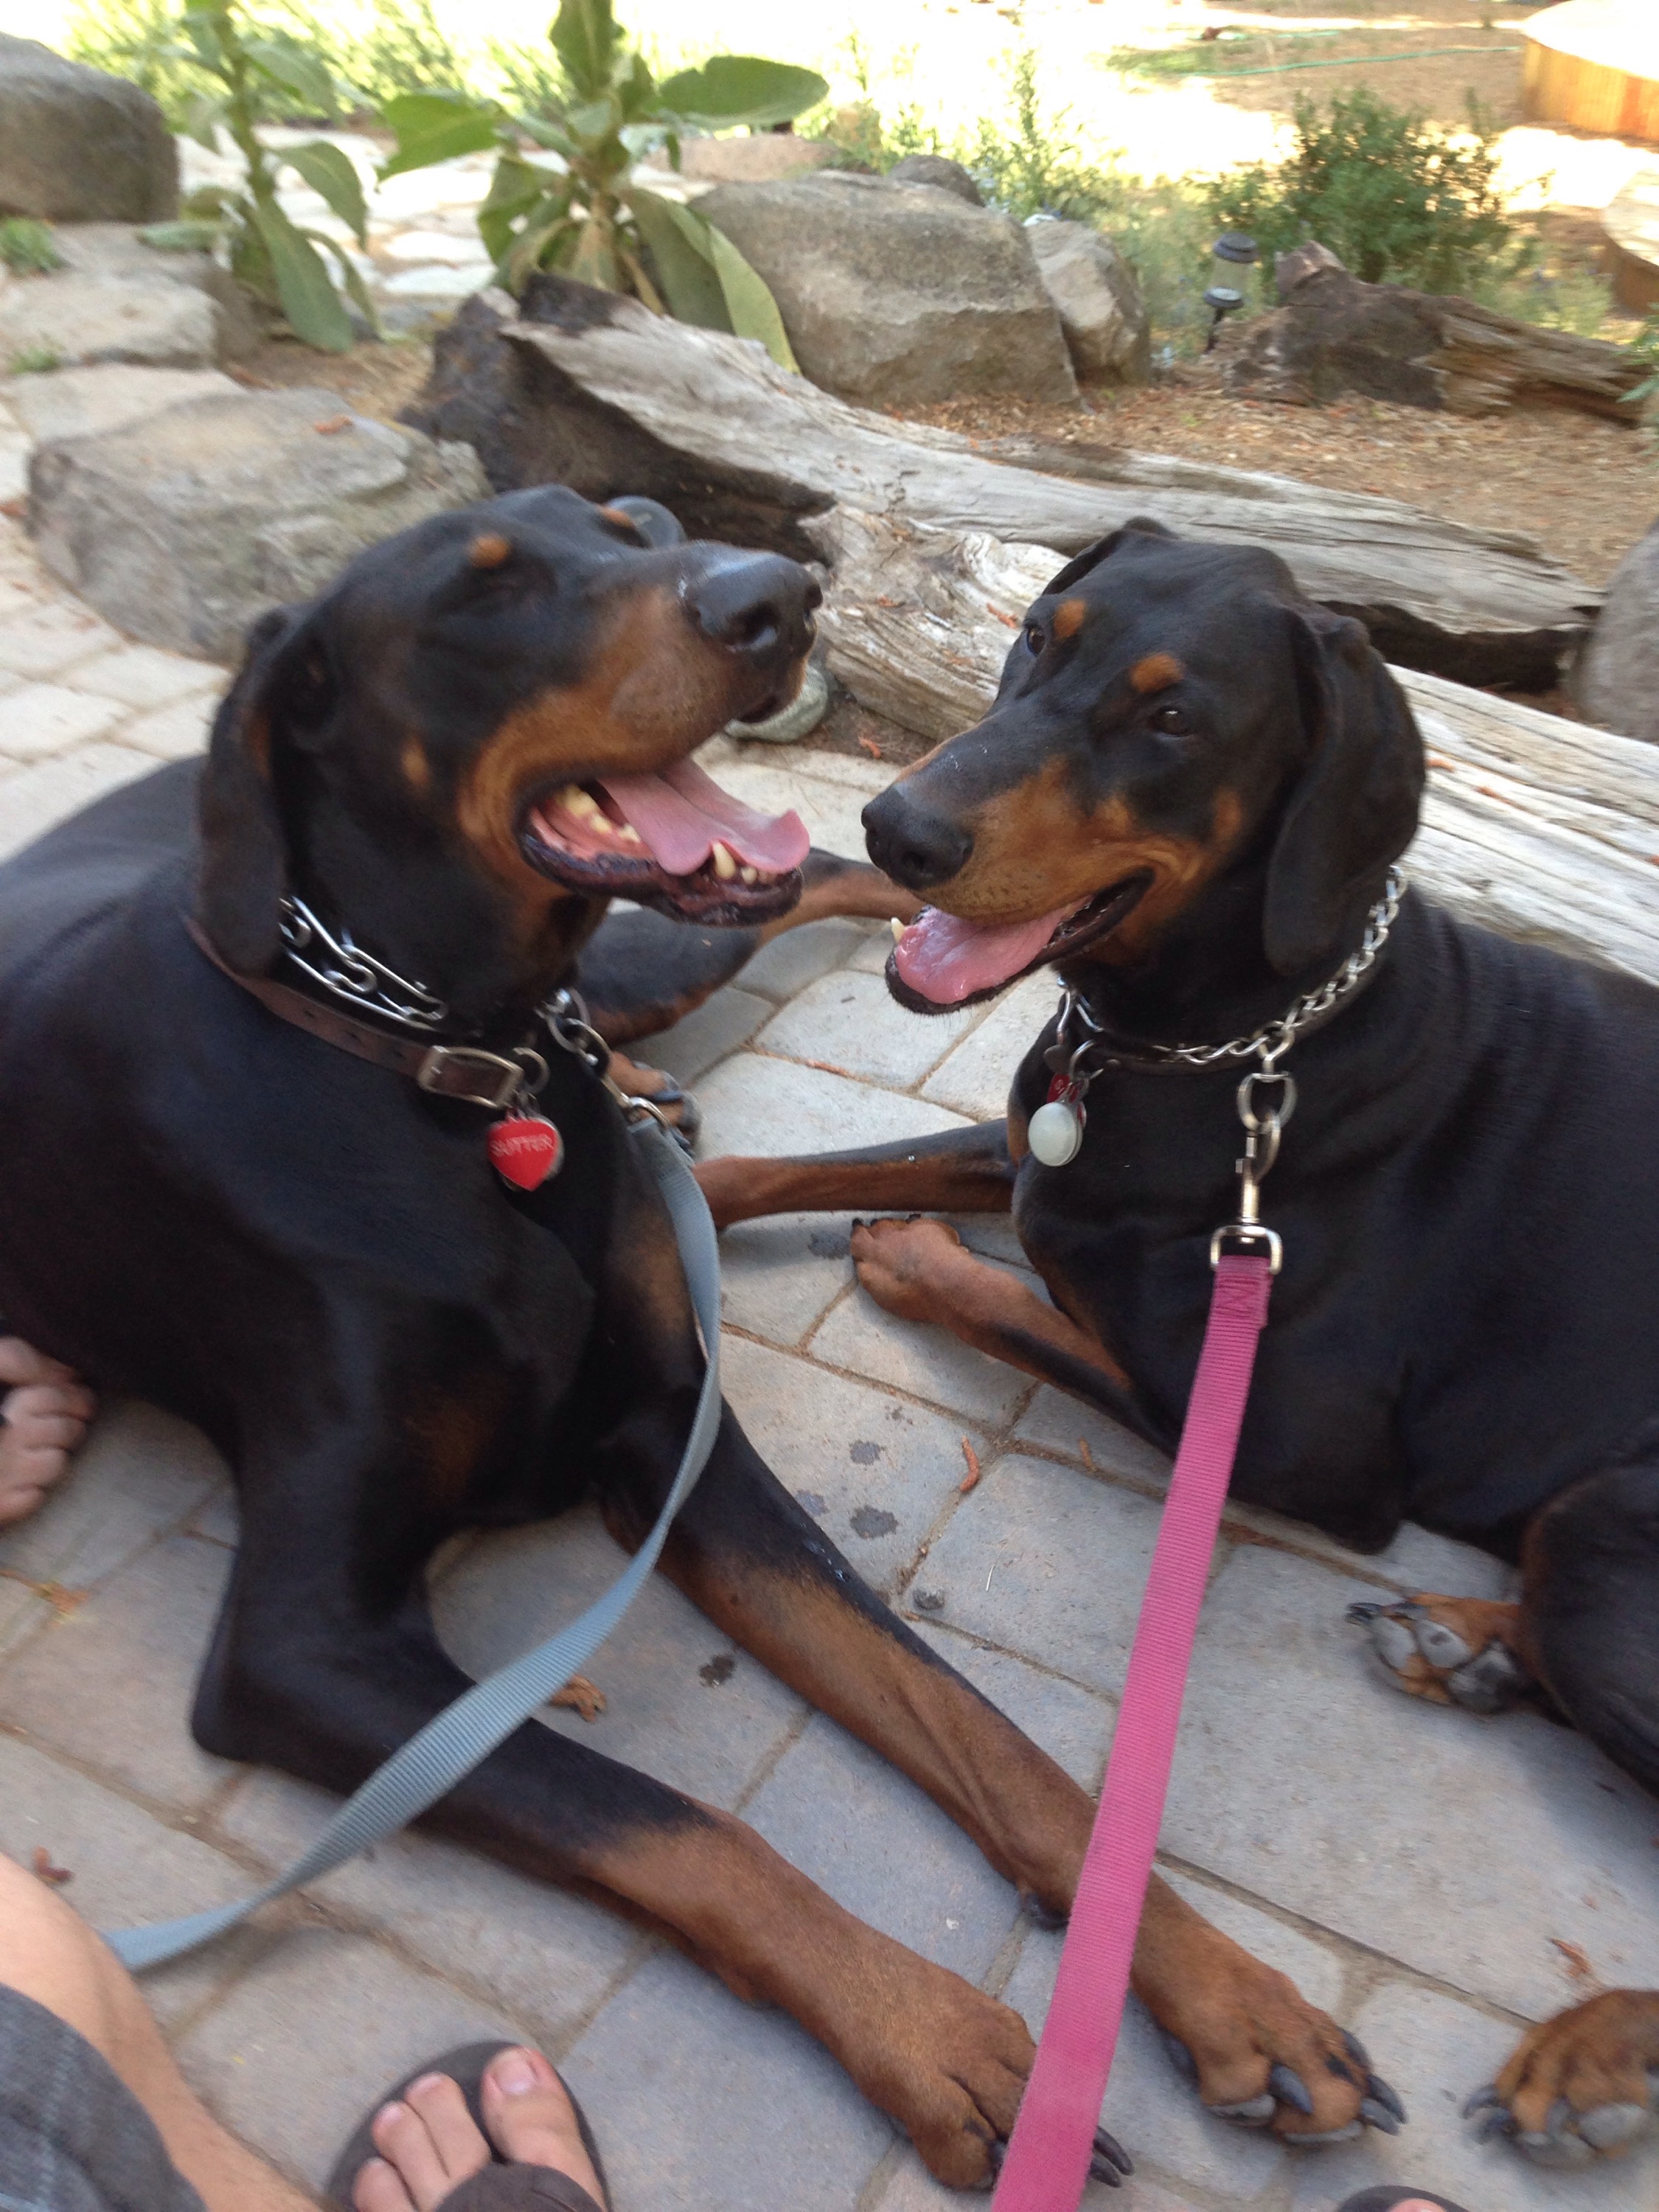 If you follow us on Instagram you know they were some very happy pups this past weekend. Now all we need is a finished trailer for all our off season adventures…
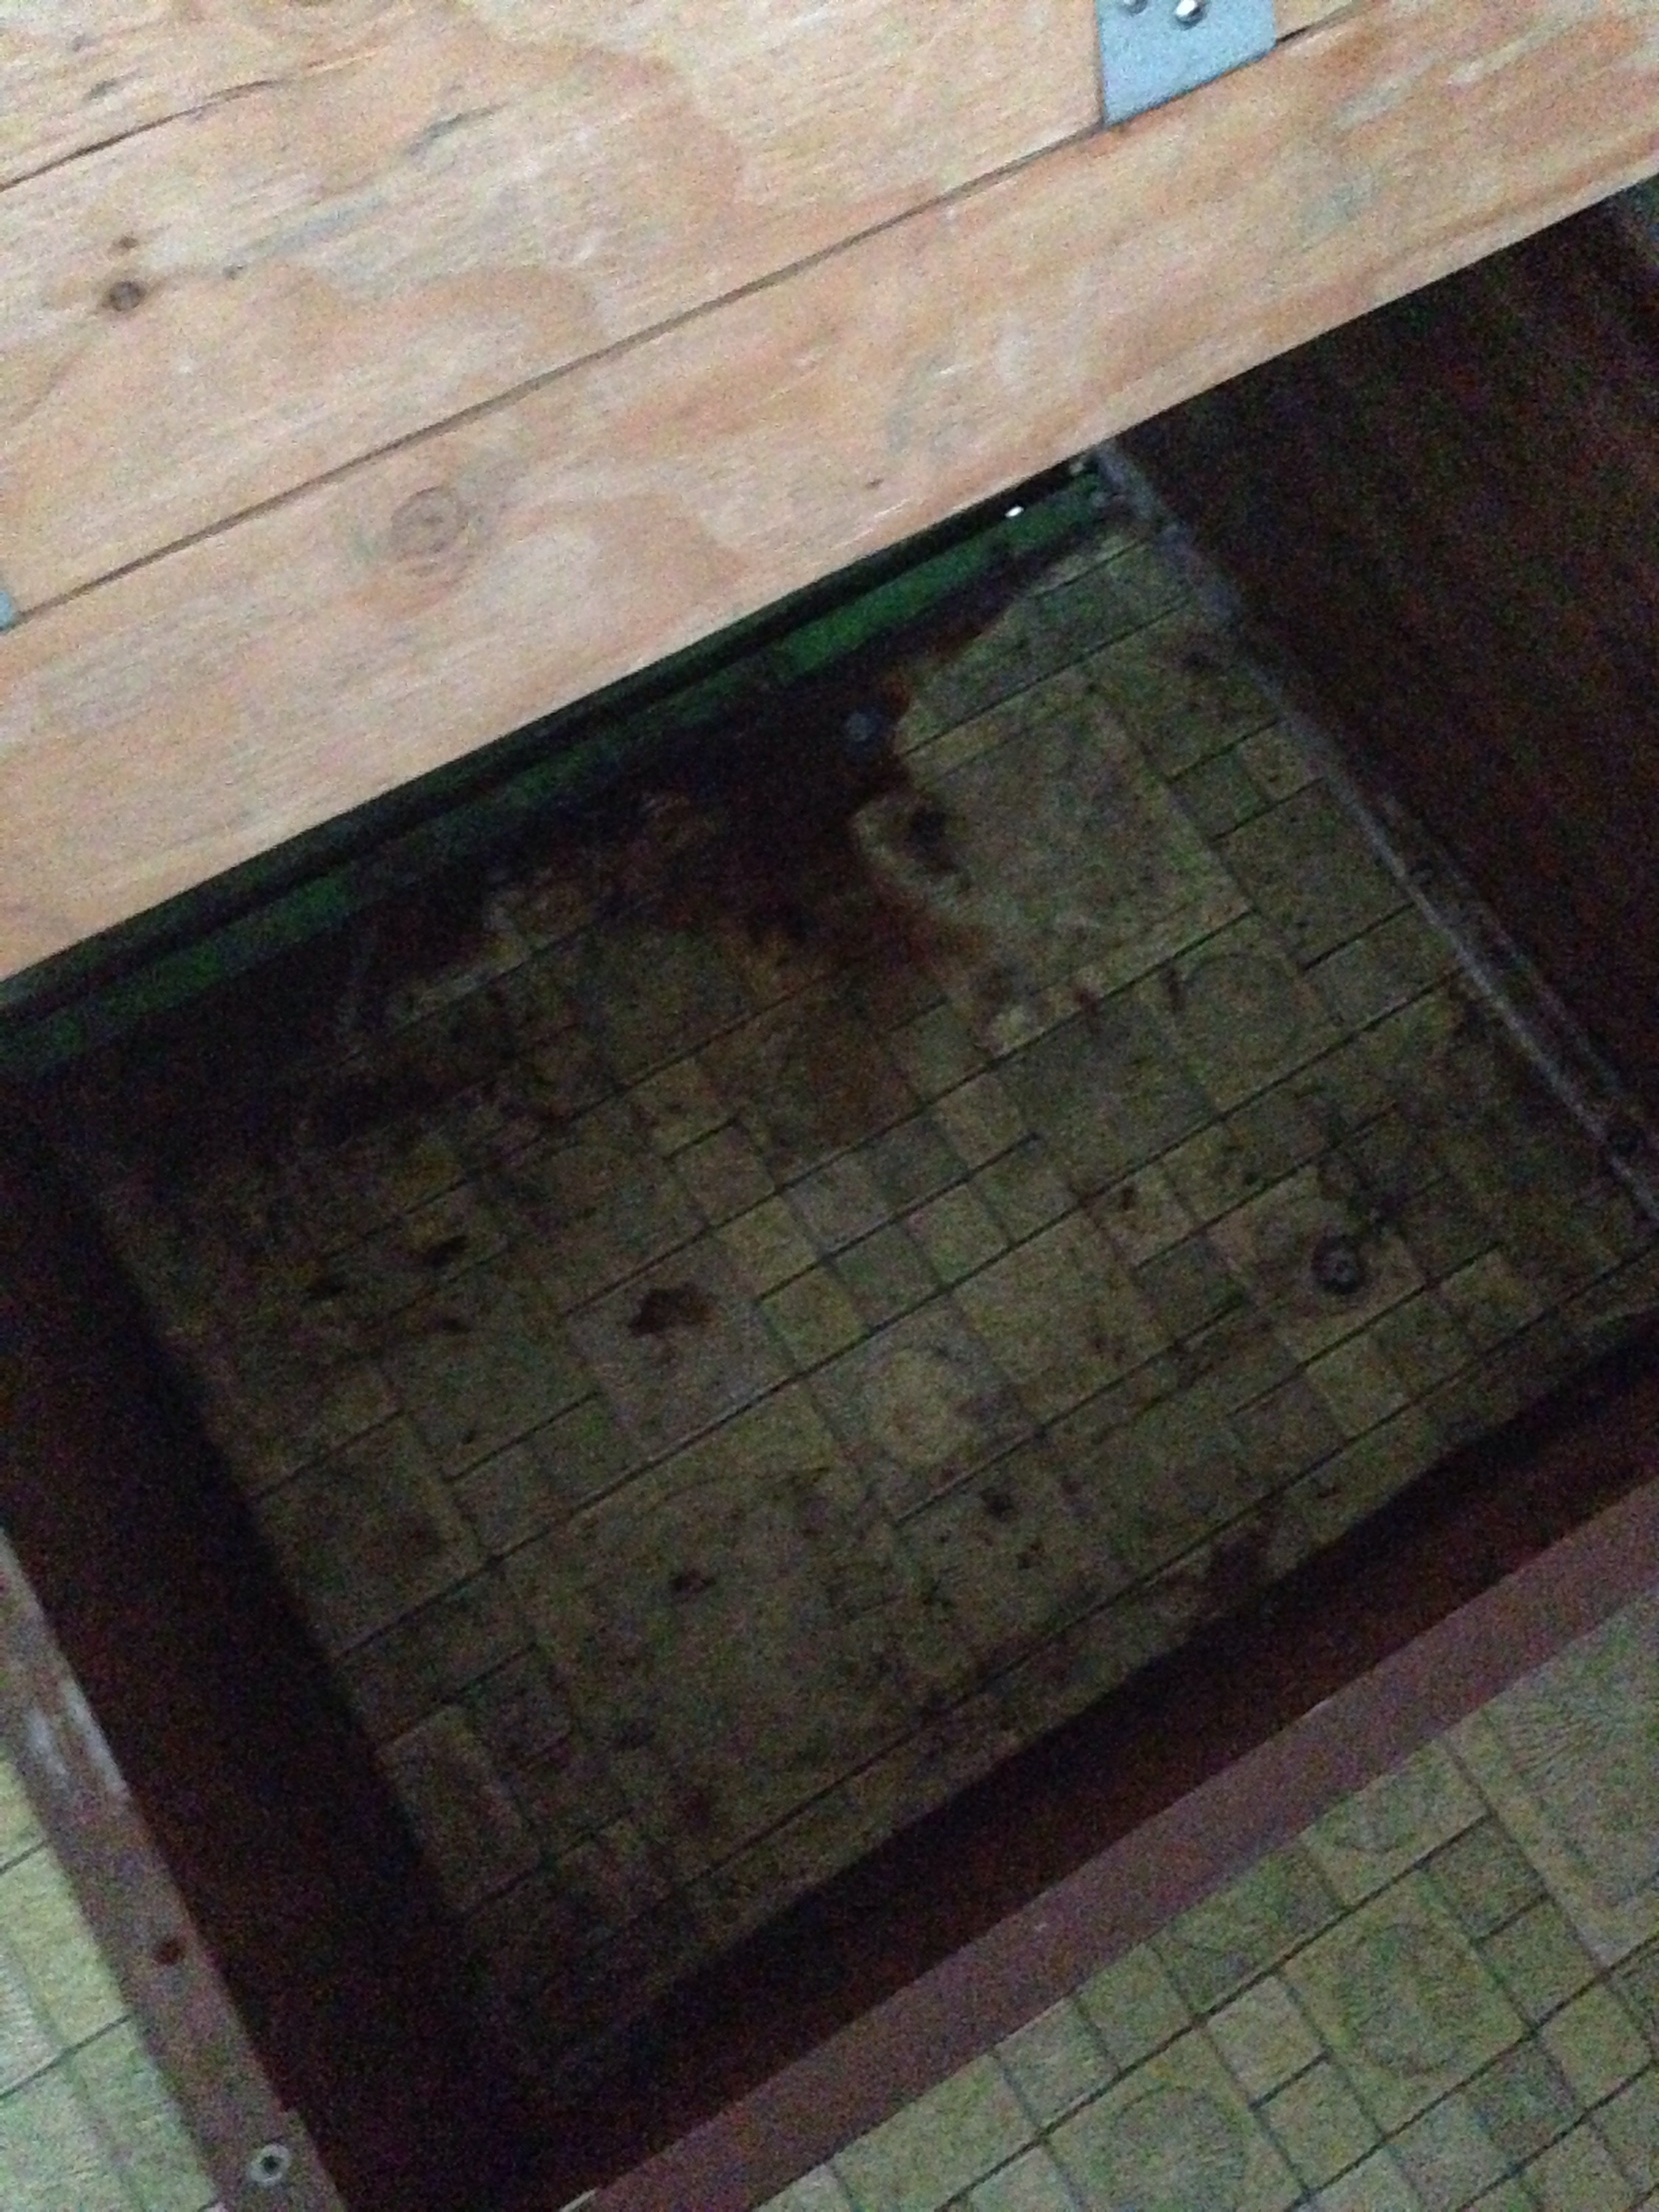
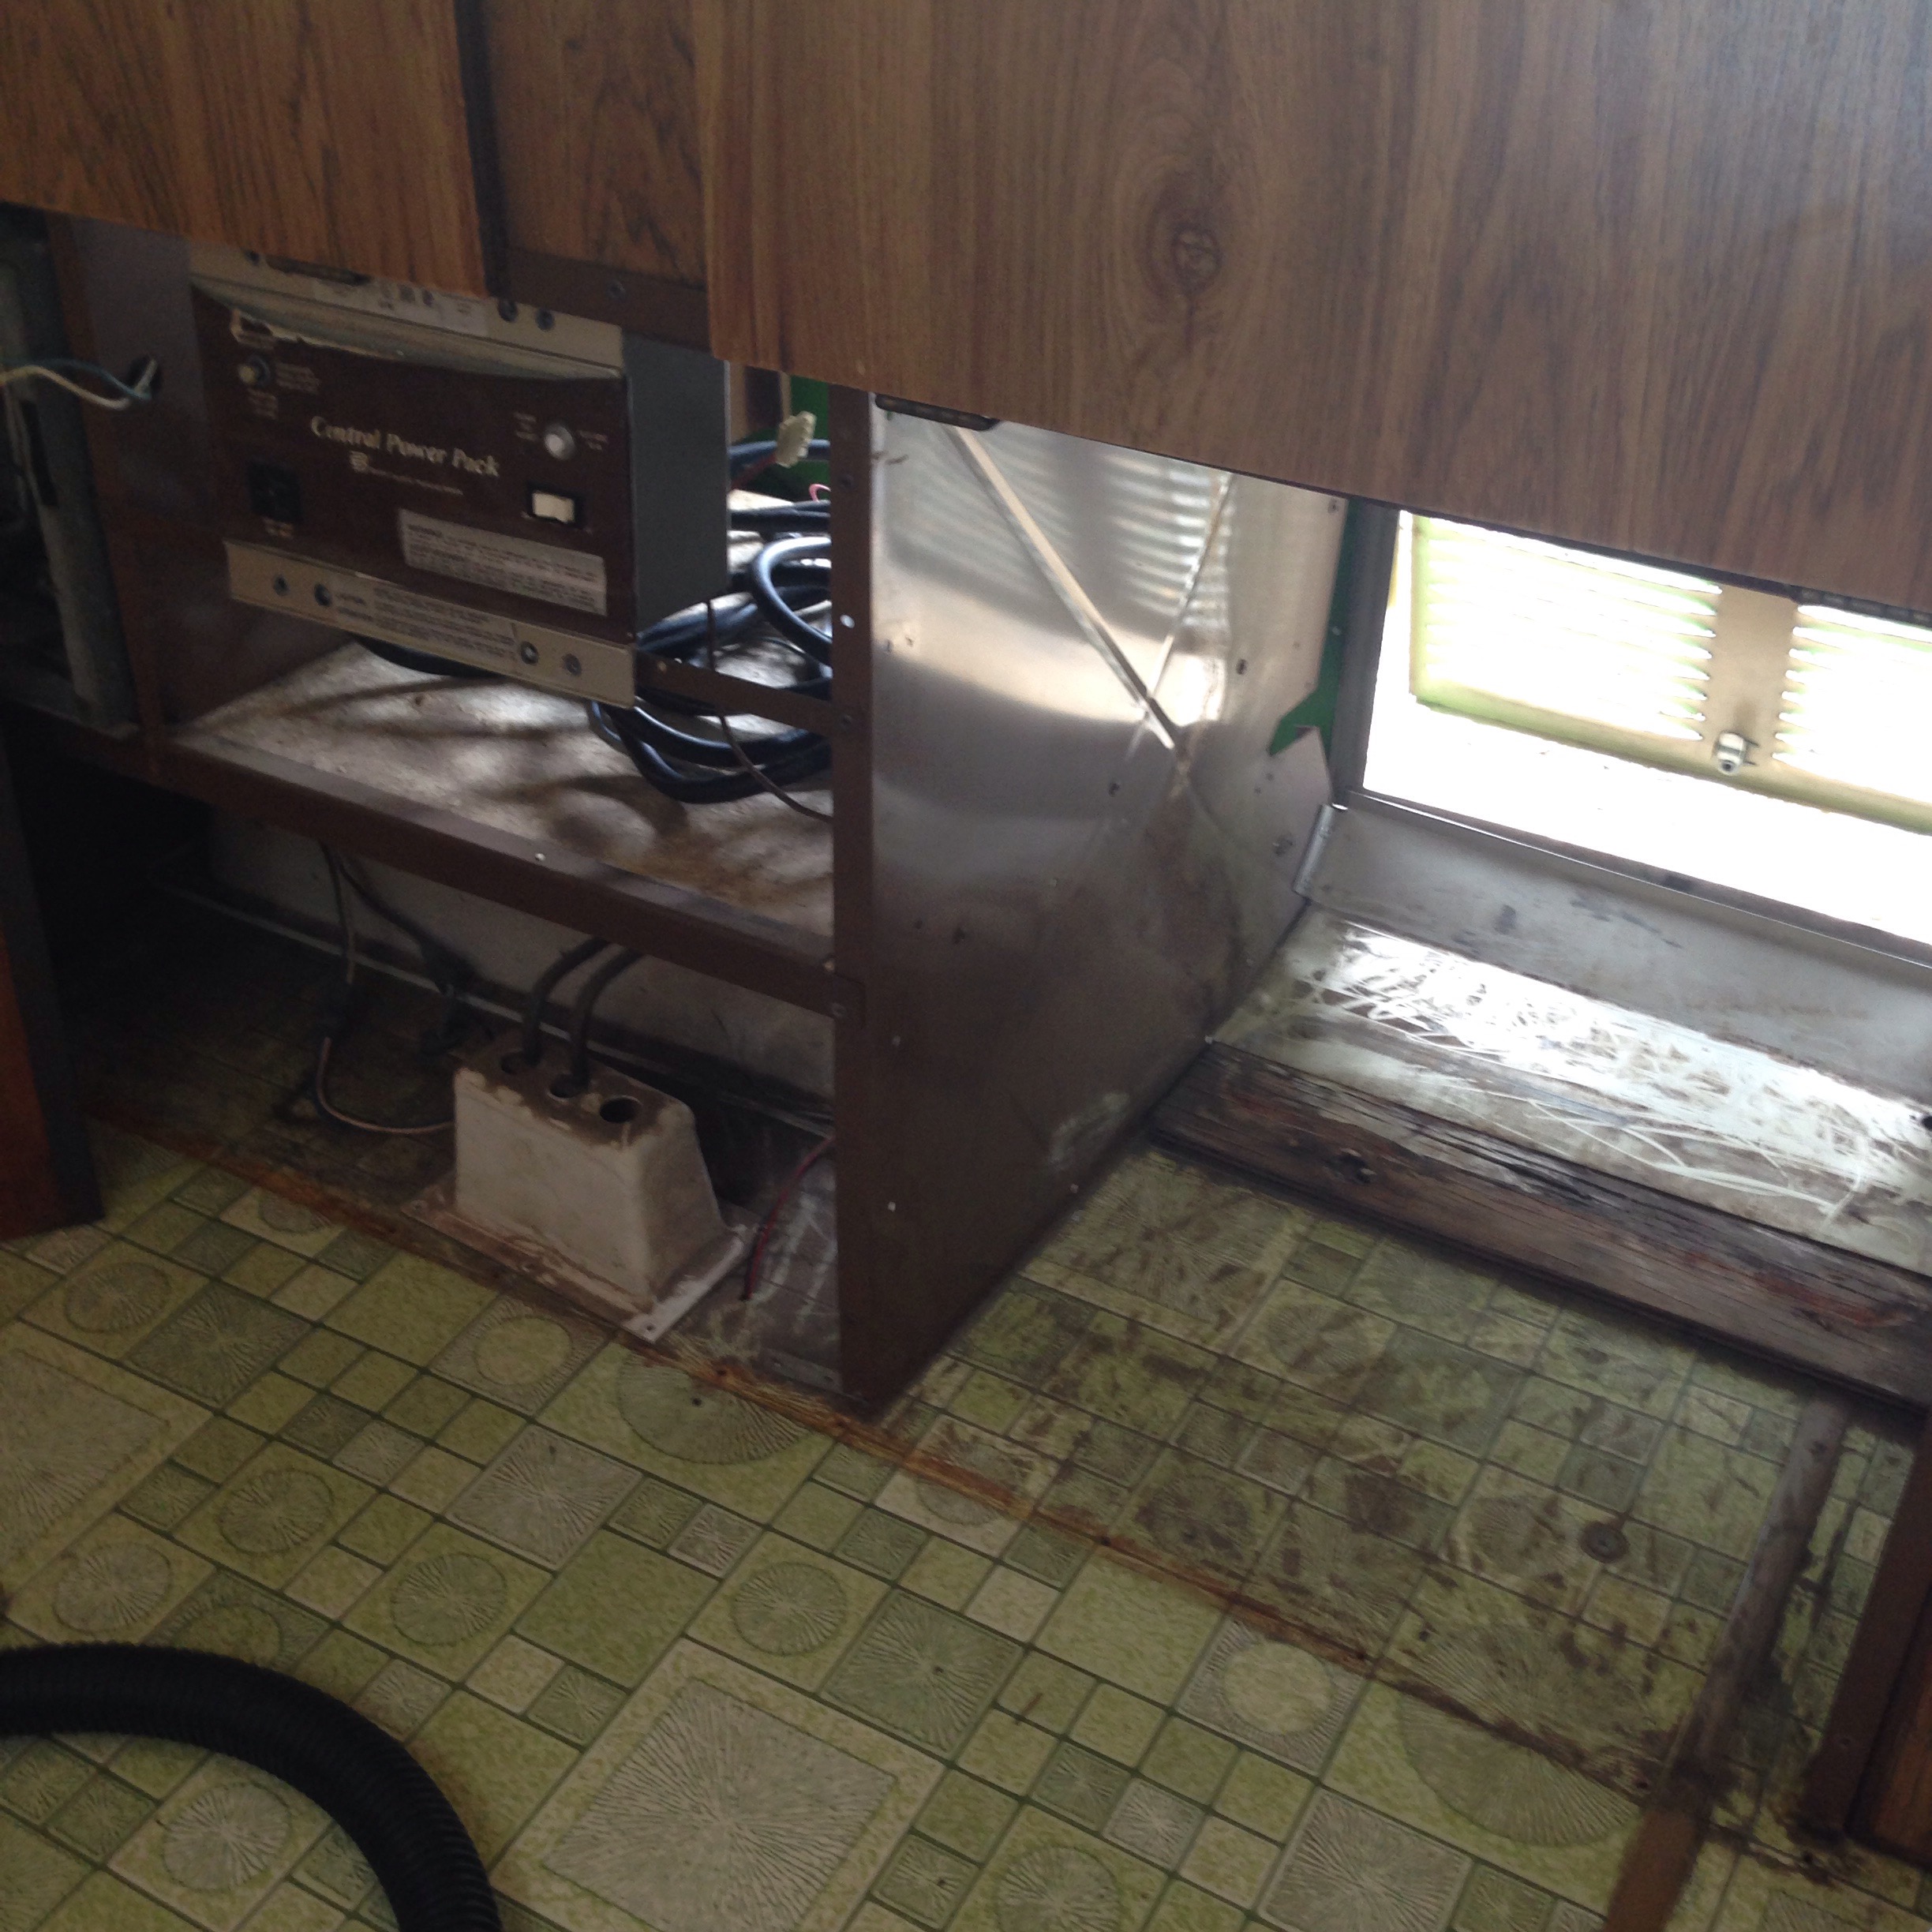 Yuck! Ugh!😝 Yeah that’s where the old 3-way refrigerator and water tank used to be. To get to these items you have to fold over the sink and counter, then unscrew the plywood cover (or in our case drill out many rivets.)
 Confusing to me is how these old trailers were designed with the water tanks and sink so close to your main power converter? (water + electricity…really?)
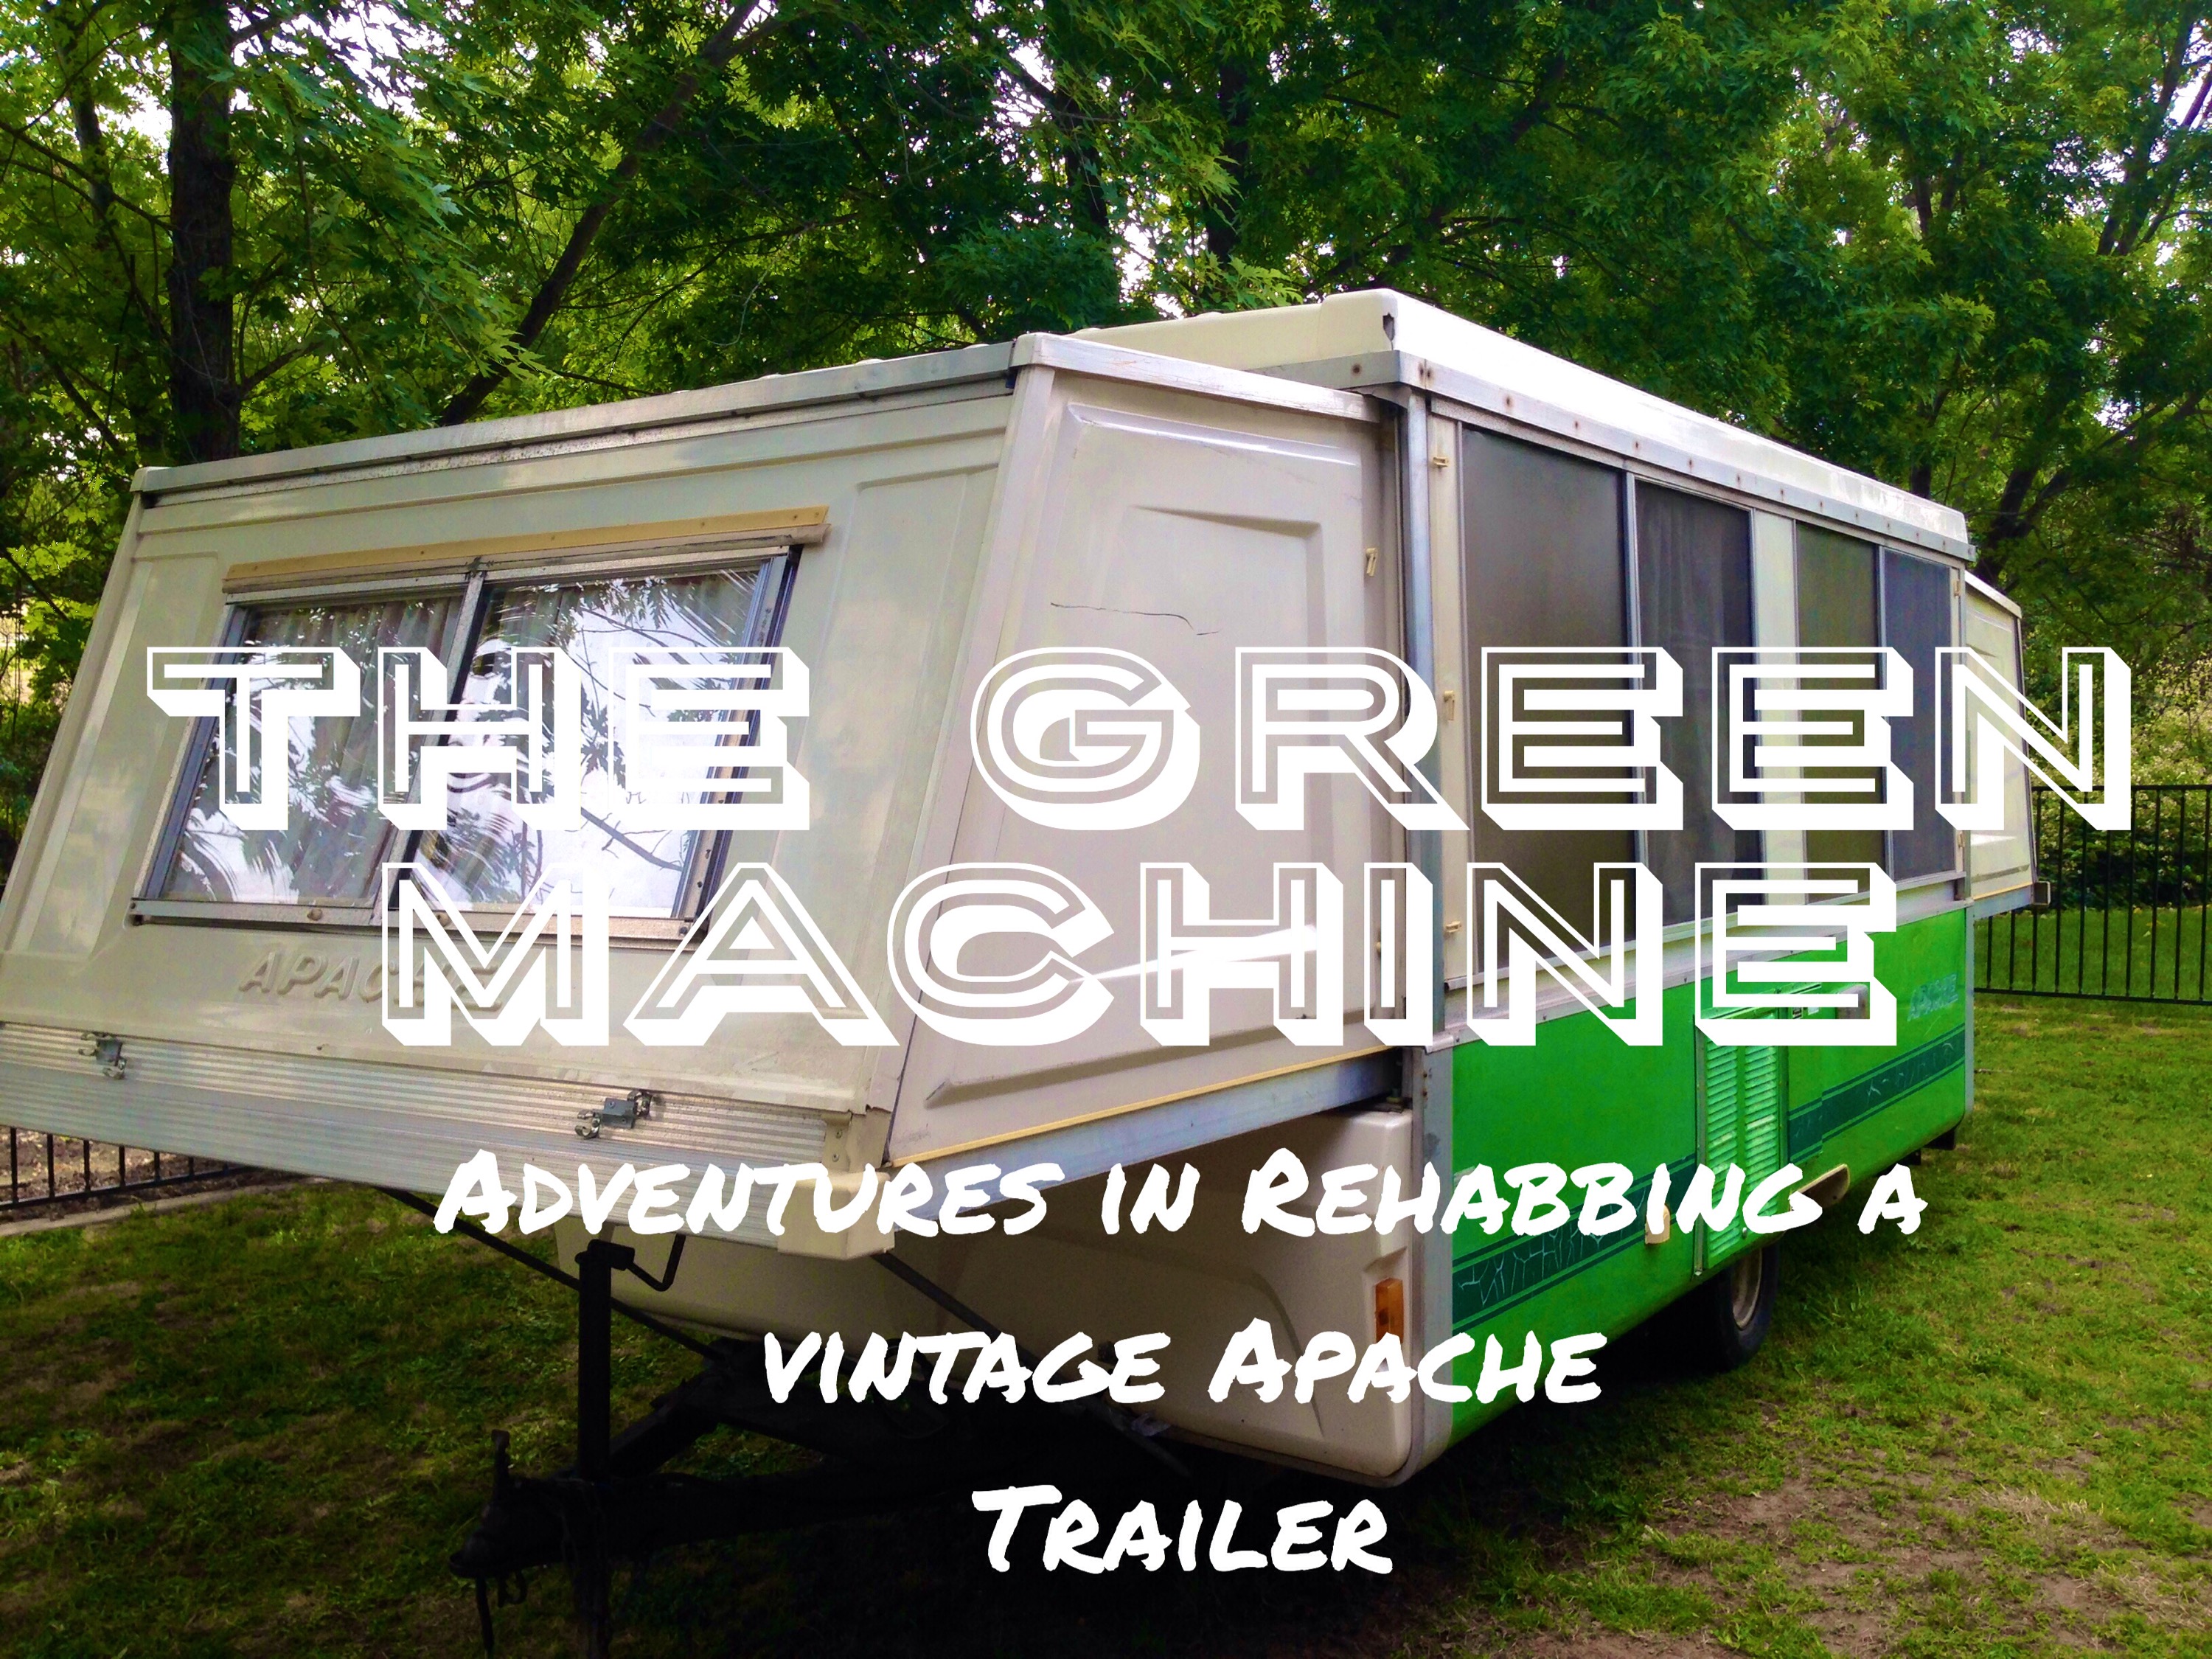
Anyway here’s what we pulled out of little Green Machine…
37 year old water tank (Um, yes new water tank please) 
Rusted out 3-way refrigerator

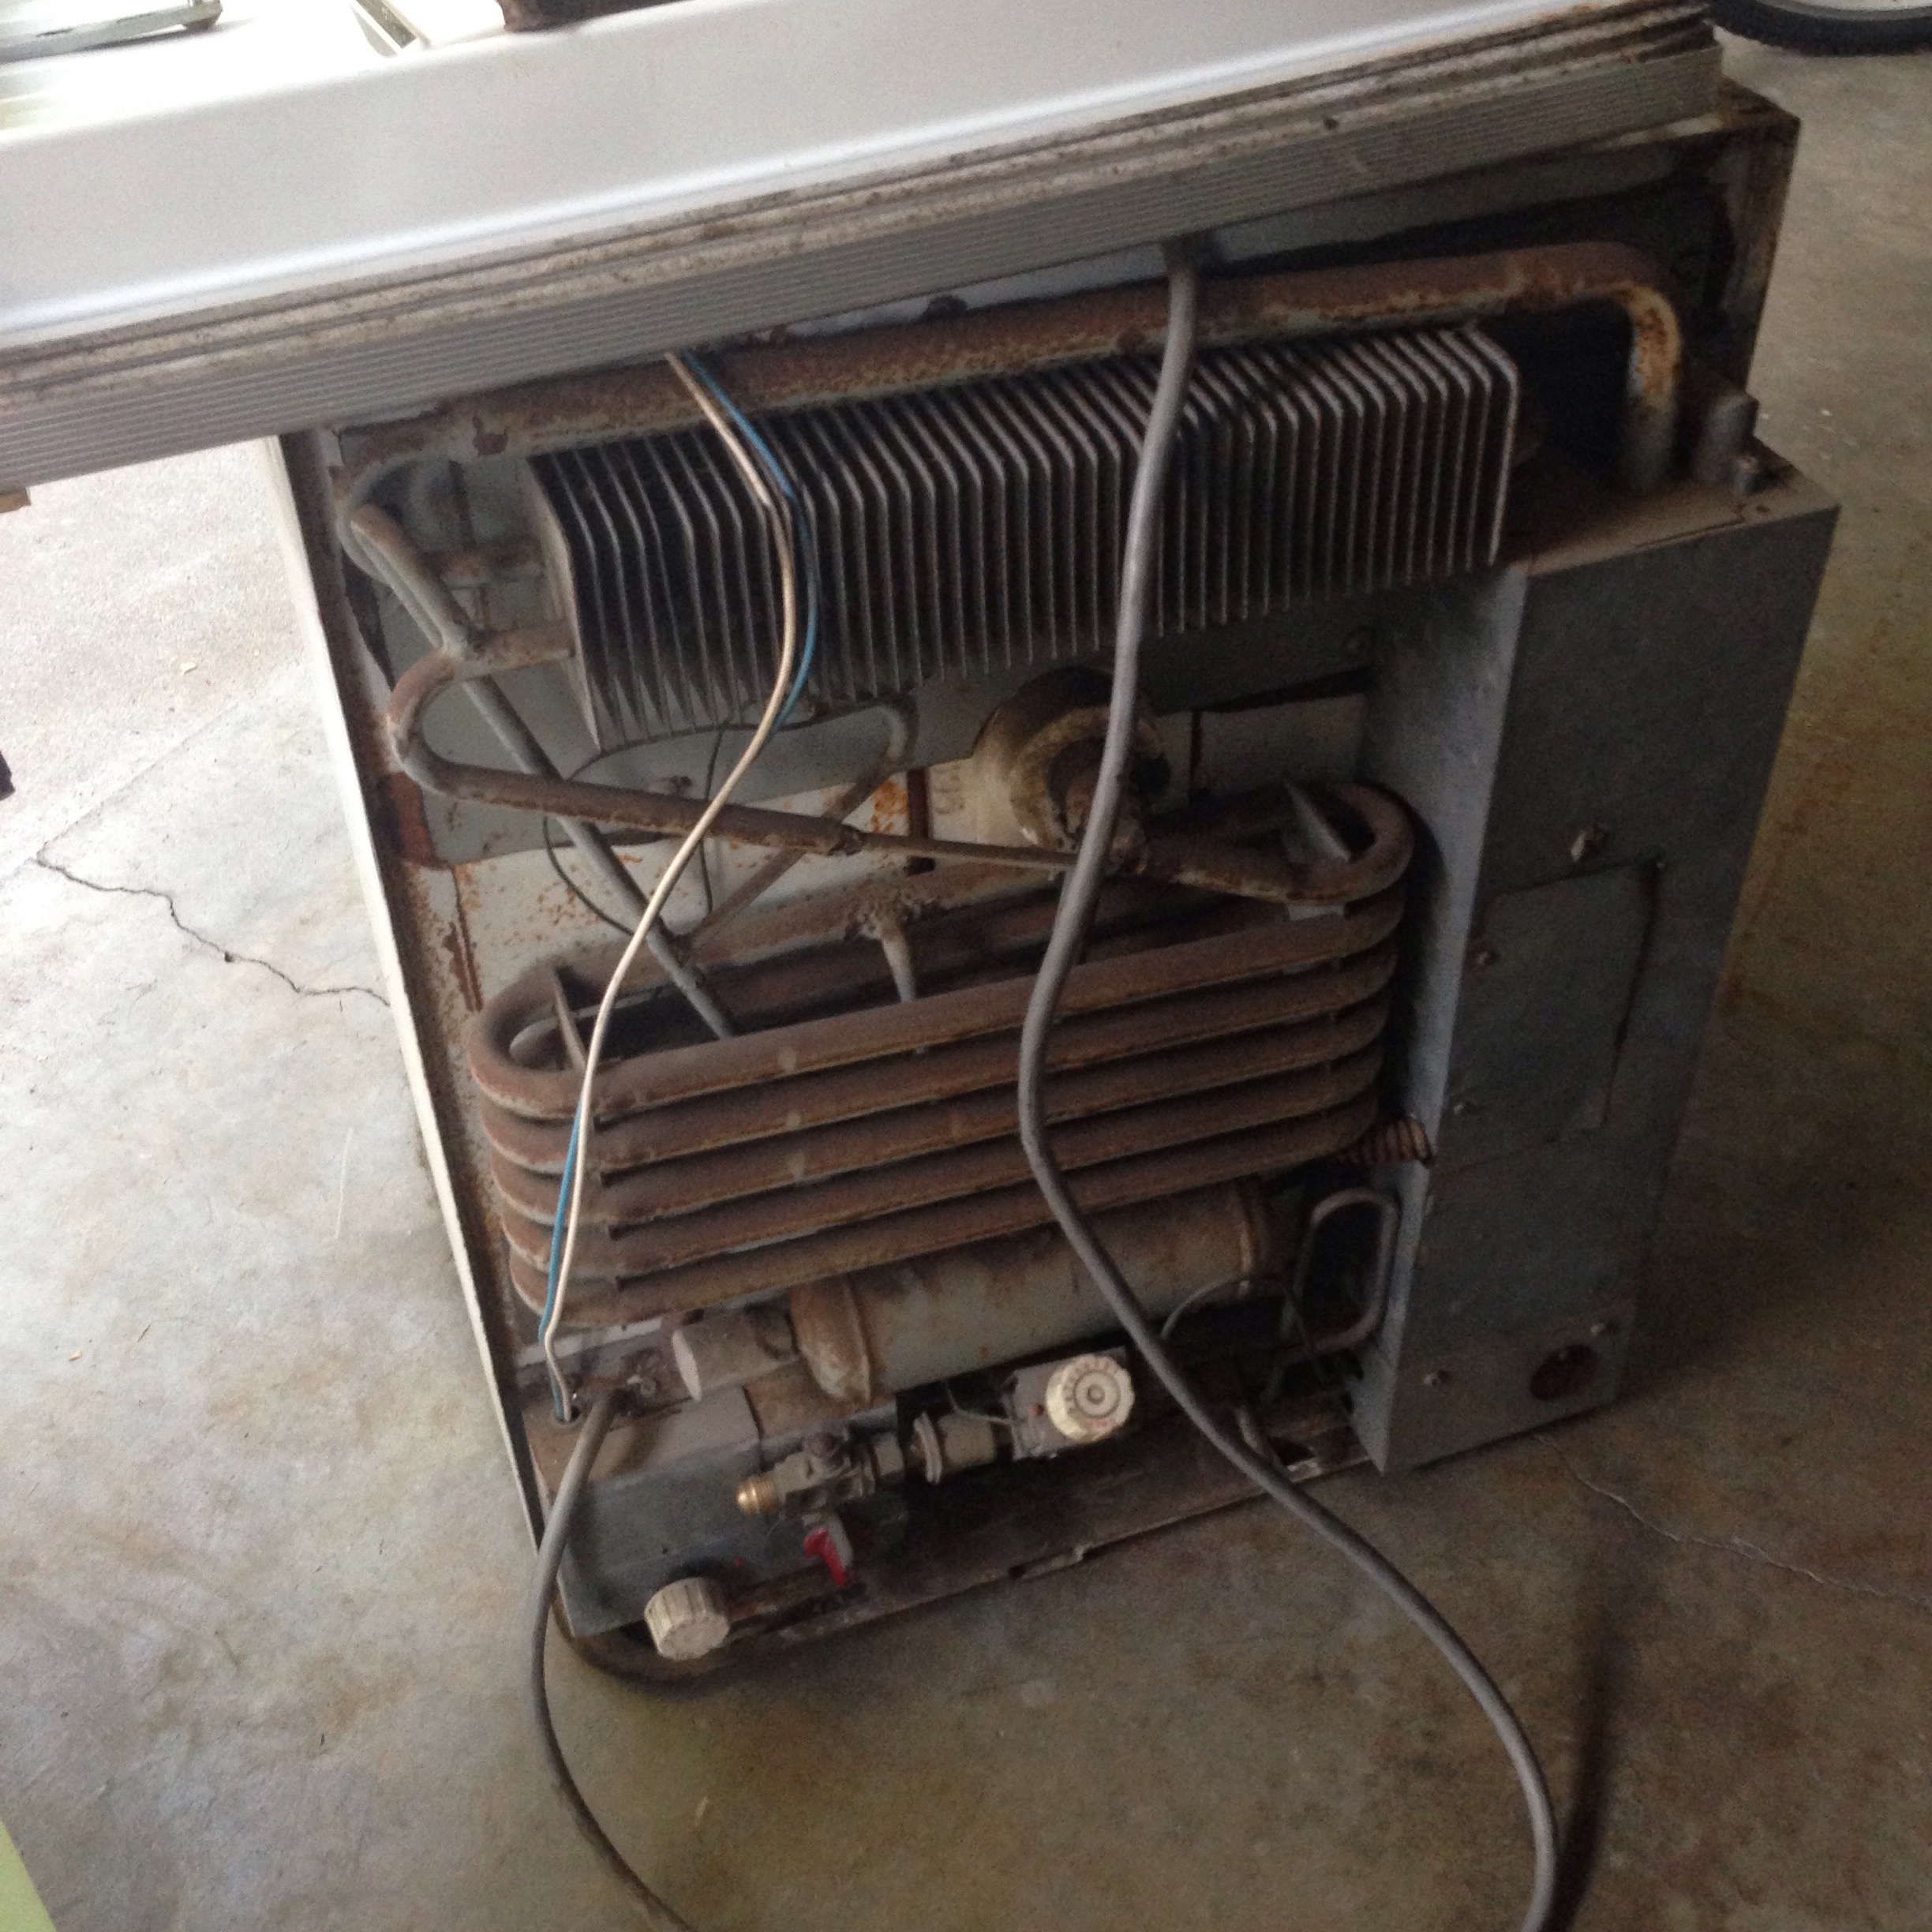
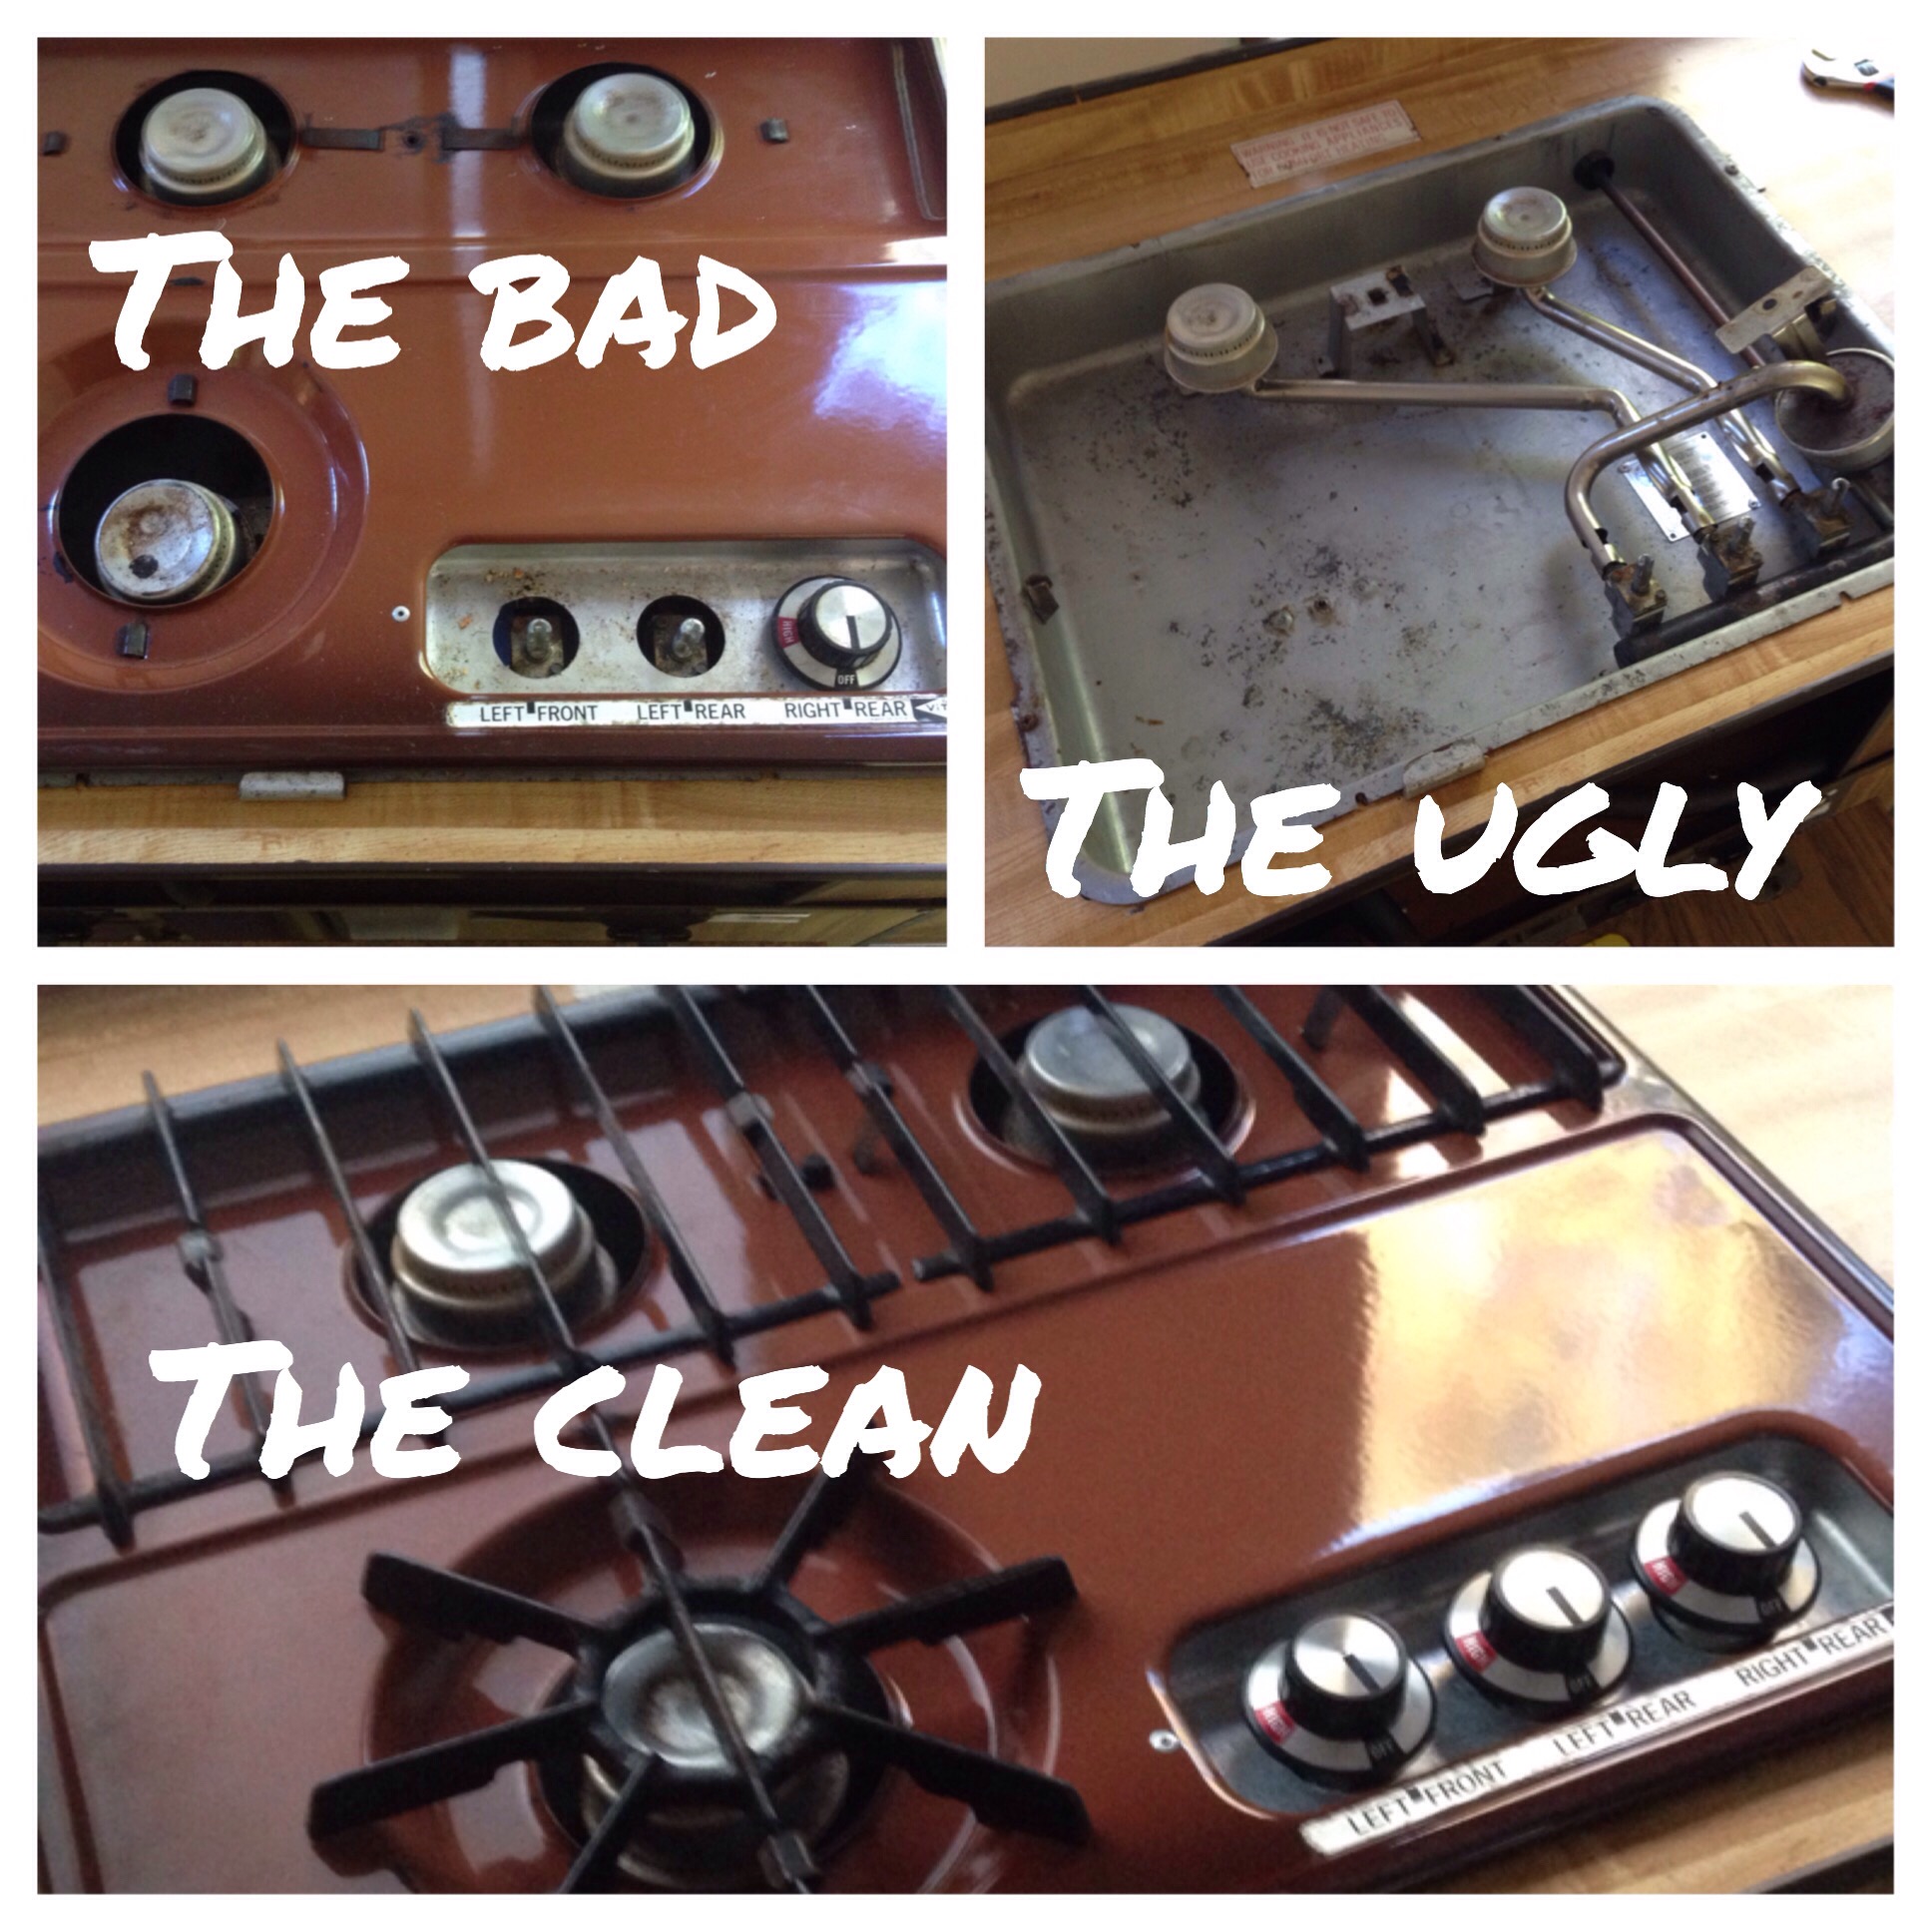
Since we don’t want to sink too much money or time into this project we may try to rehab the refrigerator (IF it still even works) this week I’m going to plug it in, see if it at least works in a standard 120, then on 12V battery, and then propane. If it works like a champ then maybe we’ll invest the time and energy to clean it up.
Considering how pricey a new three way can be we’ve considered just installing a dorm room fridge. Remember we’re summer season tent campers, the trailer was bought to give us freedom for all season adventures. Since most places we intend to camp at during the off-season are on the California coast with full hook-ups, a dorm fridge may be the easiest and most reliable option. Which will leave more money in the budget for new wiring and converter.
I wish we were further along, but each weekend we are still knee deep into cleaning and all the boring projects of trailer repairs. (Oh when, oh when can I start blogging about fabric and paint colors?! 😫)
I give my dad and husband credit for reigning me in and remaining practical. As they’ve reminded me several times, you don’t want a beautiful interior, then come to find the roof leaks water or the trailer frame breaks while in transit.
Therefore I will just let out a long yoga “OM”, and try to find good deals on new converters, water tanks, etc. However I’m not going to lie, with each dime I spend on boring replacement parts, instead of cute fabrics a little part of me dies inside😉 Hopefully we’ll be further along next weekend. Happy Sunday everyone! …”OMmmmm“