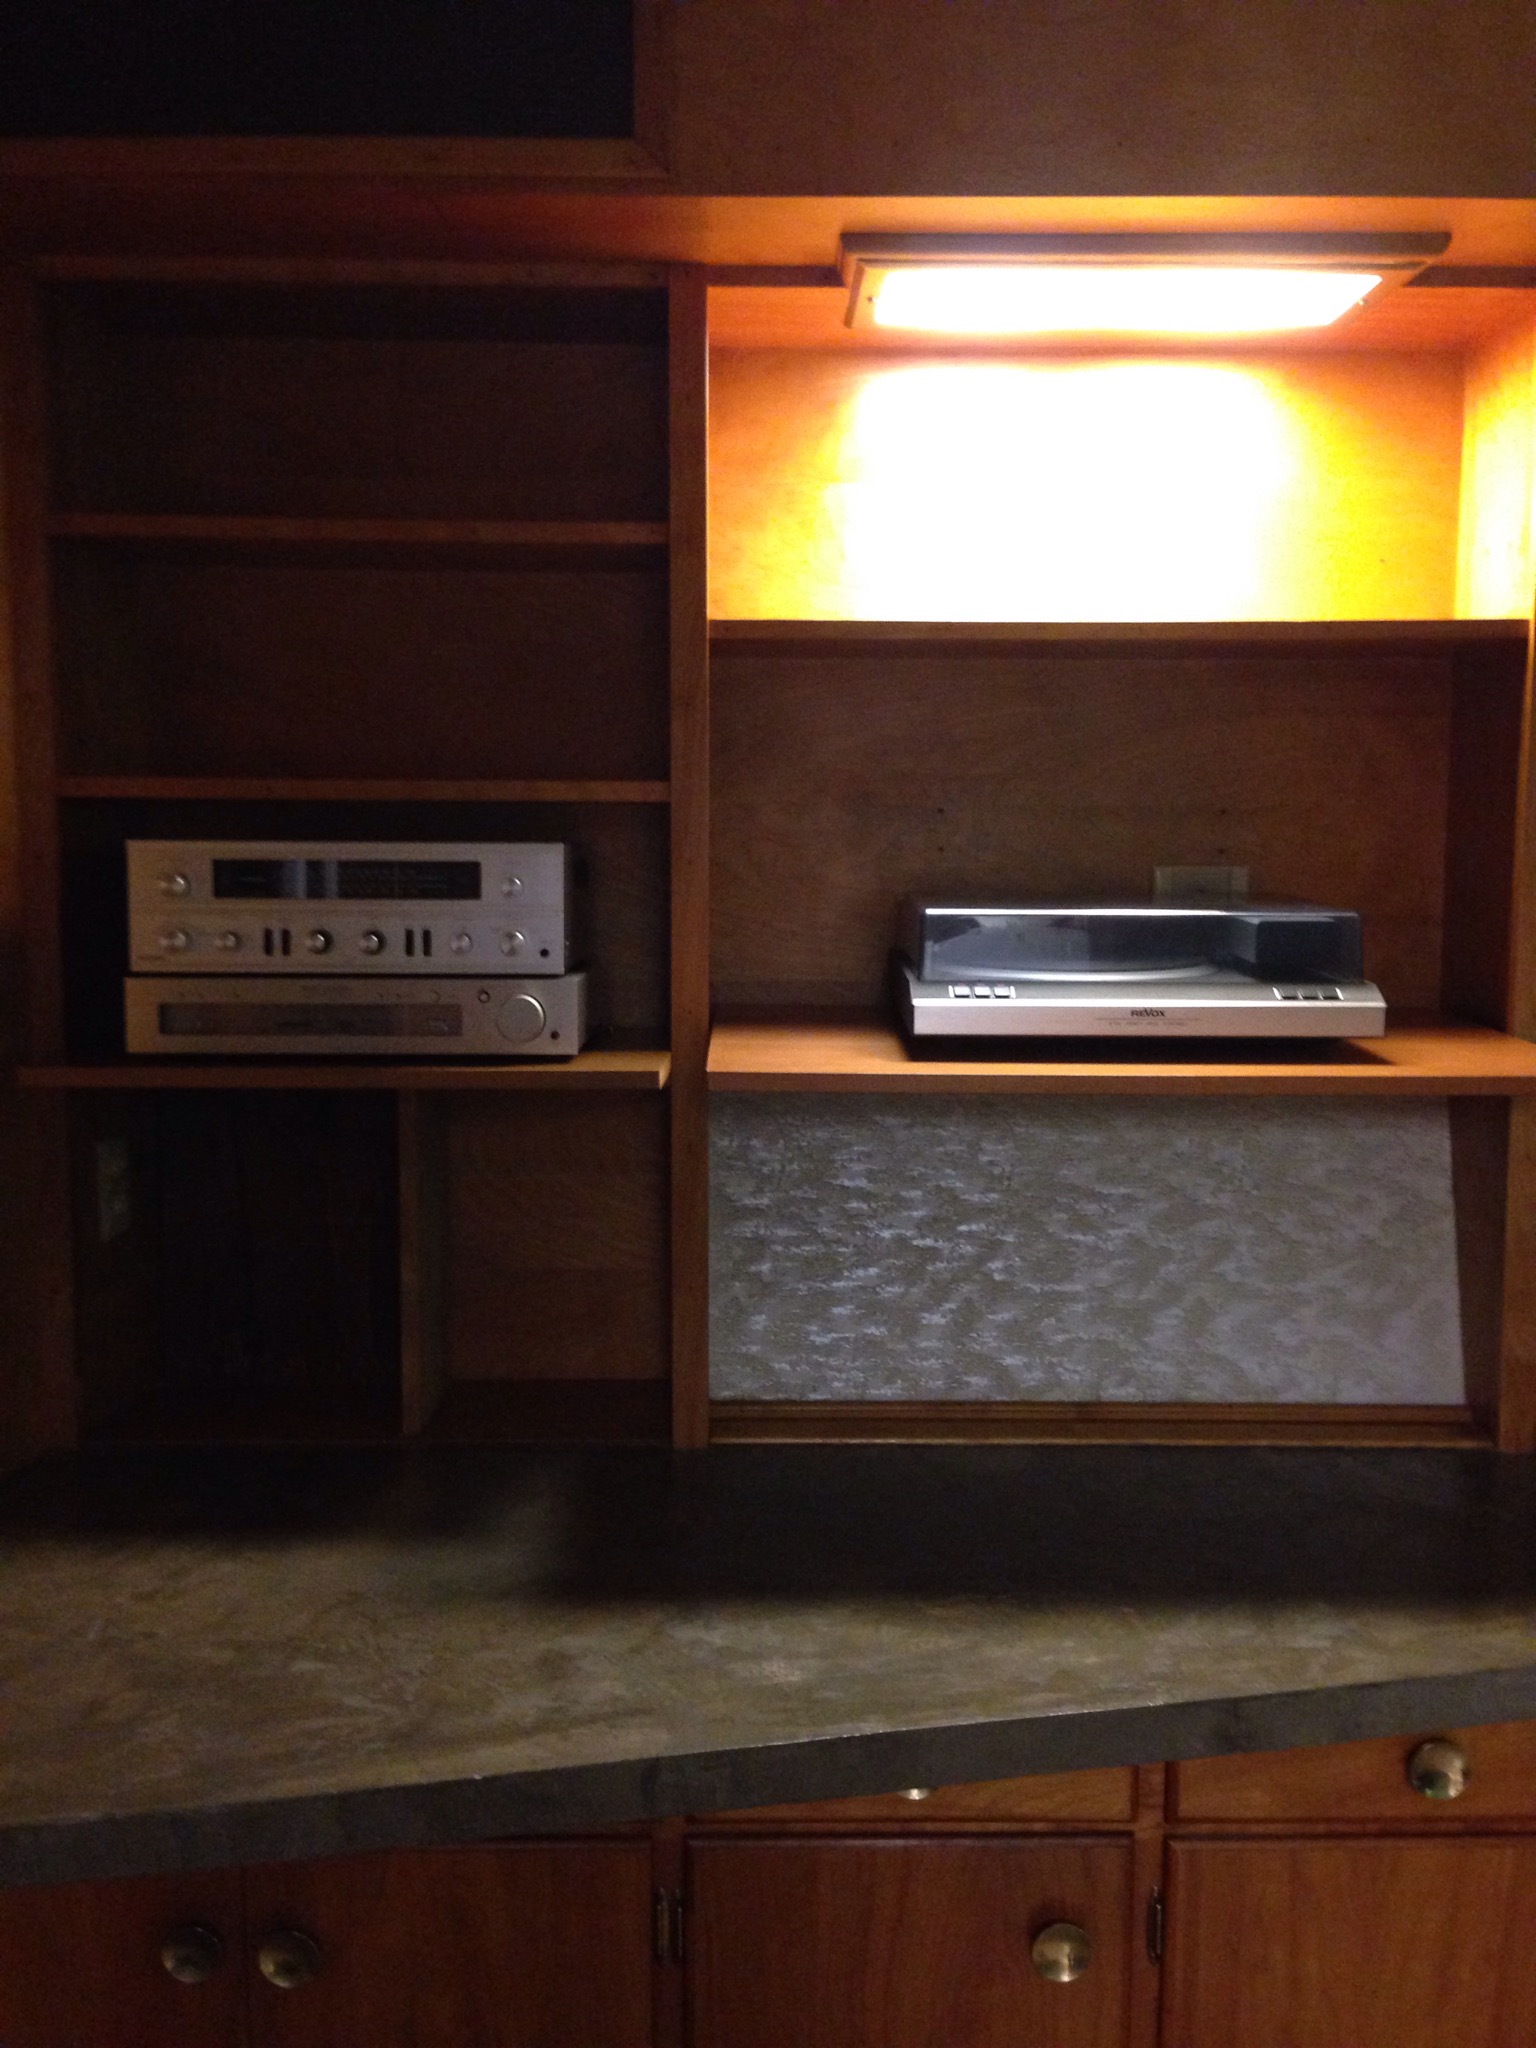
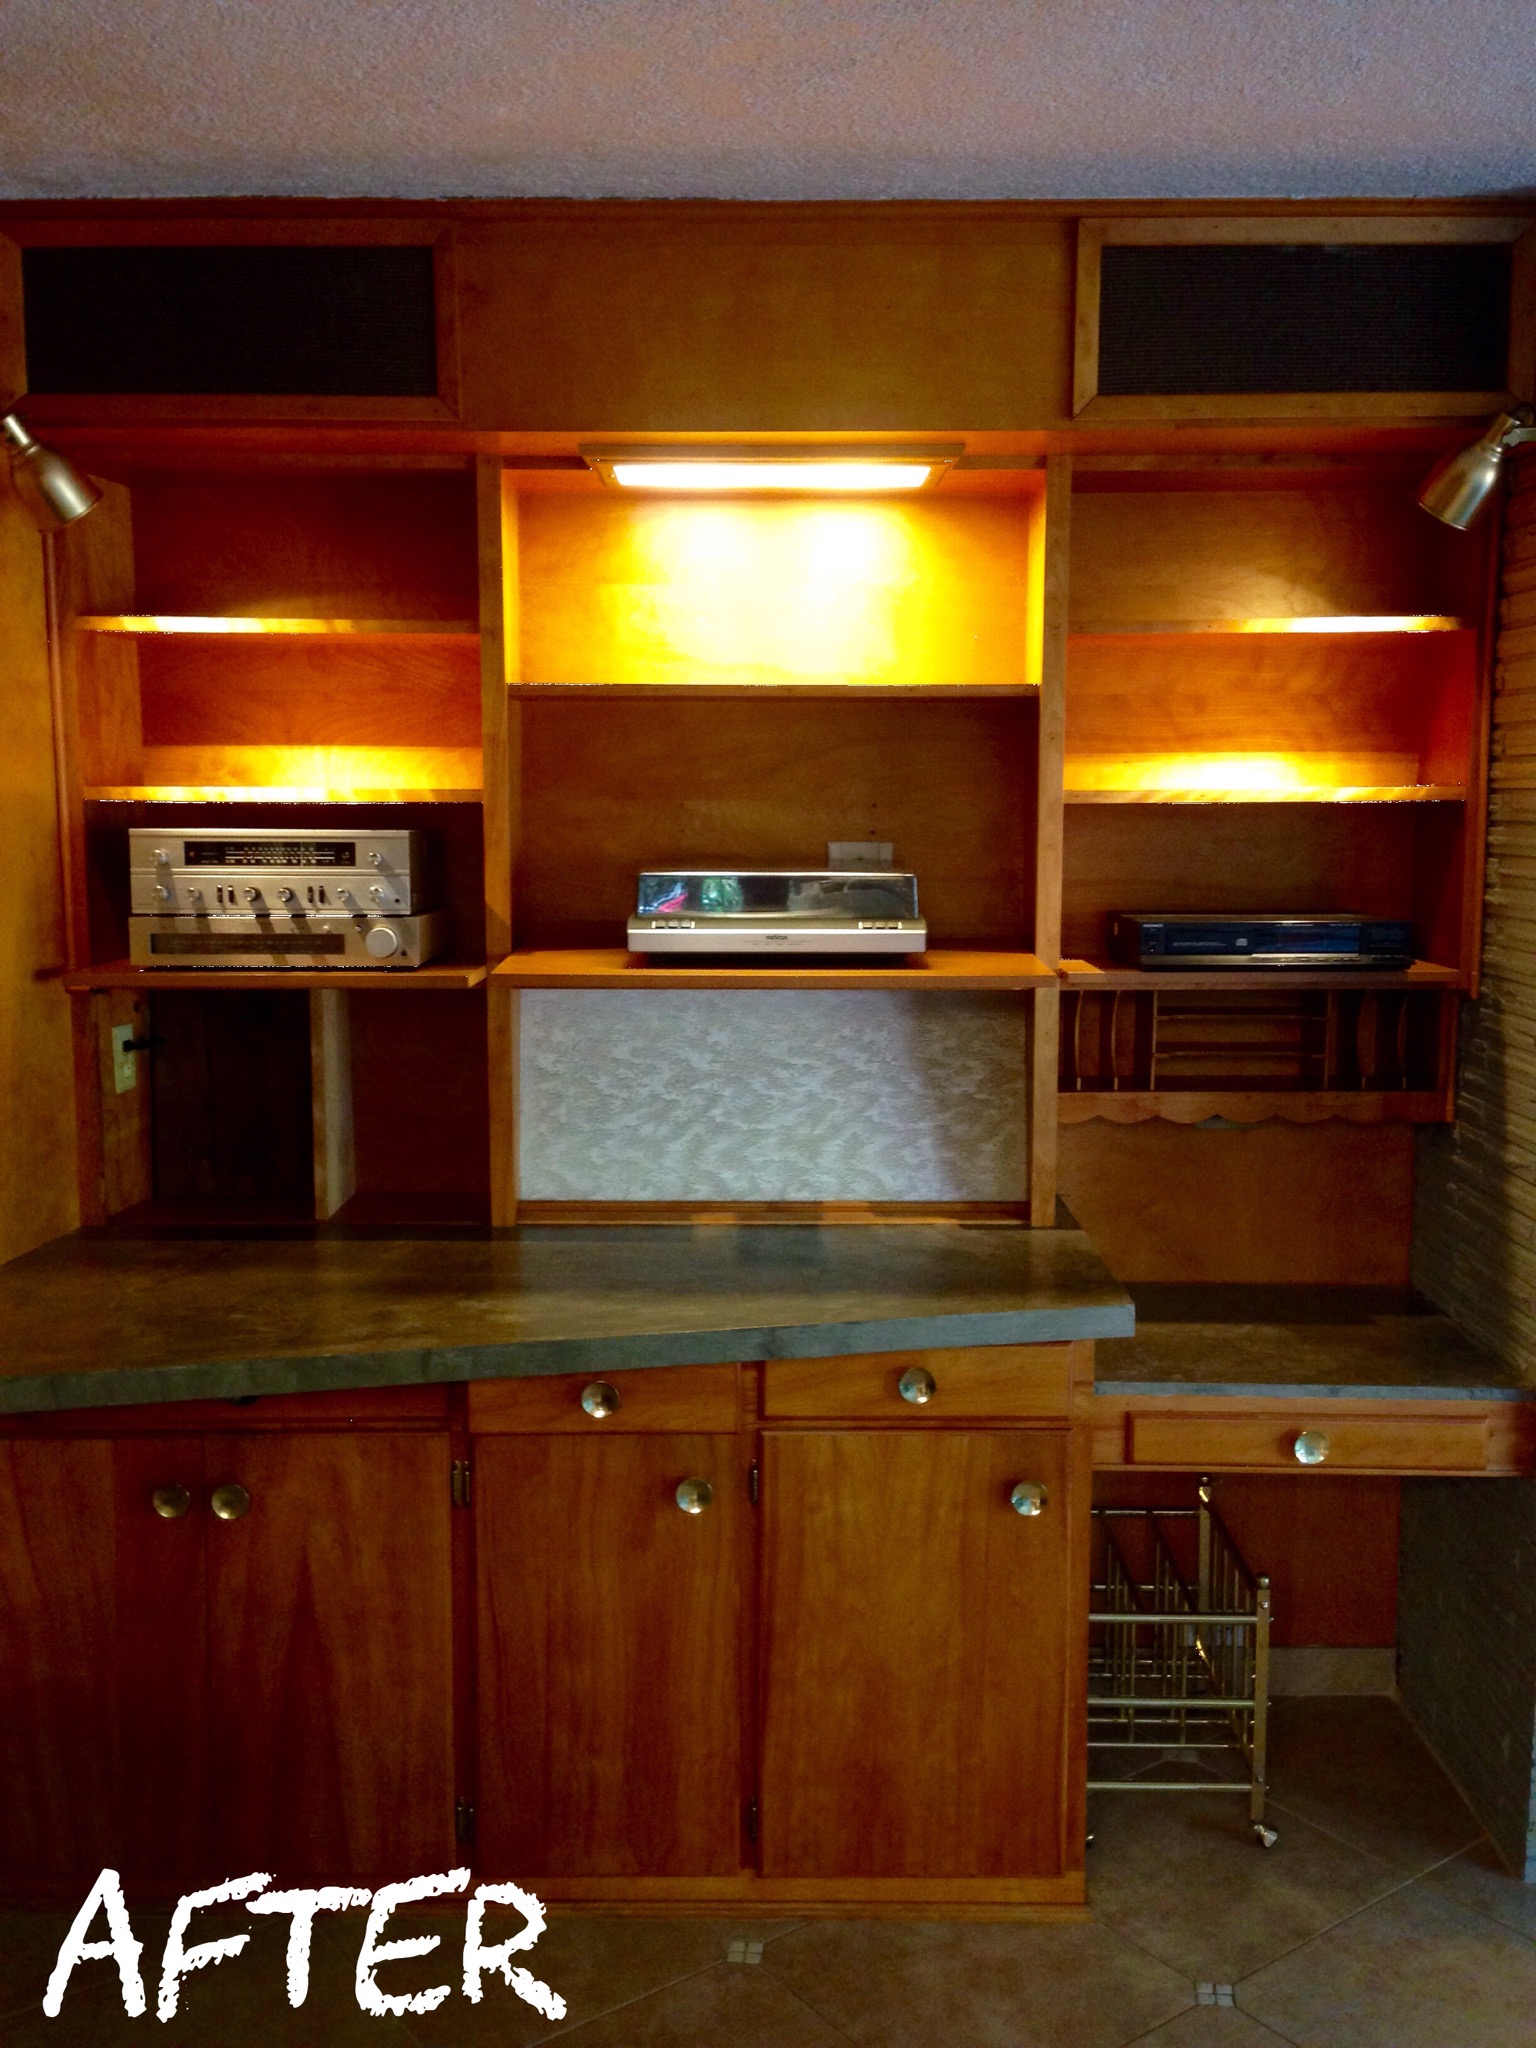
This Sunday should’ve been the last post on our Midcentury Built-in series. Instead it turned into this…

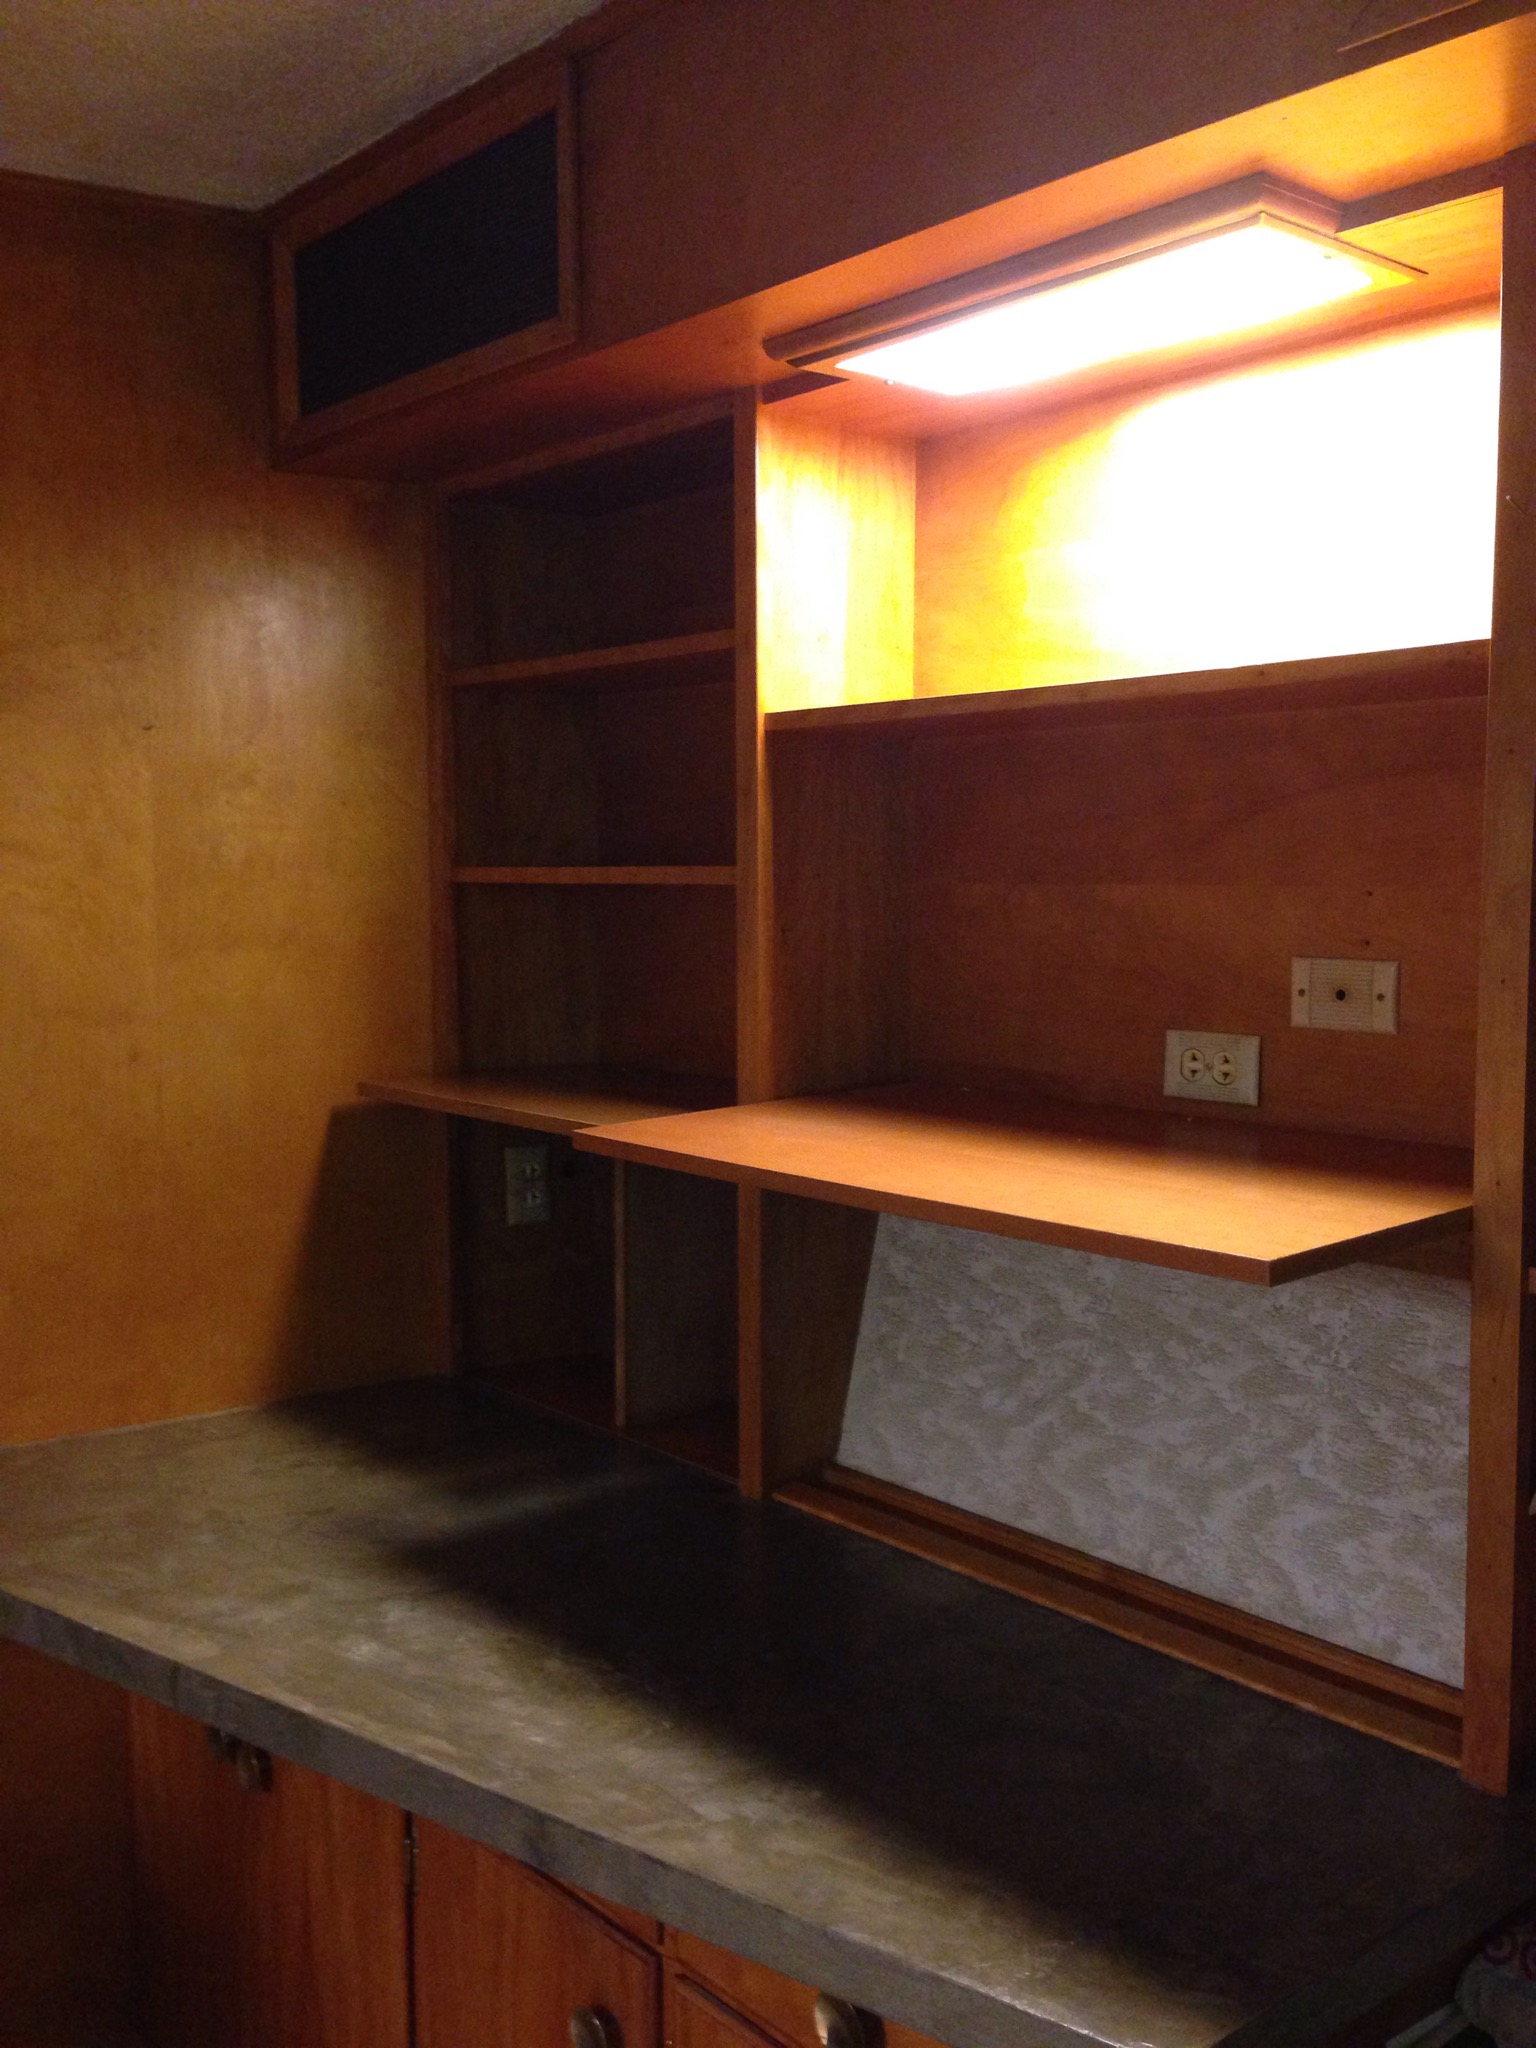
Our electrician was stuck at a job last week and is now coming today. Hopefully we’ll have working speakers by the end of the week. In the meantime I thought I’d fill the blog-post void with a “quick and easy” lamp project. (Notice the quotations…this is to denote heavy sarcasm)
First I’ve been admiring glass bottle lamps for quite a while. Except their price tags…
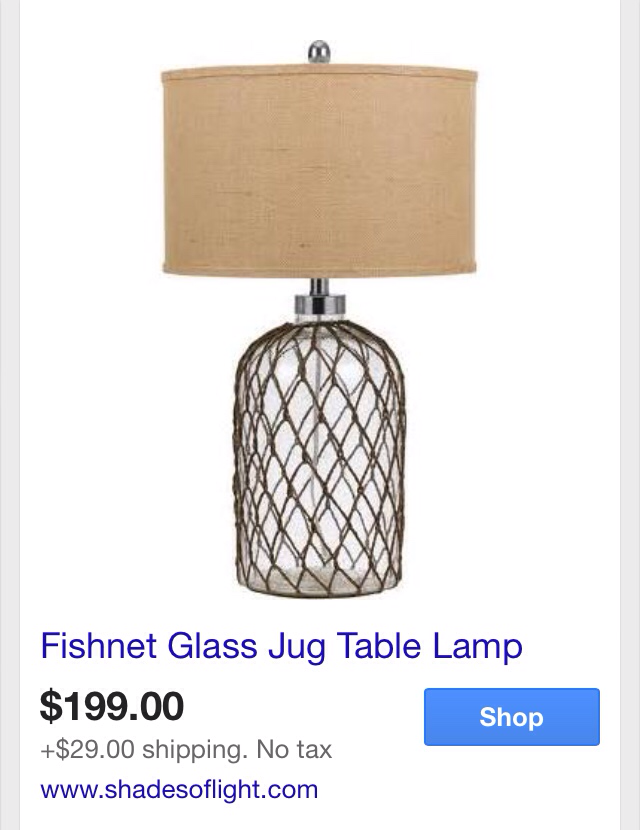

Even at Home Goods, Ross and Target these lamps were pushing $65-$85 a piece! Also the lamps were puny, I wanted something BIG, to light up our very dark guest house.
Luckily I already had an antique water bottle, picked up at the Sacramento antique fair for $5. Also a huge lamp shade sitting idle around the house (I think the shade was a Ross clearance for $6 since it has a small tear)
Lastly I bought a lamp kit with extra gold cord (together for $16) at Home Depot. Total cost out the door for this project $27 buckaroos if you’re starting from scratch. Since I already had some items on hand I’m calling it my BIG, “designer” glass lamp for $16.
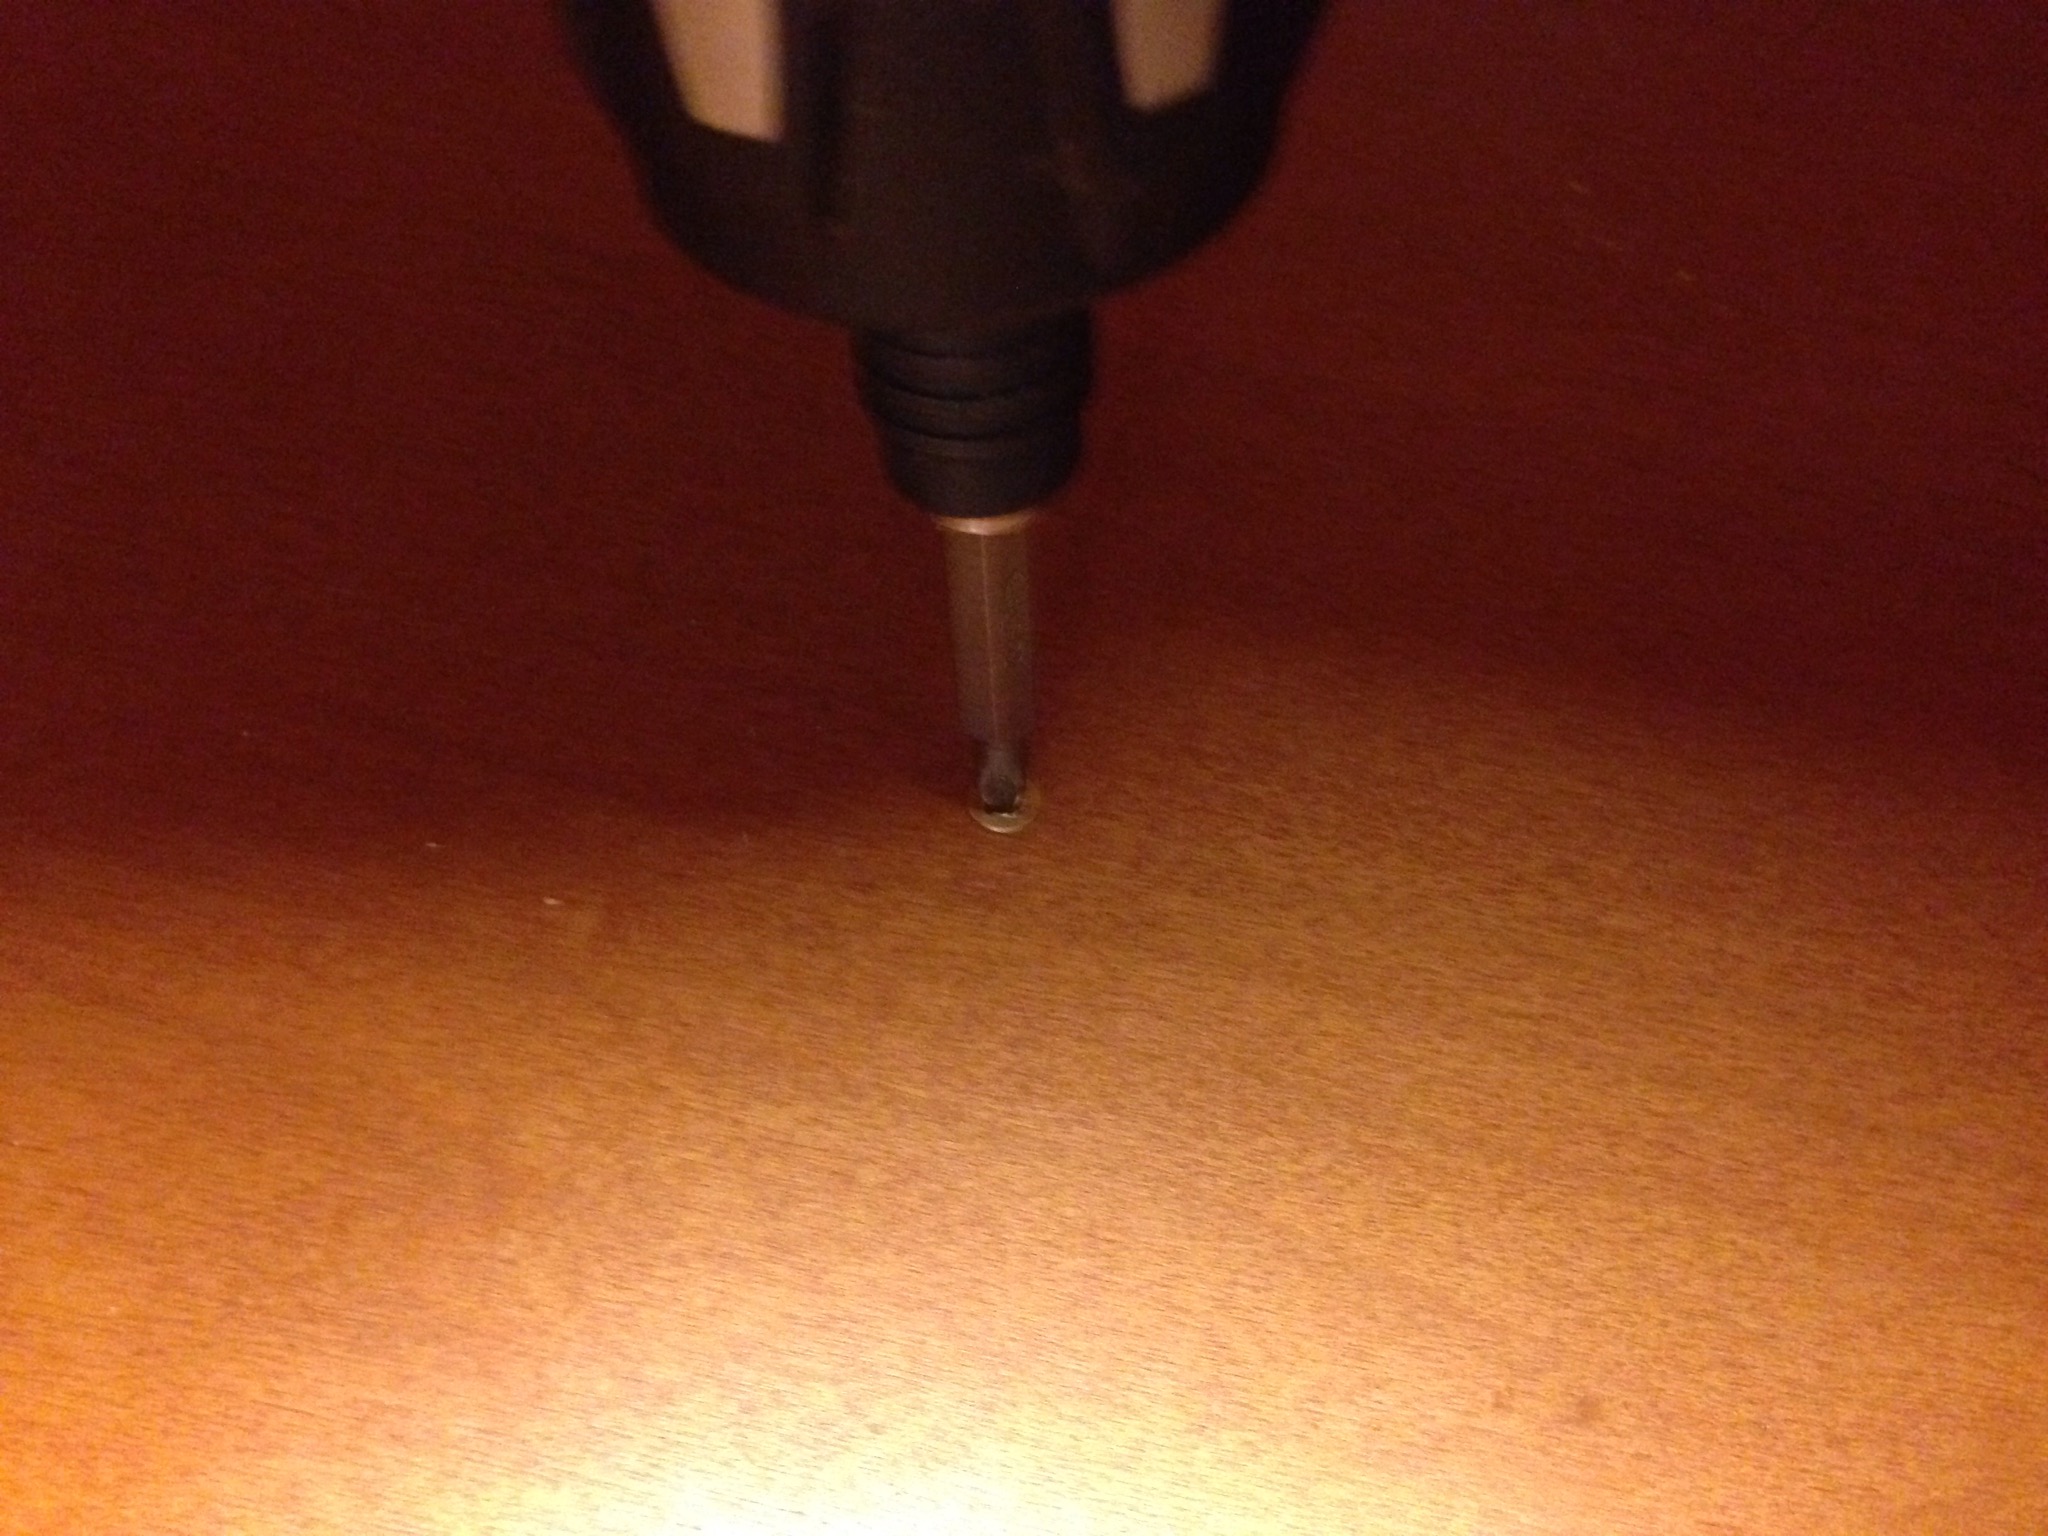
As for making the lamp, I watched a couple YouTube videos on drilling into glass wine bottles, vases etc. Looked pretty easy, and quick right….WRONG!
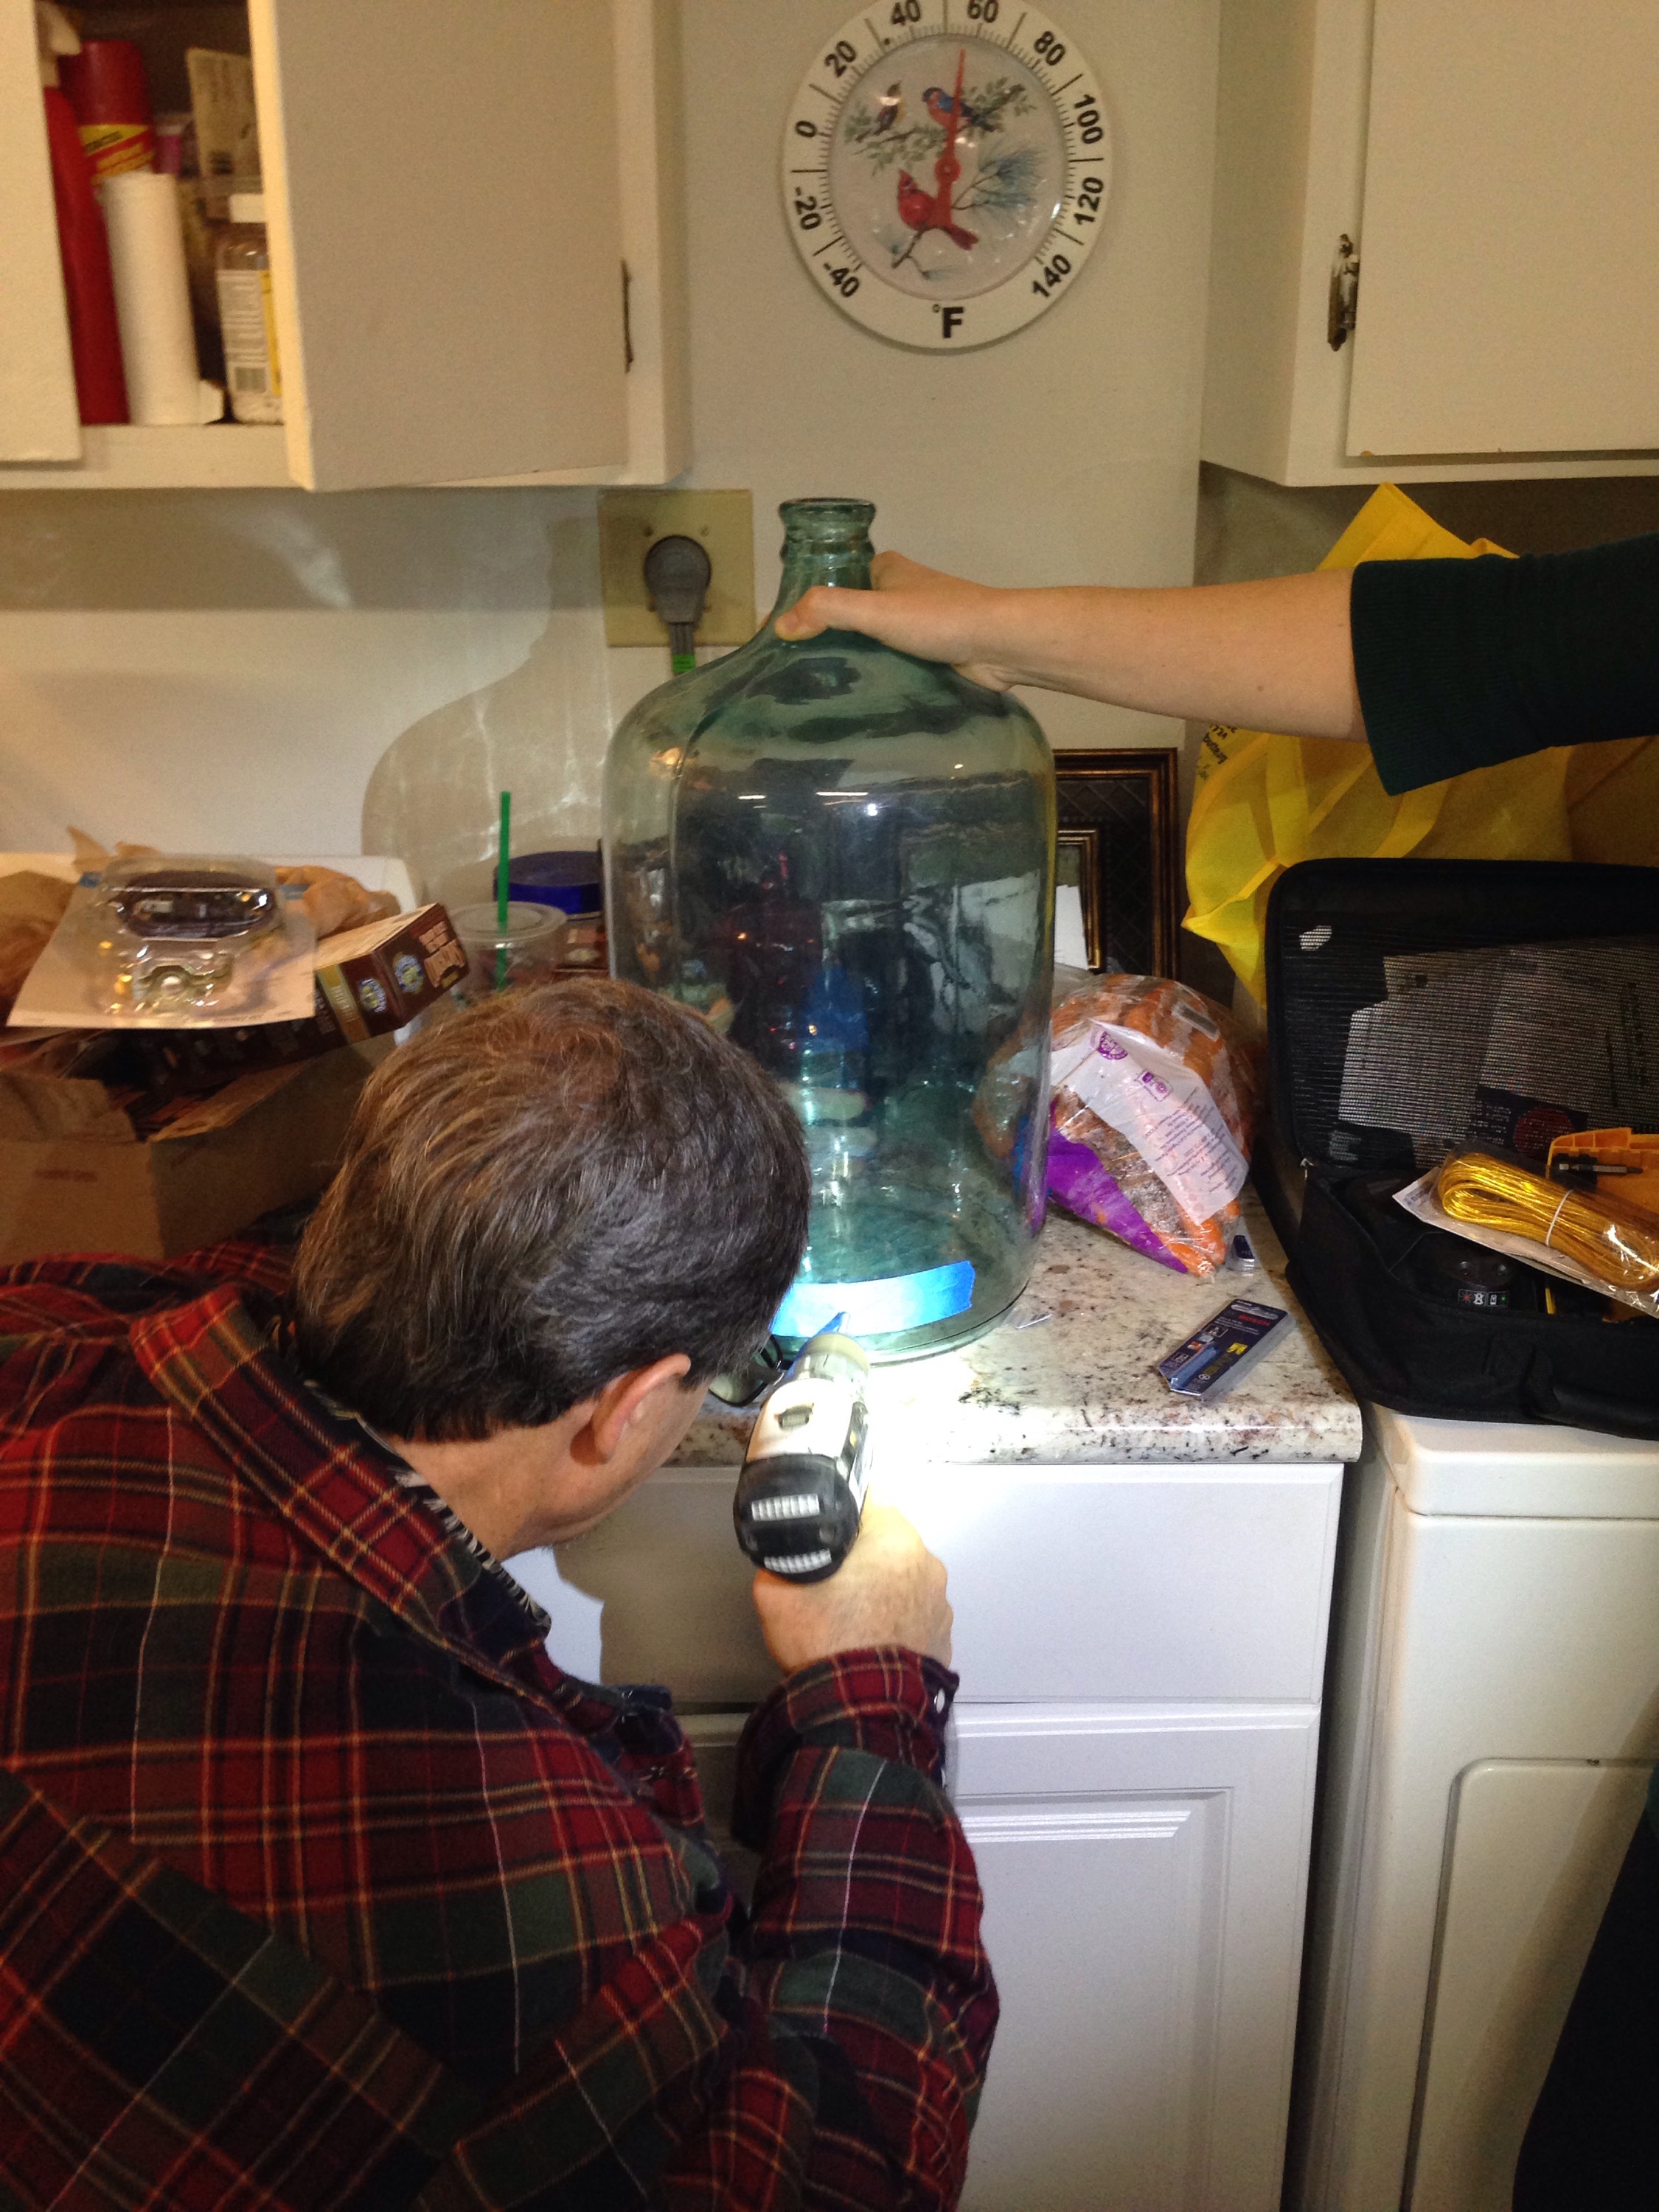
That’s my awesome Uncle Joe on our third battery pack for the cordless drill!(and an hour into the project) I had underestimated the thickness of the antique glass. 😝
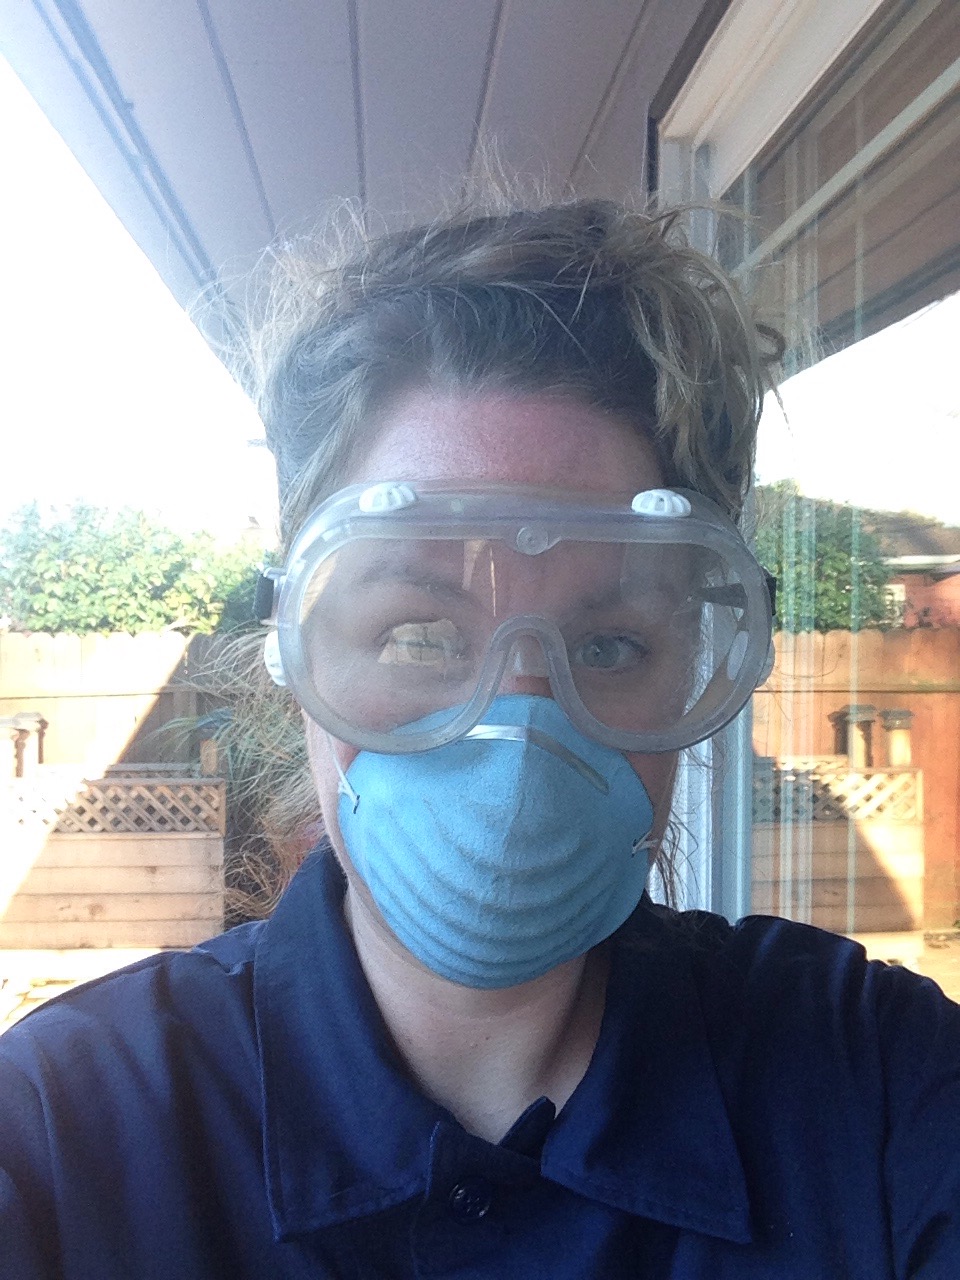
Luckily I had the foresight to bring the project up to my parents place for guidance, the correct tools and just safety sake. Also considering my penchant for diy injuries and knowing there would be 4 EMTs and a Nurse on the premise, in case I took out a finger or an eye.
Only to find out this project needed a dremel, (which my dad didn’t have one) and a family of DIYers who enjoyed “cocktail” hour” in my parents garage watching our progress.

Everyone got into the blogging action. Notice I’m holding the bottle, my fabulous uncle is drilling the hole, my cousin Craig is holding up a work light, and my sweet cousin Danielle is taking all the pictures on my phone.
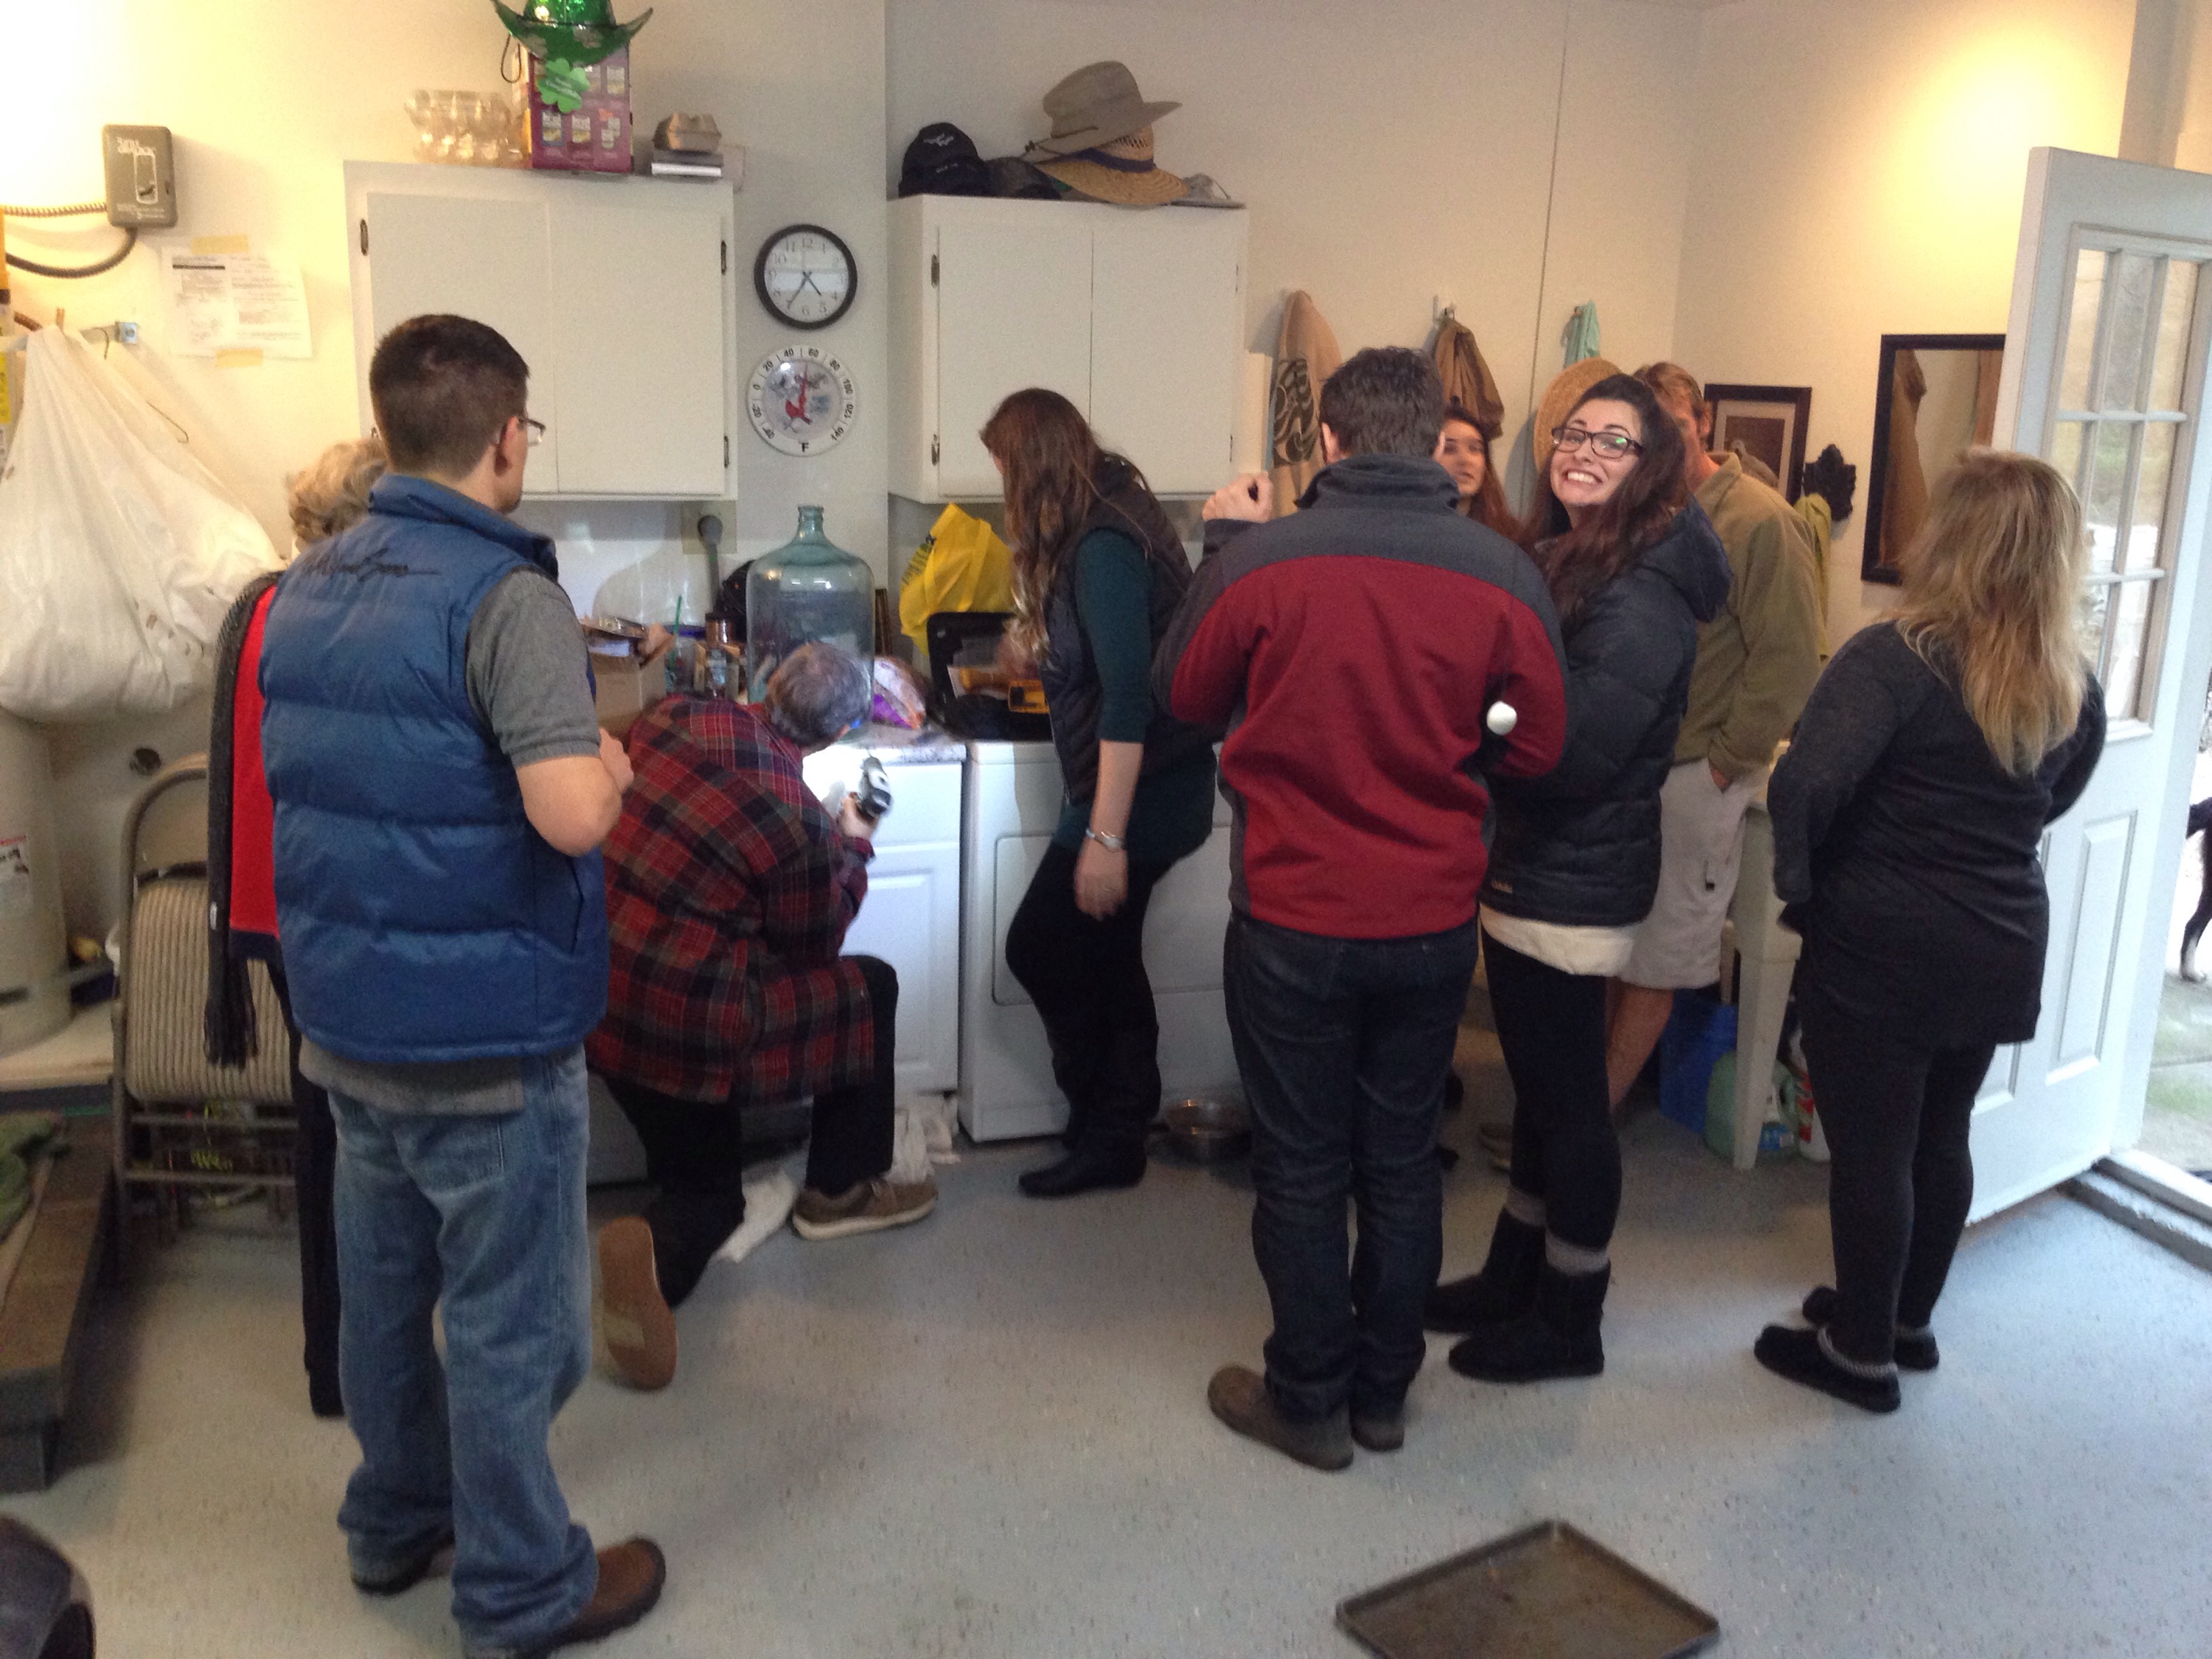
(it’s not a true family gathering without power tools and home project conversation)
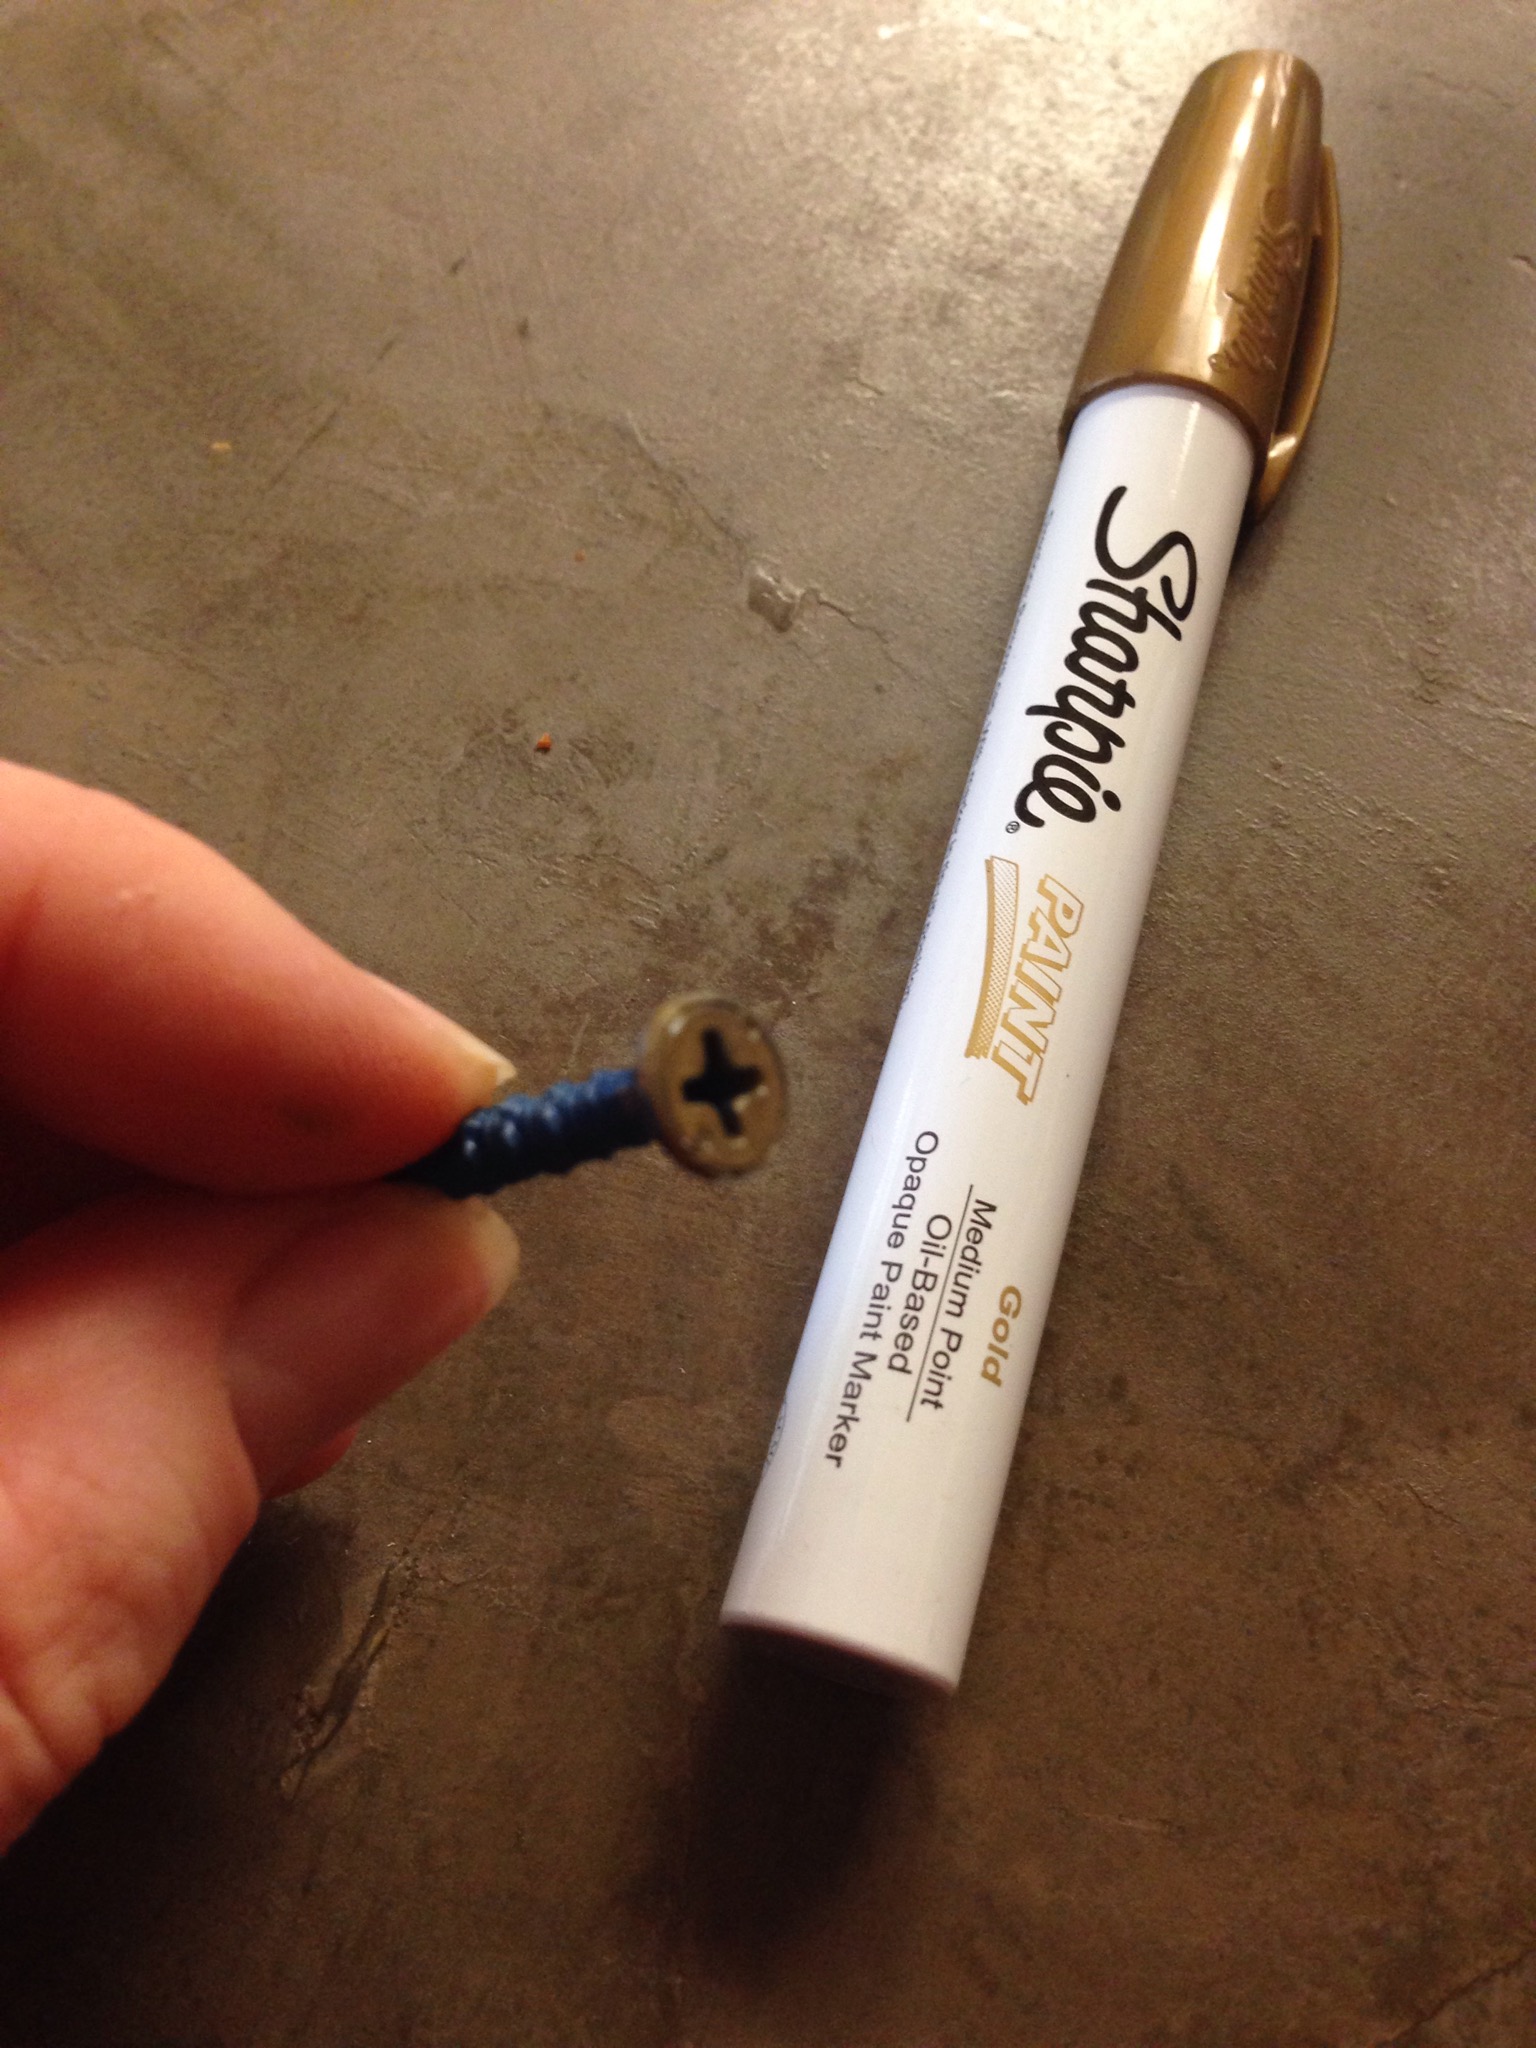
I’m going to spare you the “how to” on how we drilled the hole since I don’t know if we even did it correctly. However per pinterest and videos we used painters tape on the bottle, a tile/glass drill bit, and lots of patience to drill the hole.

Once I got the project back home, the light kit was super easy (15 minutes to complete the project)
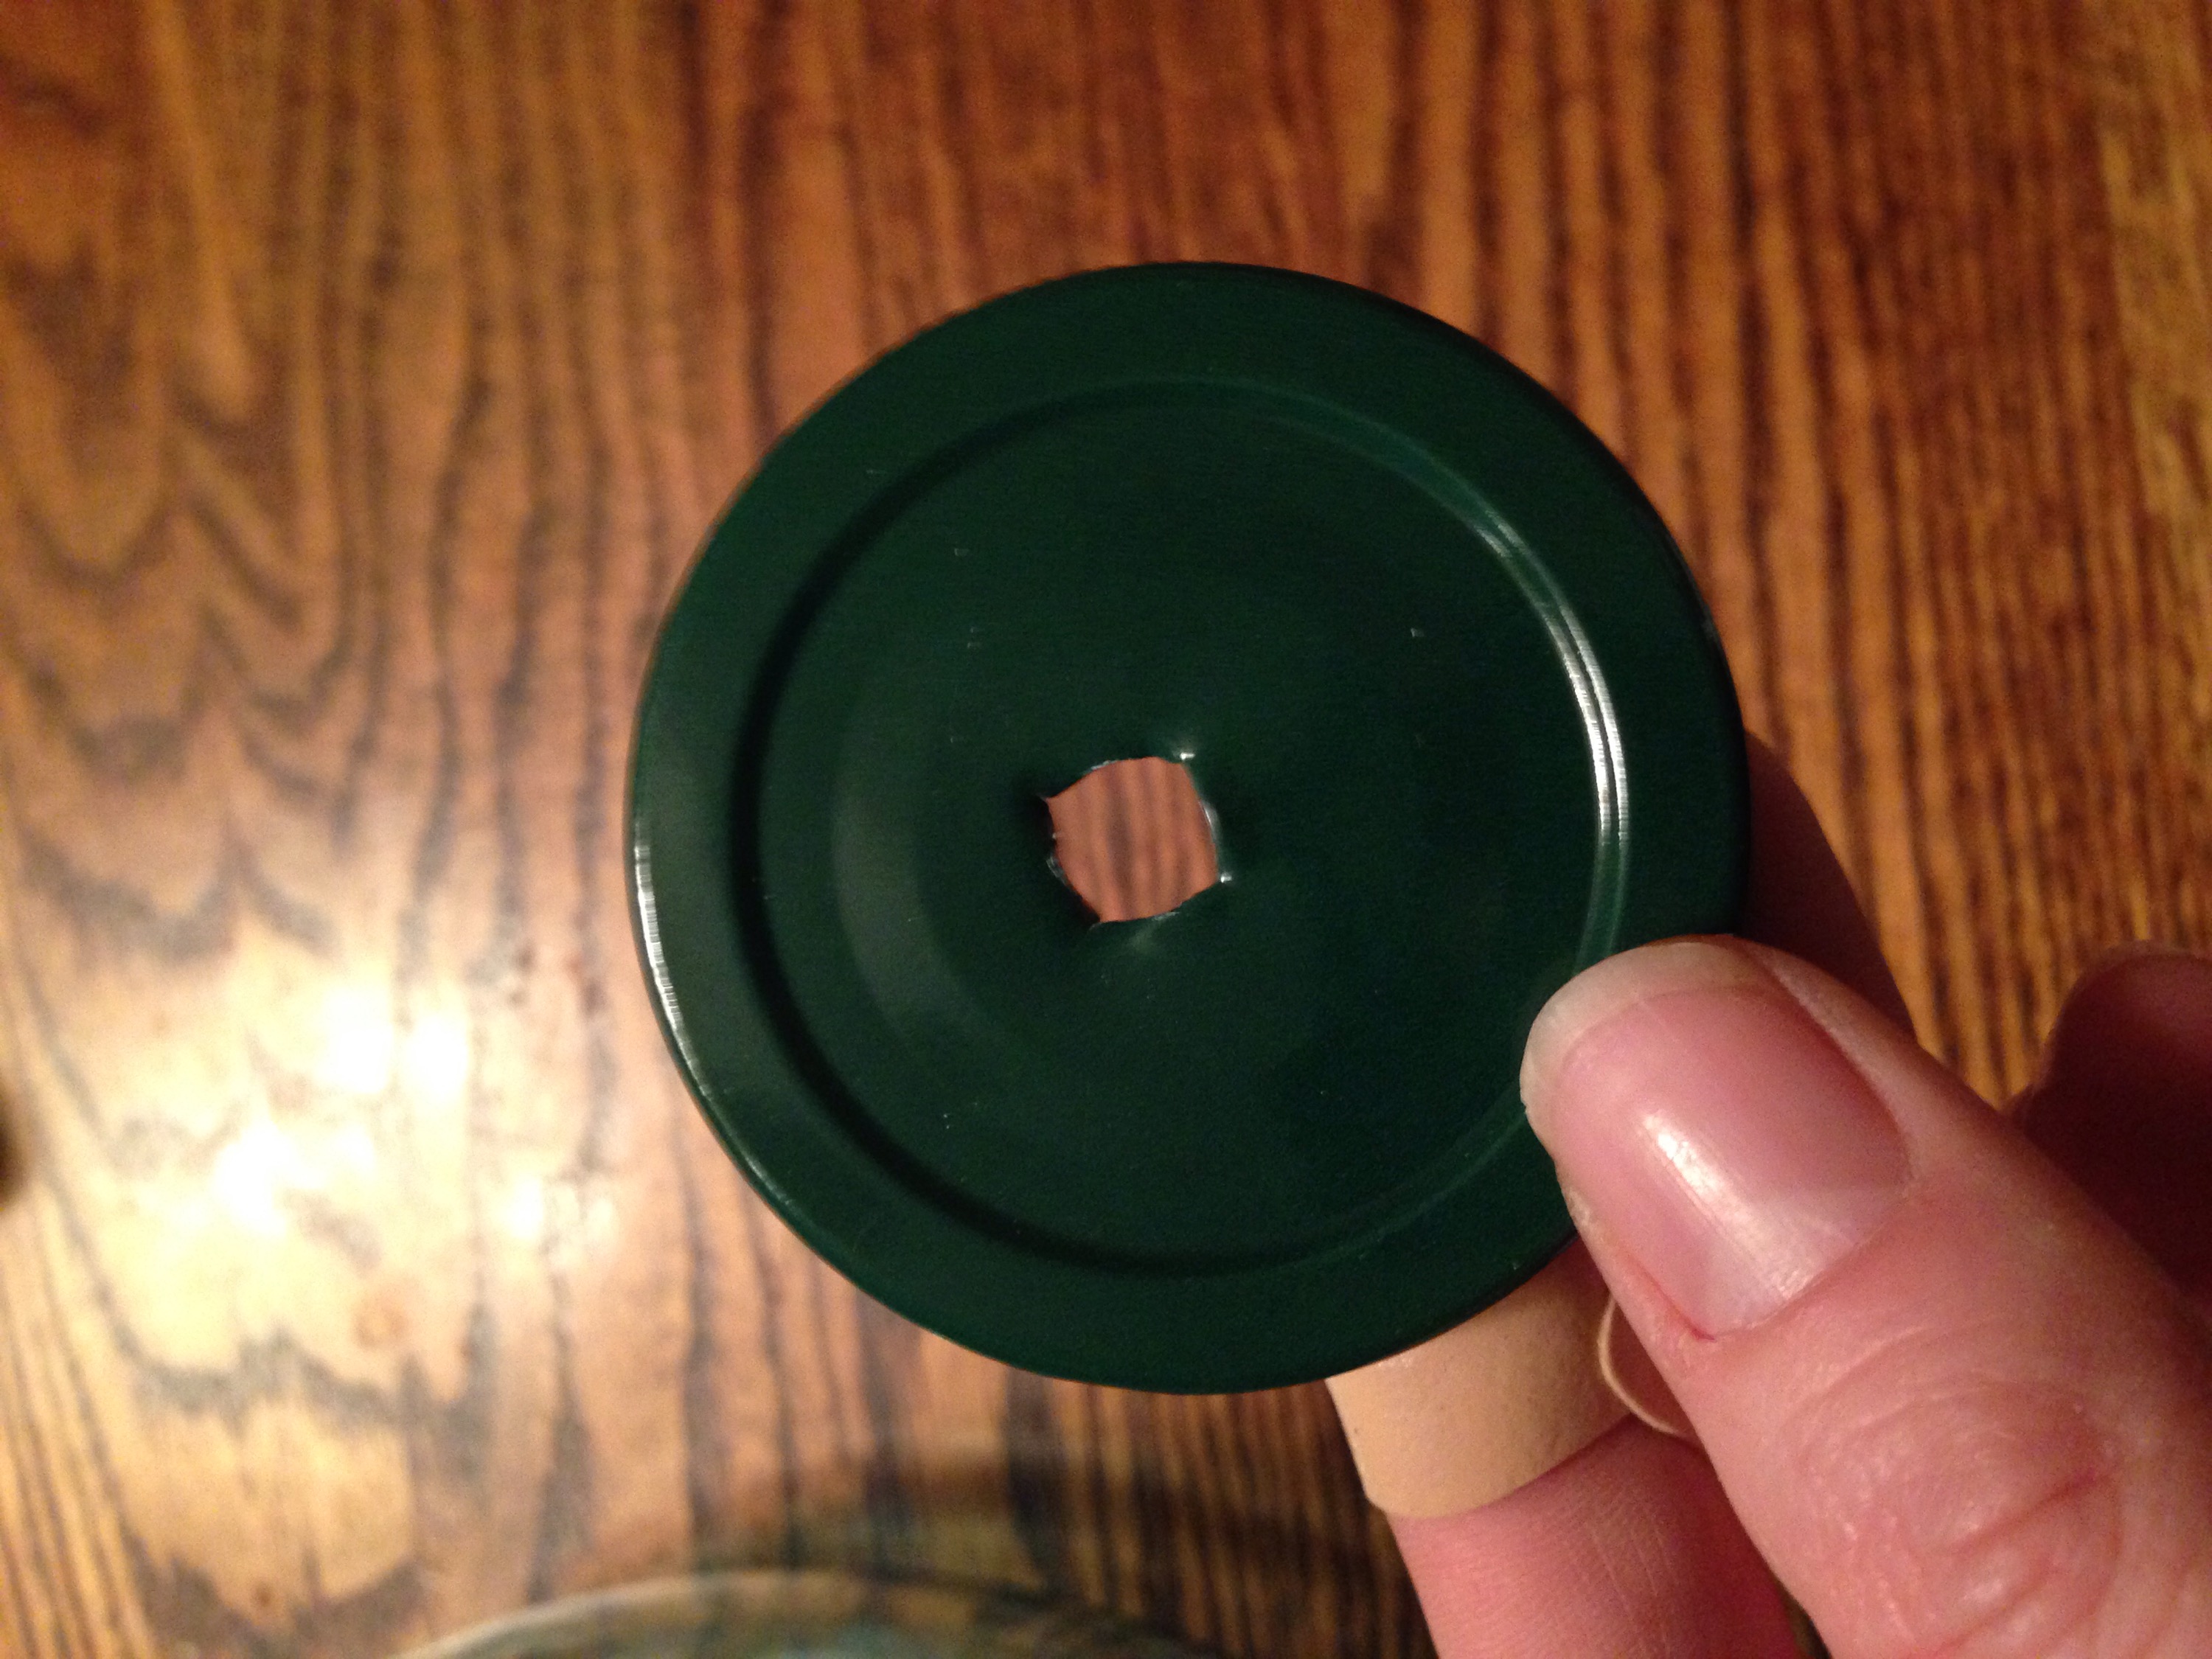
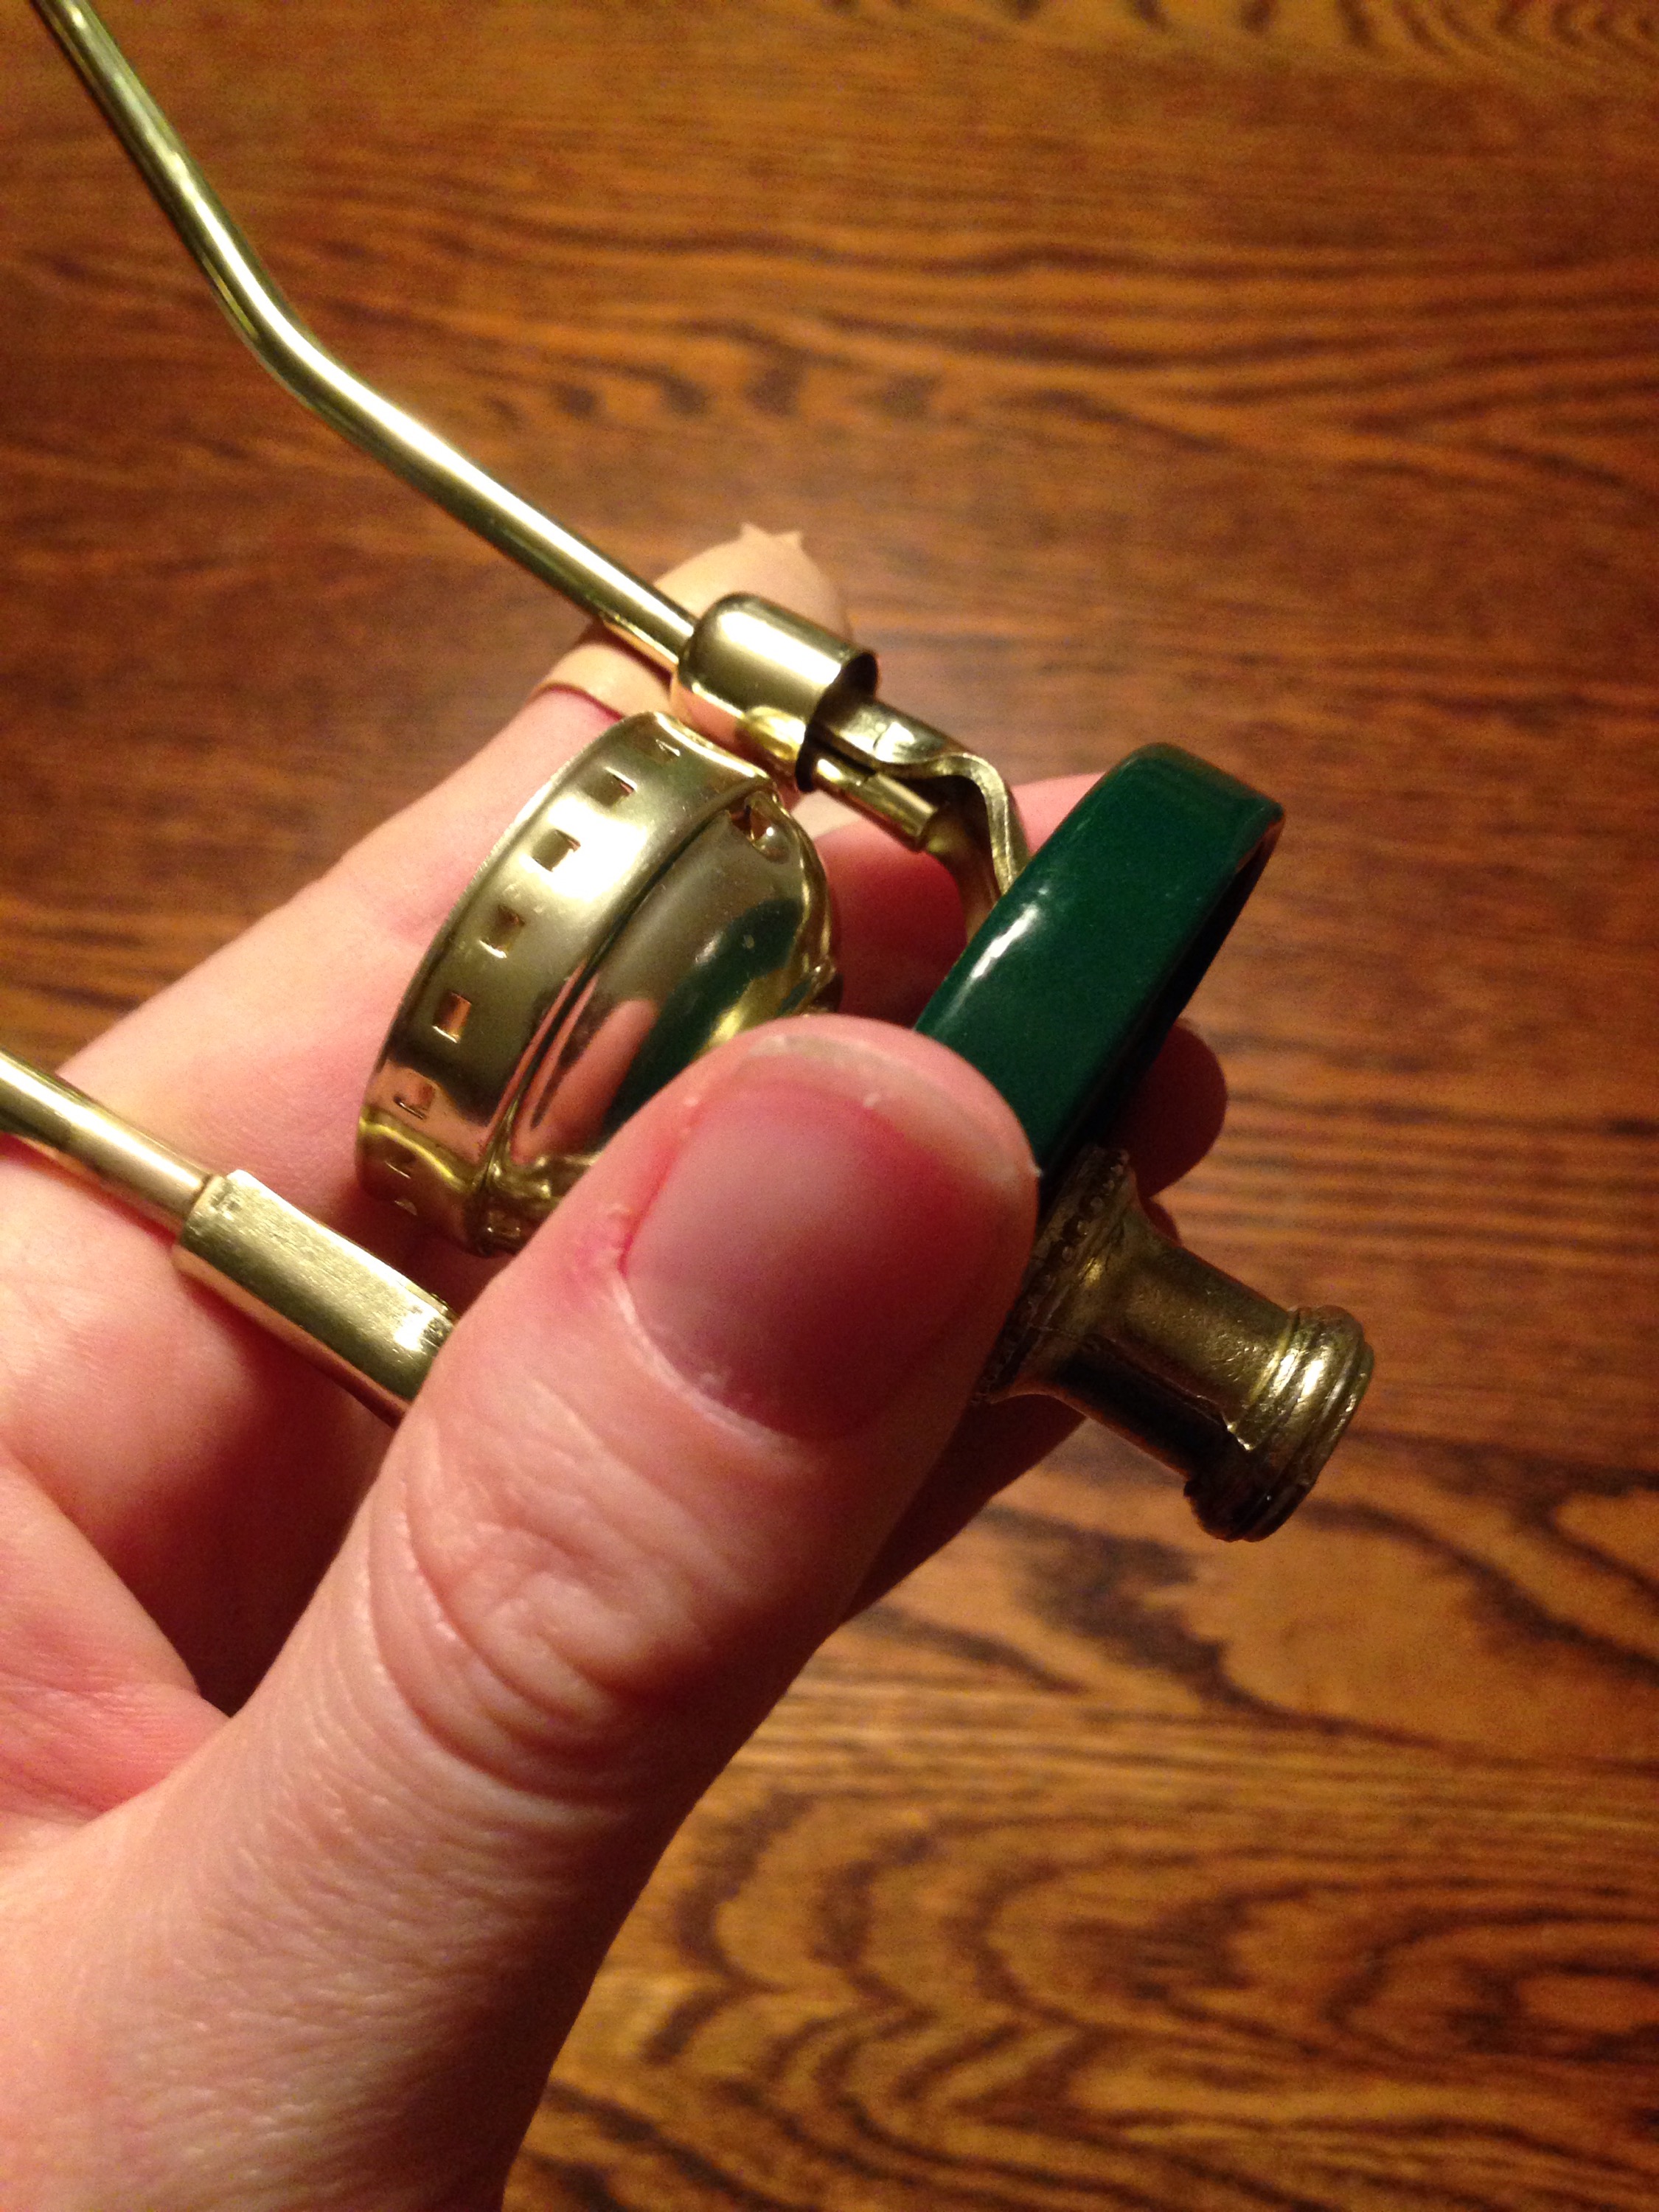
I found a relish lid that snapped onto the bottle opening perfectly, and punched a hole in the middle of it.
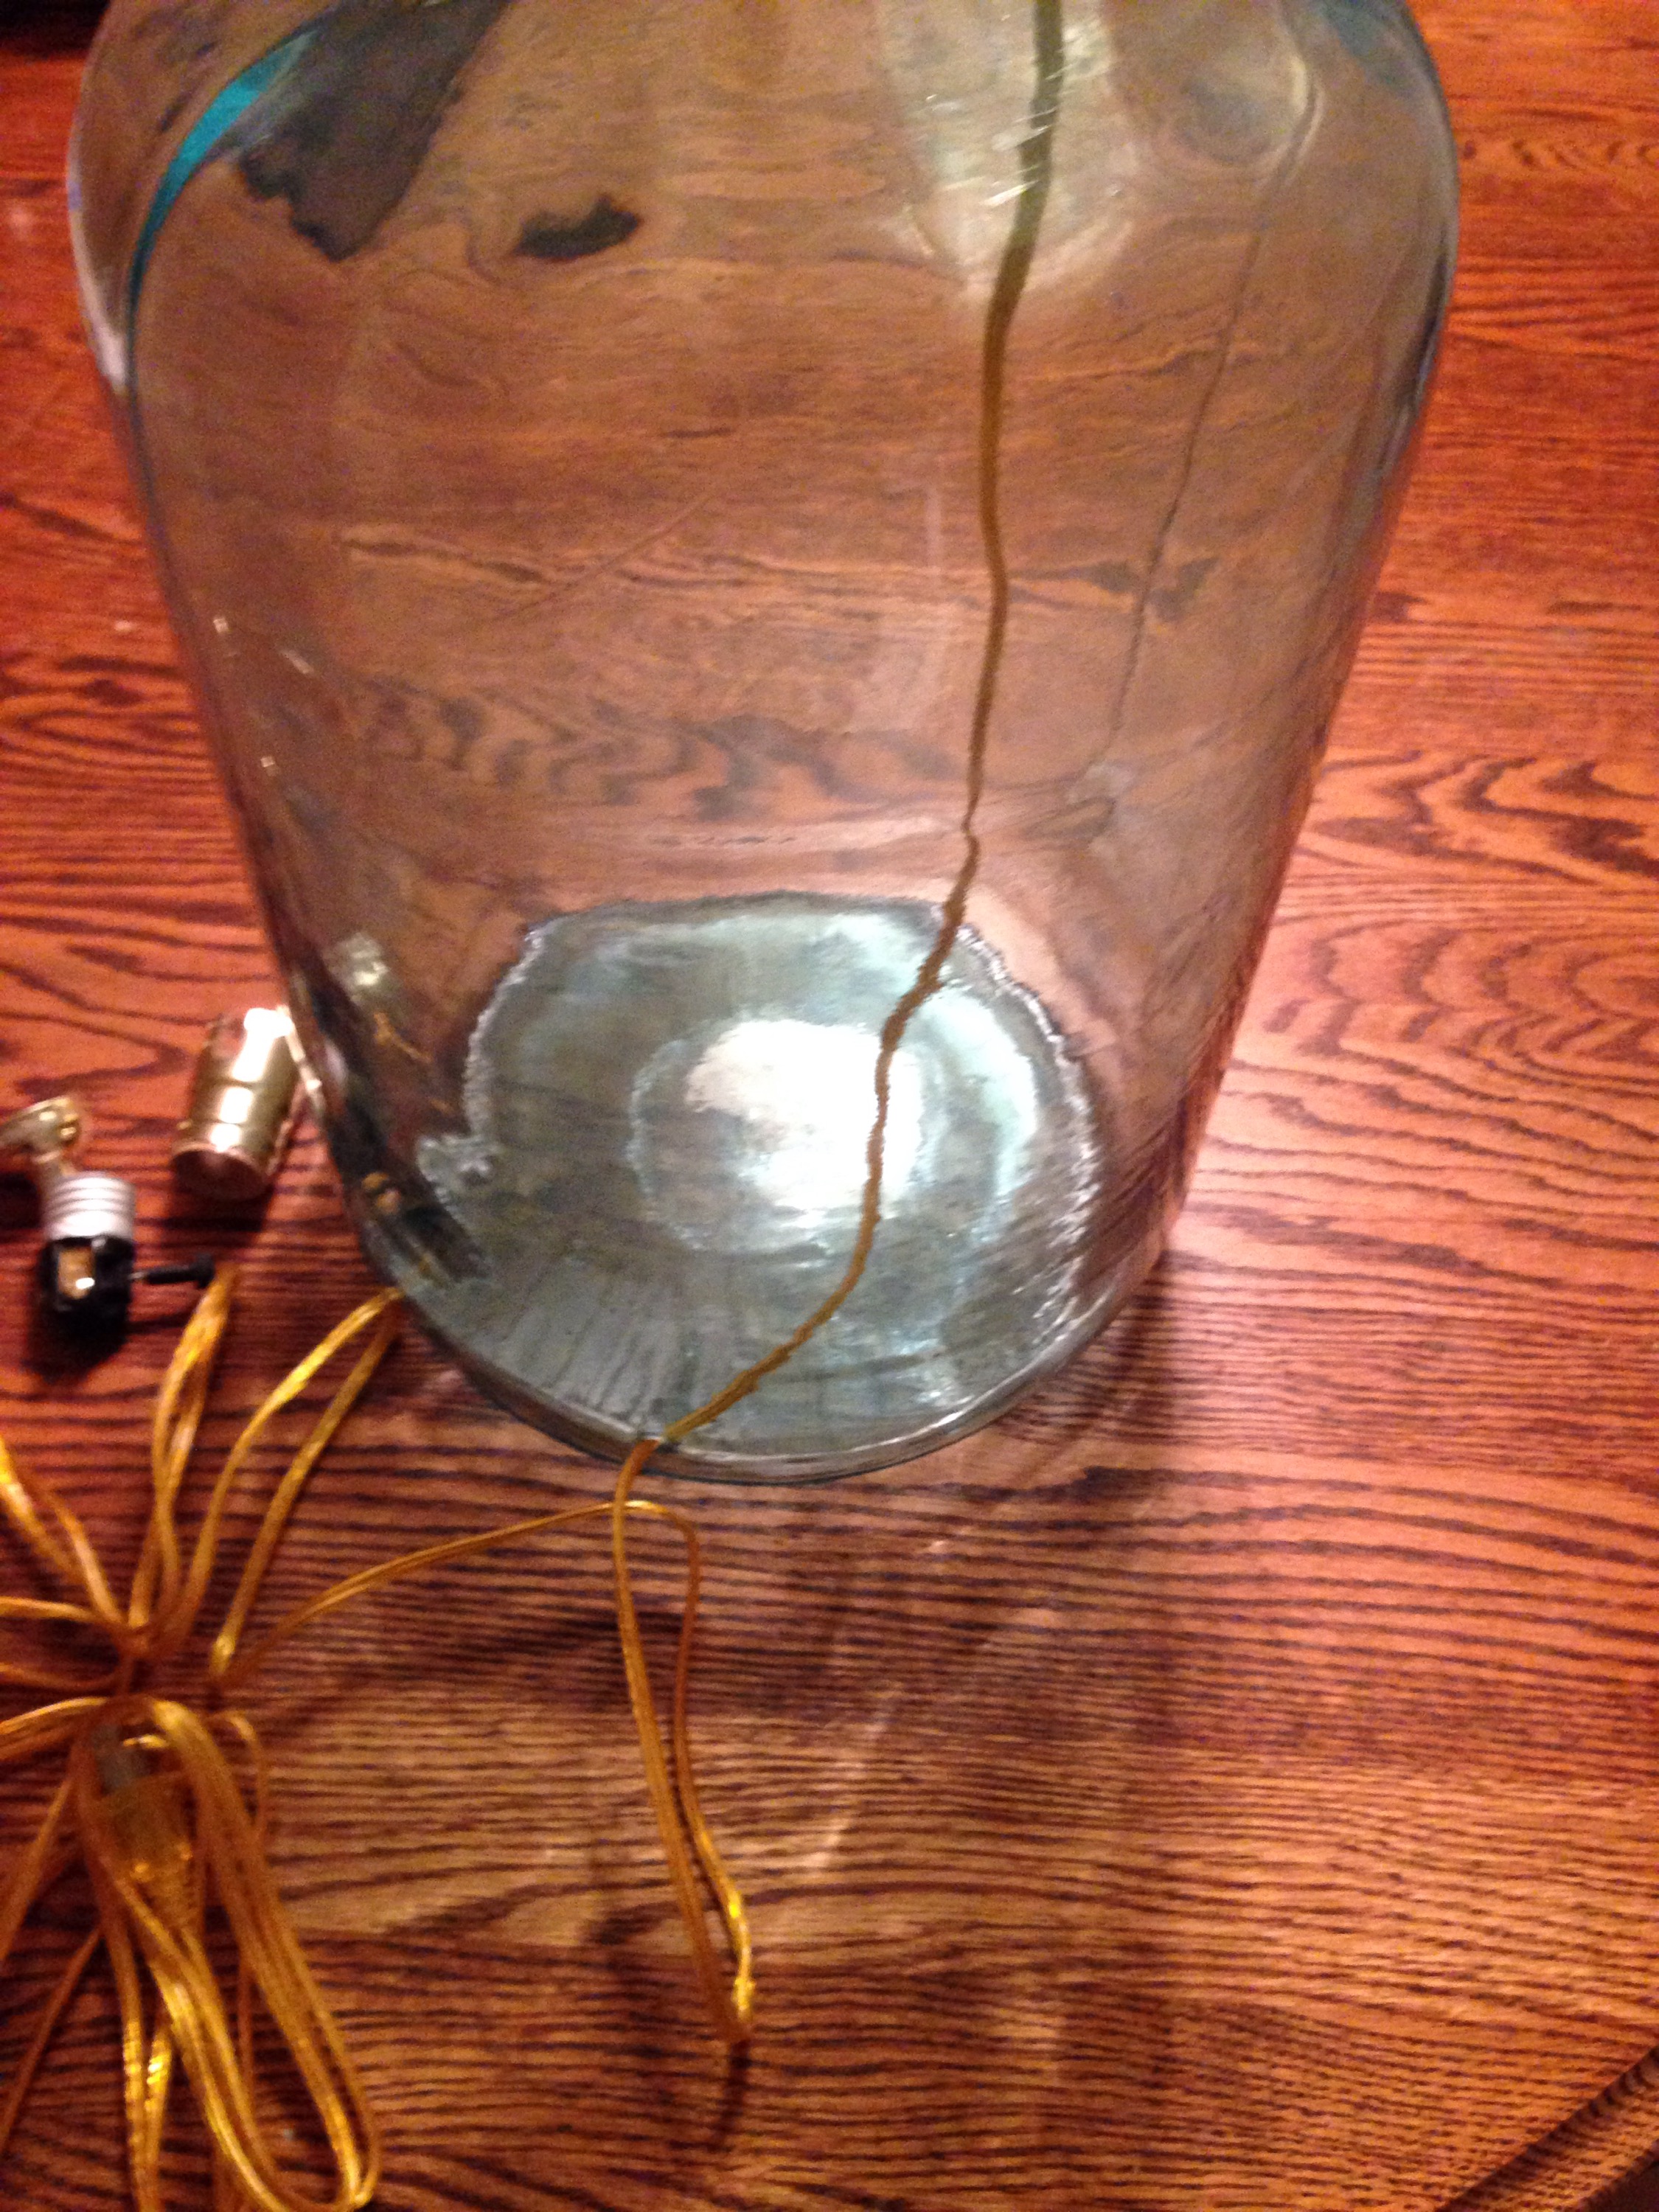
 Next I fed the lamp cord from the bottle to the opening.
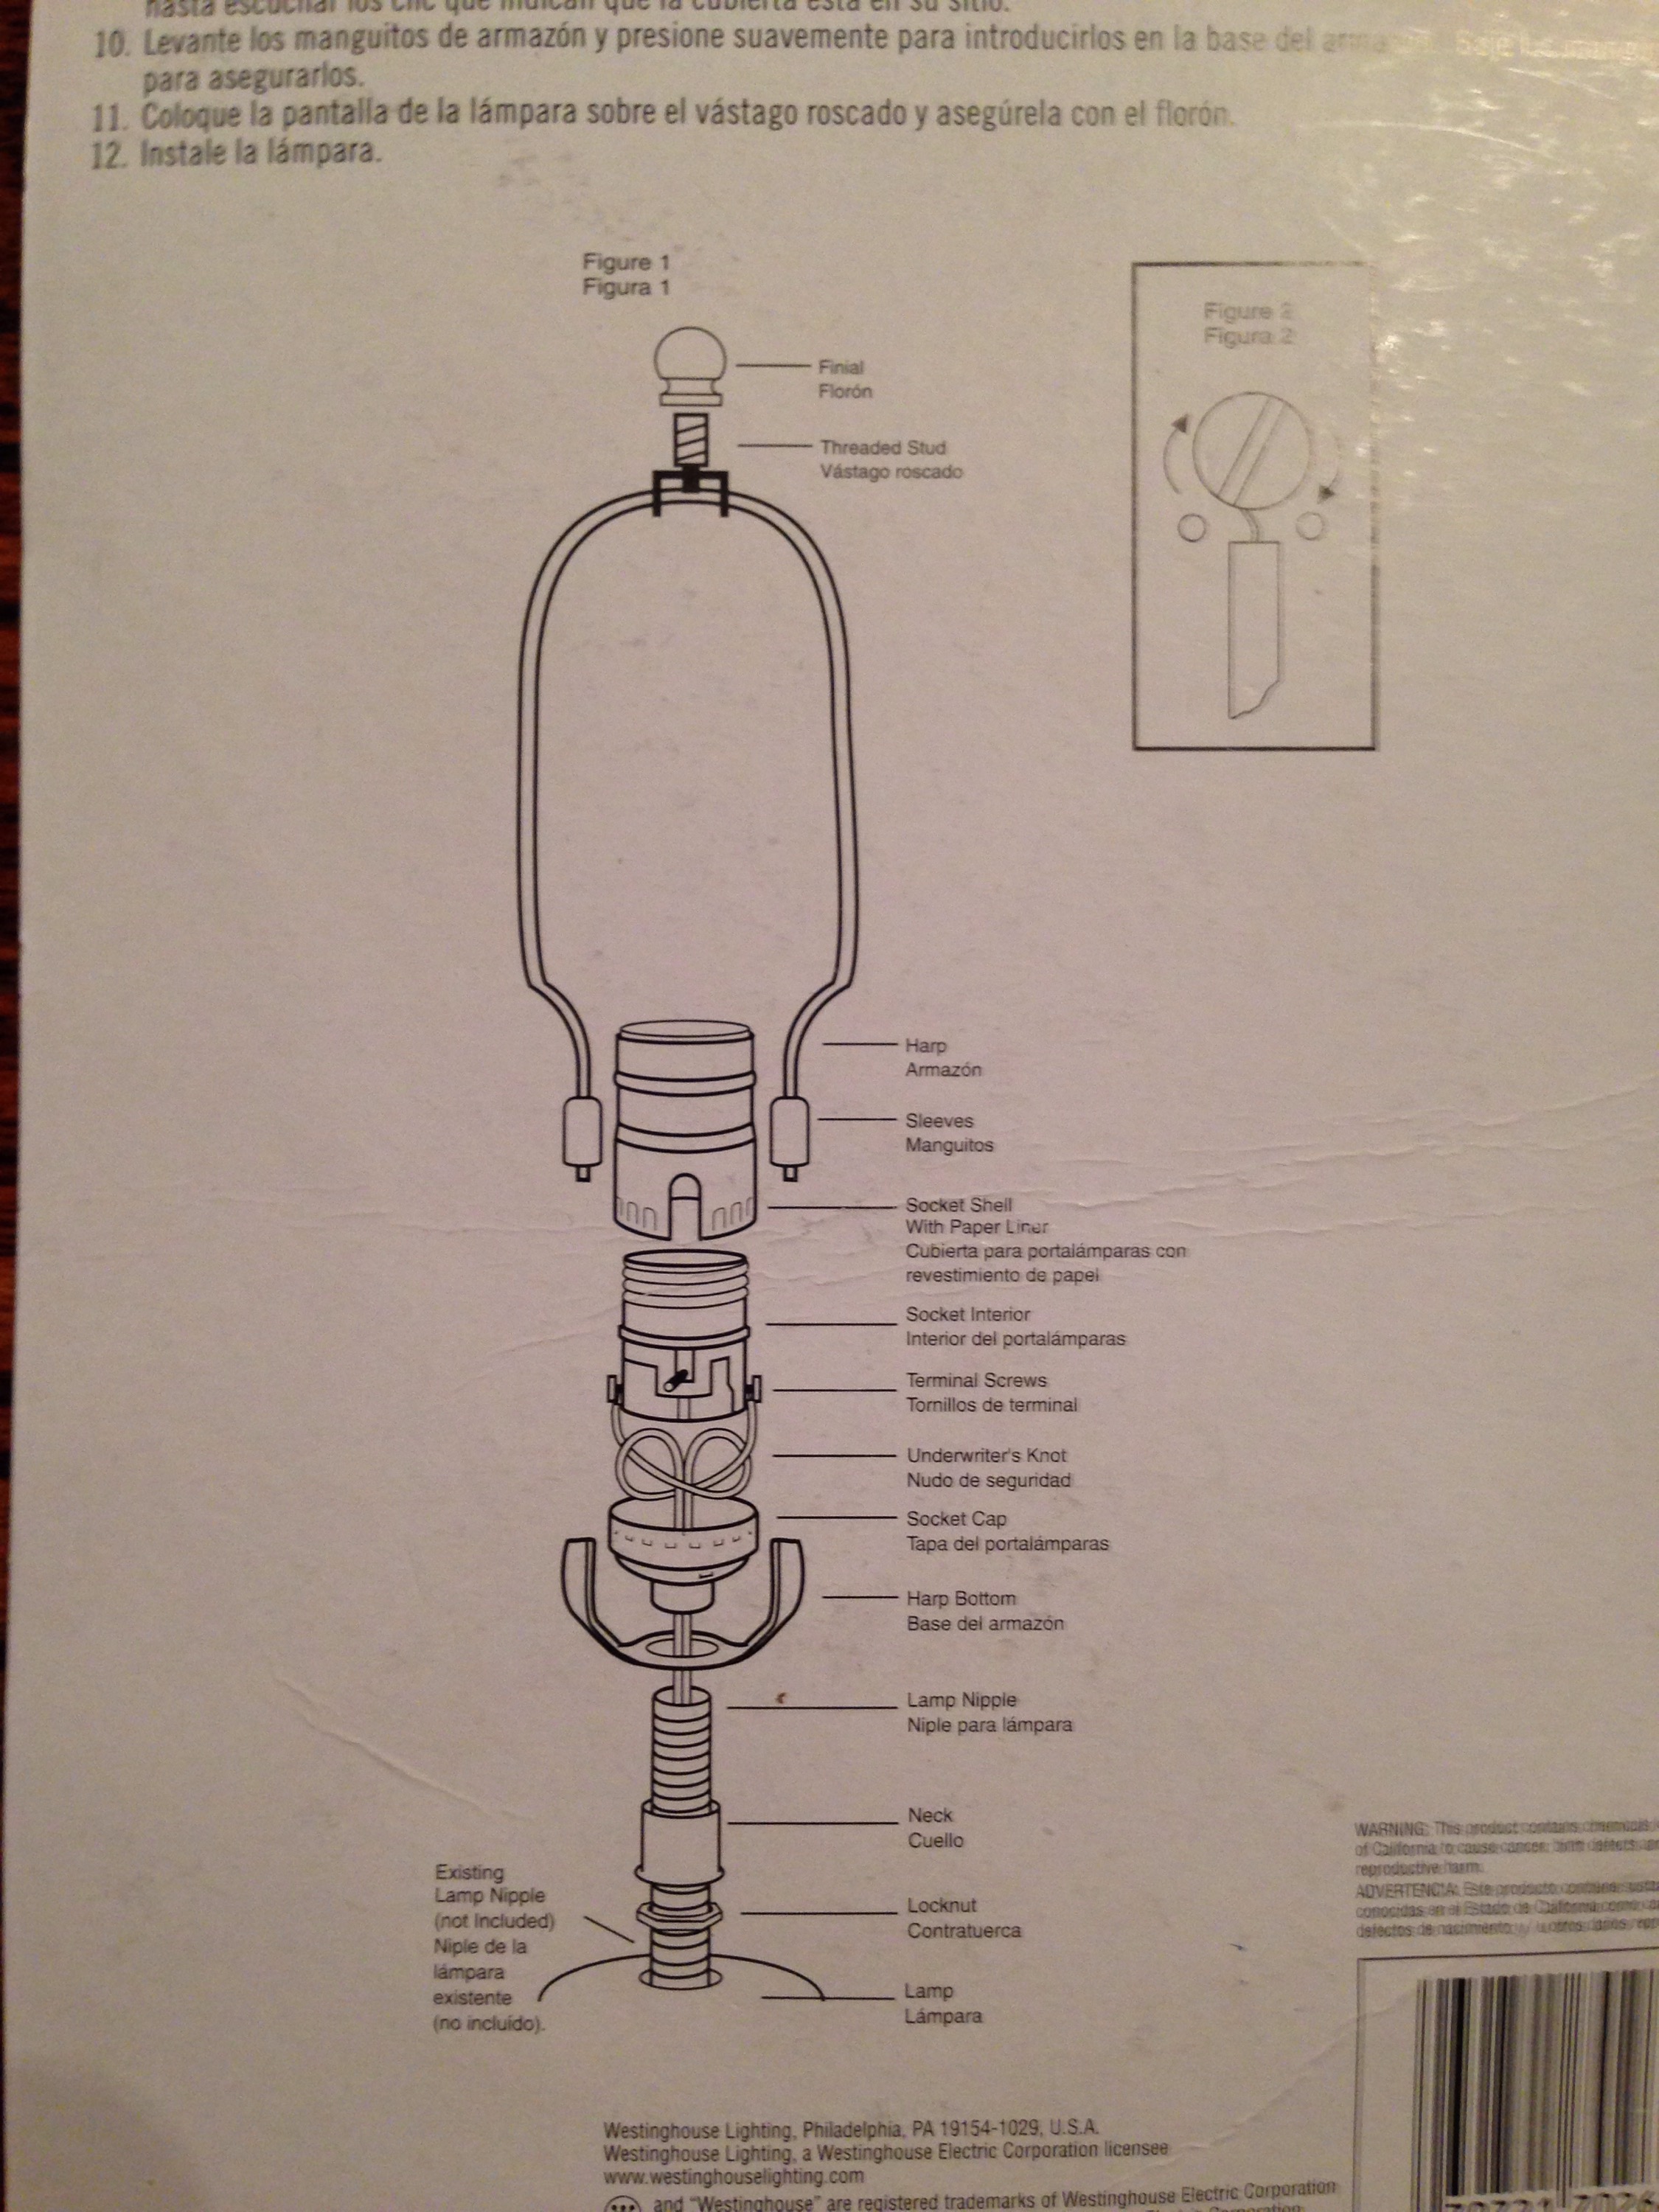
Then I assembled the kit following the instructions:


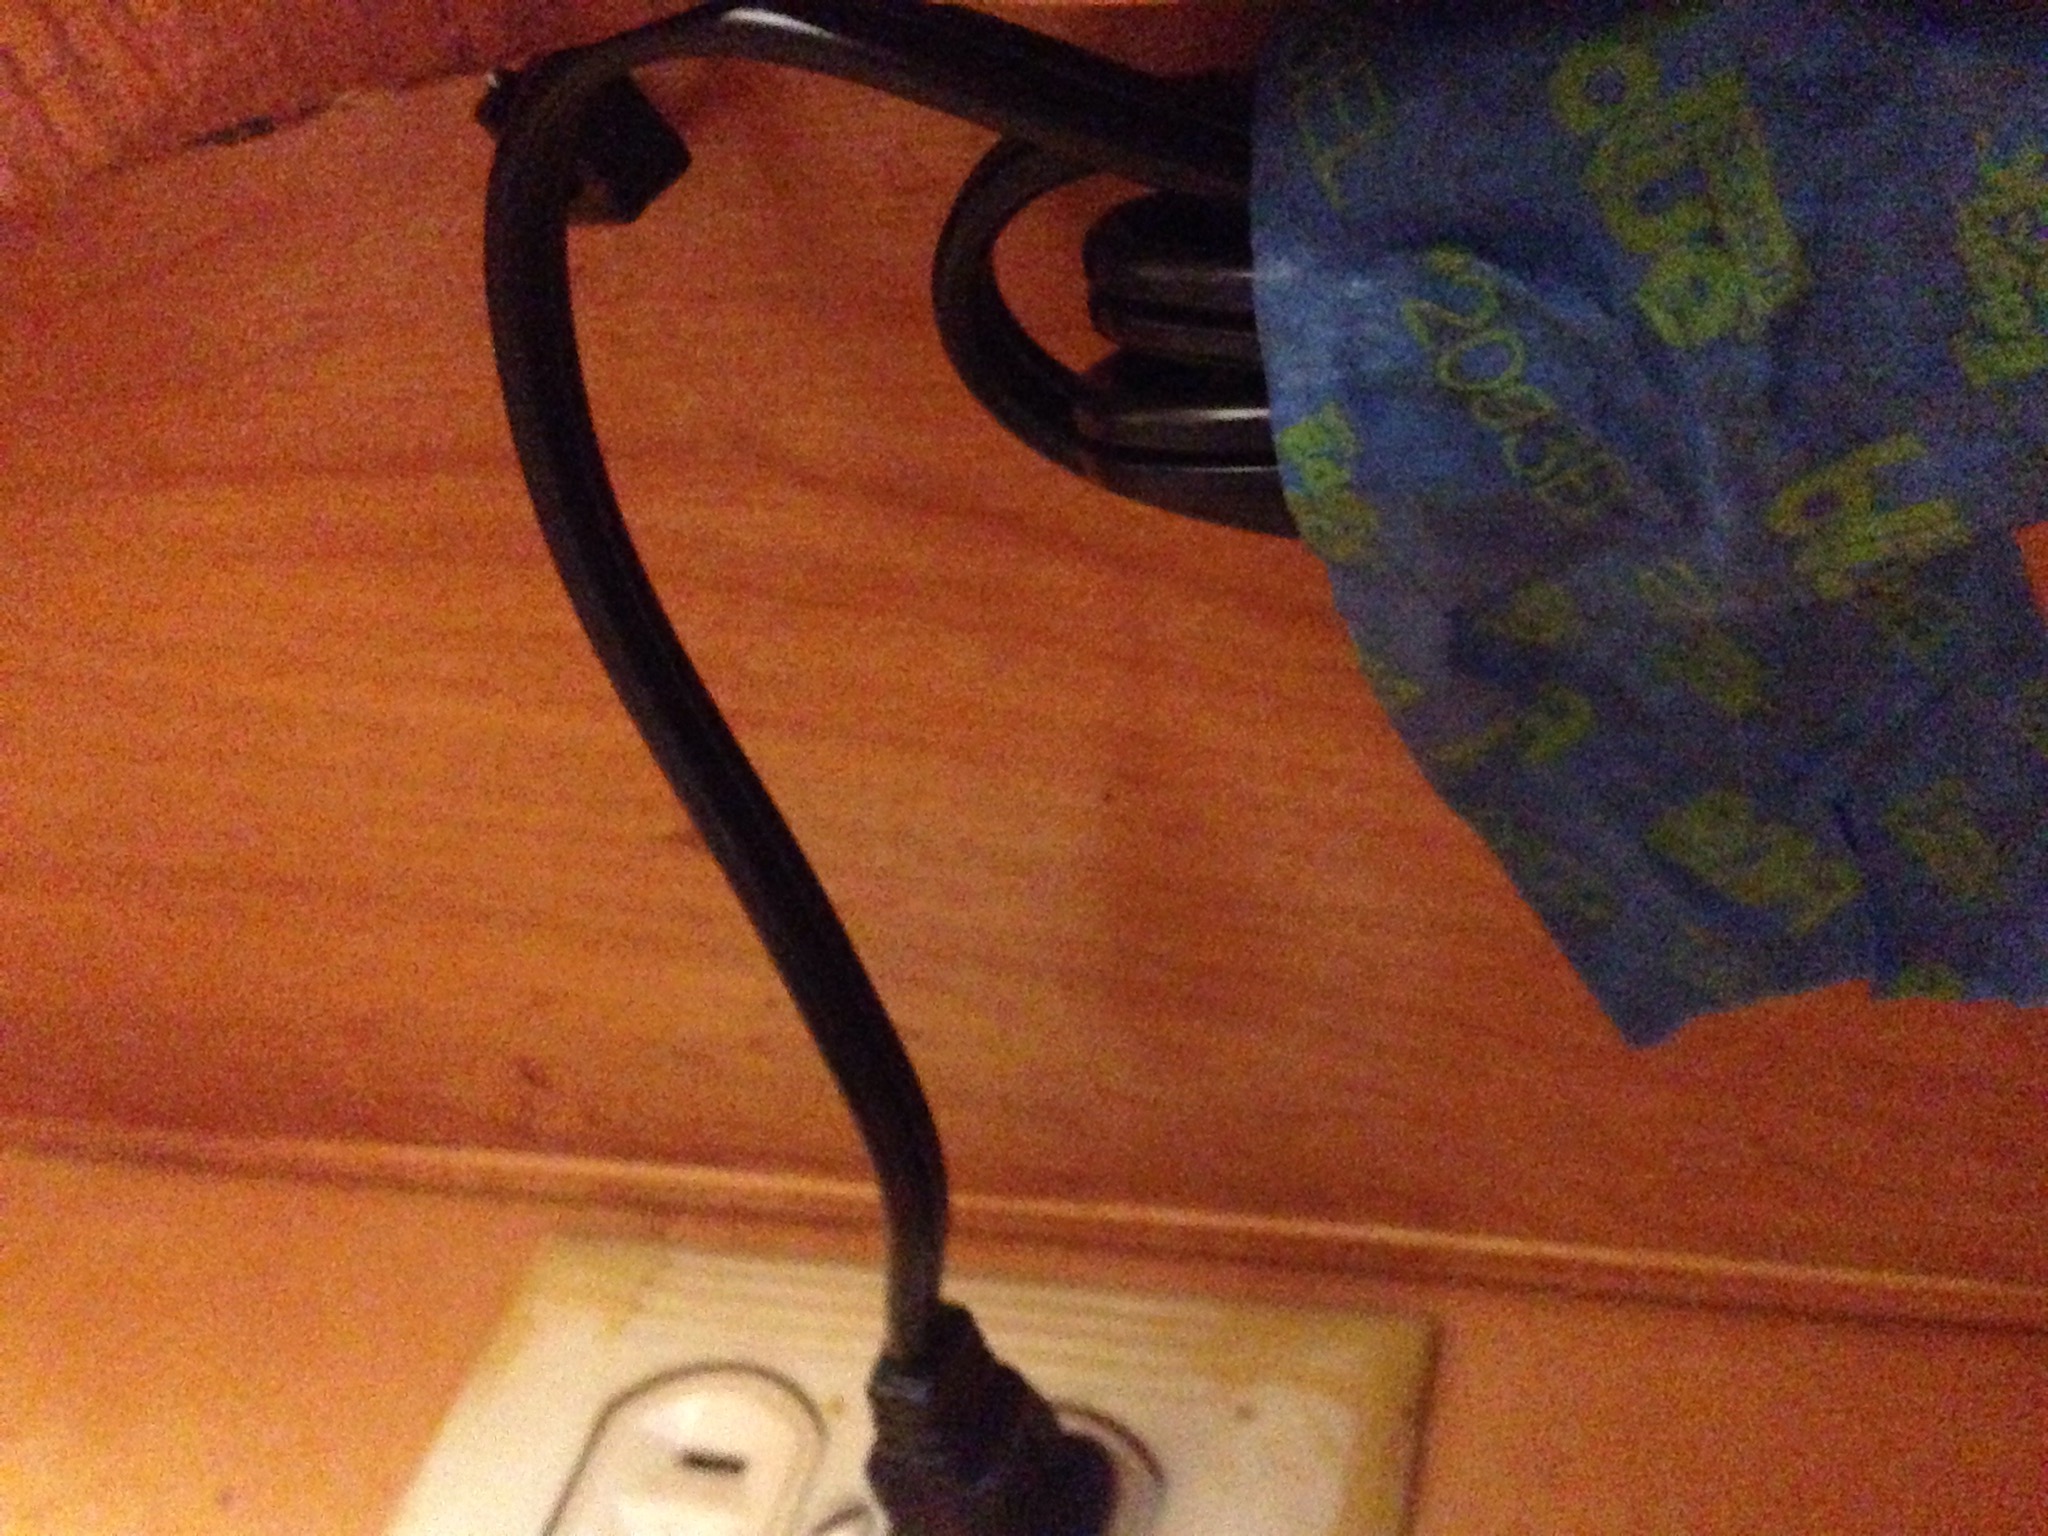
Finally I added the bulb, lamp shade, and plugged her in…

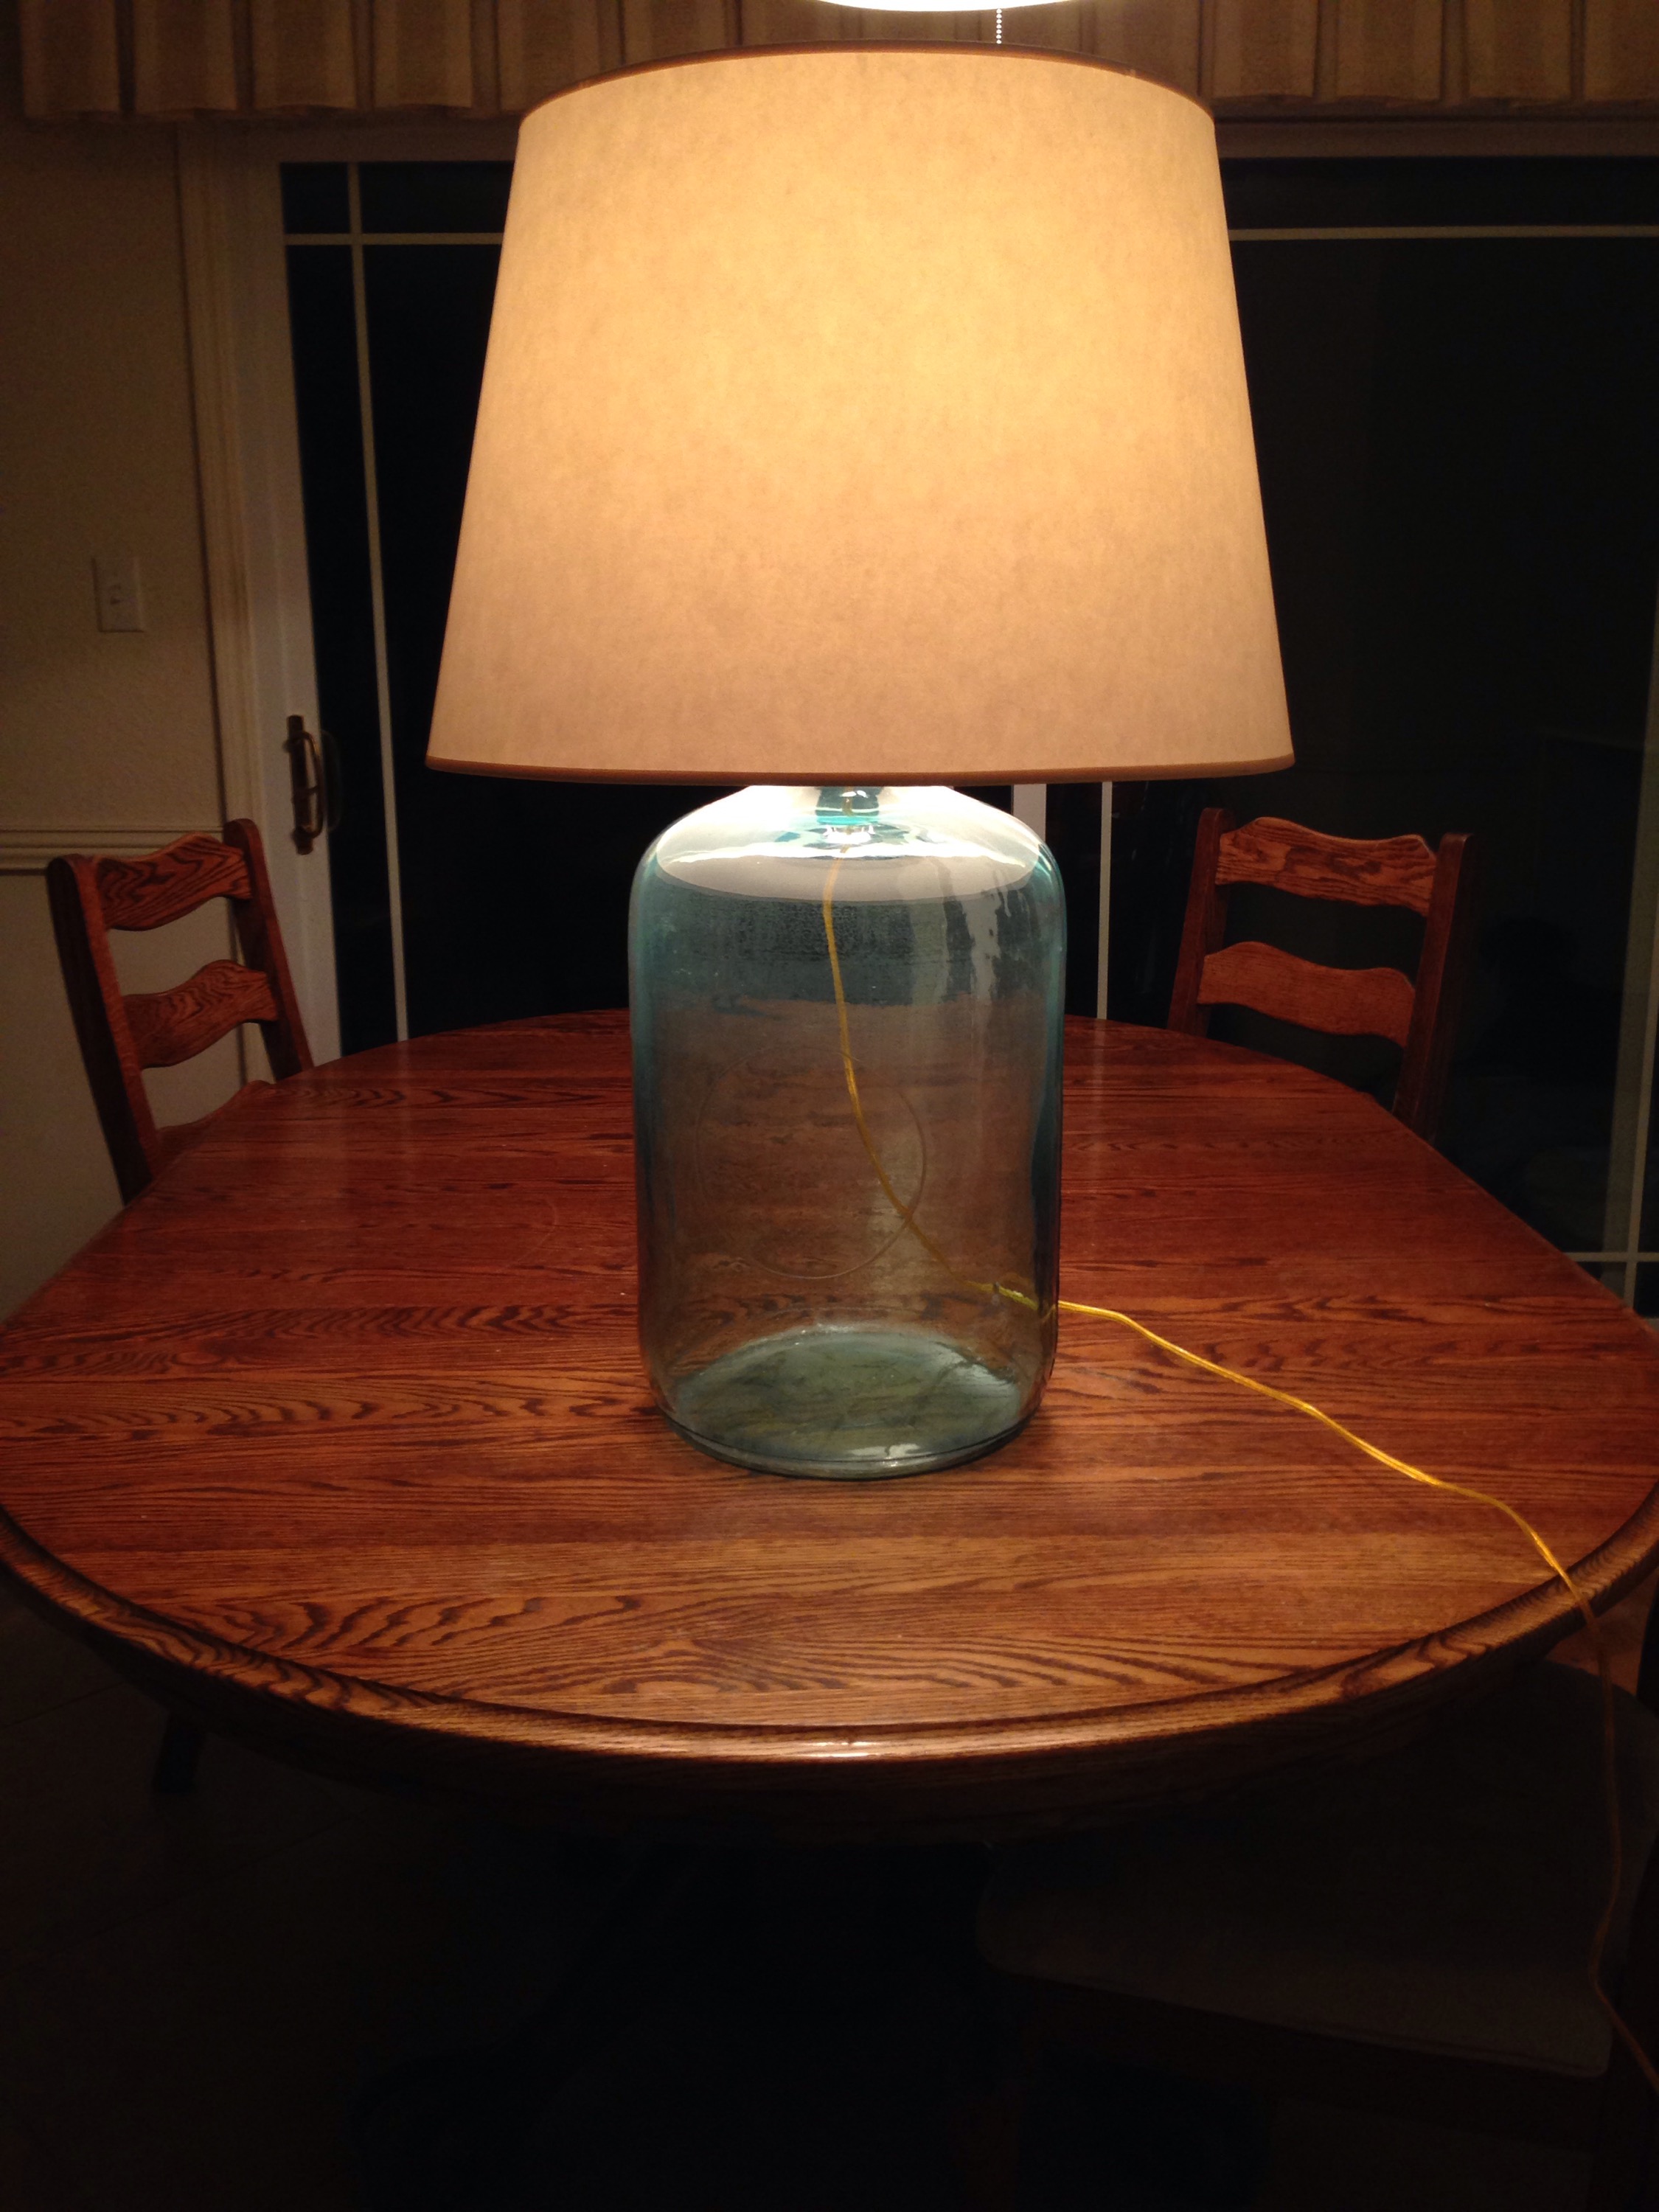
Not too shabby right?😉 When the guest house is finished and staged I will take new pictures of our lamp in the proper setting. For now I’m just grateful for awesome family and that I didn’t accidentally shock myself or take out an eye. Happy Sunday everyone!