Meditation Bench or Outdoor Dog Bed? Take your pick…

antique cot meditation bench platform

antique cot outdoor dog bed

What Bali inspired side yard would be without a meditation bench? A peaceful spot to enjoy the quiet and serenity… Or your bench could be taken over by two over-sized dogs? Either way this DIY bench can serve two purposes.

We scored an antique collapsible cot at the Sacramento Antique fair a few weeks back for $15. It was a bit rusted and the springs were ready to snap. First we cut away the mesh and springs with heavy duty wire cutters. antique cot meditation bench platform outdoor dog bed 001antique cot meditation bench platform outdoor dog bed 002

We gave it a quick spray of black spray paint, Rustoleum’s rust reformer to cover most of the rust. However since we had only a little left, and wanted an antique look we only used one coat. Then we had Home Depot cut 4 of the 12 foot (2 inch x 1/2 inch) sanded redwood boards in half for the bench slats. Also we found two pieces of redwood 2x4s in their scrap bin and had them cut to 29 1/2 inch pieces which we used for the under base to support the middle. Once everything was home we placed all the wood on the cot as a “mock up”, then used a sharpie to mark where each hole would be. Using a 1/4 ” bit, drilled holes in the wood at each mark. Then we screwed our 1/4″ machine screws into the wood. Each screw was secured to the cot with 1/4″ hex nuts underneath.

antique cot meditation bench platform outdoor dog bed 004antique cot meditation bench platform outdoor dog bed 006

antique cot meditation bench platform outdoor dog bed 007

(The 6 foot redwood slats are sitting atop the two horizontal 2×4 pieces in the middle) With an early fall shower approaching we moved the project into the garage and stained the wood with Preserva wood redwood stain. (A nice side note, because the cot is collapsible, we can fold and store it away for the winter months.)antique cot meditation bench platform outdoor dog bed 011

Once dried, we placed our new meditation bench in the side yard. Of course, before we could even snap  the perfect ‘after’ shot, Sierra found herself a new bed.antique cot meditation bench platform outdoor dog bed 019

So what will it be, a meditation bench or outdoor dog bed?

antique cot meditation bench platformantique cot outdoor dog bed

If your dogs are like ours, they may decide for you…

DIY, Dog Proof Drip Lines…For Dummies?

Dog proof drip line soaker house for pots

I’ll admit it, I am totally clueless when it comes to installing drip lines. Emitters, bubblers, reservoirs, lines, etc. the whole idea just seems way too complicated for watering plants. There had to be a better way?

Dog proof drip line soaker house 001

There also had to be a dog proof way? Anyone who’s raised a teething puppy probably knows drip systems, are prime targets. (Instant chew toy and tug toy rolled into one.) Luckily our dogs leave heavy duty/commercial grade garden hoses alone. Therefore it made perfect sense to construct our DIY soaker hose drip system out of an old hose.

Dog proof drip line soaker house 003

We already had an old black, heavy duty garden hose that needed replacing. However we needed a second one, for extra length since our water source was so far away. The last of the materials were 12 brass hose mender kits, and a 5/8 inch (inside diameter) 50ft black soaker hose.

Dog proof drip line soaker house 004

Then we measured and cut pieces of soaker hose for each raised planter box and pot. (Be sure to purchase the non-fabric soaker kind that doesn’t bend easily.)We were sure each piece could easily wrap around the inside of the planter box, creating a loose loop (and being generous with the lengths) Next we cut the hose, making sure there was enough length to follow the fence line. Dog proof drip line soaker house 007

Then we inserted the hose mender brass fitting into the hose, with the other end being the soaker hose loop. Essentially for each soaker loop/pot you will need two hose mender kits if you want several pots lined up. Be sure to string the metal bands onto the hoses, and tighten them over each hose with a flat head screwdriver.

Dog proof drip line soaker house 008 Dog proof drip line soaker house 009

Dog proof drip line soaker house 010

Then we secured each loop together with black zip ties and sunk them into the soil around each plant. Basically the pattern should be: garden hose, then soaker hose loop in the pot/planter, then garden hose. This pattern allowed us to spread out the pots along our side yard. At our last pot, we created a loop out of the capped end of the soaker hose. Dog proof drip line soaker house 013

Next came securing the garden hose to the fence and soaker hose loops in the pots.We sunk the soaker hose into the pots with garden staples.Then for the next step we used 3/4″shark bite plastic pipe brackets. Dog proof drip line soaker house

These brackets come with nails inside them for easy use. Just put one around the hose, place the hose and bracket on the fence and hammer it in place.

Dog proof drip line soaker house 014All in all, no special drip equipment required, very economical and if your dogs don’t chew garden hoses, pretty much dog proof.

Dog proof drip line soaker house for pots

Also if you have a completely paved area and can’t install a sprinkler system, this easy drip system is a great way to bring a large amount of water to big pots, all you need is a water spigot. A simple solution for busy people (who hate hand watering their gardens).

Starting our Bali Side Yard: Tree Box Planters

cheap planter idea tree box planter

Anyone suffer from sticker shock for a simple item? We had one of those moments recently, and thus needed to find a creative and cheap solution for starting our “Balinese”/tropical garden. Home Depot, Lowes, etc had beautiful pots but not the right price…Ouch!

cheap planter idea tree box planter 002

We have this really ugly side yard, long and narrow, where every drain and vent of the house seems to congregate. Also this side yard does not have a stitch of soil or unpaved area. Thus we needed large planter boxes or pots to start our garden. Searching local plant nurseries browsing and drooling over beautiful clay pots, I found wooden tree boxes tucked away in the corner. At $25 a piece versus $100+…Deal!

cheap planter idea tree box planter 007

Except the problem was tree boxes are made of raw cedar, with huge spaces between the wood slats, where soil can seep out. Hence we came up with a quick and easy solution for this issue:

We stained the boxes with preserva wood stain in redwood left over from all our staining projects, including our guest book adirondack chairs. (Make sure to lay paper or a tarp to protect the ground from stain) Don’t forget to stain the inside of the boxes since moisture will collect there.

cheap planter idea tree box planter 005cheap planter idea tree box planter 006

Then we cut large sheets of professional landscape weed block/fabric and lined the inside of the boxes. (Be sure not to use the thin plastic kind, because it will tear easily) Securing the fabric to the inside using a hand staple gun and staples.

cheap planter idea tree box planter 014cheap planter idea tree box planter 012

Another great feature of tree boxes, with a little chicken wire, the plants are high enough off the ground and safe from curious doggies. Once filled with soil, it was the perfect planter box for the first addition to our tropical garden. We hope to reveal our tropical/”wanna-be Bali” side yard in the coming months. cheap planter idea tree box planter

Quick Fix: AC Drain Container Garden

AC drain container garden papyrus

Do you have an Air conditioner drain pipe in a random place? With 100+ degree temperatures during the summer, this innocent little AC pipe has pumped out a ton of water. Creating a grimy, and muddy mess around our house foundation and side yard patio.

Ac drain garden 002

We tried a couple extenders, but with playful dogs running about the backyard, they just didn’t work.

(tennis ball + running puppy + pipe extender = cracked AC drain pipe)

Luckily we had this large vintage metal wash tub left over from our wedding that we used for part of the decor and never sold.

120929__kristyweldonphotography_406

I knew I was going to find use for it in the backyard, but had no idea it would fit so perfectly under our AC drain pipe. Another bonus is the tub leaks from the bottom and provides some drainage but less grime and less water.

Why not use it as a container garden?

The only challenge was to find plants that could stand low drainage, moist soil, but also looked tropical. Luckily Green Acres nursery in Sacramento has a wide variety of plants and fairly educated staff who steered us toward papyrus.papyrus

This plant can reach 13 to 16 ft tall, under the right conditions! (Admittedly, we may need to transplant it later in order to reach those heights.) It loves moist, shallow, and warm soil. As for the dogs, they sniff it, but pretty much leave it alone. However we will  wrap some chicken wire around it when the dogs are in the backyard without supervision. (Just in case a bored puppy wants a new chew toy and papyrus supposedly can be toxic to dogs) We’ve learned from experience that chicken wire around the plants normally does the job, and until new plantings are no longer at “dog mouth level.” Luckily our AC drain pipe is in a wind and elements sheltered side yard so we’re hoping this plant will love its new home. For now a perfect plant and quick fix as our AC drain container garden. Grow little guy,  grow!

AC drain container garden papyrus

“Getting Skimmy With It”…Ikea Hack: Skimboard Coffee Table Or Kid’s Table

Ikea hack skimboard coffee table

This project is dedicated to my little brothers, two amazingly talented guys who can do every board sport imaginable. They were visiting us the weekend I decided to tackle it and very grateful for their help. Turned out, this project was incredibly easy, cheap and fun to make! Also it was given two thumbs up from a 16 year old and 26 year old, so I’m assuming its “guy approved.” Maybe big sister is down with the kids these days?…Nah!

However we do have a nephew coming soon, so perhaps this would make a great coloring table or a bedside table for the little guy someday? I could totally see this project used in a little boys room!

Here’s how we did it…

First I found an older and (still grimy) skimboard at the Sacramento Antique fair a couple weeks back. As you can see it was still full of wax and sand. IMG_0638IMG_0637

Next  delicately scrapping and sanding off the grime with a putty knife and fine sanding sponge/block. (Luckily little bro, who worked in a ski repair shop showed me the technique without scraping the skimboard wood, )

IMG_0640IMG_0642

Then came the table legs…These were actually from an Ikea Vilmar chair for $10 and legs are sold separately. Sweet! (Because I would not know what do with half a chair lying around) Once all the grime was scraped away the little skimboard looked a thousand times better. We flipped the board up upside down, assembled the legs and little brother bent the legs to lie flush against the wood. Then we drilled small pilot holes into the wood through the chair leg holes.

IMG_0644 IMG_0690  Using leftover eye screws from our hanging rope shelves project and a few washers we screwed them into the wood.

IMG_0692IMG_0693 I thought everything was great till the guys said it needed a place to put the TV remotes….Luckily I had a little metal basket around the house and left over rope from the hanging shelves project. Using my knot tying skills from the navy (Who would’ve thought I’d ever use them again? But apparently they’re good for decorating wedding napkins and now Ikea Hacks) I wove the rope through the basket and eye screws.

IMG_0694IMG_0695

We parked this project up in the “Girl cave”/guest studio where all the other fun, and sea inspired decor hangs out. Finally this skimboard, turned fun and cheap coffee table was ready for drinks, TV remotes, and little brothers to prop their feet on!

Ikea hack skimboard coffee table

PS. Come party with us over at Remodaholic’s Link PartyI party with Remodelaholic

Welcome to Little Houses California…

california marquee diy wood metal lights

…Such a lovely place…(Oh no we’ll all have the Eagles song stuck in our heads this Sunday)

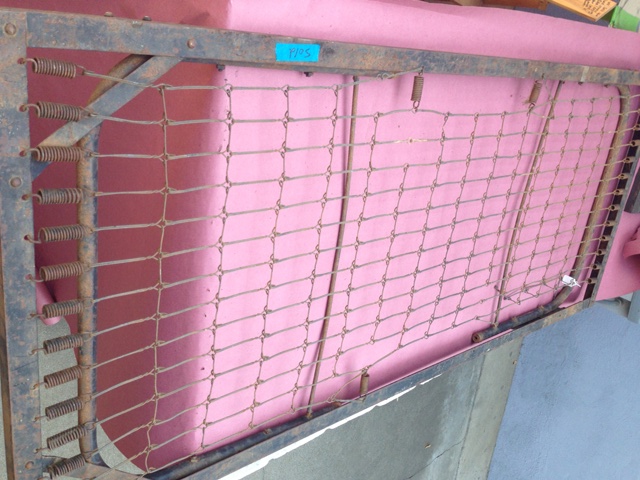
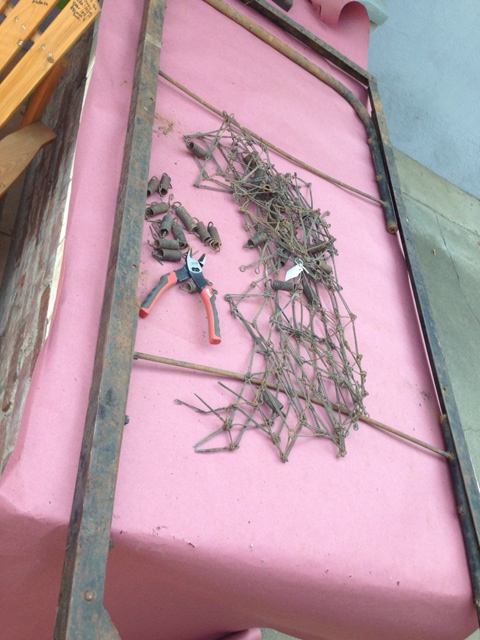
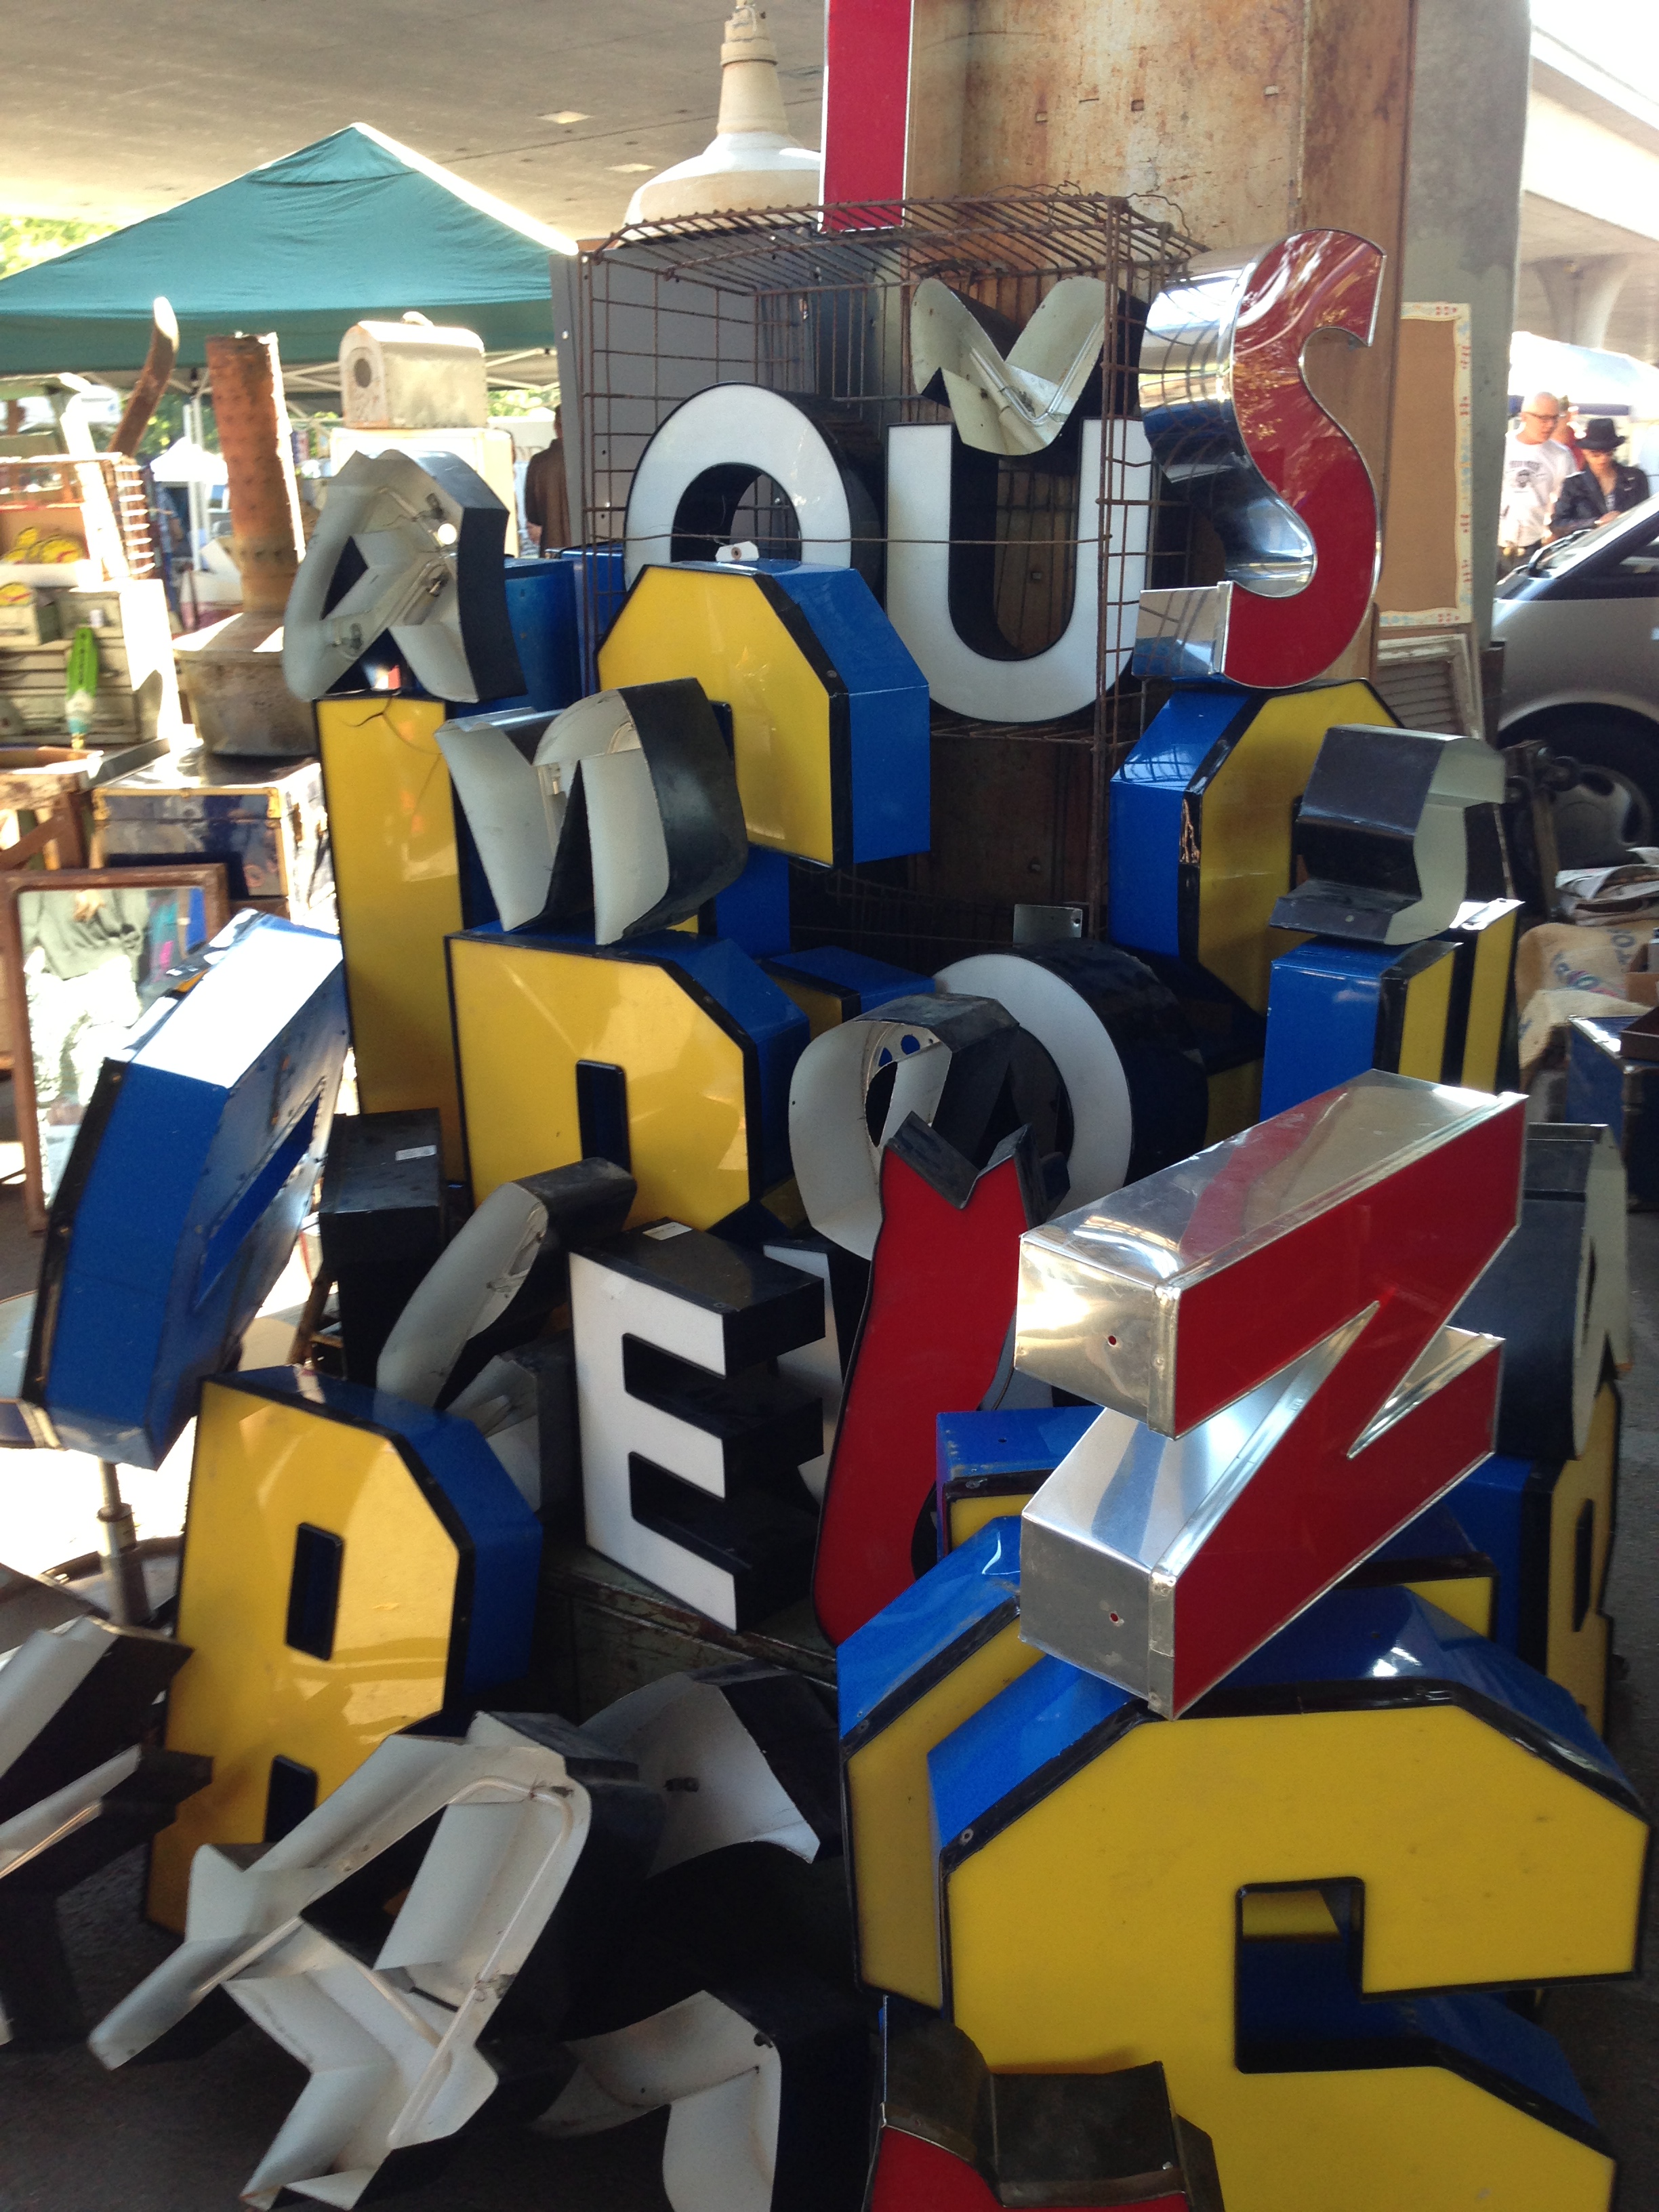
I had already been inspired by a few other fantastic blogs and this pile of lights at the Sacramento Antique Fair

oar curtains and sac antique fair 005

I knew I wanted a marquee for a blank wall in our living room. However I didn’t want letters or a simple shape. Until one innocent Sunday afternoon…

Margarita + Sunset Magazine = Random DIY project

california marquee 013 I fell head over heels in love with the California Marquee Sunset magazine featured. Unfortunately based on the size and quality of it, I surmised it would probably not work with our budget or even the size of our house. Therefore with a little liquid courage, and a whole lot of project scraps…Could this be done?

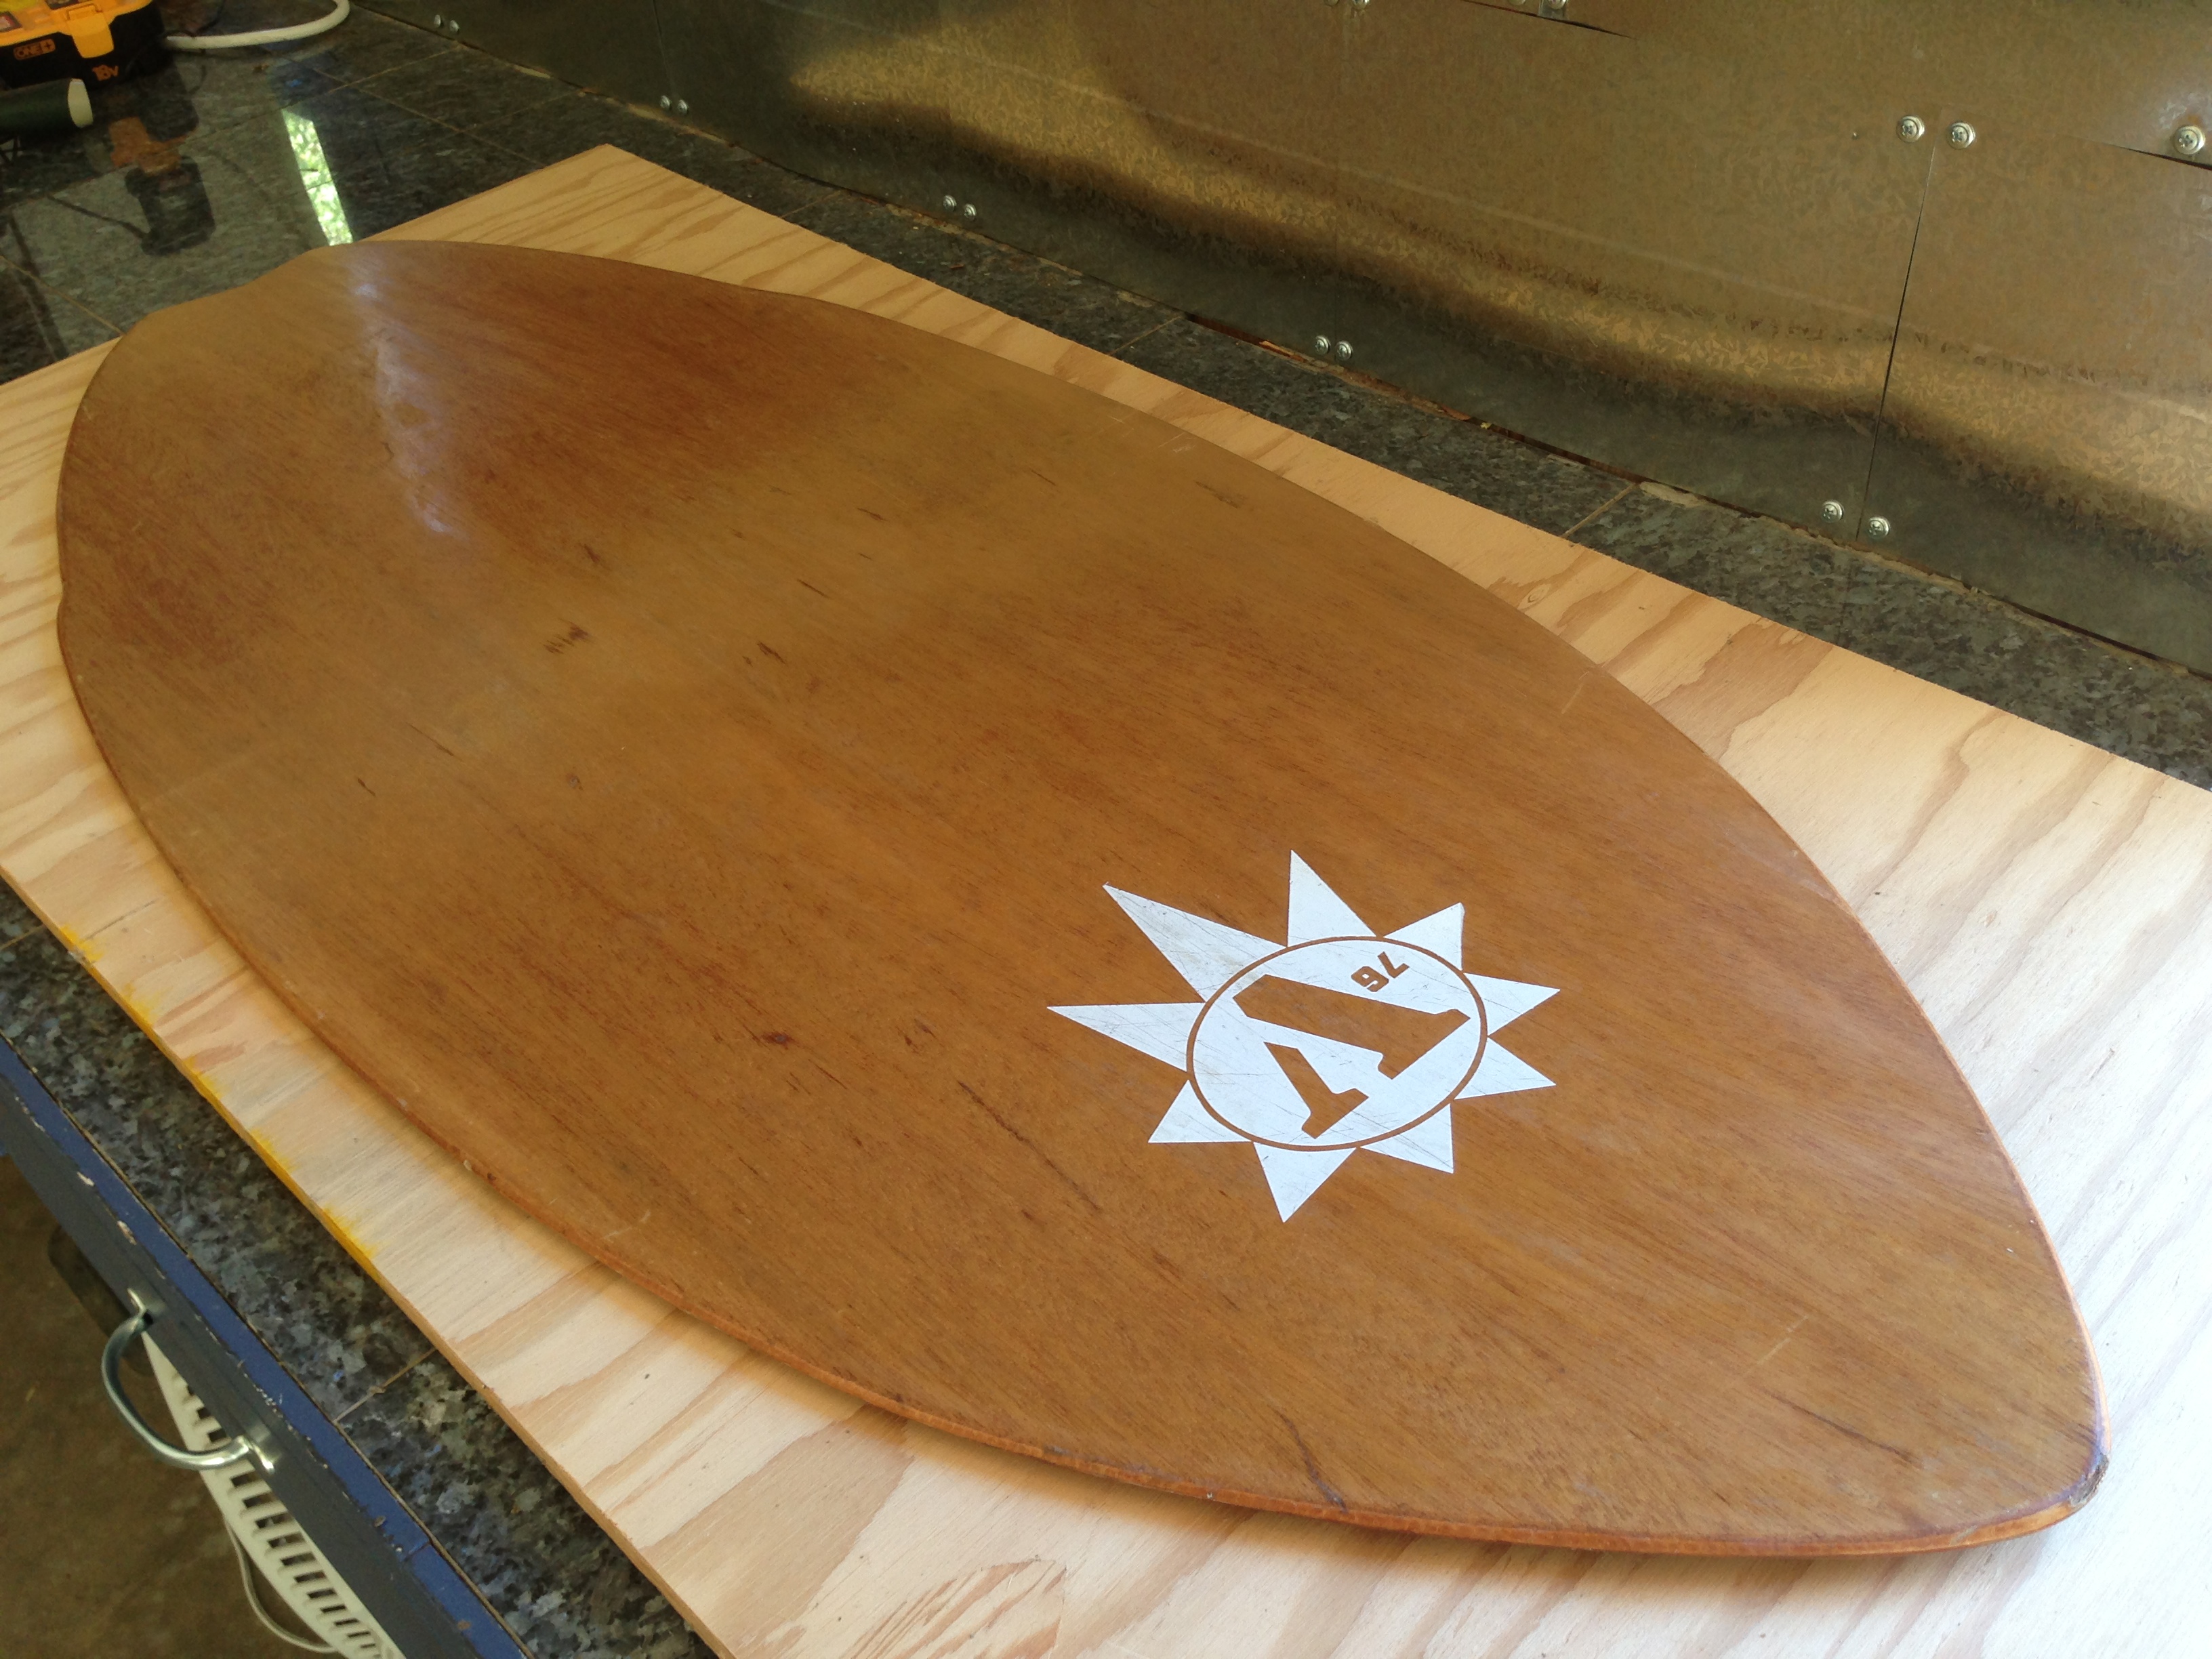
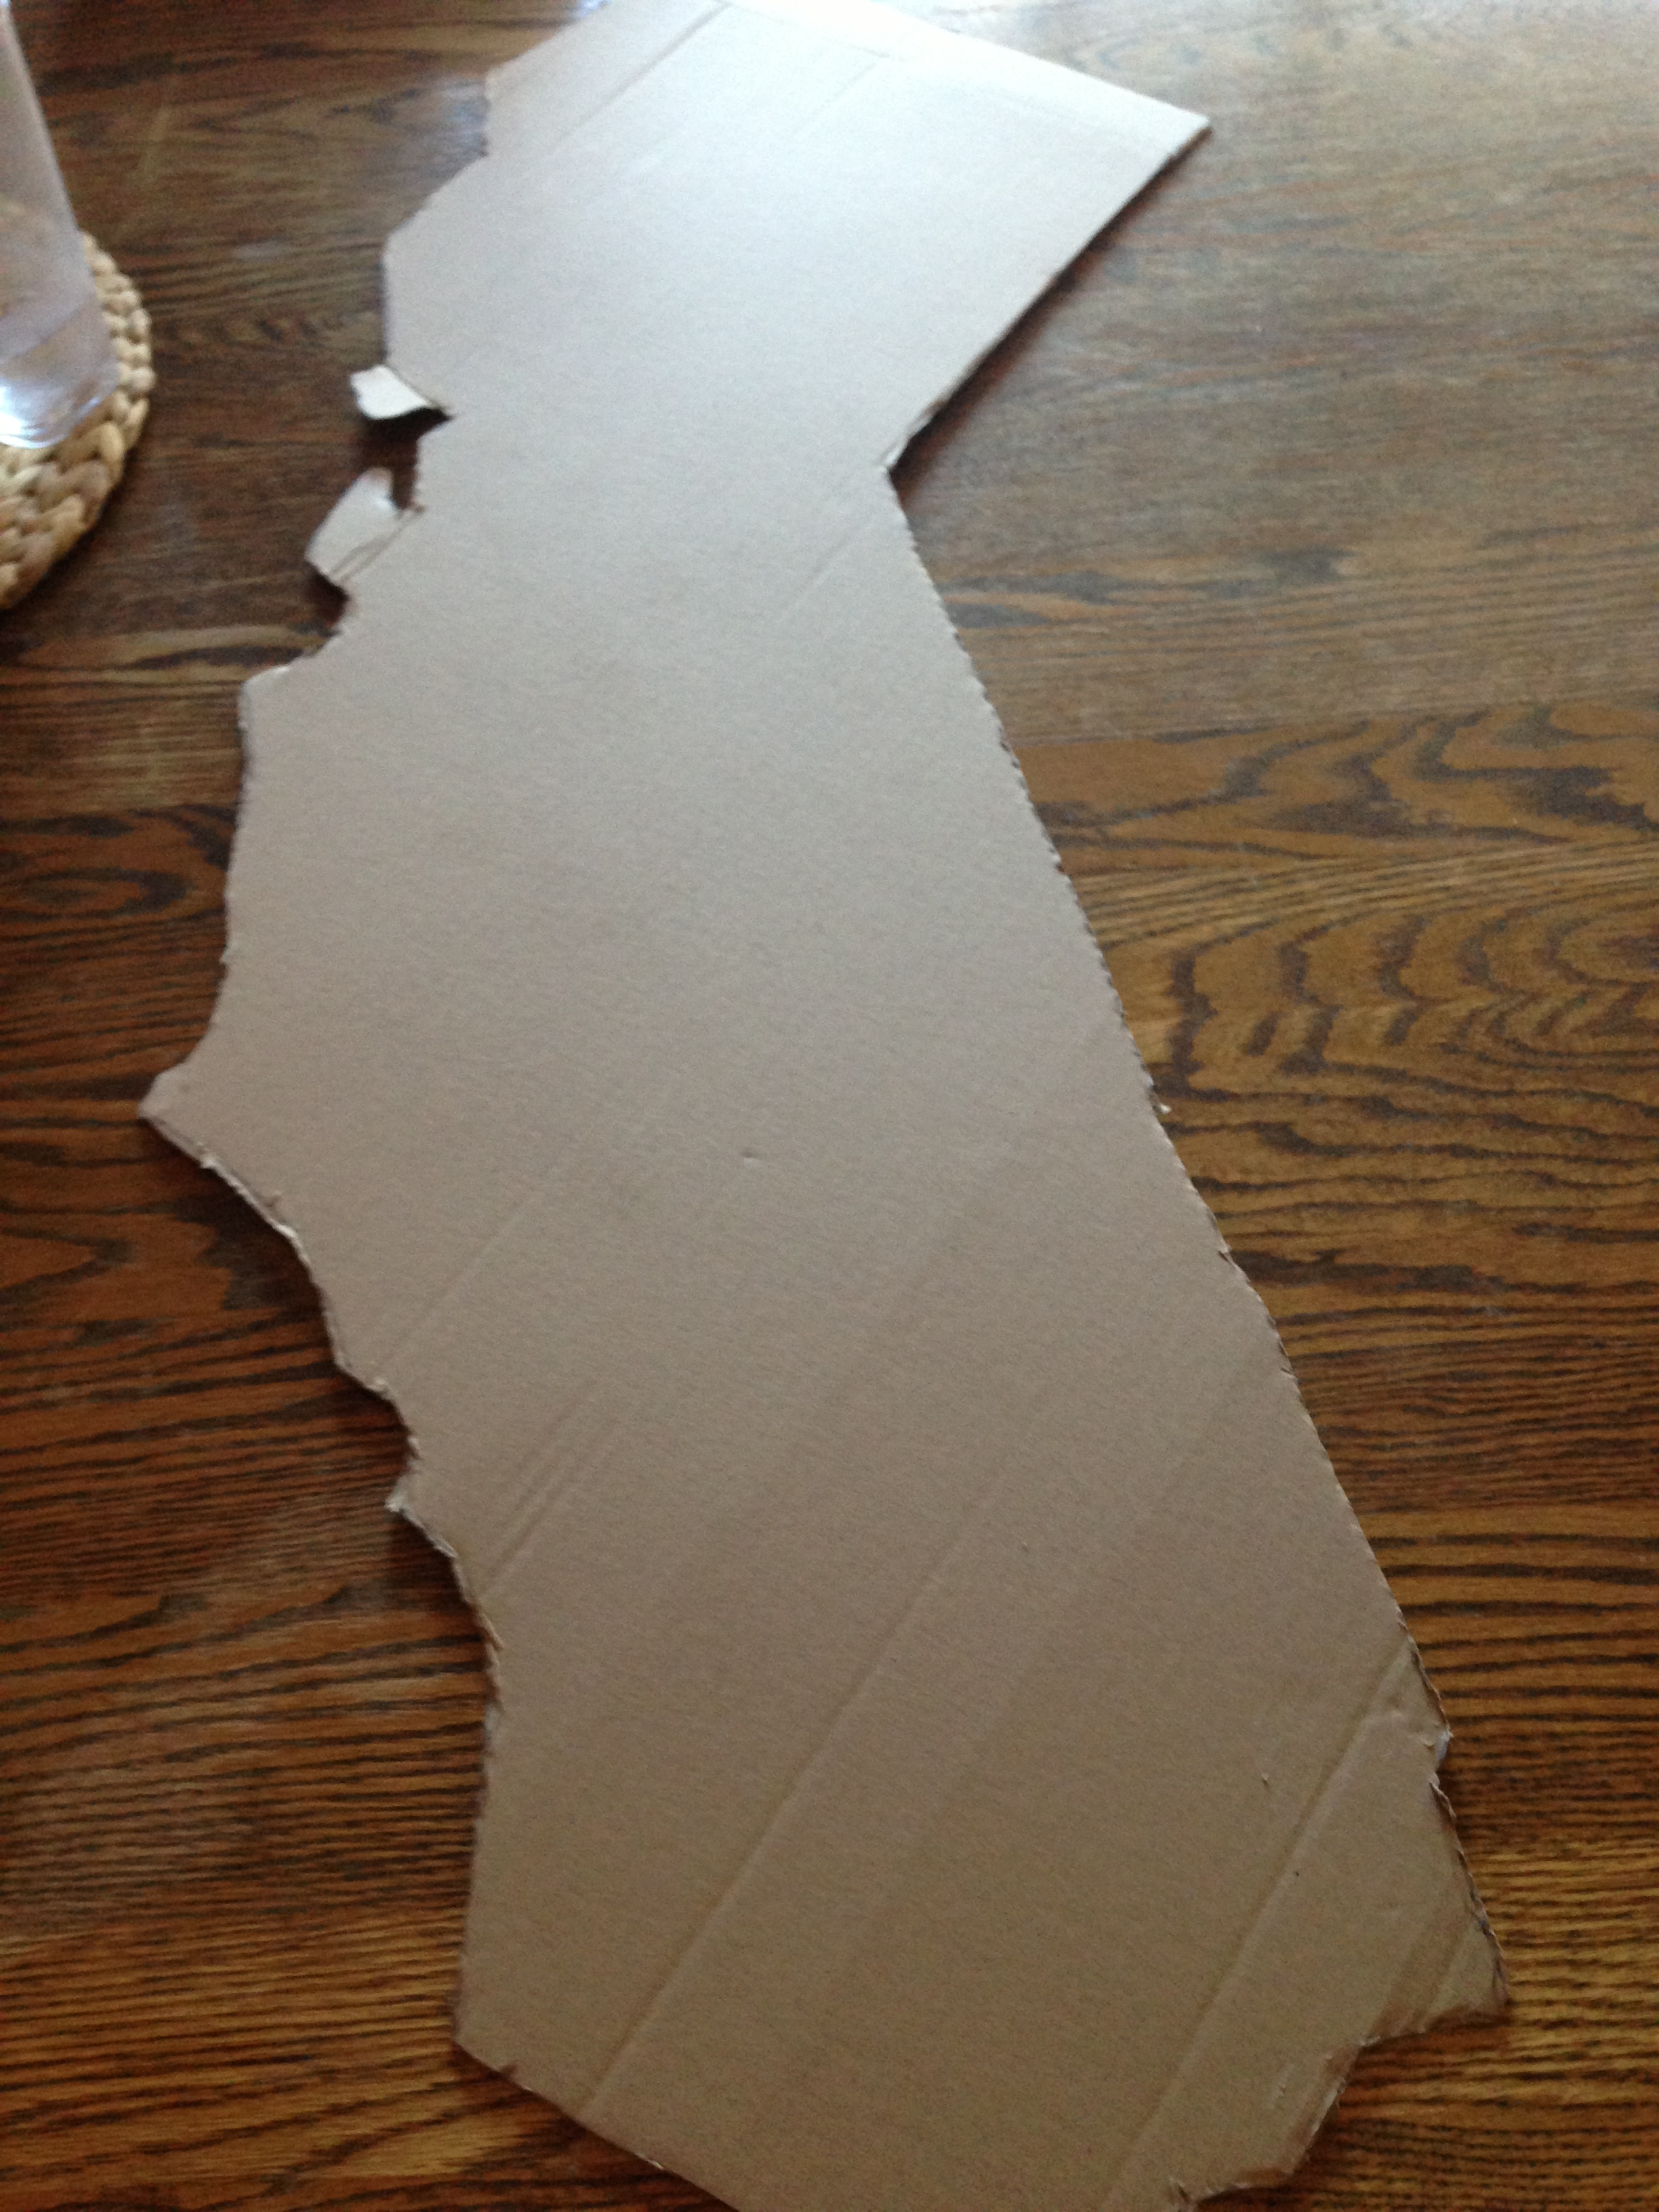
(Don’t worry I did not try to use a hand saw and tools with a margarita on board) I only traced a large California picture onto a piece of cardboard and cut it out.

california marquee 002california marquee 003

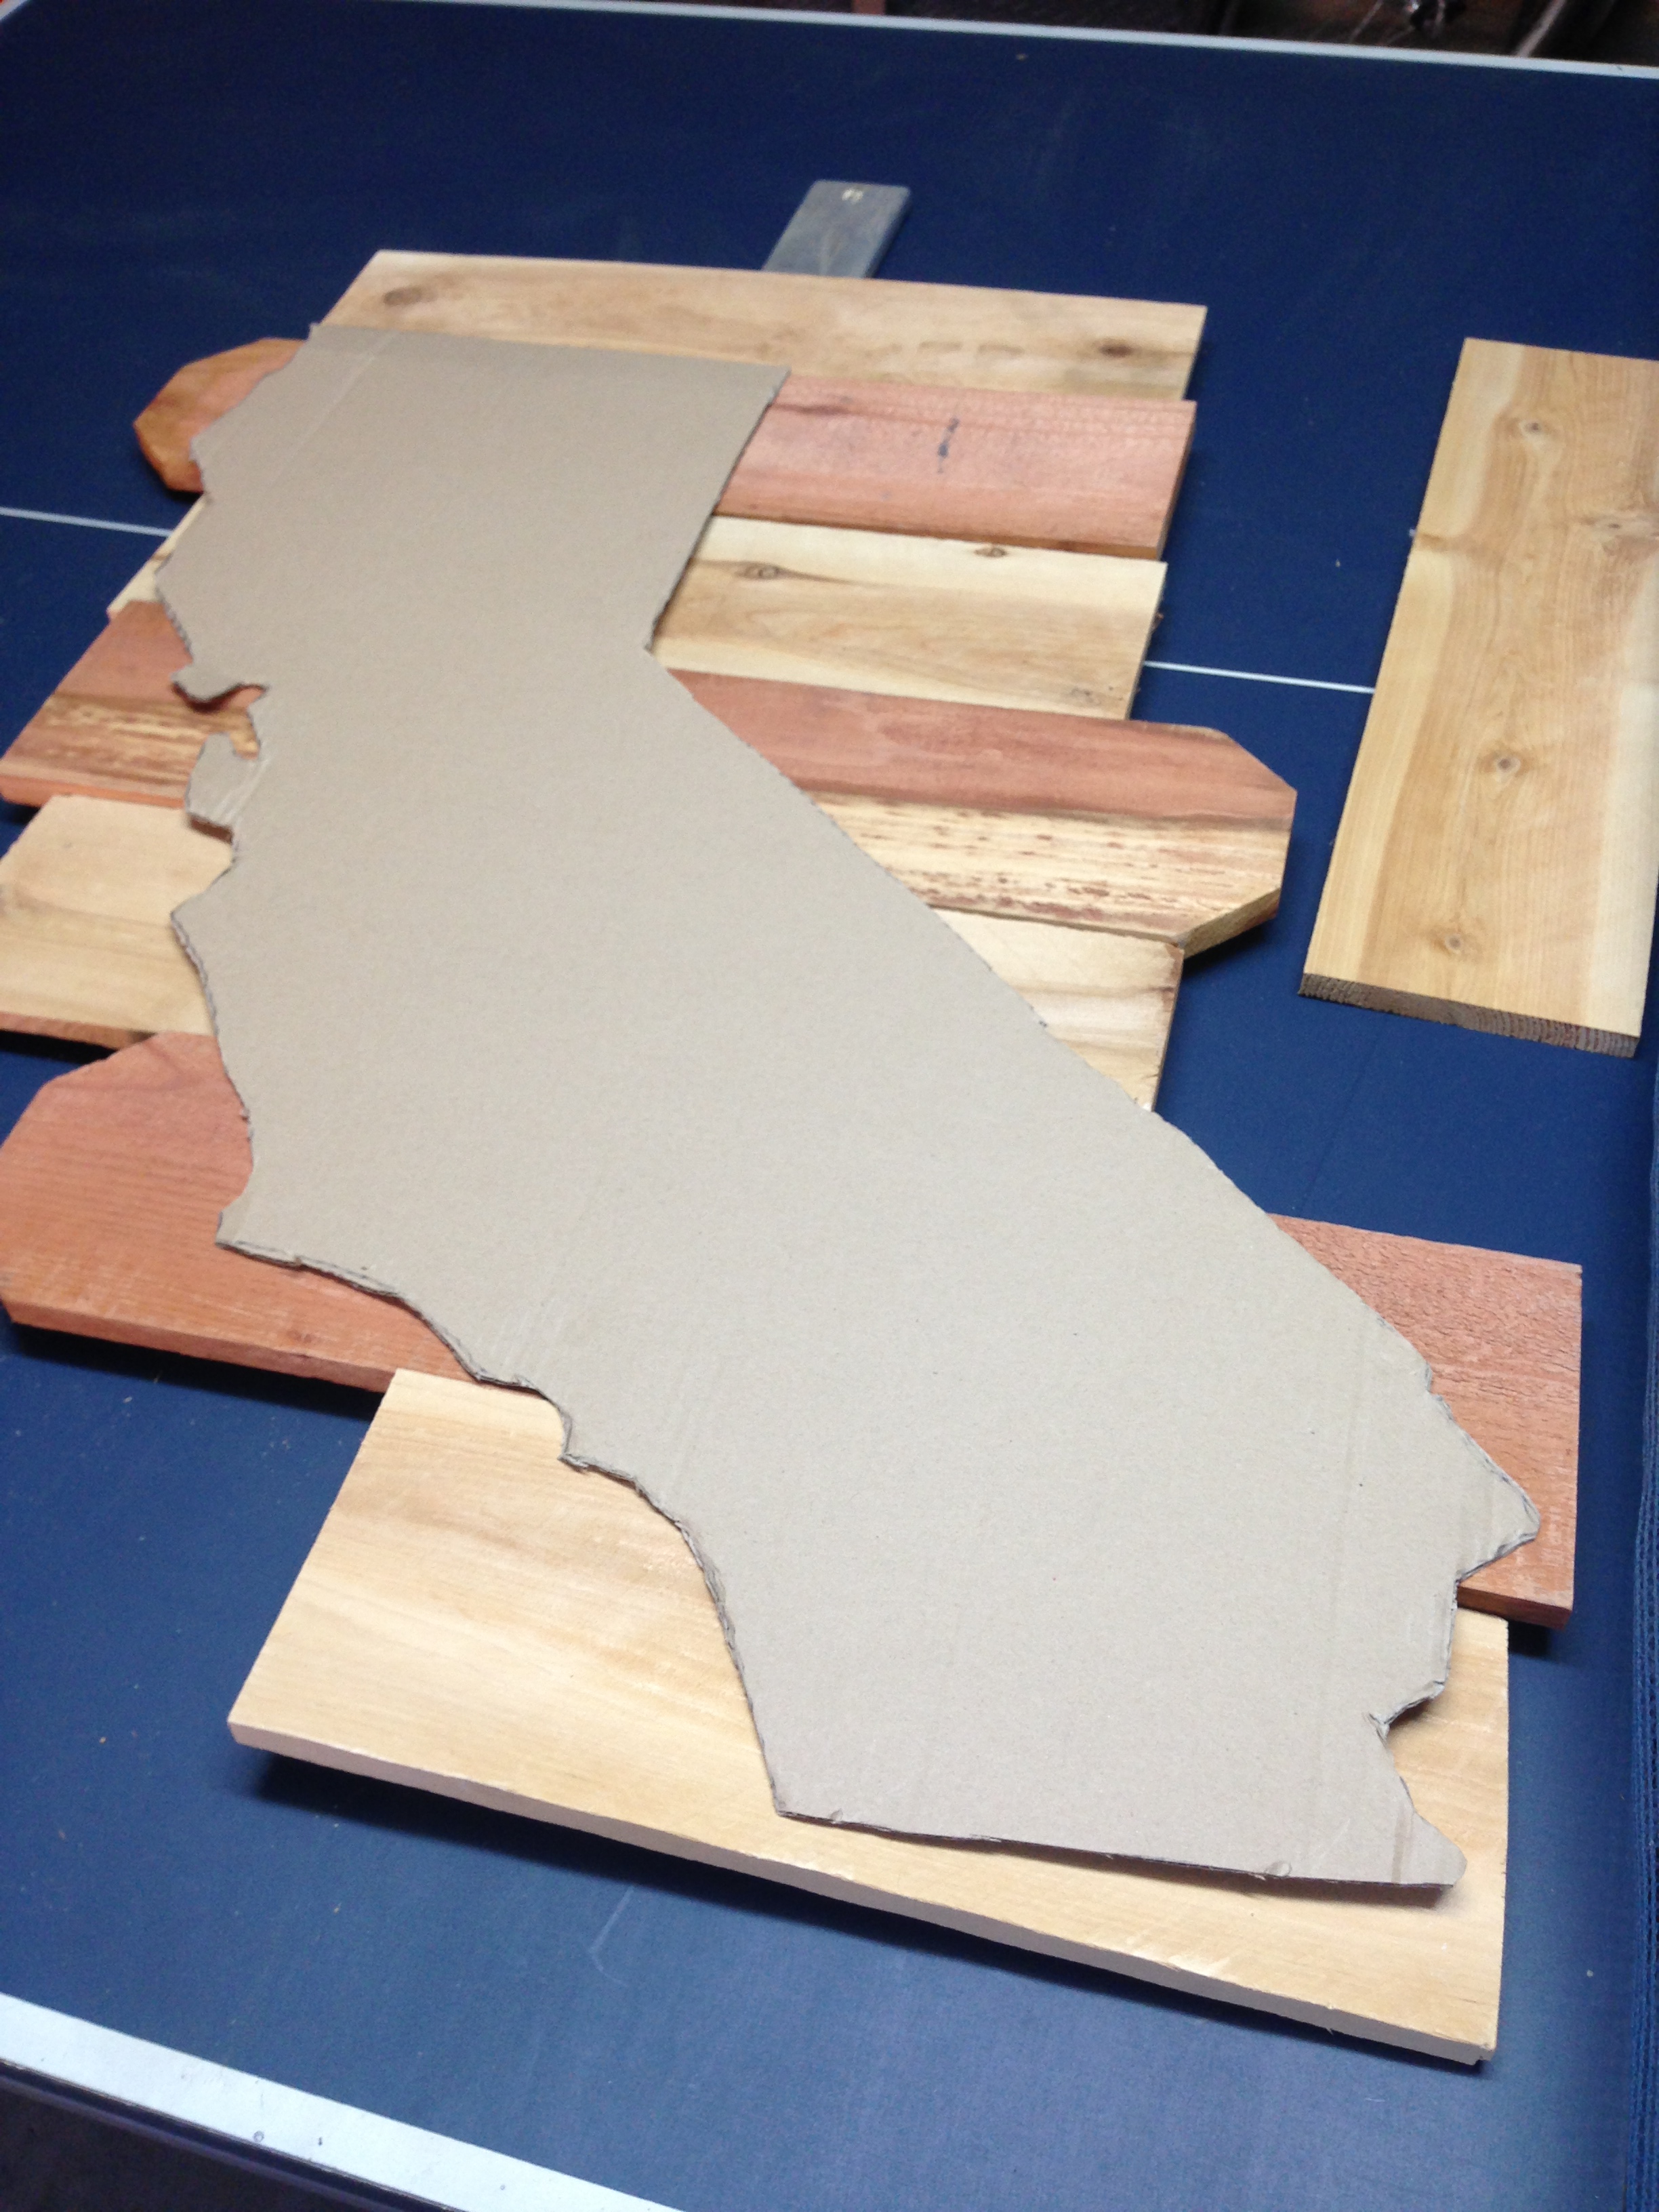
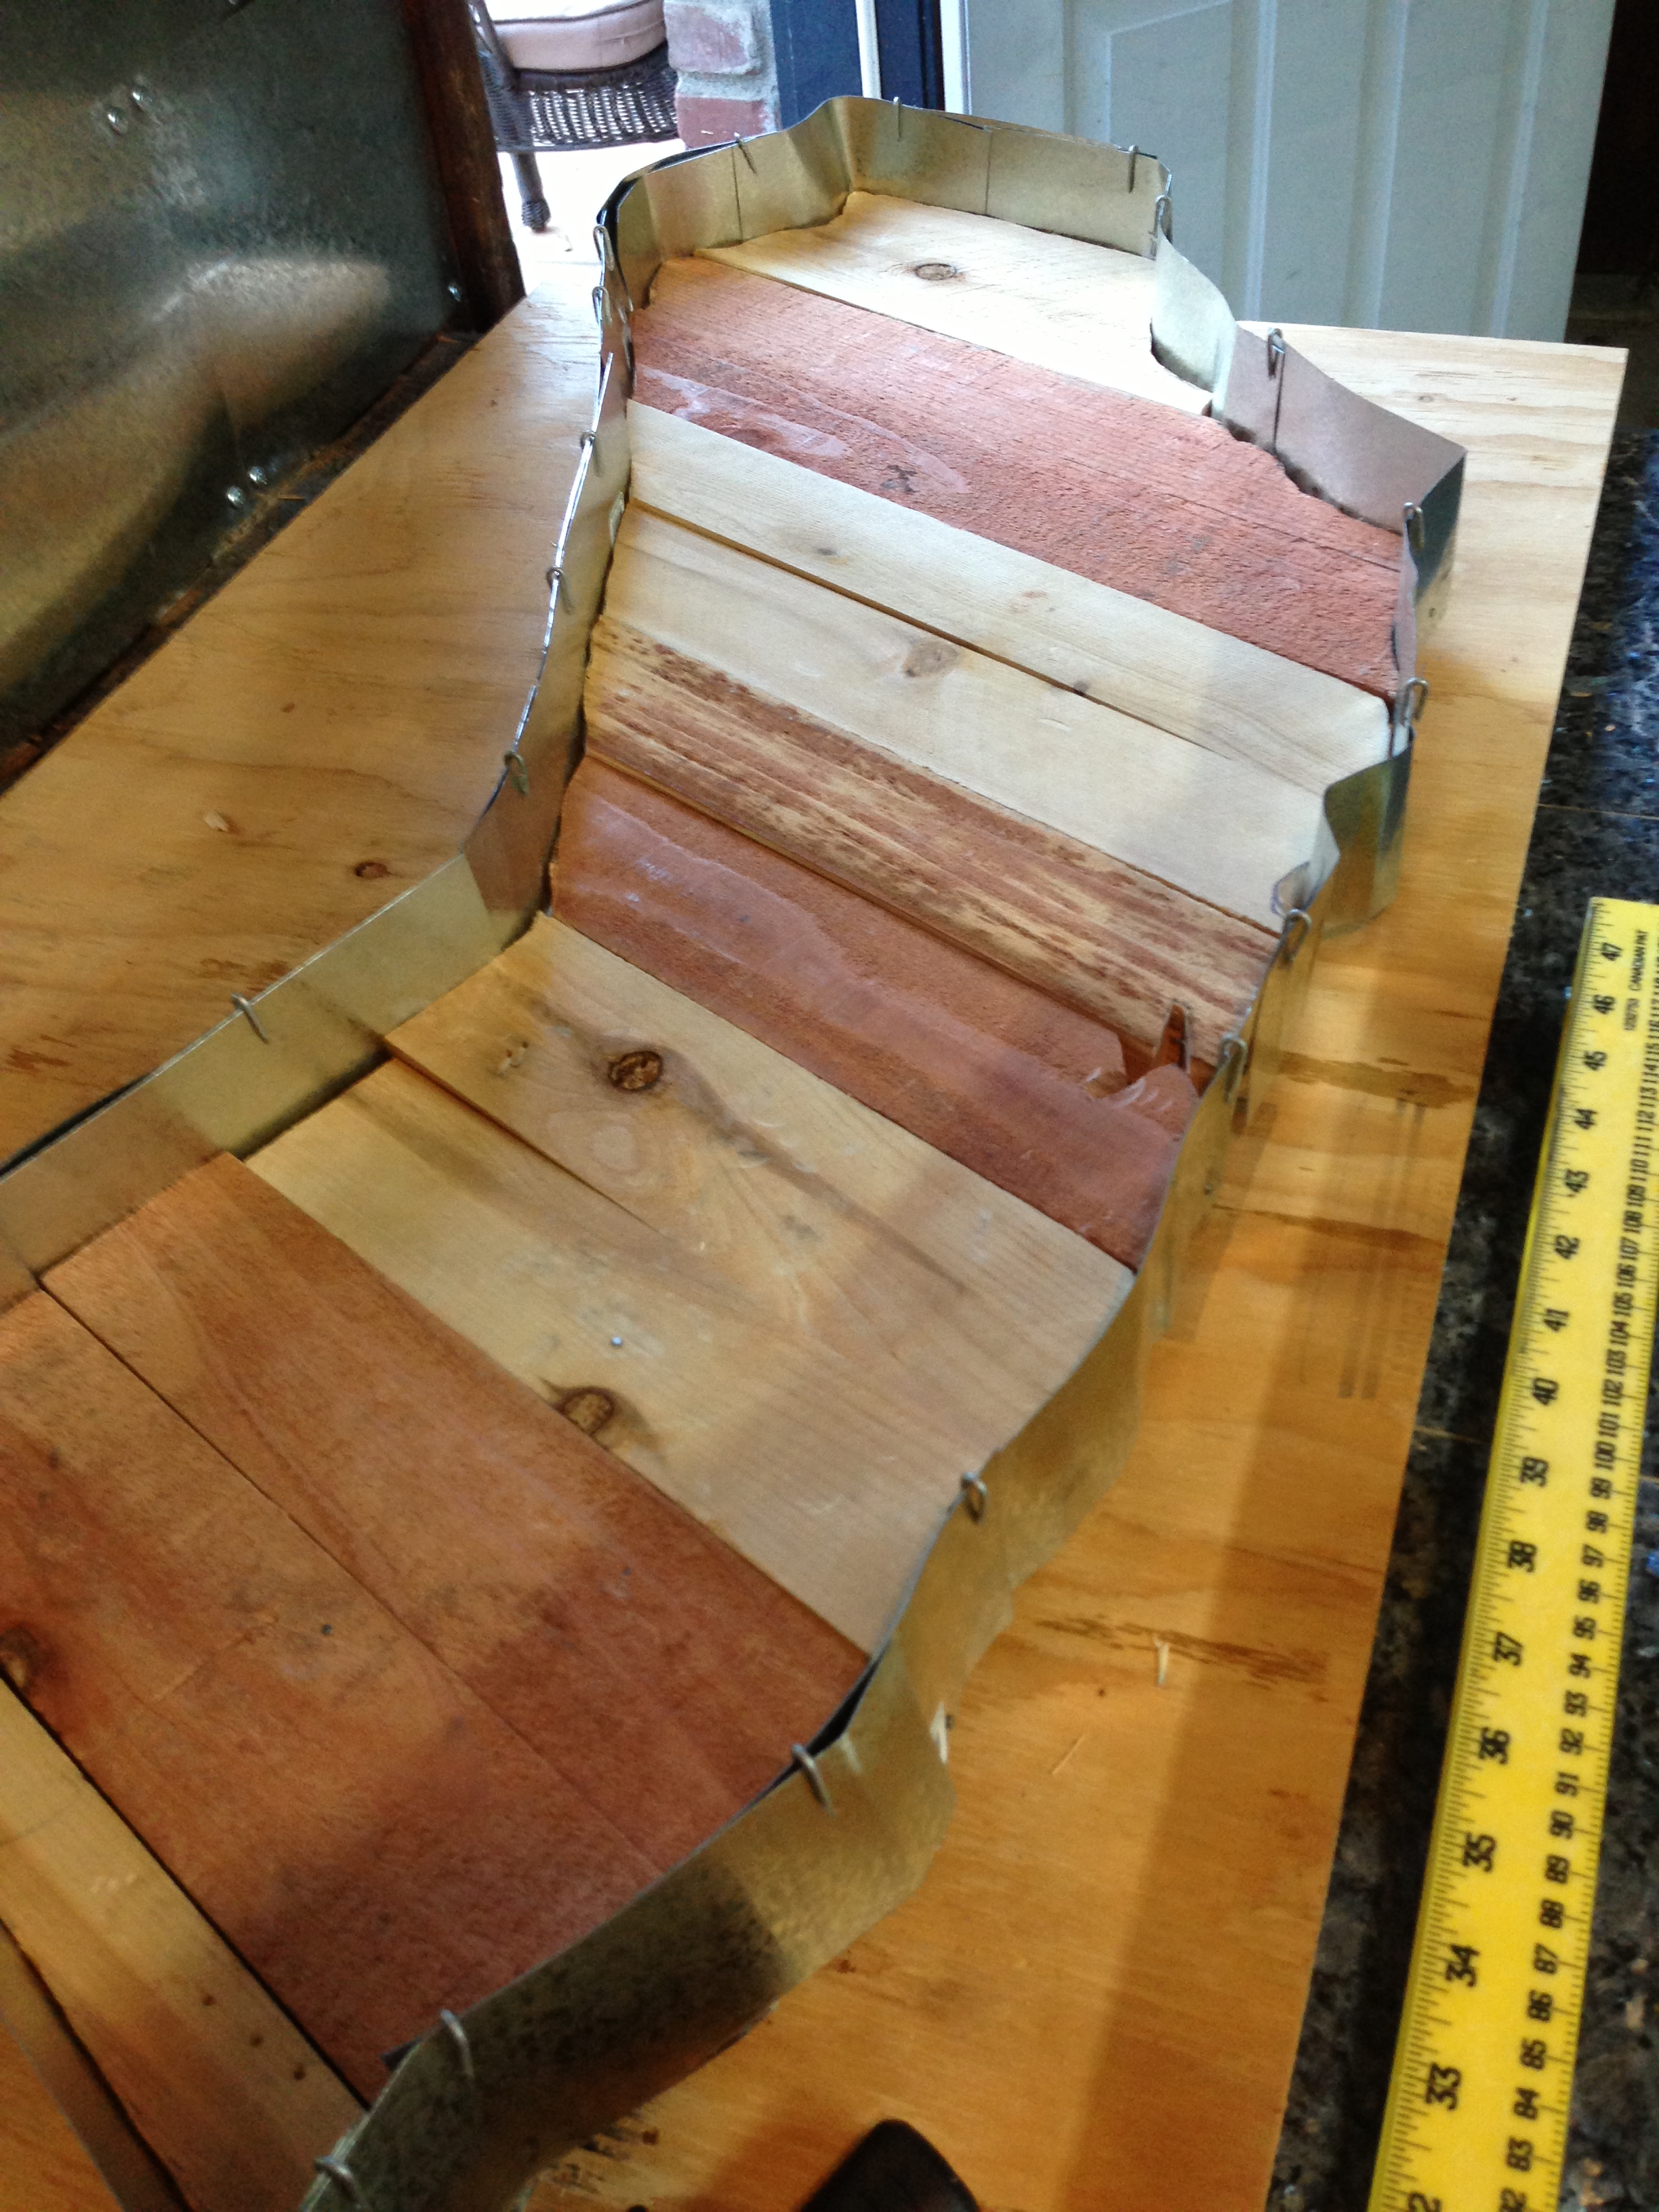
Then I traced the picture onto wood scraps we had left over from our previous fences and roof flashing backsplash. Making sure to number each piece on the back so I could put all of them back together after cutting.

california marquee 004

The next evening I hunkered down, and using a clamp and coping saw started the painstakingly long process of cutting out the shape of California by hand. (By the second shape I was asking hubby for a scroll saw or dremel for Christmas)

california marquee 005california marquee 008california marquee 007 california marquee 010

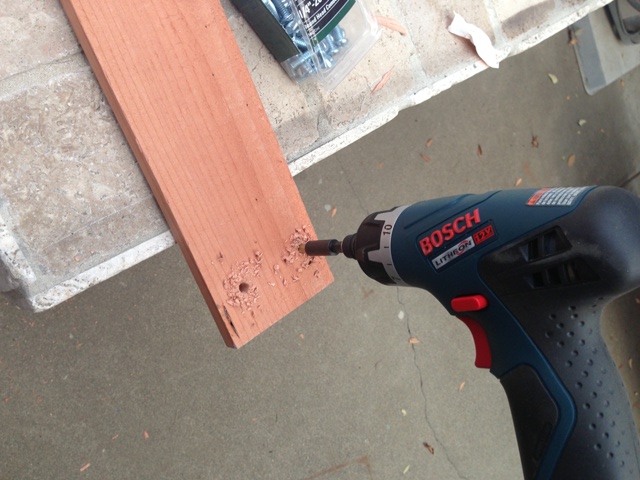
Once all the pieces were cut out I put them back together again, flipped them over and lined them up. Then attached two more pieces of scrap wood to the back and drilled them together with hubby. Mistake#1: We should have used metal brackets instead of wood so the pieces would’ve laid flush and tighter together.

california marquee 009 (However we didn’t know how the project would turn out so maybe using scraps was the most economical at the time)

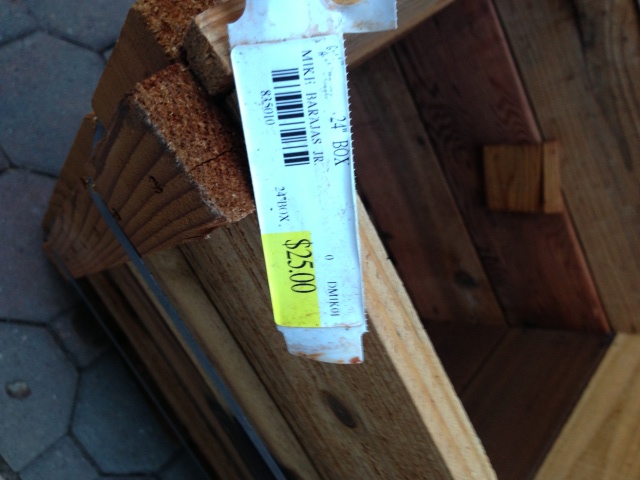
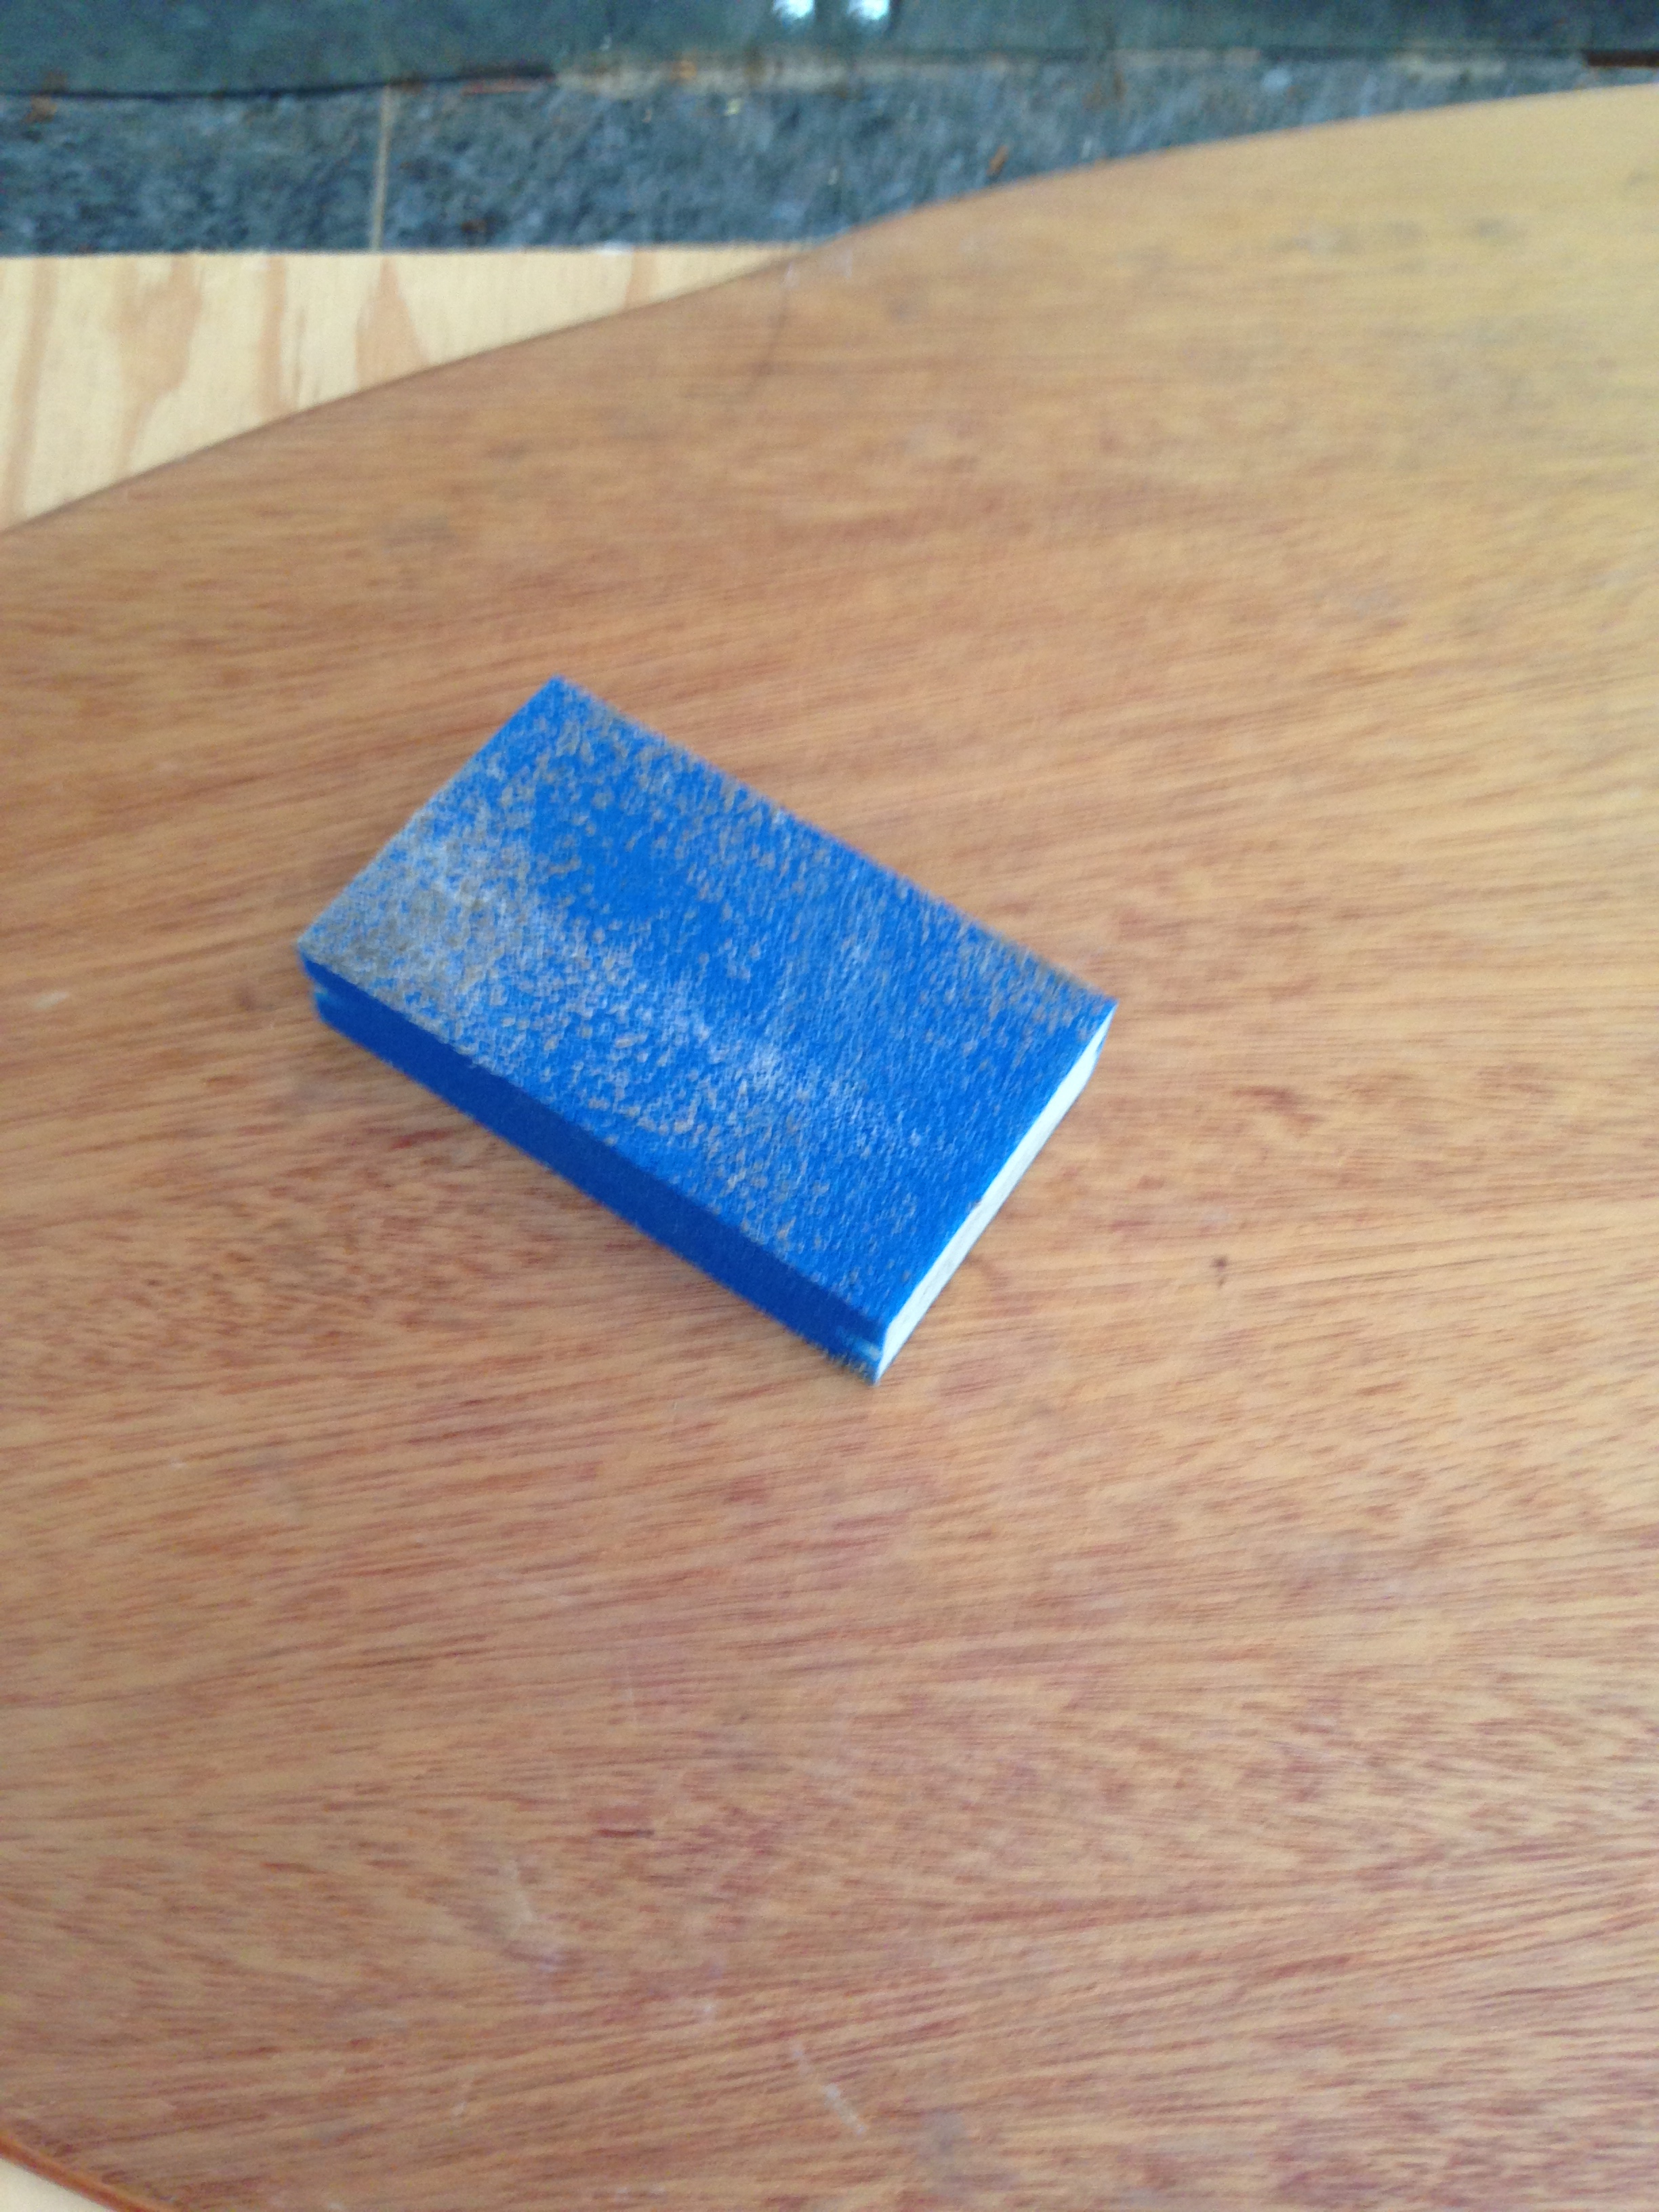
Next came the roof flashing, we cut the rectangles in half creating a 2 1/2 inch border surrounding the marquee. Be sure to wear thin leather gloves for hand protection when working with roof flashing. Then we hammered the roof flashing pieces into the wood with little nails. We also hammered the flashing gently to mold to the contours of the California coast.

california marquee 012california marquee 011

Mistake#2 -As you can see we should have taken off the barcode stickers with goo-be-gone, before adding the roof flashing.

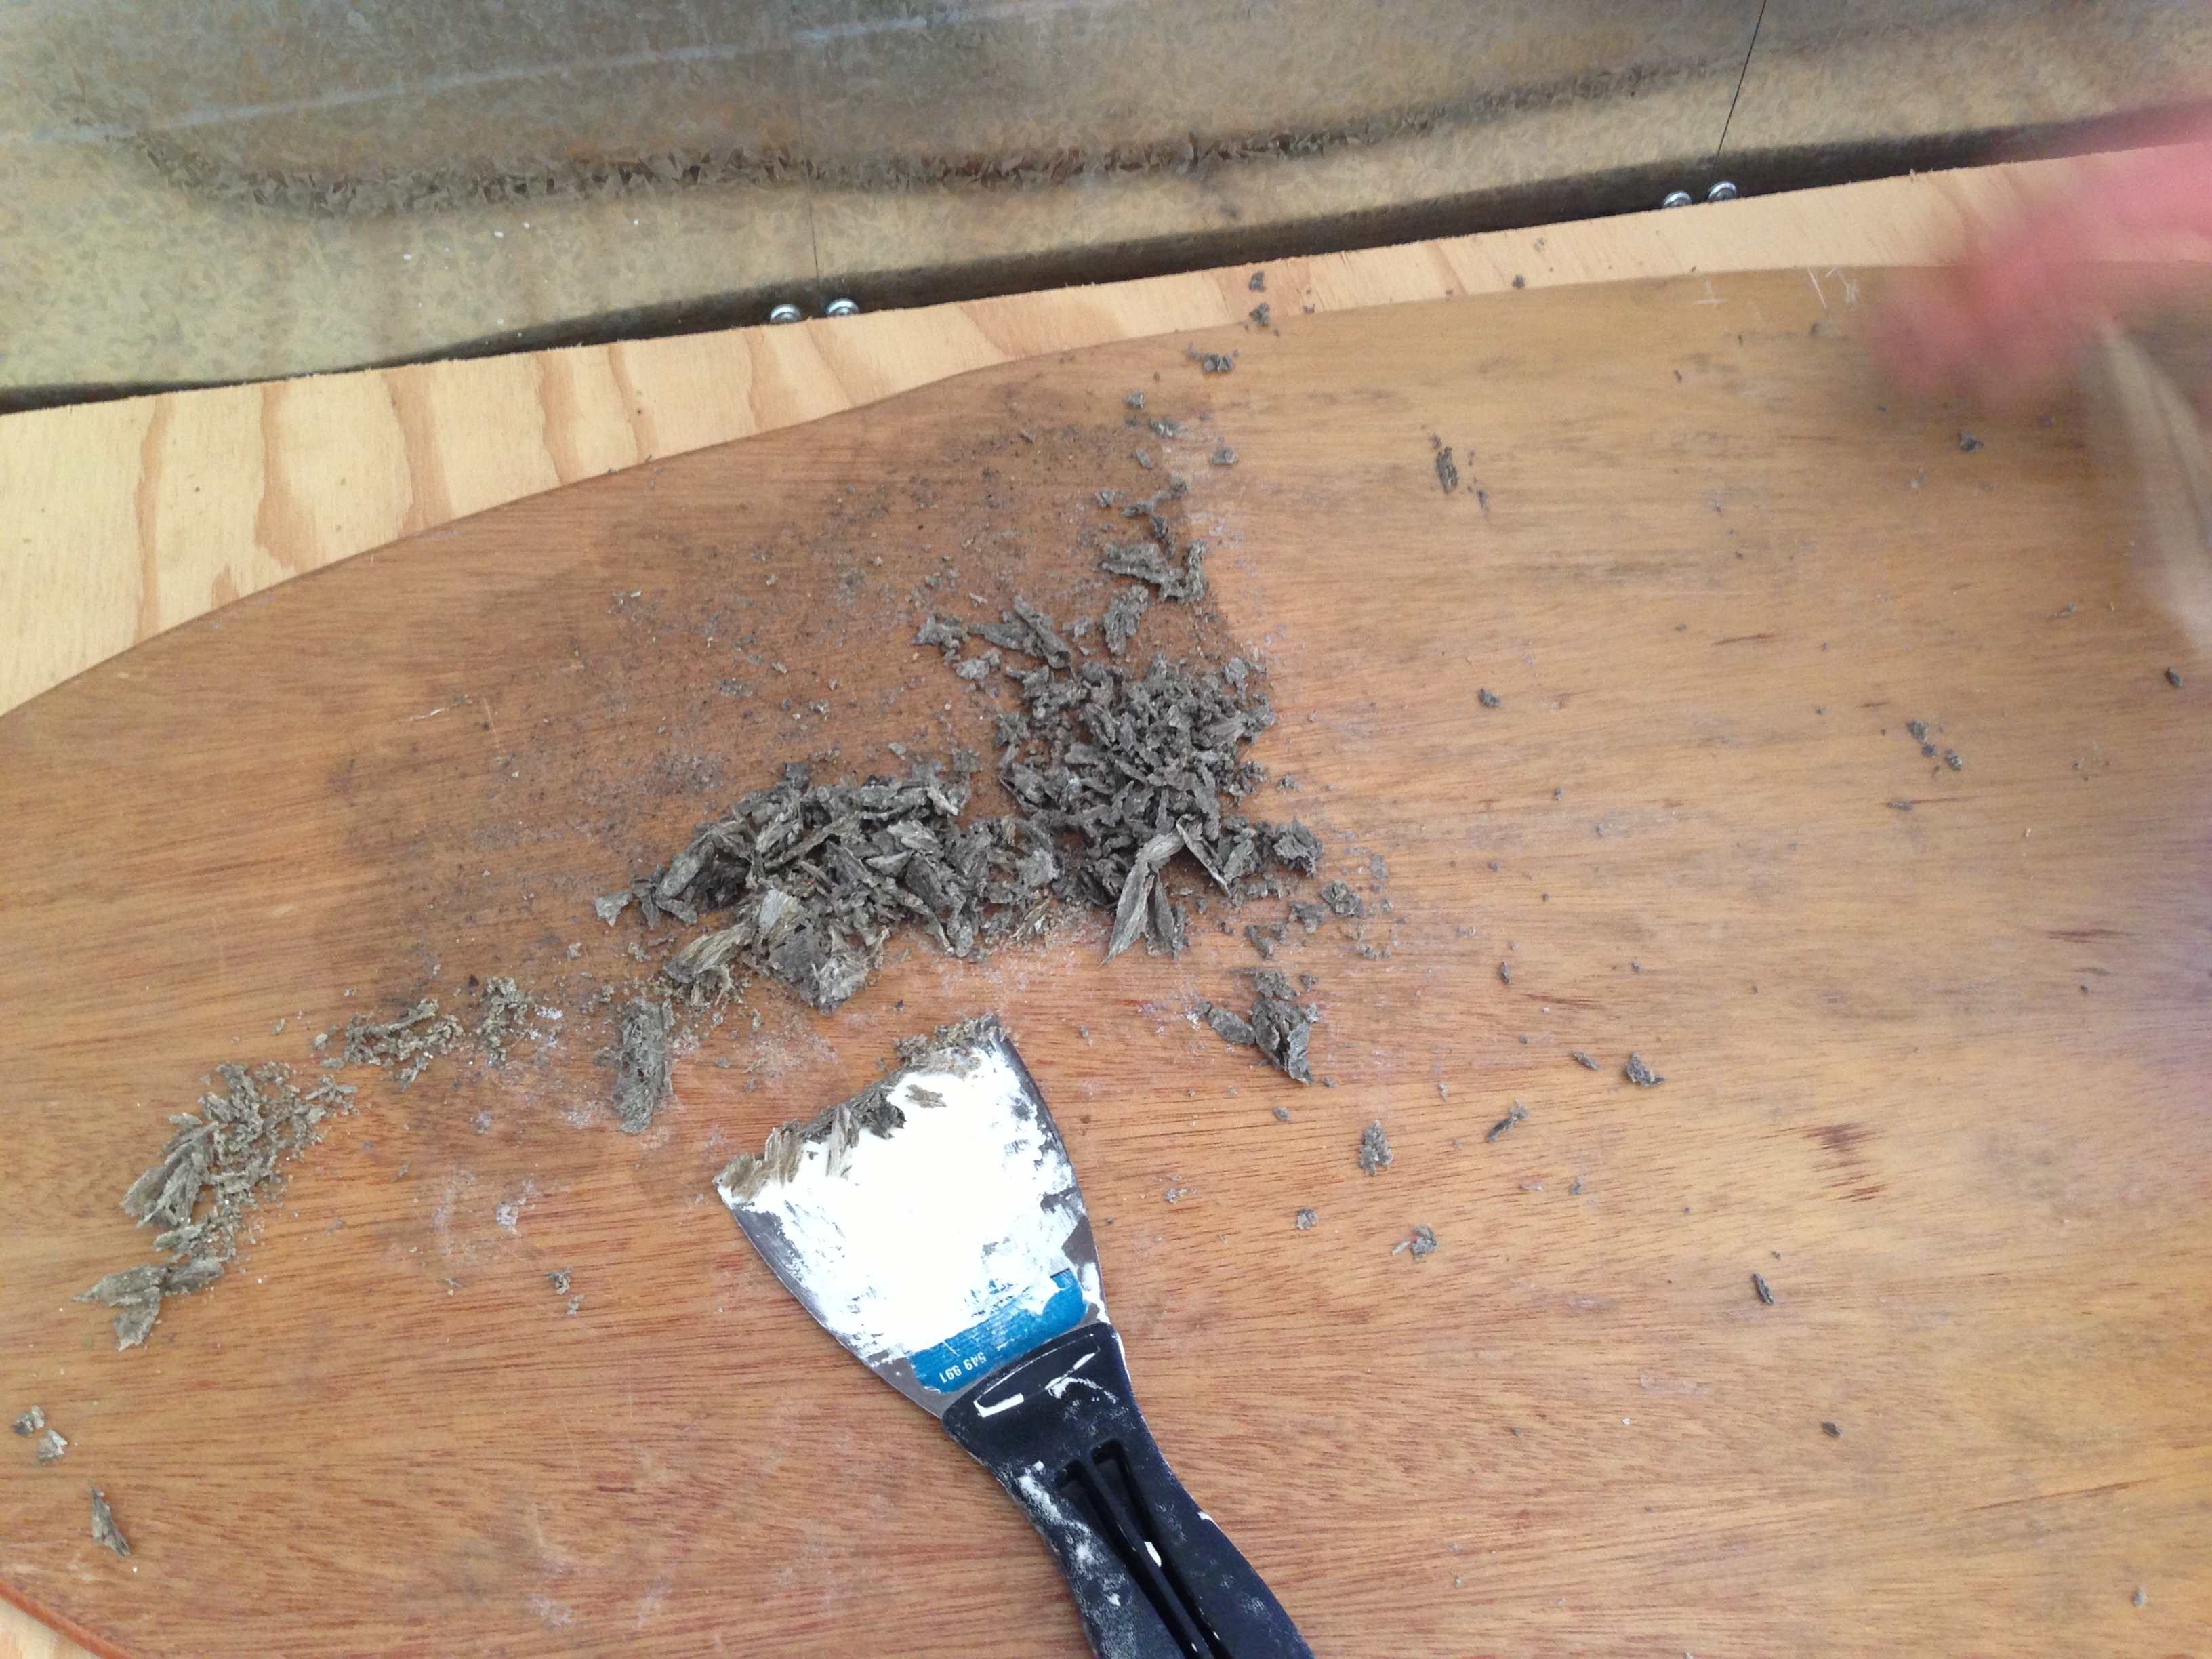
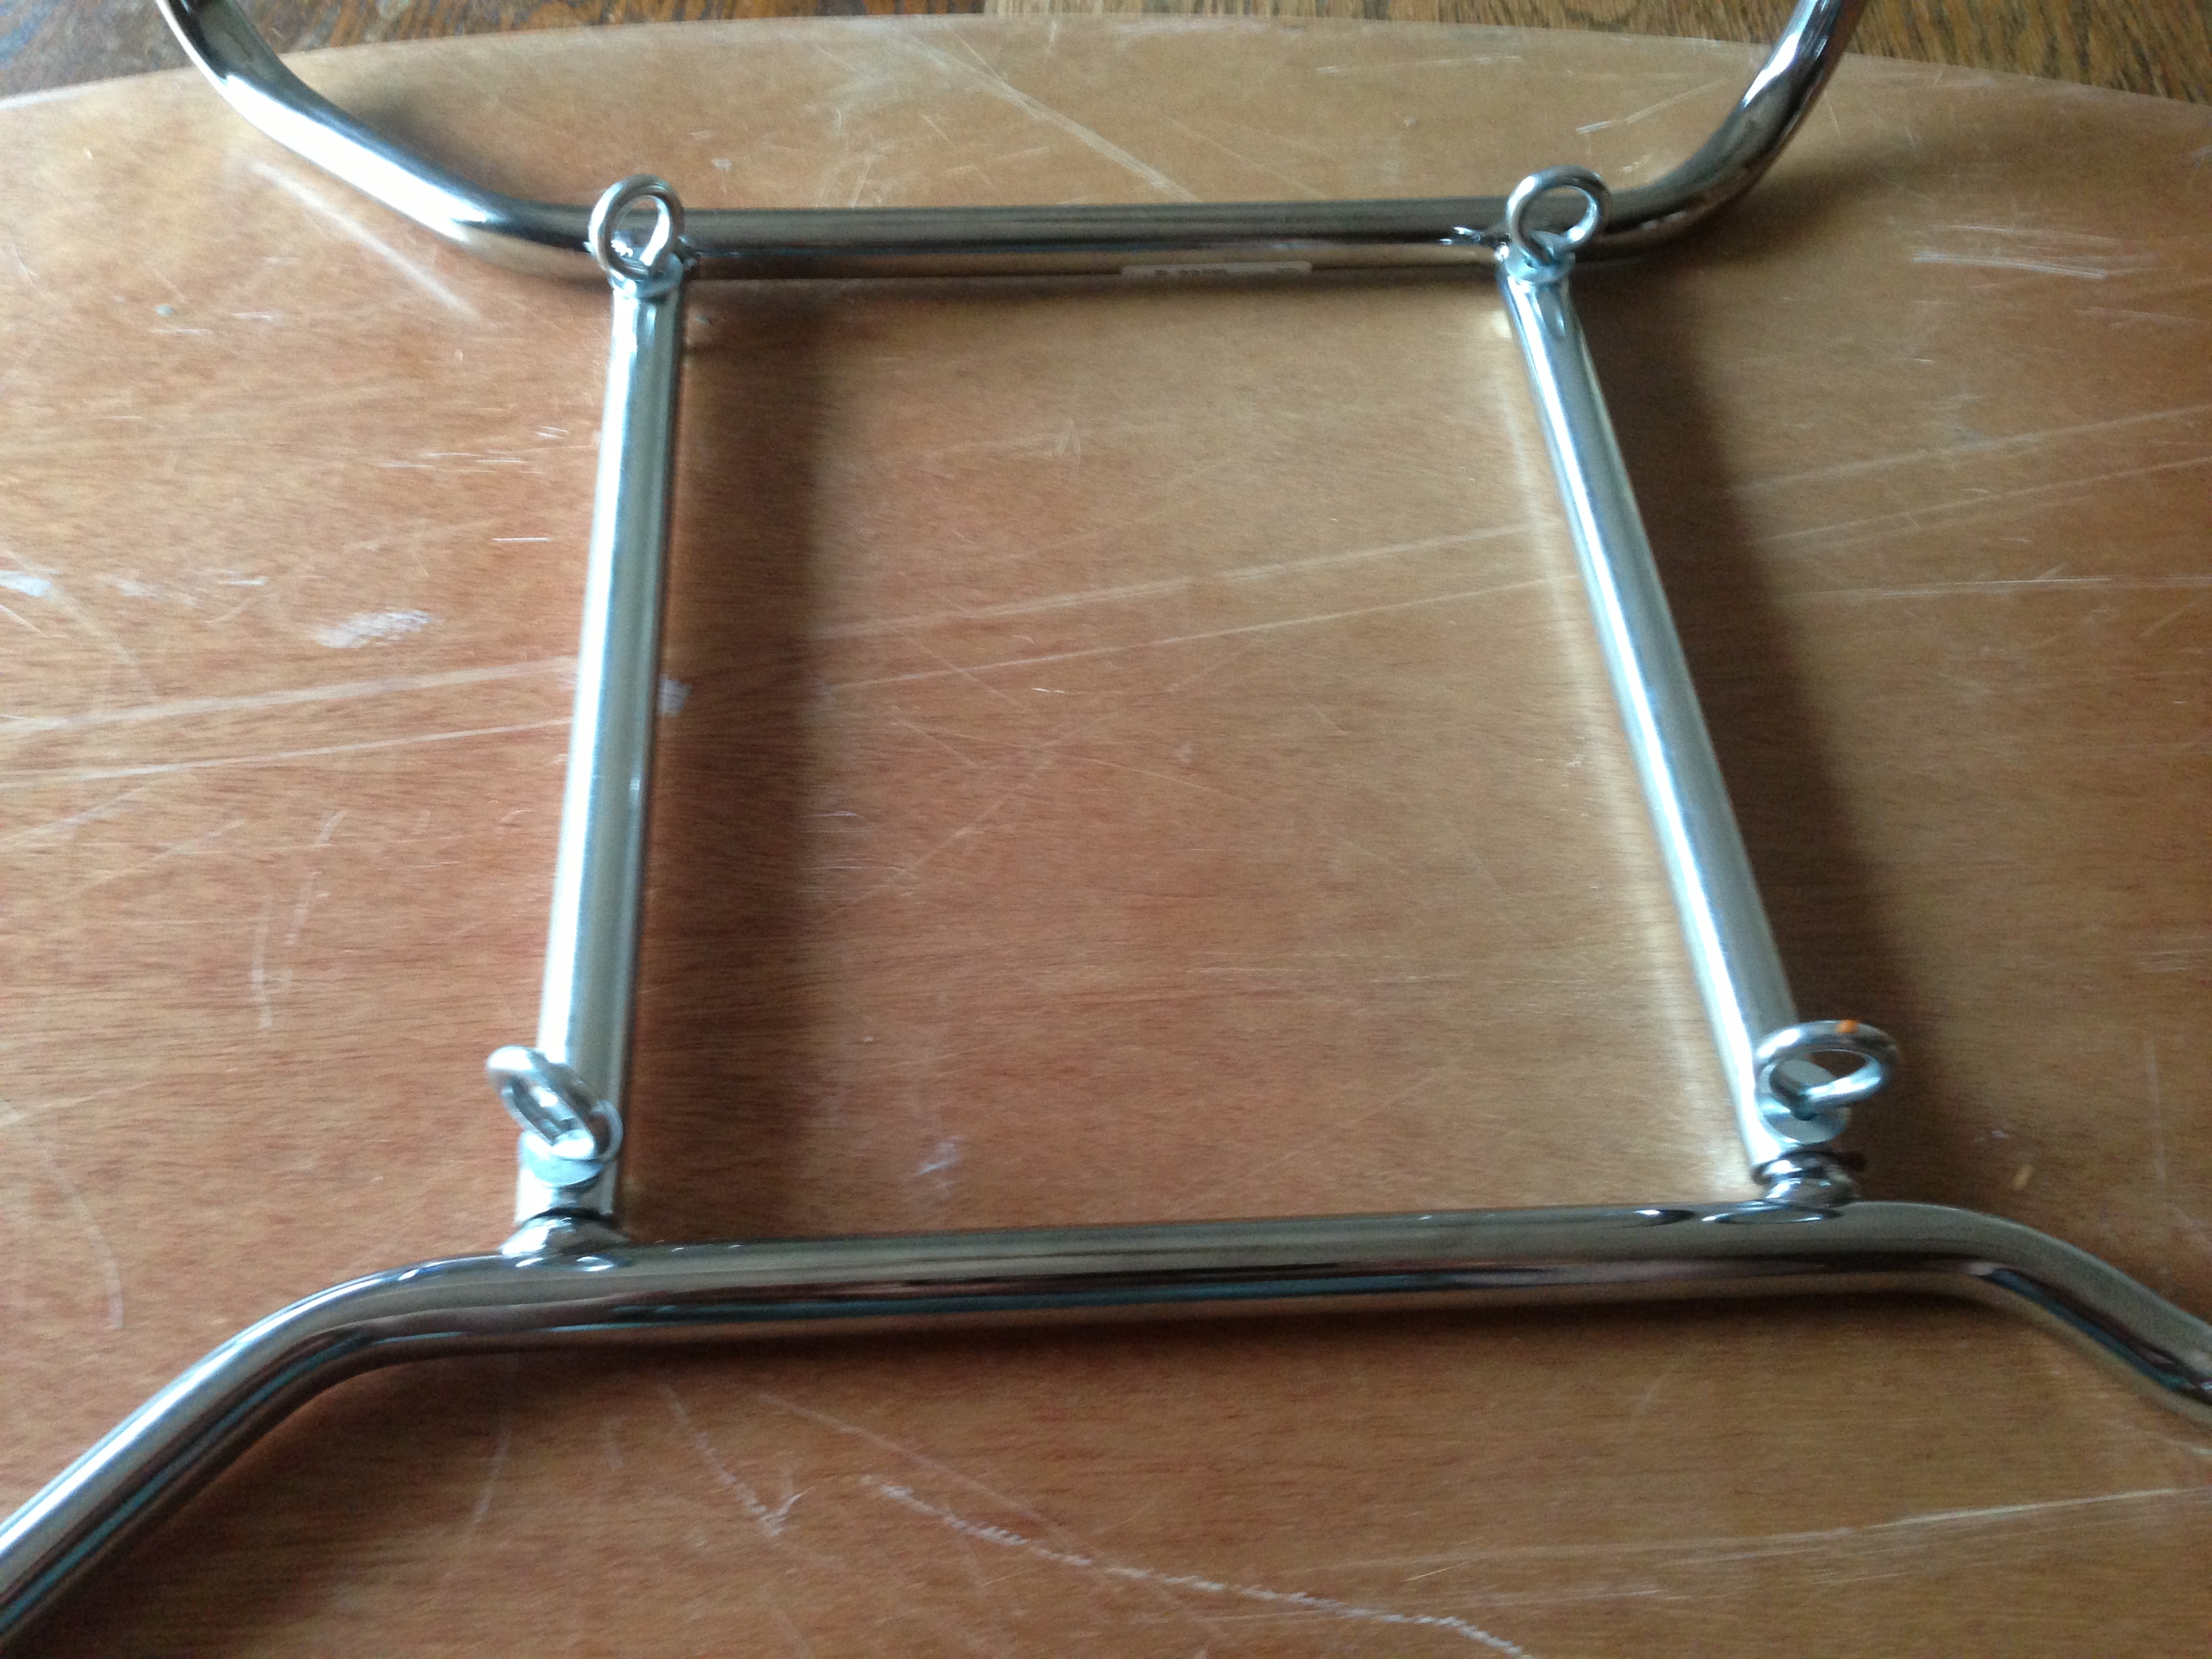
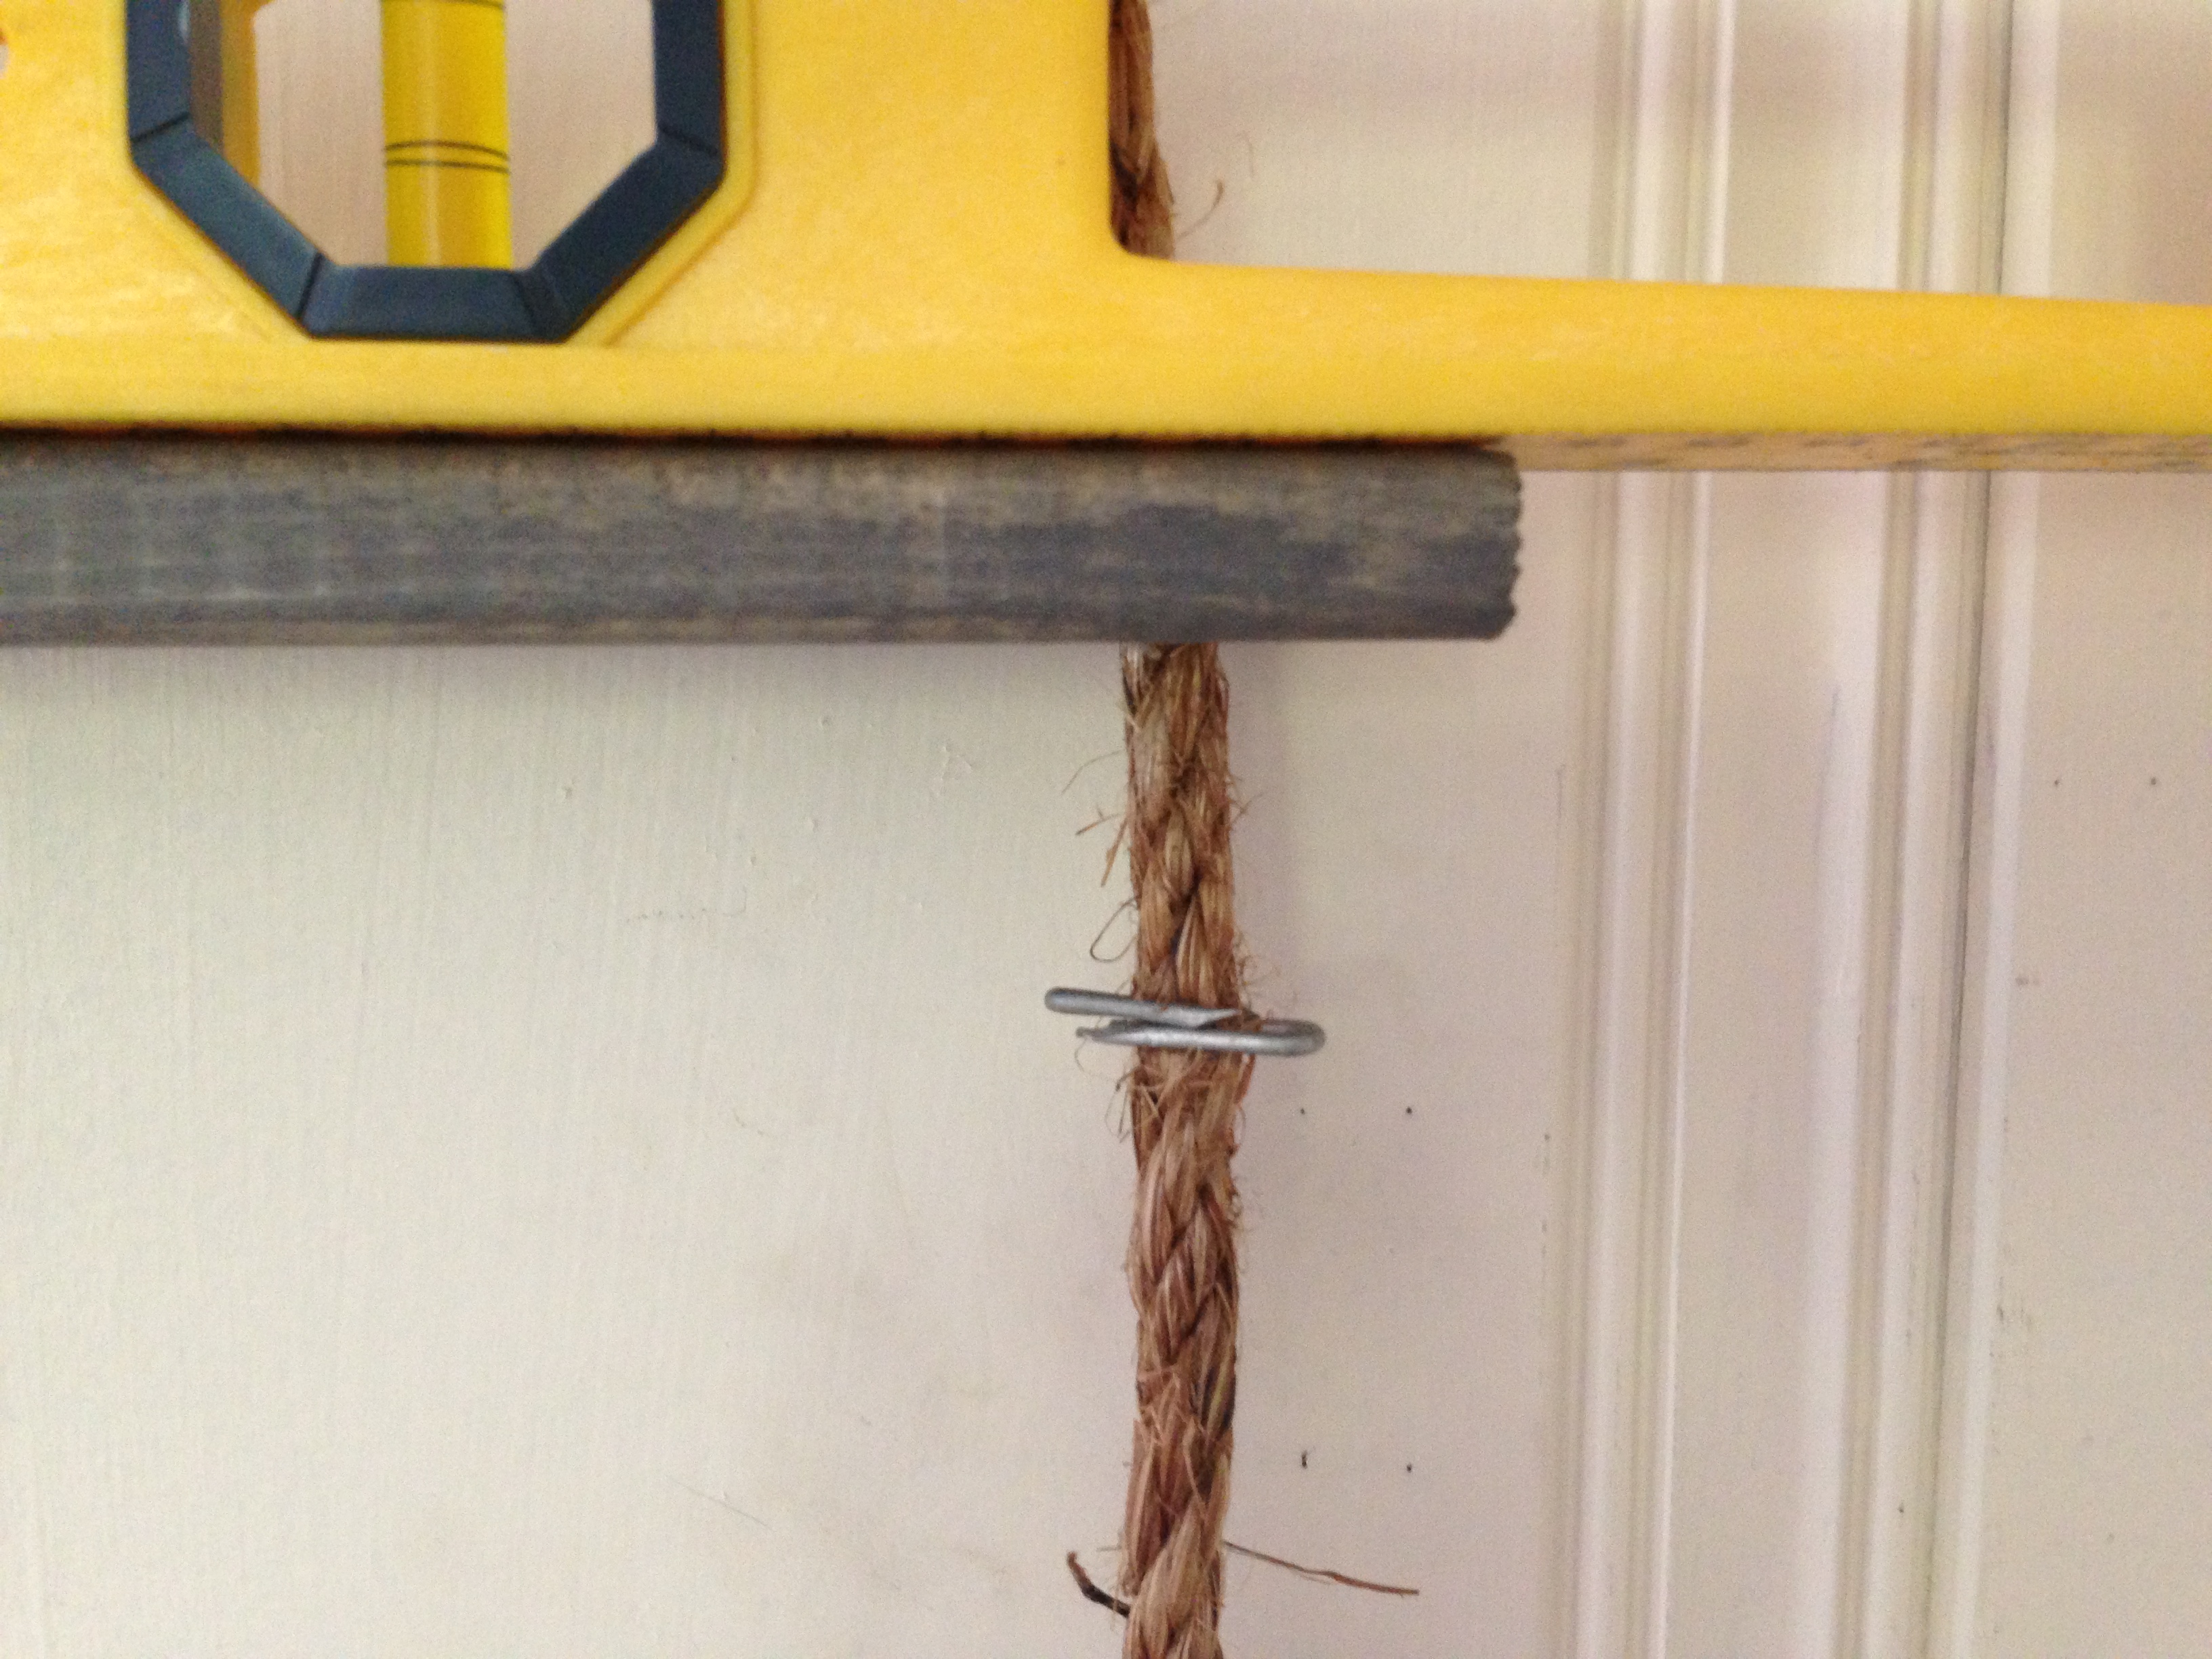
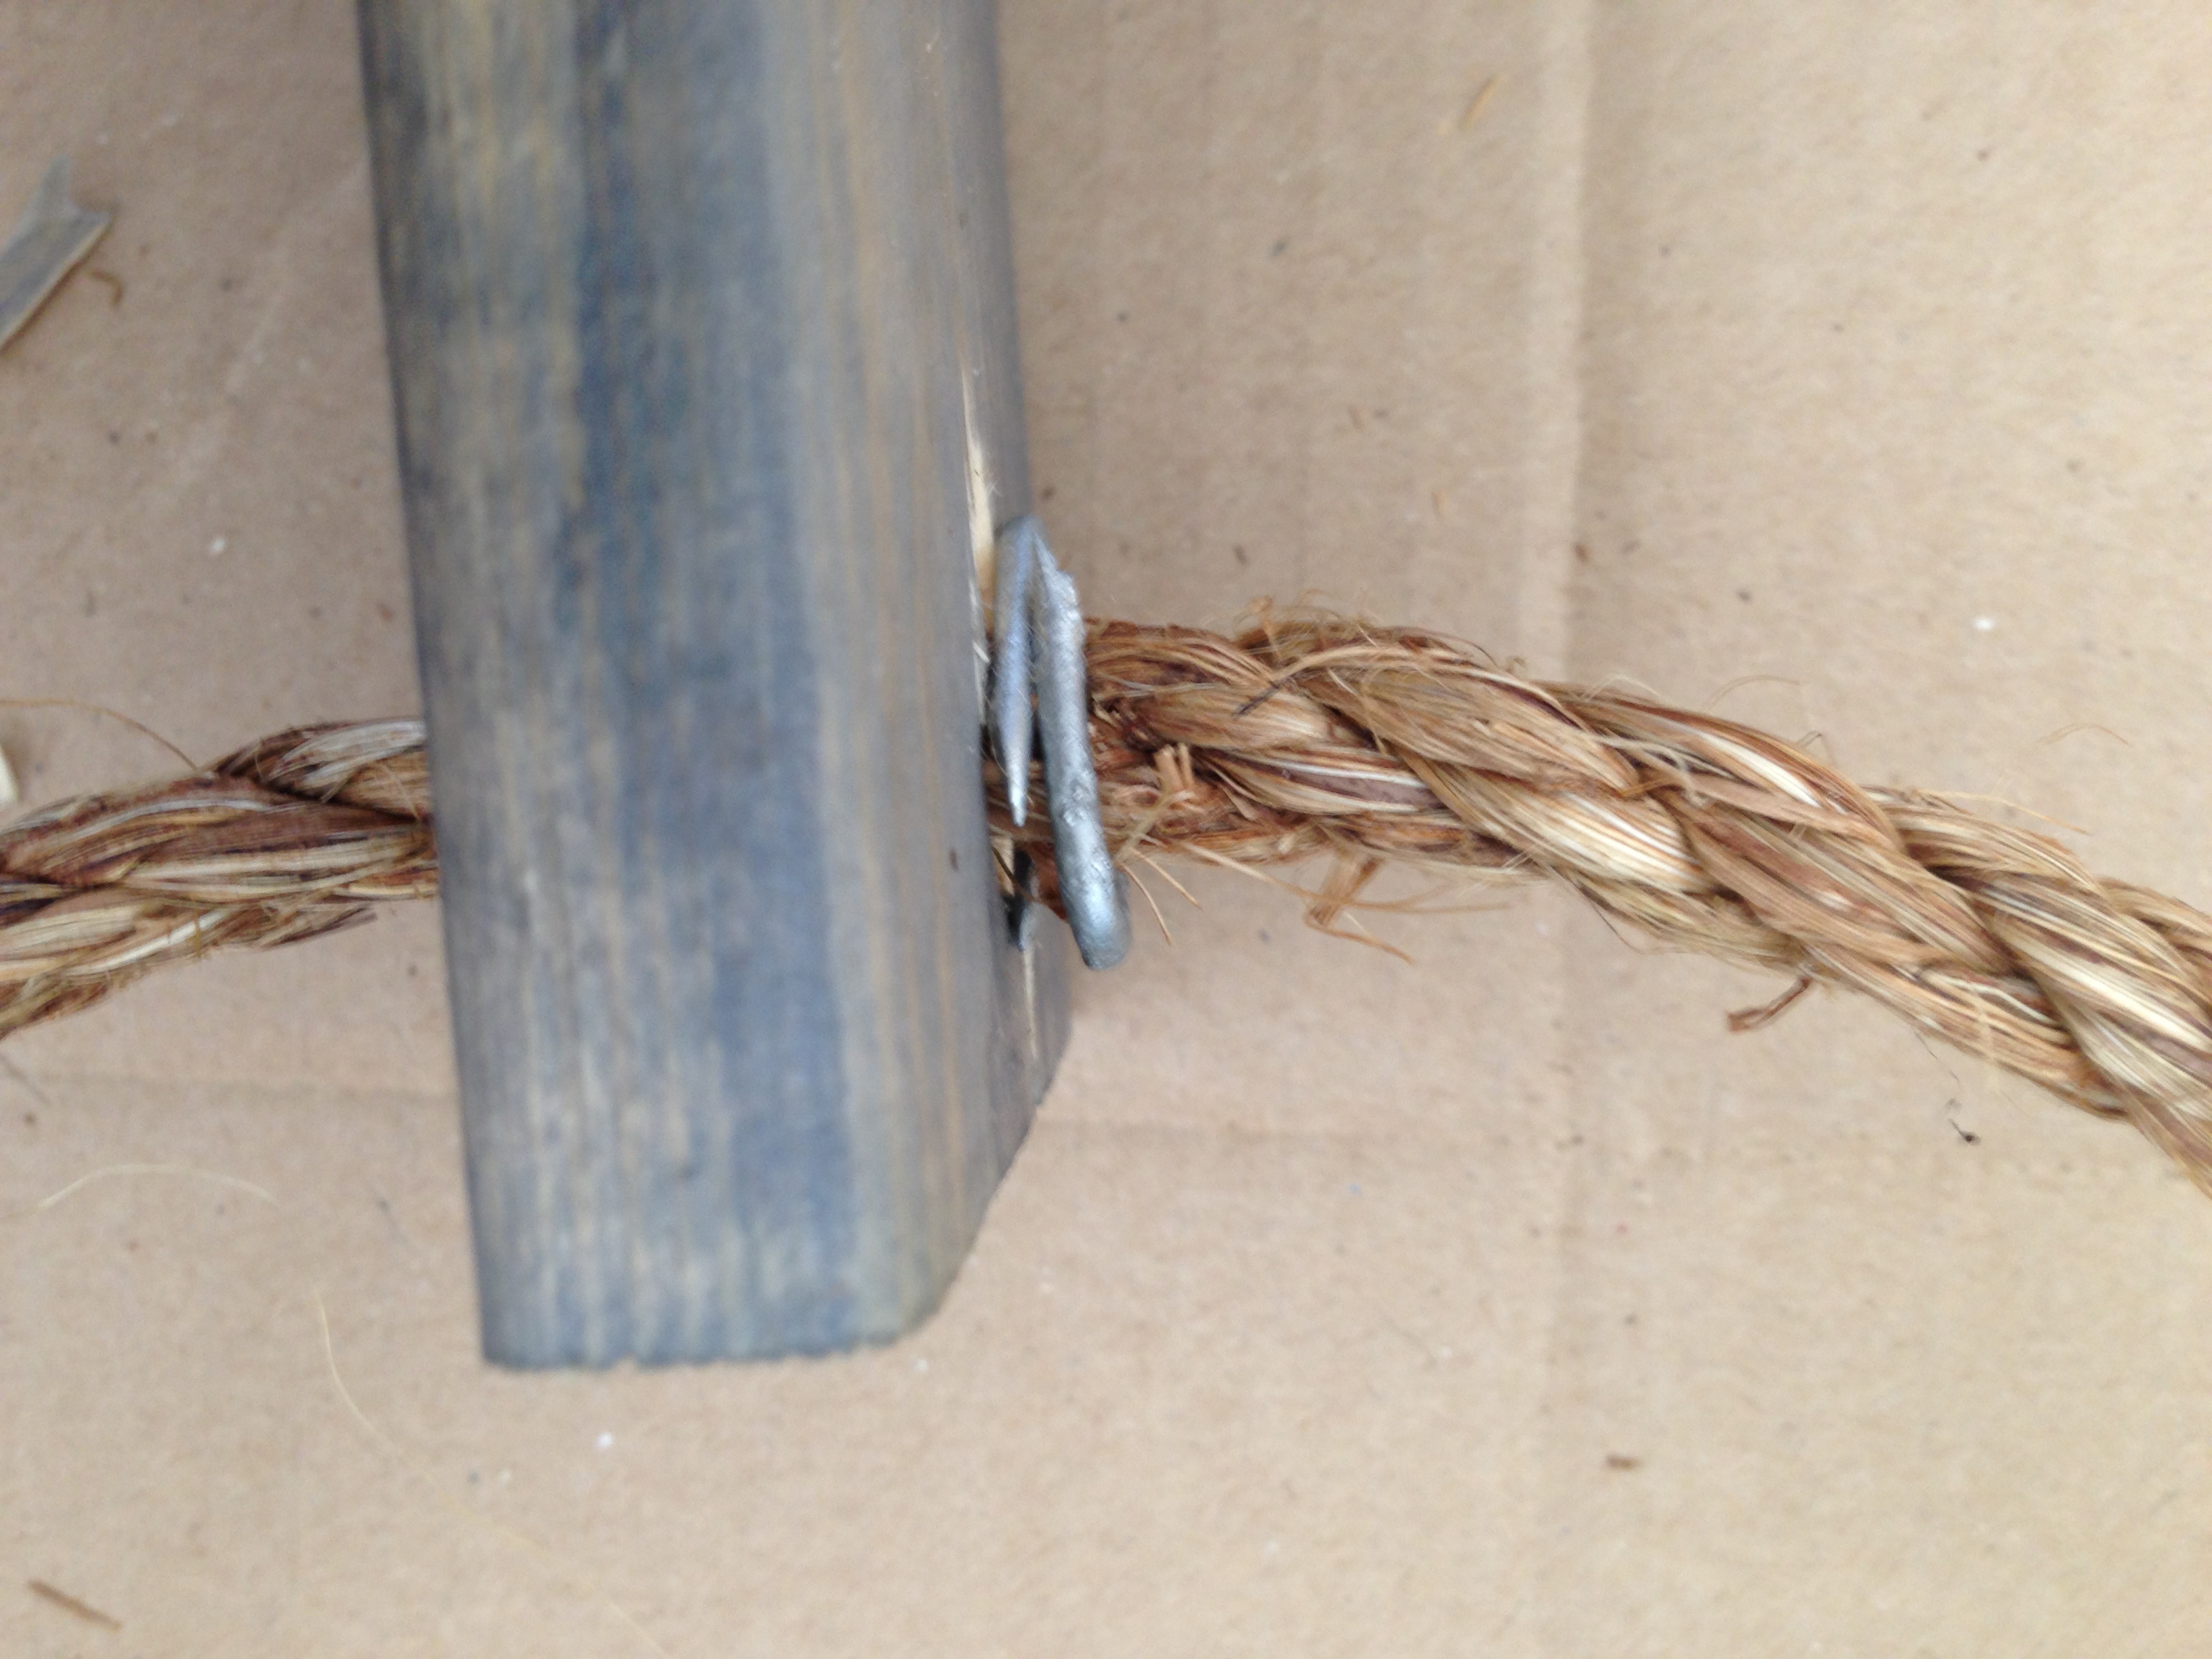
We next found there were uneven joints between the flashing, so we added a second layer of flashing to certain areas, (bending it slightly to create tension, then clamped pieces together with a horse shoe nail)

california marquee 015california marquee 016

Mistake#3-Also we should have drilled the holes for the lights and picture hanging hardware at this point, before adding the metal but again we had no clue if this project was going to work.

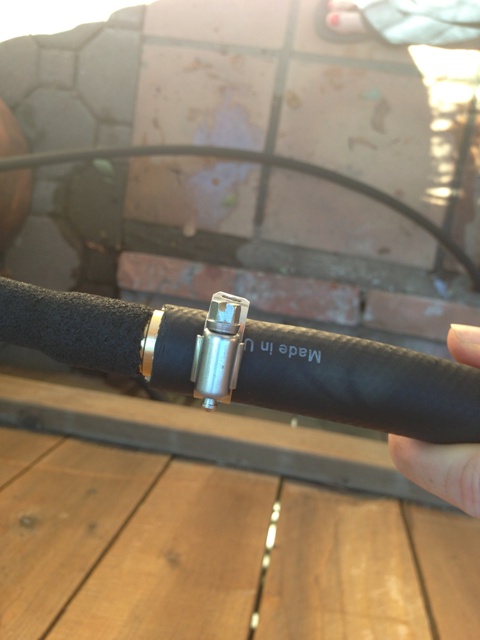
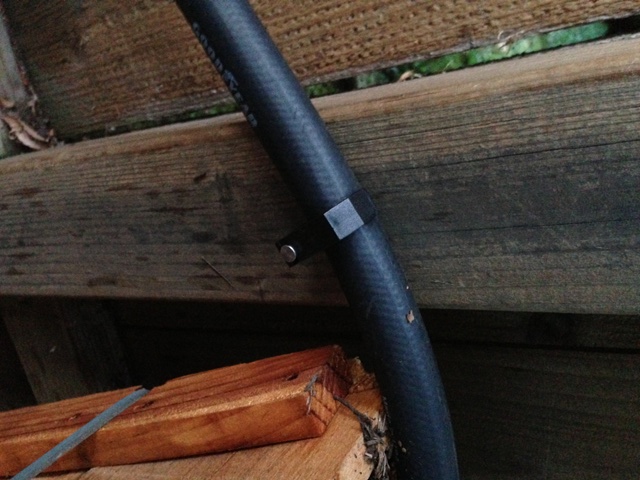
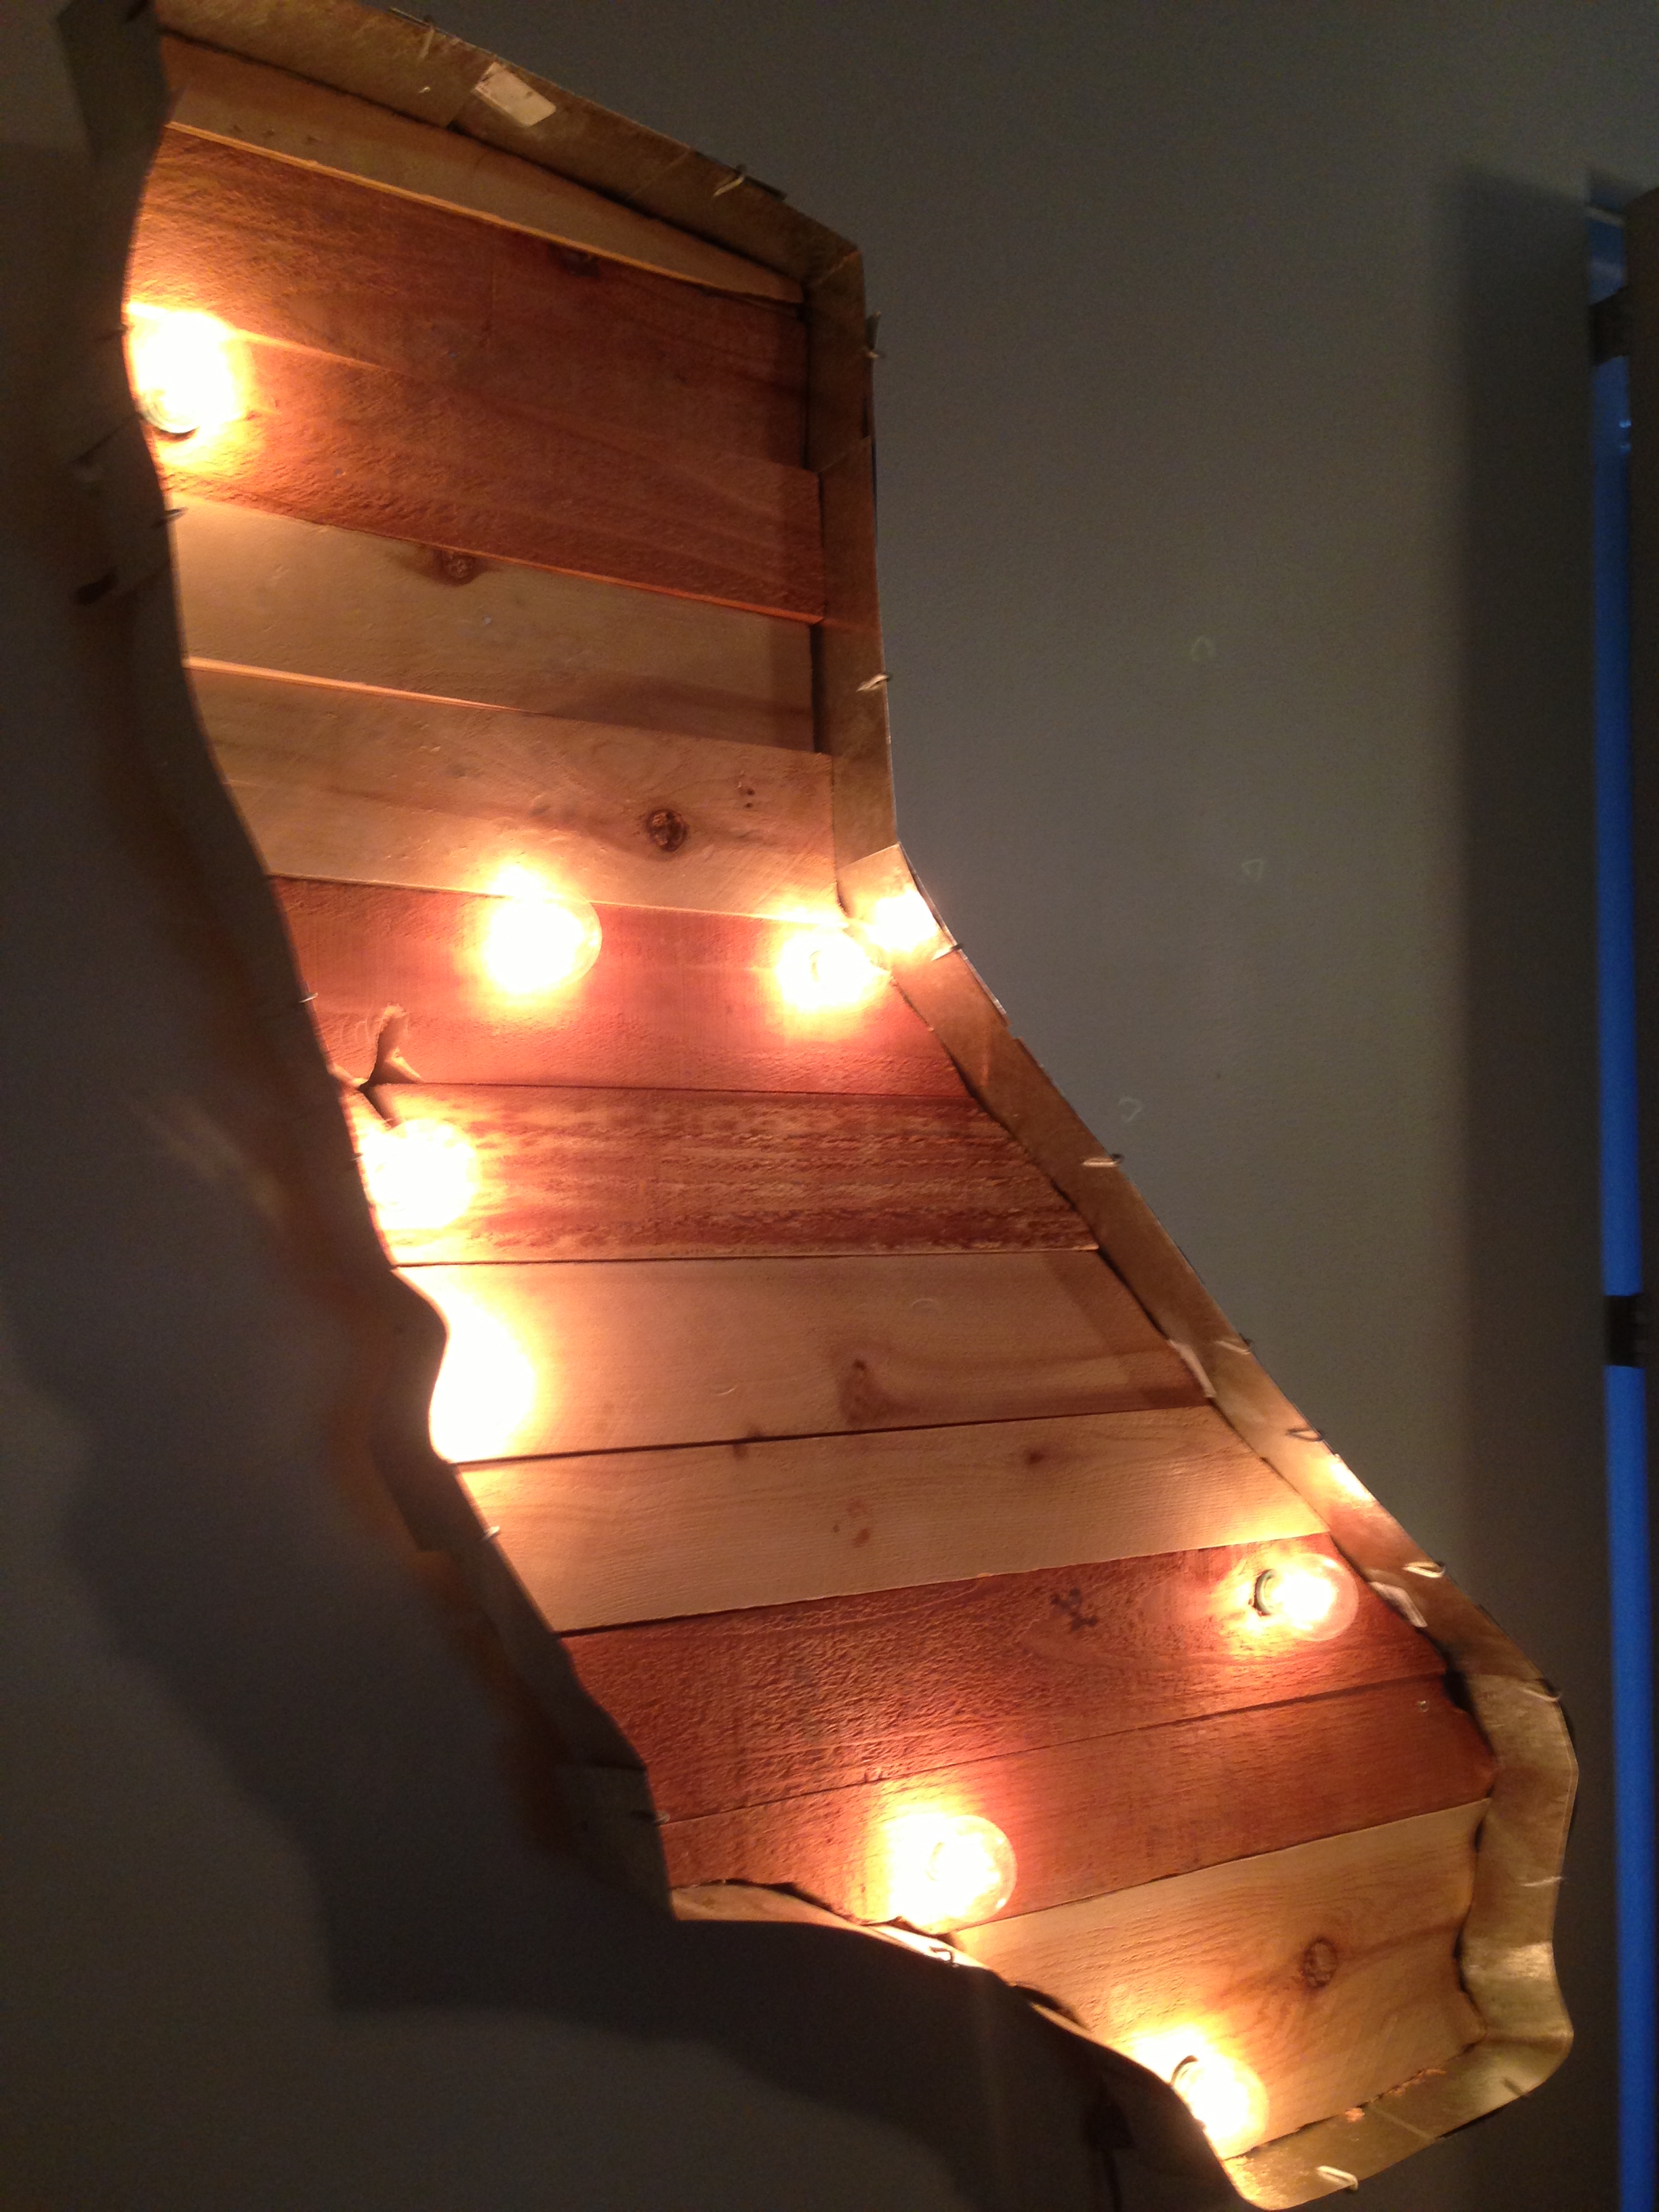
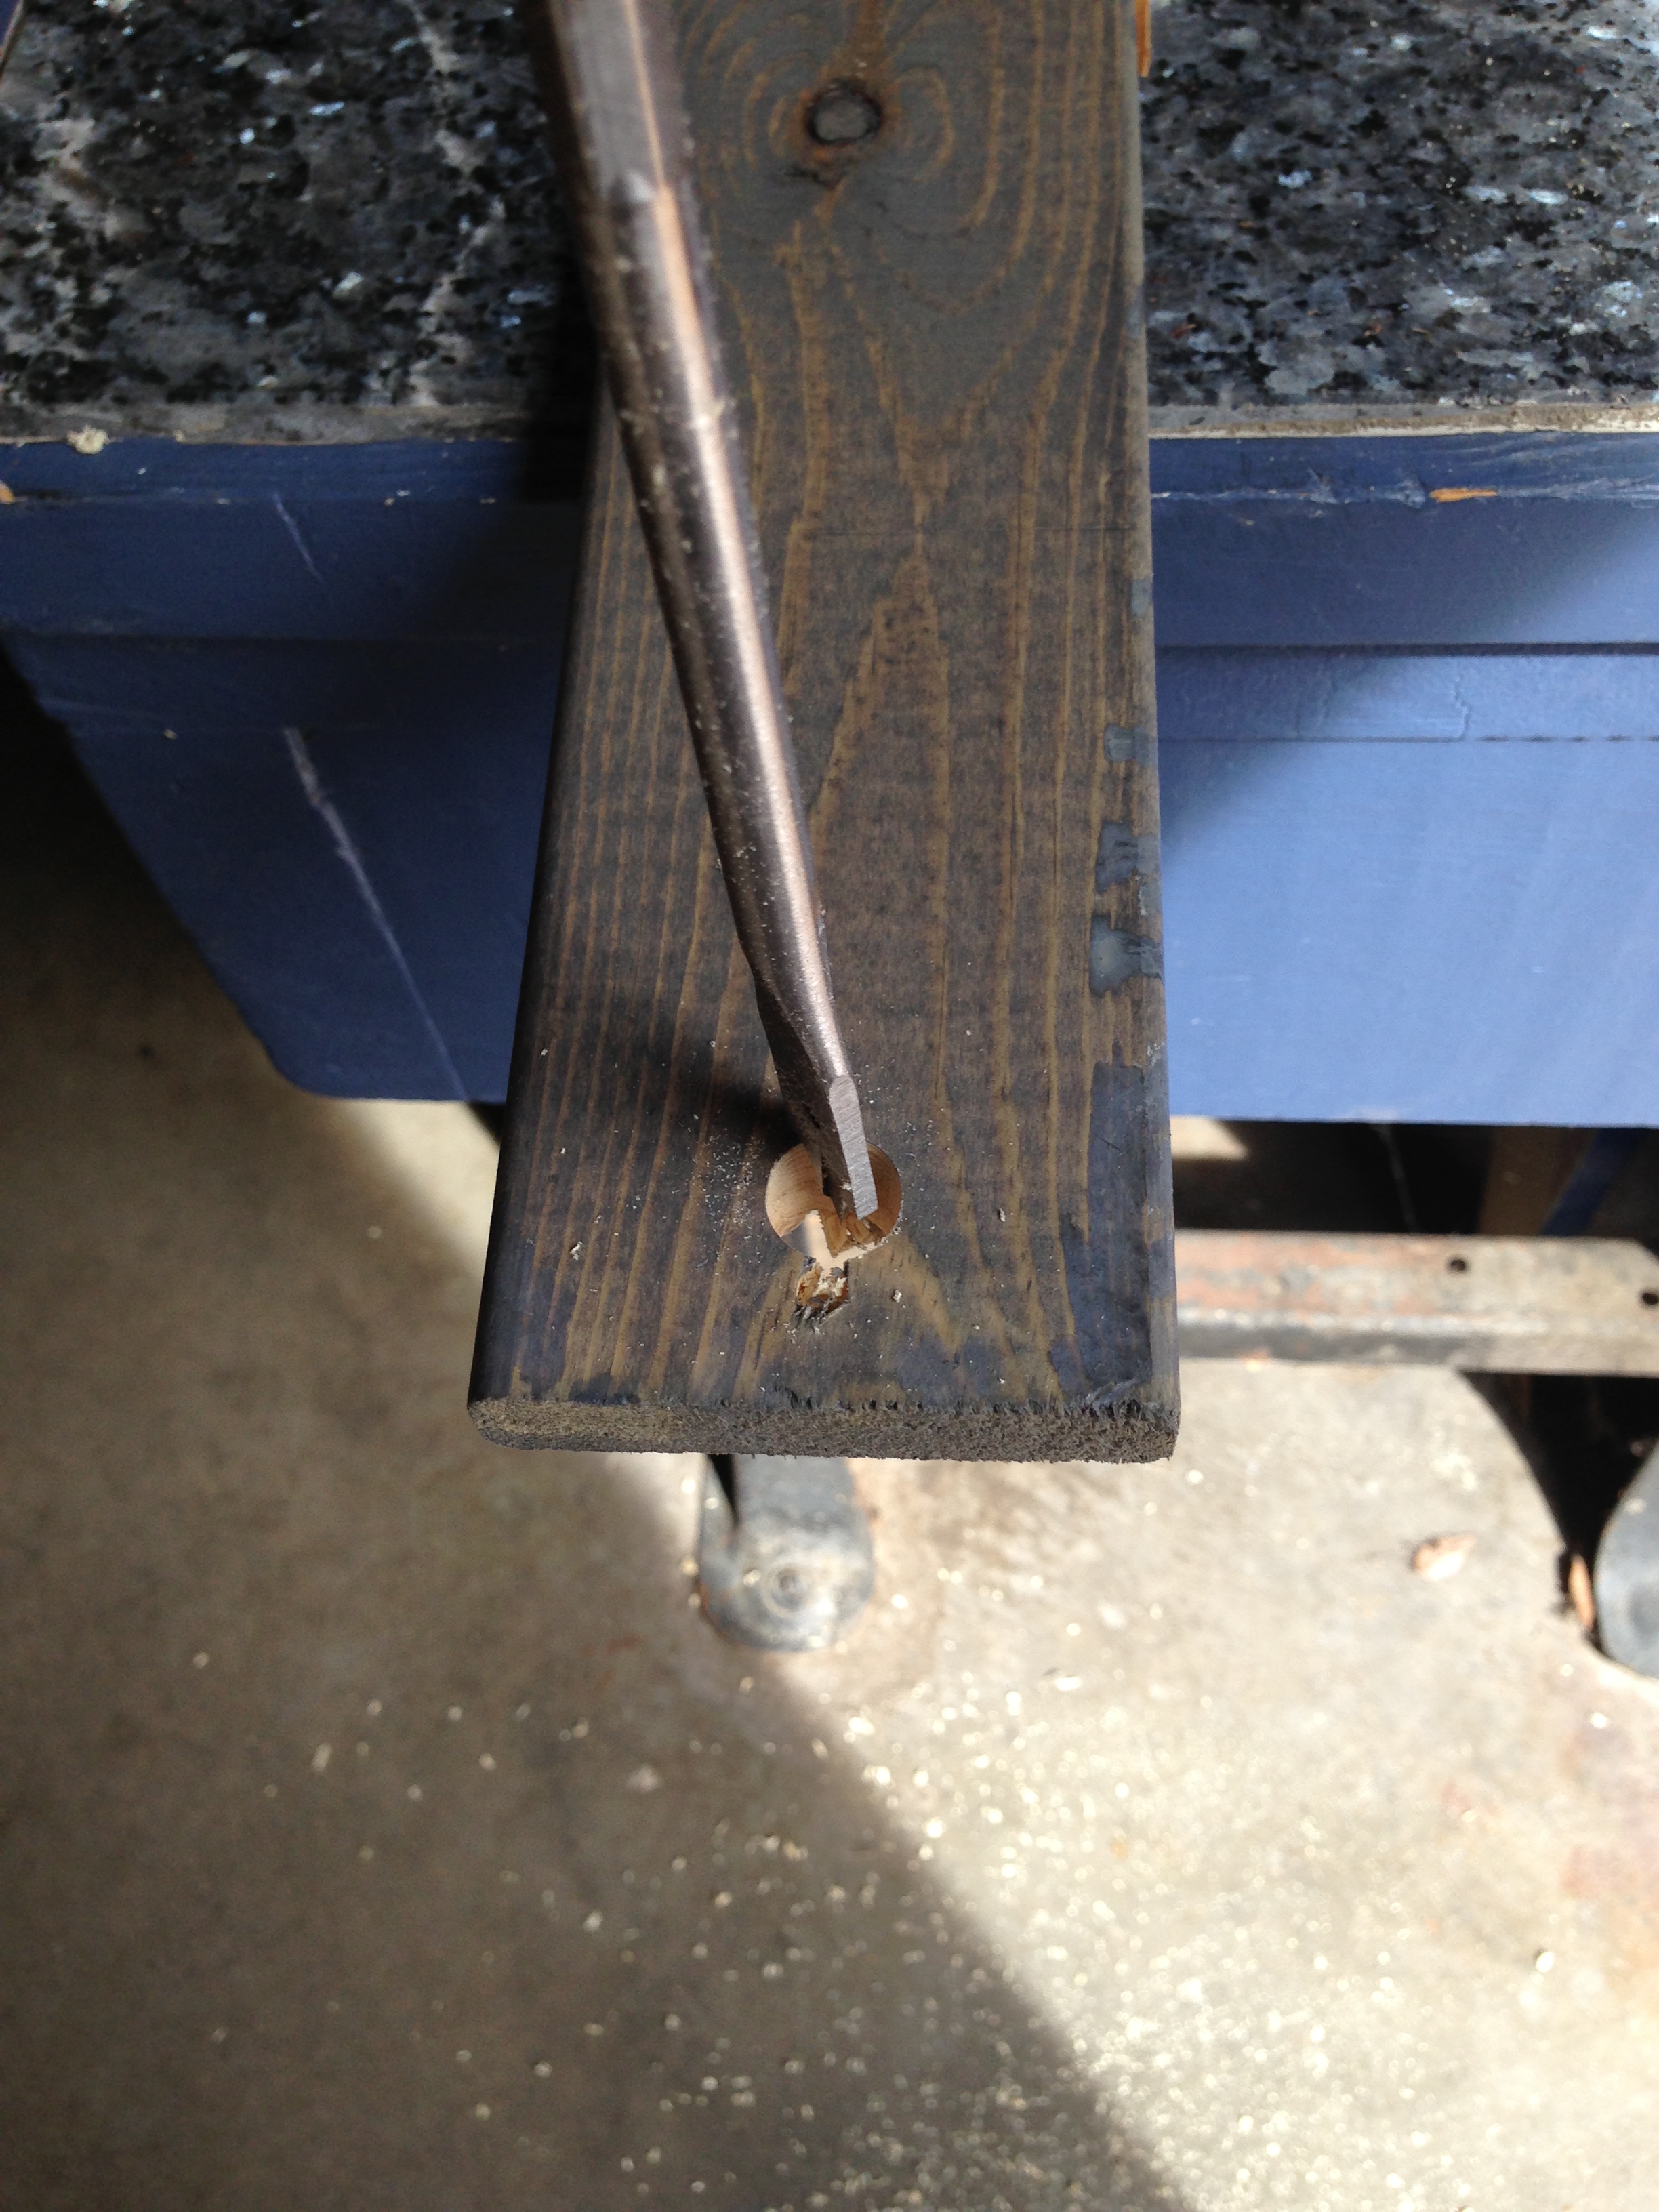
With a string of cafe lights leftover from our wedding, we used 7th House on the Left’s fabulous tutorial for drilling out the holes, and installing them. Except we took out the bulbs not in use and stapled them to the back of the wood. (Careful to not staple the cord) We’re saving the extra bulbs just in case a light or two burns out.  Then we tucked the cord behind the wood.

california marquee 017

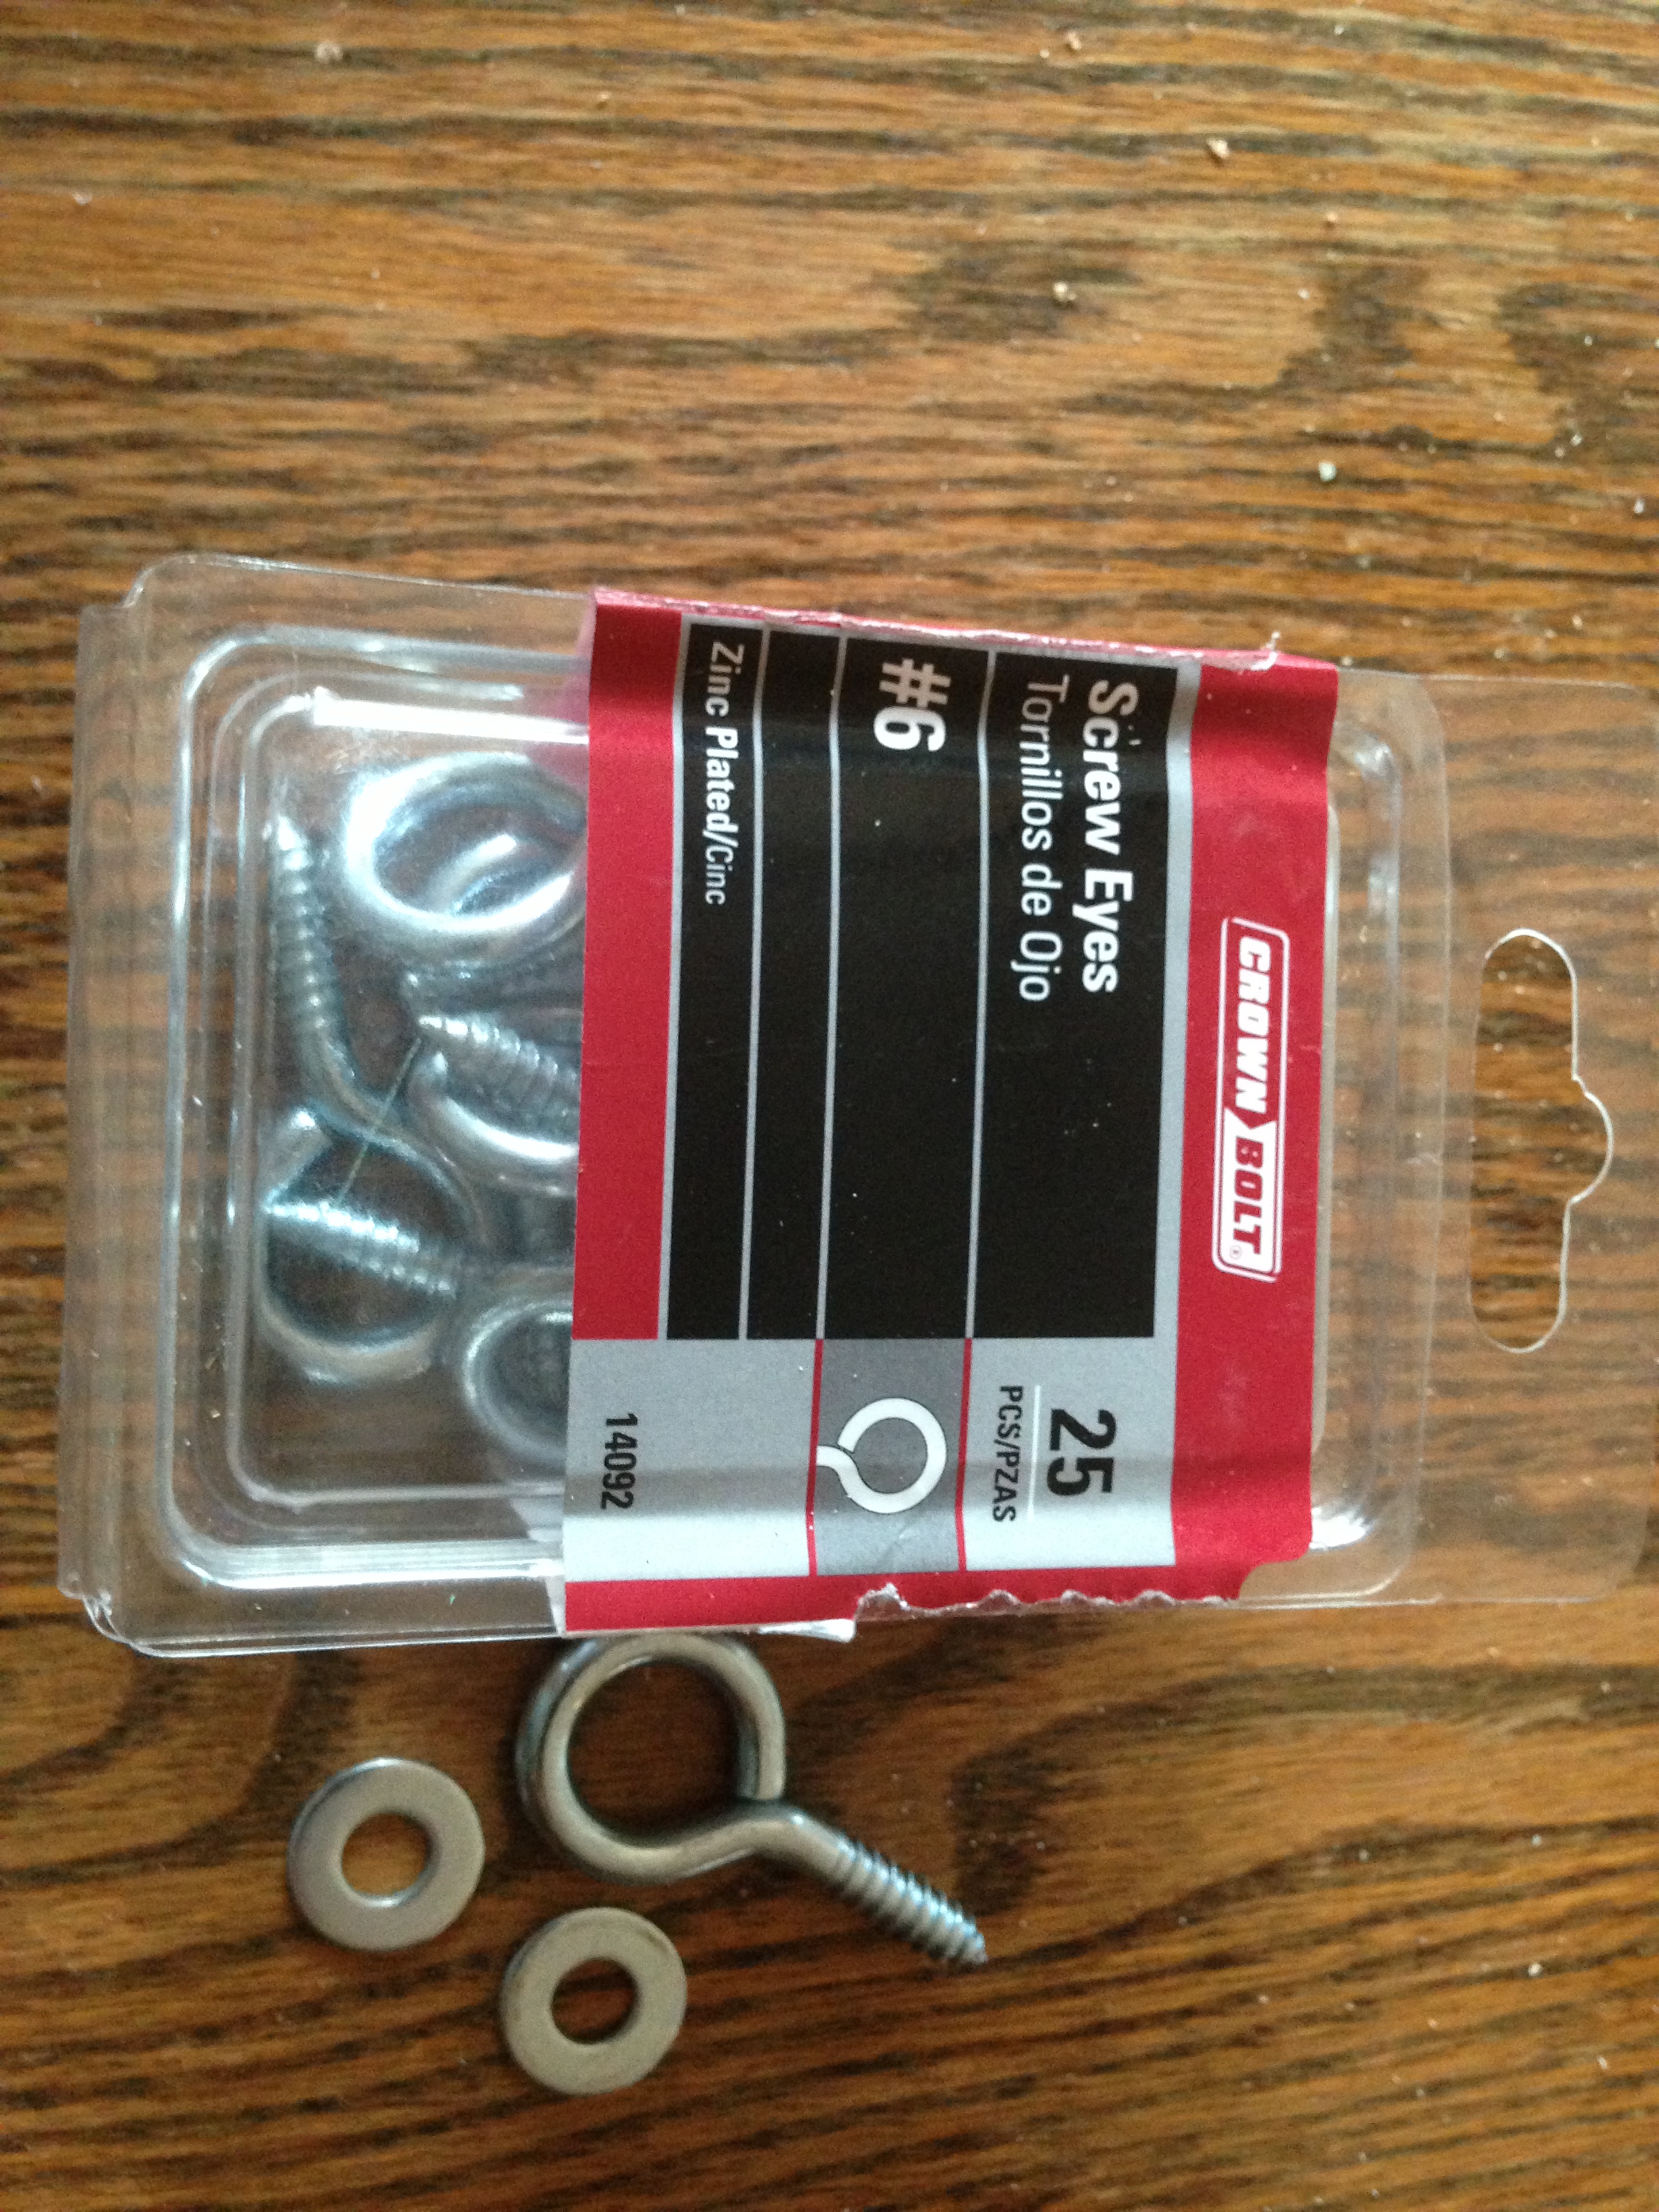
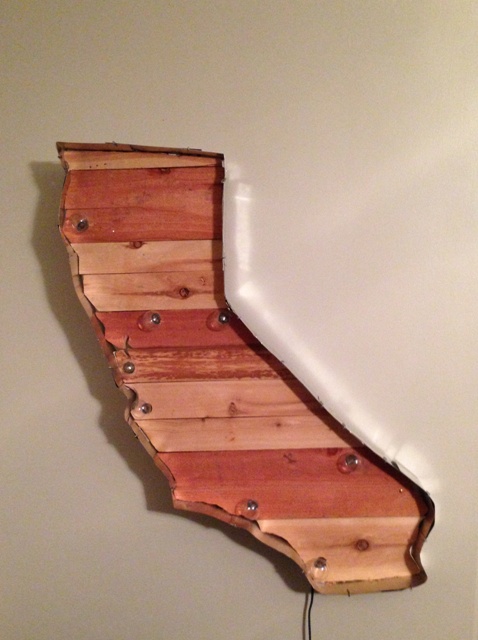
Adding picture hanging hardware, both at the bottom of California and top, we hung it in the living room and plugged her in. If you noticed, we strategically placed lights to represent our favorite California landmarks and cities.

california marquee 025california marquee 027

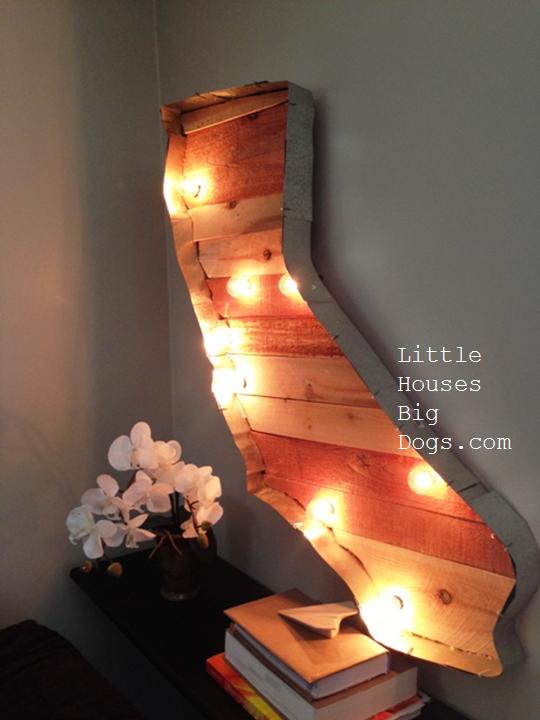
Of course its very unfinished and even a bit industrial looking, so we added a shelf  behind the couch and some items around the house to make it work. (Pssst…But it was also to hide the light cord)

diy california marquee living room decor california marqueeAll in all a very interesting, at times frustrating, and full of mistakes, but nice to have our own custom art piece made by hand. (And for nearly free…priceless!) Hopefully this inspires others to make their own custom art pieces.california marquee diy wood metal lights

Ikea Hack: Hanging Rope Shelves

ikea hack hanging rope shelves with graphic

Has anyone put together a piece of furniture, toy, anything pre-fabricated and somehow ended up with extra pieces? You sort of scratch your head and wonder what to do with them? Case in point: “Ummm, honey what are we going to do with these extra bed slats?”

Hence the inspiration for our next Ikea Hack! We had leftover Hemnes bed slats from our last hack, Bench Seating Trundle Dog Bed and we weren’t sure whether to toss them in our scrap wood bucket, or actually create a whole new project. Luckily,  I had stumbled onto this lovely pic, seen on Traditional Home Magazine’s website:

ikea hack hanging rope shelves inspiration

Unfortunately as I searched through Pinterest, this inspiration appears to be the “Big Foot” of the blogging websites. (People have seen it but does the “how to” really exist?) A quick trip to Home Depot for some hardware and rope, and we sat on the floor of the “Girl Cave”/studio trying to figure out how to make them…

Hubby: “Are you sure you want to try this?”

Me: “Why not? What have we got to lose?”

Hubby: “What mad engineering skills do you think we have?”

Dogs: “Oooh, tug ropes!…”  (the dogs were officially banned from the project for obvious reasons)

First we stained the slats with Minwax gray stain on both sides and once they were dried drilled larger holes on either end (the width of the rope). We did not drill holes for two of the slats (the top and bottom)

ikea hack hanging rope shelves 001ikea hack hanging rope shelves 005

Next you’ll need the following materials and tools for installing the shelves, (including eye screws, and horseshoe nails which are hard to see in the picture) Then with a level and drill, we positioned and attached the top and bottom slats to the wall and screwed them into the wood paneling.

ikea hack hanging rope shelves 011 ikea hack hanging rope shelves 009

We also found it easier to add the eye screws into the top and bottom slats once they were positioned and attached to the wall.

ikea hack hanging rope shelves 007

Finally we lay all the shelf slats on the ground and looped the rope through the slat holes we made, so they resembled a ladder. Laying them off to the side and giving ourselves ample slack and length, we cut the rope to the length we thought we needed. Then added the hardware to each end of the rope length and tied knots. (Just be sure the hardware was fully extended out). Once the hardware was looped and tied onto each eye screw, you can easily tighten the rope by retracting the hardware)

ikea hack hanging rope shelves 014ikea hack hanging rope shelves 012

The final part is to set the slats/shelves in the position you want, using a level. Once you’re satisfied with the shelf placement, place two horseshoe nails facing towards each other and use pliers to clamp the middle of the rope (see below and close up). Just be careful not to get your fingers poked by the nails. (Gloves help)

ikea hack hanging rope shelves 013ikea hack hanging rope shelves 004

Position one slat at a time, and one side at a time working downward until they are all in place and level. You may need to retract and adjust your rope length to make it tauter since it can loosen up during this process. We ended up using a total of 6 slats, 2 for the top and bottom, and 4 for the actual shelves. Of course these rope shelves are not meant for heavy items or kids trying to climb them like ladders, but they are great for displaying small items, beach combing finds and a few votive candles.

ikea hack hanging rope shelves with graphic

Our one regret is that we didn’t line the eye screws on the top and bottom, with the shelves’ actual holes. However not bad for a nearly free shelf display! Do you have any ideas from your wood scraps, Ikea slats or project leftovers? In the words of Madam Stewart…DIY project from scraps, its a good thing.