Mini Make-over: Kitchen Light Box

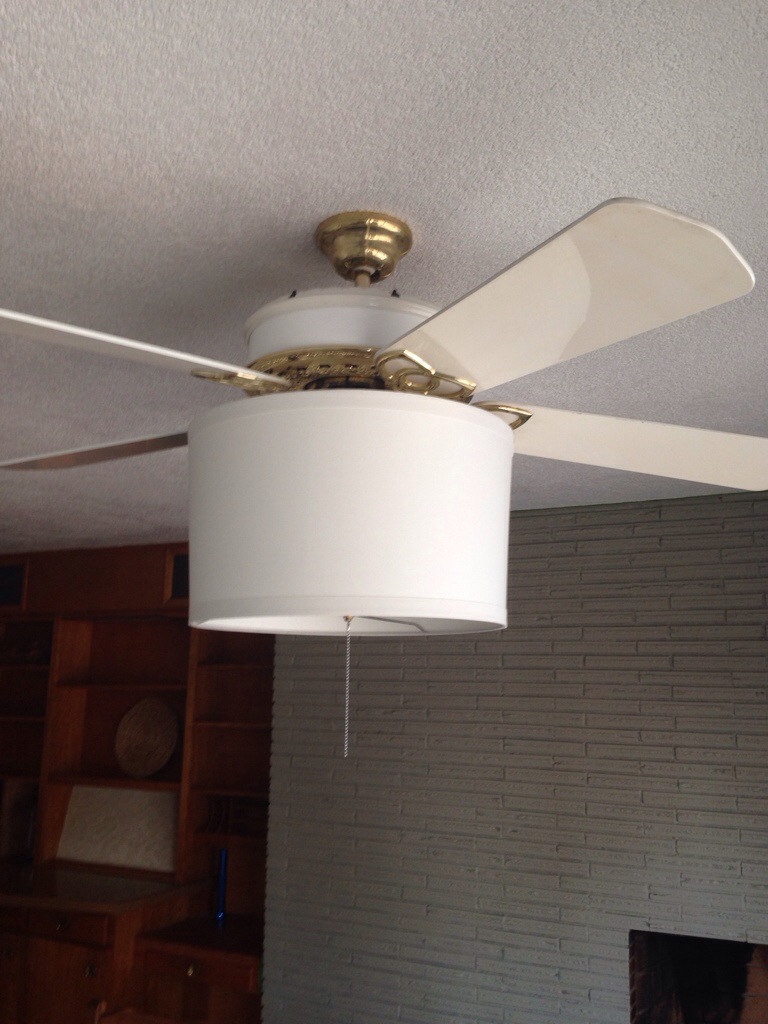
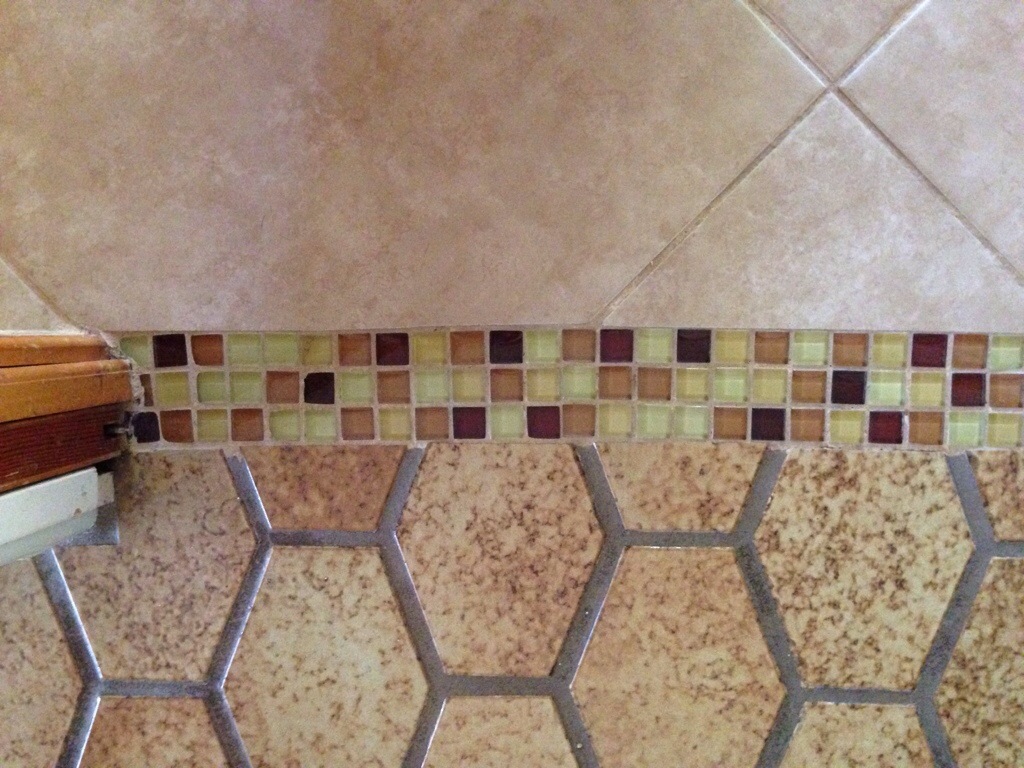
Our kitchen is in the process of some big changes…But right now it’s still in a very awkward phase. Like “prom was a month too early before the braces came off” kind of phase.

20140329-205103.jpg 
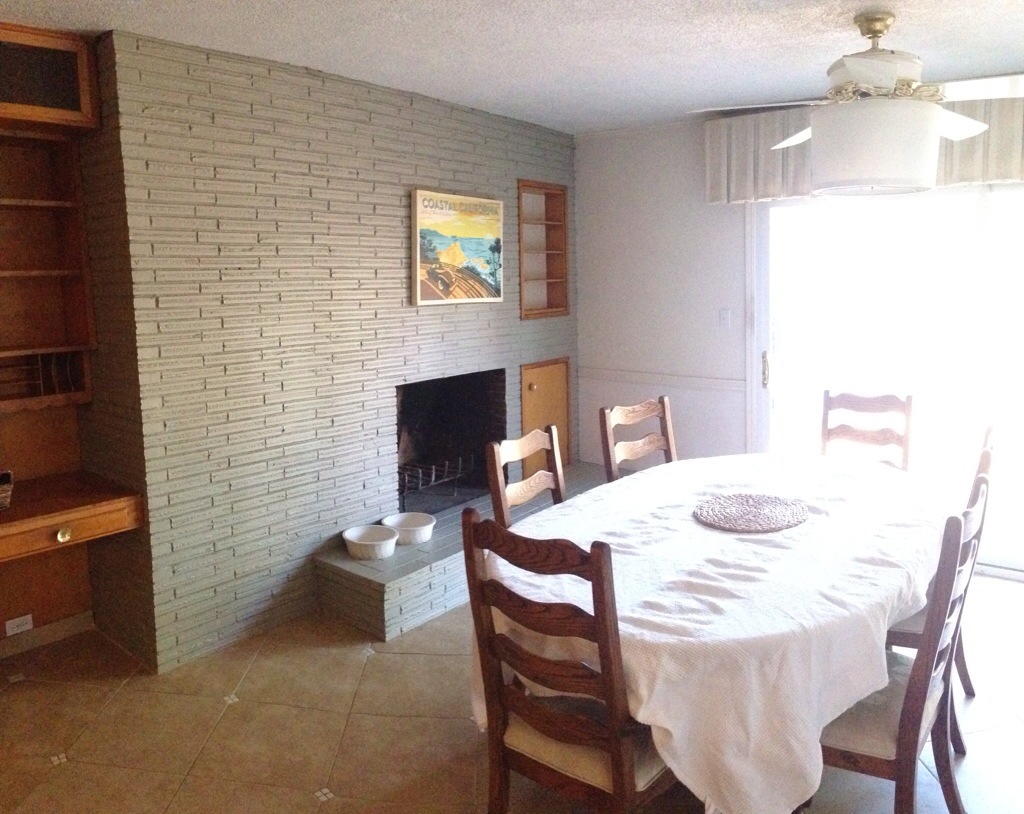
The 80s light box fixture does not help. In the future, we intend to have the kitchen/dining room ceilings professionally textured like the rest of the house. (We may even consider a skylight.) However because of our previous ceiling experience we know this may come at a high price tag. Which means the light box is here to stay…At least for now…

20140329-211924.jpg

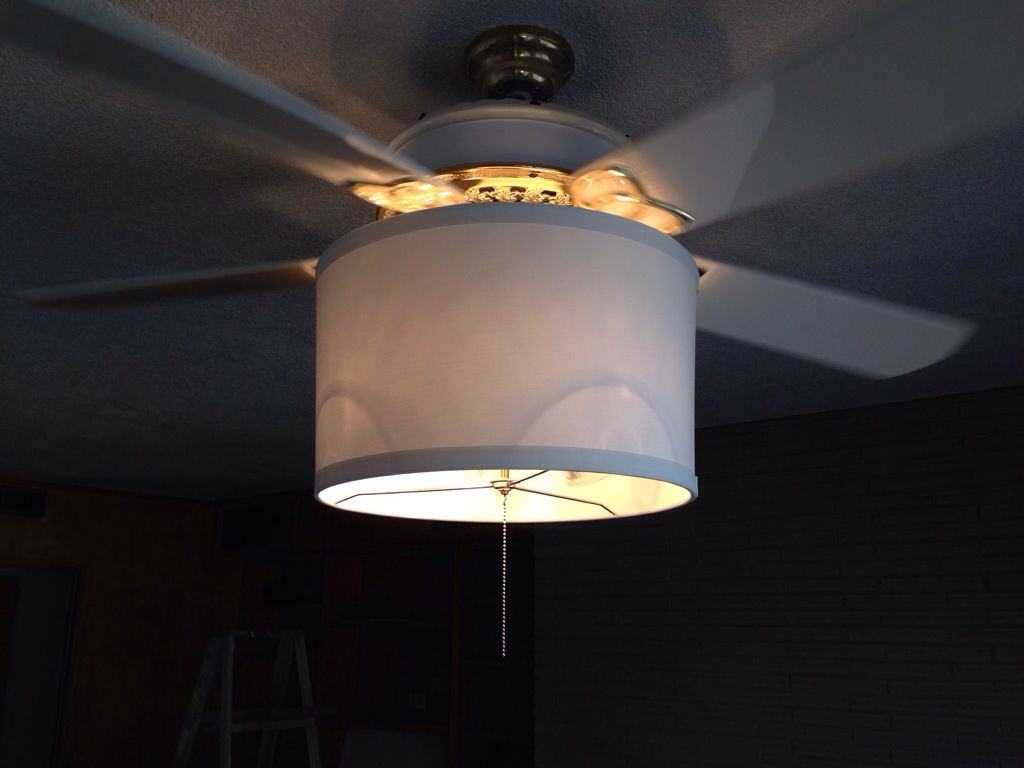
Therefore it needed a mini (very low cost) make over. Like the kind that cost only $12 plus tax. First we decided to add some detail around the top edge of the fixture in order to pseudo-match the trim of the cabinets.

20140329-212700.jpg

20140329-212716.jpg A few finishing nails, foam trim and some caulk and we had faux crown moulding.
Next step was to soften the lighting to match the original 1948 fixtures. Instead of buying all new plastic inserts for $9 per sheet, (for a project we plan to rip out at some point) we opted for using glass etching spray.

20140329-213137.jpg 
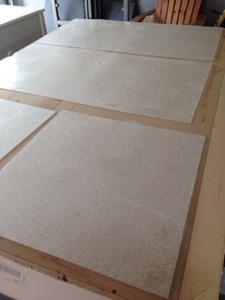
We sprayed about three coats on the smooth side of each piece to reduce the harsh “ice” texture.

Lastly we painted the wood with white primer to give the light a better surface to reflect off of.

20140329-213907.jpg
Overall quite a lighting difference for a few dollars and very little diy. We of course plan to paint the box the same color as the ceiling once the final colors are decided, but for now the kitchen is less cave-like. Thanks everyone for hanging in there, through all our awkward stages of diy renovation. Us and the dogs promise our little 1948 ugly duckling will be a beautiful swan someday soon. Happy Sunday everyone!

Spring Has Sprung…Let’s Set Them Free!

We actually had a question come our way…“Did your technique for protecting those tropical plants from frost work?”

20140322-201340.jpg
We decided this would be a great time to put the paint brushes down, celebrate spring, and also our plants survived the winter!

20140322-202311.jpg
In case you weren’t here for our how-to, we tried a technique that used burlap and wooden stakes. We then stapled the burlap to the stakes, essentially creating a burlap wrap for each potted plant. Then we dumped dried, fallen leaves around the base of each plant. The technique was budget friendly, super easy and honestly…We thought it would never work. (It was a cold and very dry winter; not the best conditions for tropical plants)

Now we’re hooked! The plants made it through! Overall there were a few frost bitten leaves that were exposed to the elements (outer leaves not fully protected)

20140323-070822.jpg

20140323-070842.jpg

20140323-070857.jpg
Yet the plants are already recovering and new growth replacing the old. We’re not sure how well this technique would work in colder climates, but we dipped into the low 30s-high 20s at times. The only downside was having to sweep and dump leaves away in the spring, but worth it for saving our tropical plants from frost.

20140323-071010.jpg
We hope you are enjoying the first days of spring, and are so excited to unveil some projects in the coming weeks! Happy Sunday everyone!

Mustard Yellow Walls…And the Best Dog Toy EVER!

Oh yes, I said mustard yellow walls! Combine those with red brick, lime green/orange accents, popcorn ceilings, tye dyed yellow brown countertops…Nice visual right? Luckily we saw through the ugliness and bought this little gem of a house. Now we’re going through the slow and tedious process of bringing it back to a neutral color scheme.

Back to mustard yellow walls…Here…

20140315-090606.jpg
Up above here…

20140315-090719.jpg
Oh and also in the laundry/mud room…But since it’s laundry weekend no pics today (I think hubby draws the line at the world seeing his boxer briefs) 😉
Now we’re in the process of priming and ousting the yellow…(I like mustard on my veggie burger, not on my walls!) Also check out this wall texture…

20140315-091403.jpg
It took us three coats of primer just to cover up our “French’s” yellow and spray on texture, but entirely worth it in the end…

20140315-091746.jpg
We haven’t chosen the final paint colors yet, because we still need to make over our box light. Learning from our fireplace experience, lighting is crucial in selecting the right paint color for your space. Yet for now we’re just happy so see the yellow gone. (Sooo happy!)
In the meantime the dogs have been amazingly well behaved despite our marathon painting weekends. The reason? We have these toys to thank for it…

20140315-093317.jpg
Nature’s Champions training treats and treat ball combo pack. (We found this at our local Costco) This is not a sponsored post, we just L-O-V-E these toys! Why? Because they’re:
1. Budget friendly (meaning you can replace the training treats with regular dog kibble)
2. Keeps the pups occupado, (especially when you have many walls to paint)
3. Mentally challenges our dogs (which is important if you have super smart dobermans) .
4. Lastly these balls are pretty tough (And with these two bruisers we need tough toys)

Basically you fill the balls up with the training treats or kibble, and the dogs have to roll them around to release the treats. Us and our pups are smitten…Sierra even sleeps with her “busy ball” and Sutter carries it around in his mouth like a pacifier.

20140315-094524.jpg
For $13 each these are the best, budget friendly dog toy for us year to date. We hope this little review helps a few desperate pup parents out there. Happy Sunday everyone!

“Disclaimer: This is not a sponsored post, but a personalized experience. Dogs and their owners are different, therefore all results and experiences using the Natures Champions Omega training ball will vary. Always follow the manufacturers instructions, cautions and disclaimers.”

Ceiling Fan Re-deux

Here’s to the easiest DIY improvement year to date! Any homeowner or renter has encountered ugly ceiling fans at some point. Many replace them, others paint them, and then a few of us disguise them. Hands down disguising is the easiest and cheapest technique. Here’s a shot of the infamous 1980s, “mosquito fan” in the kitchen/dining room:

20140308-063432.jpg
It also doesn’t help with the ugliness, that this is the only room in the house with remnants of popcorn ceiling (albeit shaved off and painted). We also have a love-hate relationship with the original midcentury, tweed half- drapes (behind the fan) but that’s another story for another time.

However the fan is a high quality, Casablanca. Quiet, multiple speeds and fabulous light. Not bad for an 80’s throwback? Yet the fan needed an update. During our two weekends of marathon painting I finally grew tired of looking at it. Grabbing a drum shade from another light in the house and extra extenders I gave it the ol’ college try.

We used the same technique as our last, except we were able to use a smaller extender.

20140308-072213.jpg

20140308-072238.jpg

Yet altered our technique by adding a large washer between the shade and connectors in order to stabilize the shade. We also did not add extra chain and threaded the main chain through the middle of the shade. This allowed for a cleaner look.

20140308-072911.jpg

Lights on!

20140308-072956.jpg
Such an improvement! It’s almost pretty!
We actually are warming up to the cream colored fan blades and hint of gold brass. Originally we had the notion to paint the whole thing oil rubbed bronze, but the dark color would’ve drawn the eye towards ugly ceilings.
Also brass is starting to make a come back, and the fan ties in well to our mid century gold knobs in our built ins.

20140308-074434.jpg
Now the light is complementary and blends well with the room.

20140308-074621.jpg
Slow and steady seems to be our slogan these days. I’m sure you’ve all been in that frustrating place, torn between a budget and beautification? I think the muddy paw prints all over newly painted floors did me in. I am seriously close to entering us into one of those home make over contests! Ahmed of Yard Crashers may have a DIYer stalking him soon(just kidding Ahmed, nothing but love)

Who would’ve thought bringing a kitchen back to a neutral color pallet has been more work than expected. At least this was one easy and cheap update.

20140308-075600.jpg
Back to painting…Happy Sunday everyone!

Here’s to the crazy ones…

The home decor rebels, the DIY pioneers, the homeowners on a budget…And when we see a paintbrush we see genius. Because the people who are crazy enough to think they can paint their floors, are the ones who do…

20140301-195857.jpg
Oh yes we finally got crazy and said goodbye to red, brown, orange, yellow, and lime green glass tile inserts.

20140301-200029.jpg
Some may argue the glass tiles don’t look too bad, some may say they’ve seen uglier…How about a close up then?

20140301-200244.jpg

20140301-200306.jpg
After we painted the fireplace gray and started priming away the mustard yellow walls, the tile was now the last piece of the ugly puzzle.
WARNING: Painting tile by hand is not for the faint of heart. You WILL be sore and curse yourself an hour into it. Imagine painting at least a hundred finger nails and you’ll get the idea.
However if you have a tiny budget (and are half way desperate) then this project is for you.
We already planned to patch the kitchen grout and even lighten it up with grout renew. While out shopping we discovered that grout renew in antique white was nearly the exact shade as Glidden’s natural linen paint. (The guys at Home Depot let me test it) It was a sign, so we asked them to match Glidden’s gripper primer to the color.

20140301-203229.jpg
We also picked up a can of clear high gloss paint, since the primer would need a protective coat.

20140301-203352.jpg
Once home, and still asking ourselves should we really do it, we cleaned and sanded each of the tiles.

20140301-203816.jpg

20140301-203829.jpg
The painting required two coats of primer and two coats of clear enamel. I worked in rotation and strategically blocked areas off from the dogs who wanted to help.

20140301-204328.jpg The hardest part of painting tiles was the tiny black dog hairs. Despite a pre painting vacuum and mopping, I was still picking and brushing them away from wet paint. It was tedious at times but a vast improvement from lime green and burgundy.

20140301-204801.jpg

20140301-204812.jpg

20140301-204849.jpg Our little eat-in kitchen is slowly coming together. Are painted floors going to stay? Maybe, or maybe not, but for now they are a low cost and even easier alternative to chipping out and tile replacement. We’ll be sure to post updates on how our floors stand up to high traffic, dogs and parties in the weeks to come. In the meantime, to all our fellow crazies, have a Happy Sunday everyone!