Glitter Popcorn Ceiling Be-gone!

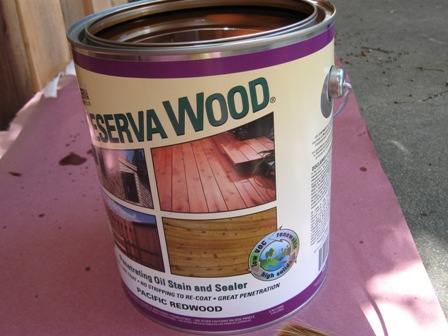
Again we’re playing catch up from our last year… Also I figured I’d get all the ugly truths out on the table, there were a few projects where we had to call the professionals in. Even after the fences were up we still couldn’t move into our new home. Why? (Aside from my husband’s head exploding from wedding preparations) No, uglier…We found in the home inspection asbestos in the ceilings. There was white popcorn pretty much everywhere, including the garage…Yes the garage… It was even tricked out with glitter.

ceilings 003

We had two options:

1) Encapsulate the ceilings throughout; paint and /or hide it behind drywall.

2) Have it removed professionally.

We opted for the later, as we may want to renovate upwards and punching through two layers of asbestos ridden drywall did not sound appealing. Especially if we are living in the middle of the renovation.

This project may not have been dog centered, but we were considering ALL of the family’s health when we made the decision.

hazmat puppy

THANKS MOM!

We also made sure the removal would take place before we moved everything in.

In the later choice our renovation budget took a major hit. Less money for all the “pretty,” eye catching projects I had brewing in my head. Also, as I told my friends and family, “I can live with ugly for a bit.”

We were so glad we did! (Poof, glitter begone!)

ceilings 006

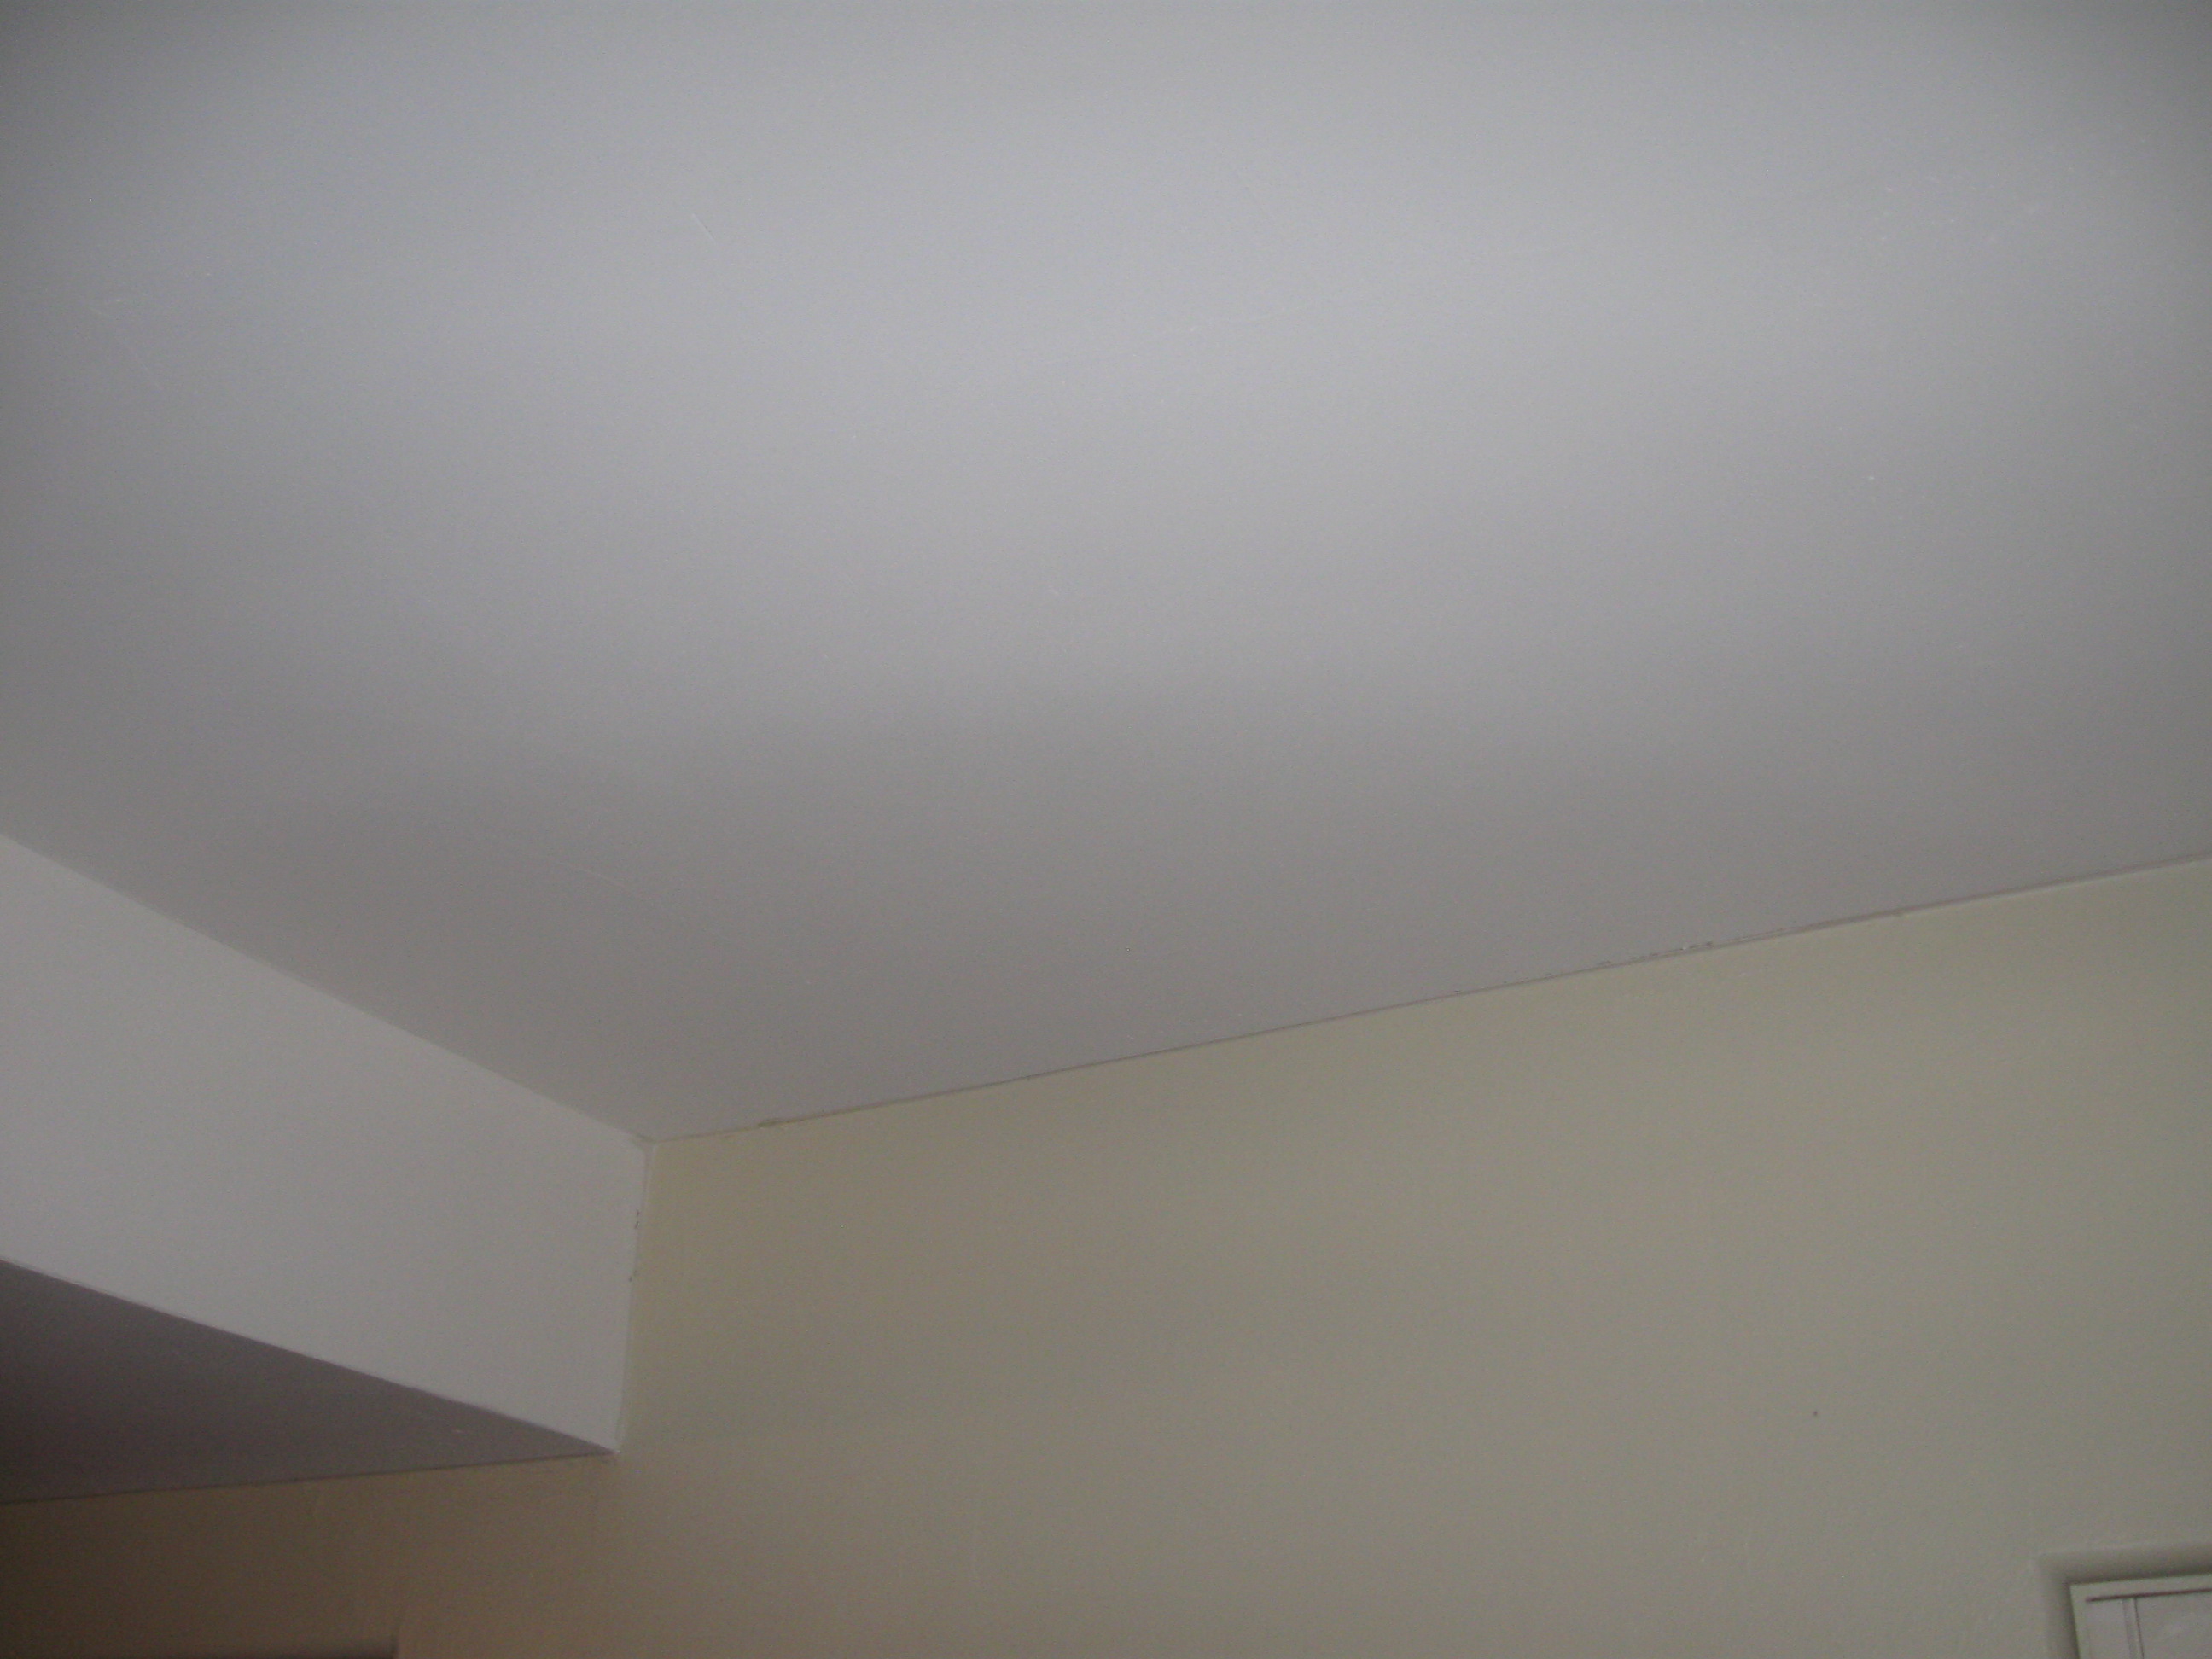
We were actually able to see the curvature and details of our ceiling once the popcorn and glitter cleared!  The ceilings were higher, and highlighted some of the neat mid-century details.
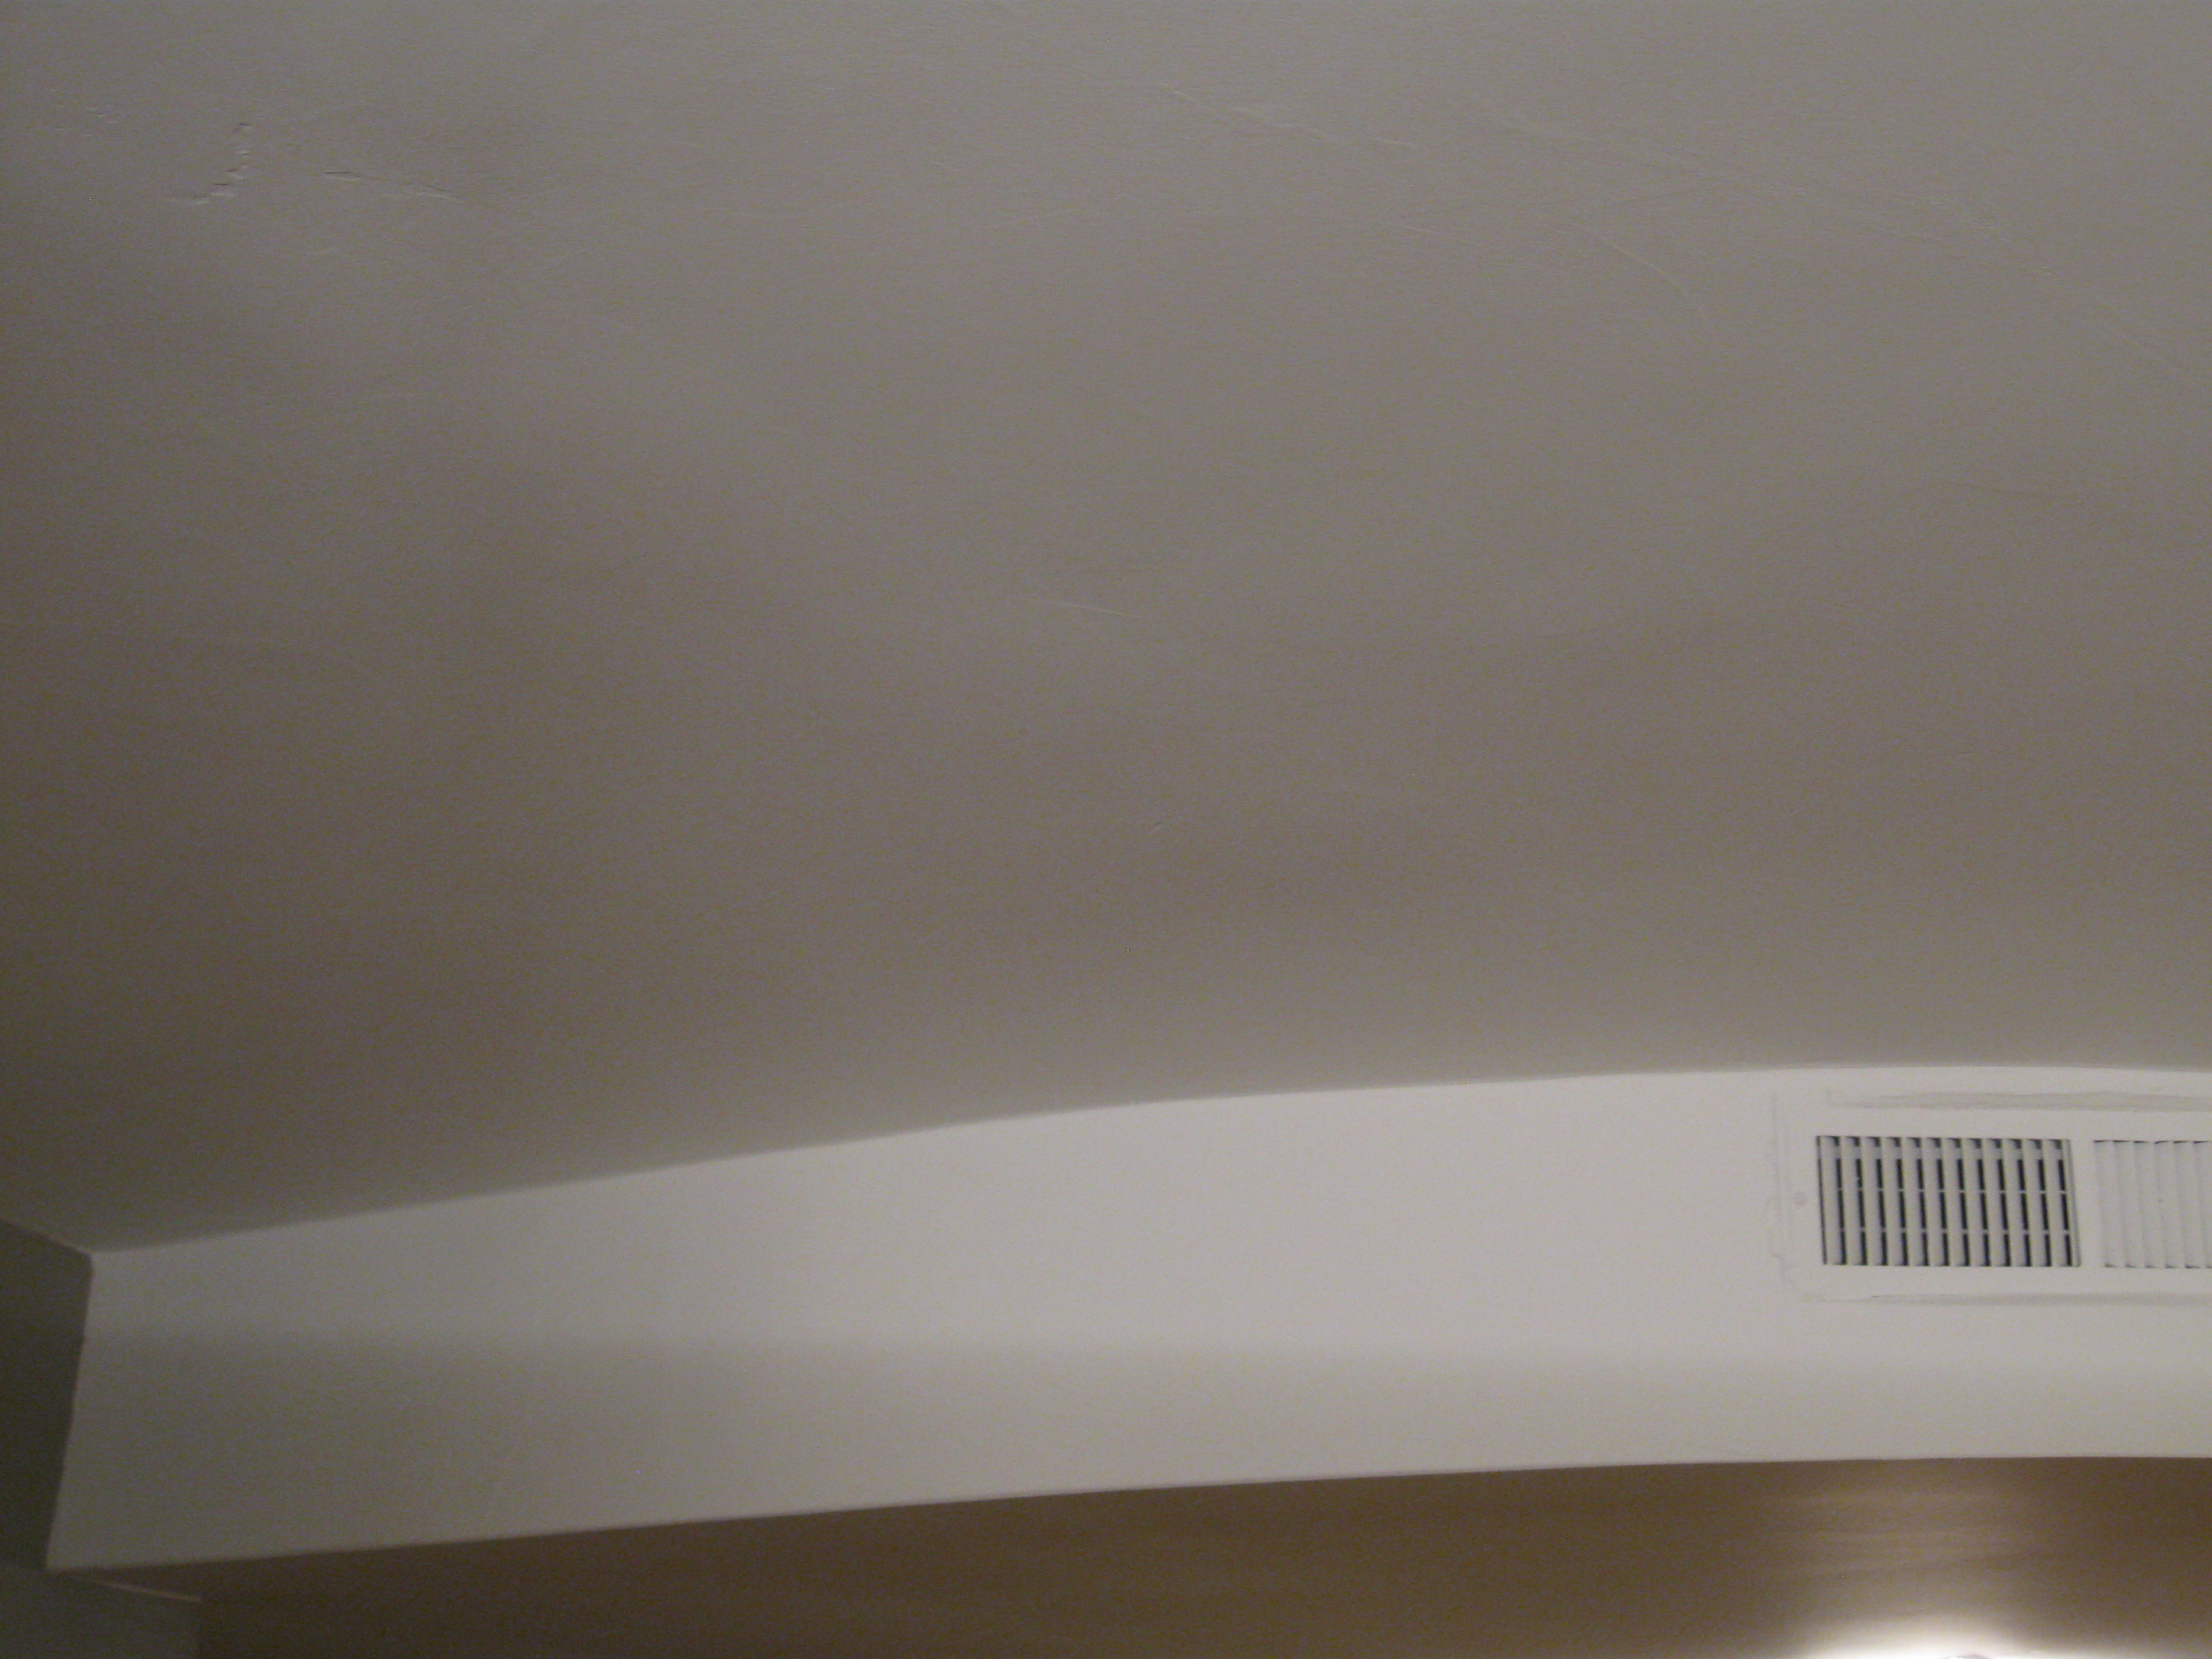
ceilings 004

Aren’t they spiffy!

We went with an imperfect smooth texture that mimicked the rest of the plaster smooth walls of our 1950s home. The total cost of asbestos abatement in four rooms, disposal, then retexturing and painting put us back just under $4,000. However from ALL of our seven estimates this was by far the cheapest and best bang for our buck.

ceilings 005

We still have one problem to deal with…(Duh, duh duhhh! Cue dramatic music) Our dining room had popcorn ceiling that we couldn’t remove. The previous popcorn had been sprayed directly onto the plaster ceiling, then shaved and painted over. Albeit the asbestos was encapsulated and safe, it still screams ugly! I’ll post much later on how we plan on solving that problem…

ceilings 001

(Please ignore ugly fan and drapes…there are big plans for this room)

Altogether to remove all of it would’ve created a very expensive mess. The professionals recommended we hold off on removing it since the budget could not take another hit…We still have a roof to replace! All in all I can live with ugly…

For a bit….

UNDER CONSTRUCTION…Where design, posts, plug-ins and love collide…

LITTLE HOUSES…BIG LIFE is on its way!

Where readers can enjoy more of Little Houses…but less dog slobber and renovation…Including posts on money, home buying, organization, and family life! Coming soon…We’ll keep you posted! 

Fencing It All In

Before we could move into our new place, with two “raptor smart,” over-sized Dobermans… raptor dobe

Therefore we needed an over-sized fence. This house had been fence-less for 64 years!

(Good sign, it was that kind of neighborhood for that long!)

Two big problems though:

1) Anyone could walk up the driveway and access the backyard

2) Sutter and Sierra would escape to go on neighborhood squirrel hunting safaris.

squirrel hunting

Before we could officially move in we needed fences. There were two conditions:

1) The fences had to be really tall (Sutter can look over fences when he stands on his back legs) and really strong…(So escaped dobes would not terrorize the neighborhood.)

2) They also had to swing open to the backyard. Since the fences would double as garage and backyard access. (Maybe someday with automatic opening capability…pause for dreamily sighing)

Essentially these fences would be very big and very heavy!

We were in the midst of wedding planning and packing so we had a friend build them for us…

(At times, certain projects needed to be left to the pros.)

Or this would’ve been my poor hubby…

exploding-head

(He was already suffering through all the girly wedding planning and weekly jaunts to the in-laws)

Overall, and sadly have to admit, we forgot to stain our newly constructed fence doors. They lost their beautiful redwood sheen, and started to yellow from the elements. Which brings me back to re-staining the fences…“lazy- man style”

I used a staining brush, about $5-$6 home depot and a lower VOC Pacific Redwood stain by Preserva Wood ($26)

staining fences and screen posts 005 staining fences and screen posts 001 staining fences and screen posts 002

…See this Home Depot link for the proper use…but keep reading to see it done “lazy man style” http://howto.homedepot.com/videos/watch/1860740242001/Preserva-Wood-Howto.html

Laying down some left over (super thick) painting paper to protect the concrete we went to work on the fences. I tested a few spots to check if the color was right.

staining fences and screen posts 005

Second hubby was my brave “spider killer” brushing out all the nooks and crannies with a broom. (As people in Sacramento know how prevalent black widows are)…GET’EM HON, GET’EM!

staining fences and screen posts 007 staining fences and screen posts 010

(That’s me the scaredy cat with the extender pole above)

staining fences and screen posts 006

The staining was turning out well till, I spotted a gnarly BW…Yikes! Promptly ditching the hand brush and attached the painting pole onto it.

Overall staining was easy, it only took about an hour to complete two fence doors (front and back) Drying time was quick, and we scheduled the staining for a hot weekend. The one casualty in this project was my favorite golf hat which I had forgotten to take off. Nice red stain drops=New favorite painting hat

staining fences and screen posts 020

Considering how easy it was, we plan on adding this task to the “TO-DO” calendar for next year…Cinco de Mayo = Fence Re-staining day! A good excuse for a cervesa afterwards.

After shot…Cheers!

staining fences and screen posts 014

A Year in the Making …Starting with a “Super Sized” fence…

This blog should’ve started three years ago, but we had some unexpected events happen…called life! Aside from the past couple years,  2012 was our busiest and happiest one;  planning and hosting a DIY wedding, buying our second home, rental renovation, starting a dream job…And Yay! In 2012 the world never ended or we wouldn’t have this blog.

Now that you’ve heard the excuses here we go…