Part 4: Kitchen Make-over…The Fastest Backsplash Update Ever!

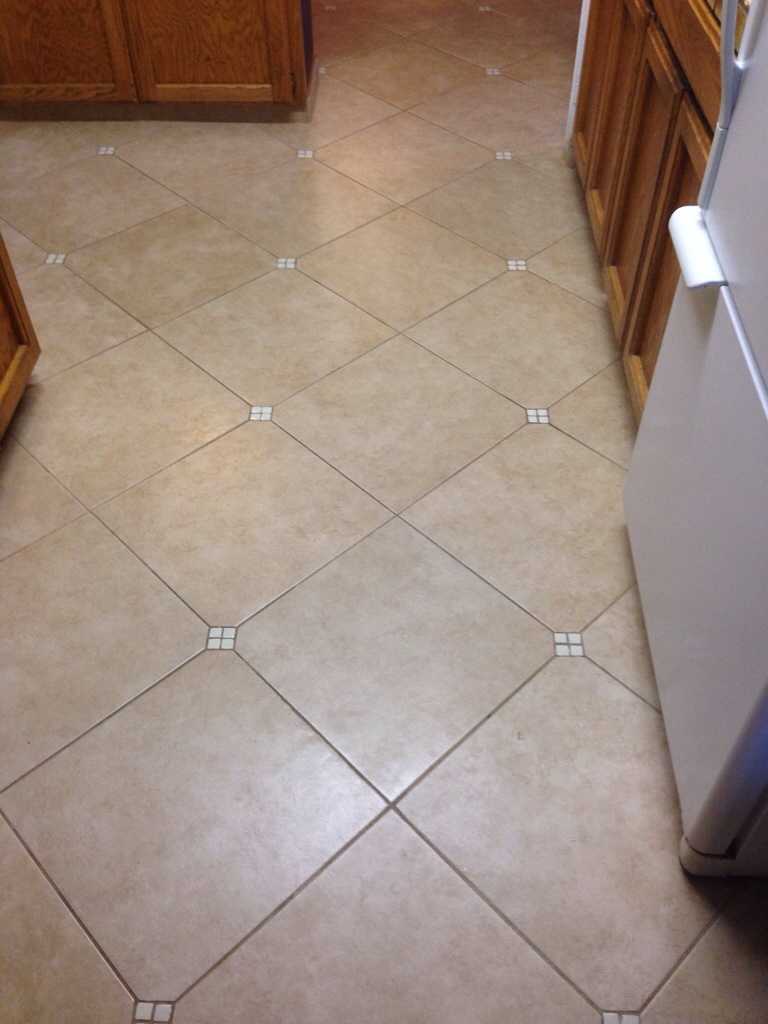
Did we mention we were on the tightest, shoe-string, kitchen budget ever…(Probably in every post!) Or the fact that we are busy, can’t even keep up with the laundry, 0 spare-time kind of people…(Seriously it’s starting to get old)…However, one thing is for sure we’re not the only couple out there with the same sort of problems. Which is why we got crazy again, threw caution to the wind and painted tile again!

20140517-091255.jpg
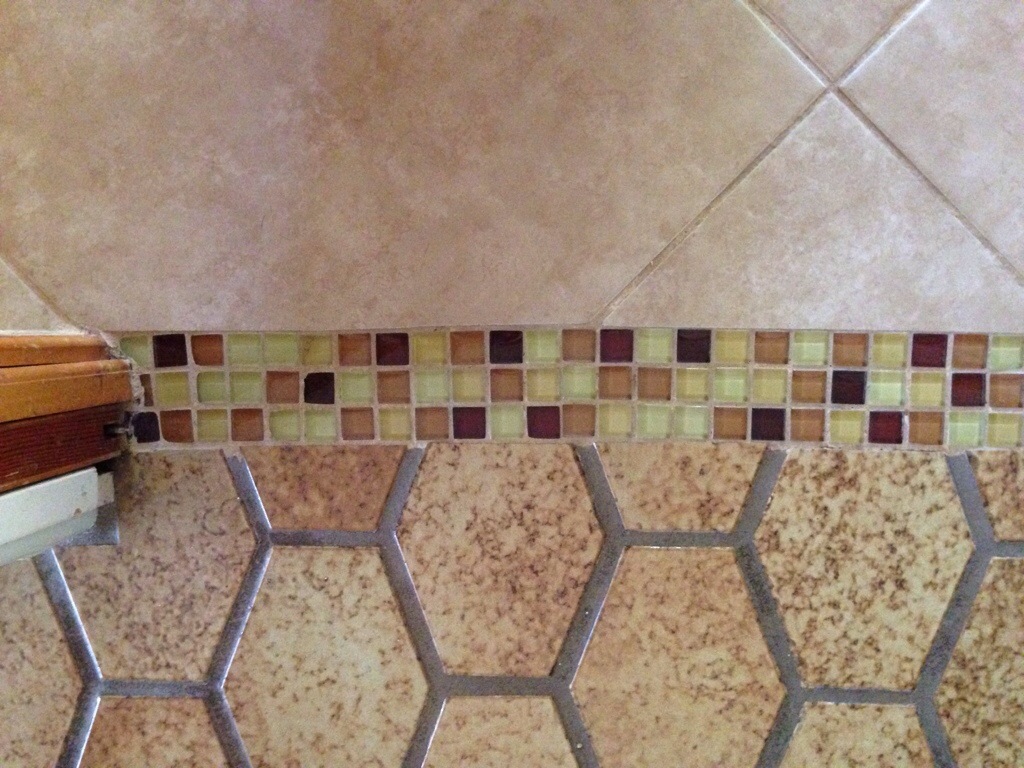
Oh yes we got “all crazy up in” our kitchen, and utilized the same strategy for our floors on the kitchen backsplash. Is it the ideal medium for a backsplash? No, but considering our budget, time constraints, and the fact that it even works we couldn’t open the paint cans fast enough!
Here’s how we did it:

20140517-092040.jpg
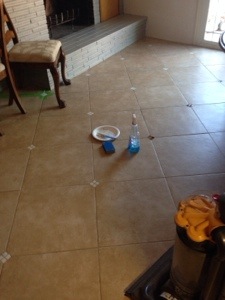
First tape off, and lay plastic over the countertops (especially if they are DIY Encore ones, which you are overly proud and protective of) 🙂

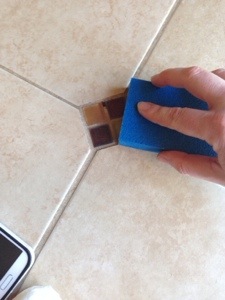
Next clean your backsplash with a degreaser, we used Clorox’s, but some people swear by TSP. Then with any basic paint brush apply two layers of Glidden Gripper primer paint color matched to Natural Linen. (This is the best time to fully cover the grout lines.)

Then we let the primer cure for two days (because of a sudden rainstorm and we didn’t want to take chances with humidity). Once the primer cured we followed it with two layers of Glidden Natural Linen, satin paint. One of the best techniques we found to achieve a perfectly smooth layer of paint was by using Home Depot’s $3.50 mini foam roller kits:

20140517-093219.jpg
We allowed the paint to cure for another 48 hours. Then to give the transition of concrete countertops to tile backsplash a more finished look we used Dap’s waterproof silicone caulk in Biscuit to line the back edge. Of course, despite laying a line of painters tape I still made plenty of mistakes…

20140517-094146.jpg
But nothing that strategically placed potted succulents couldn’t hide…

20140517-094312.jpg
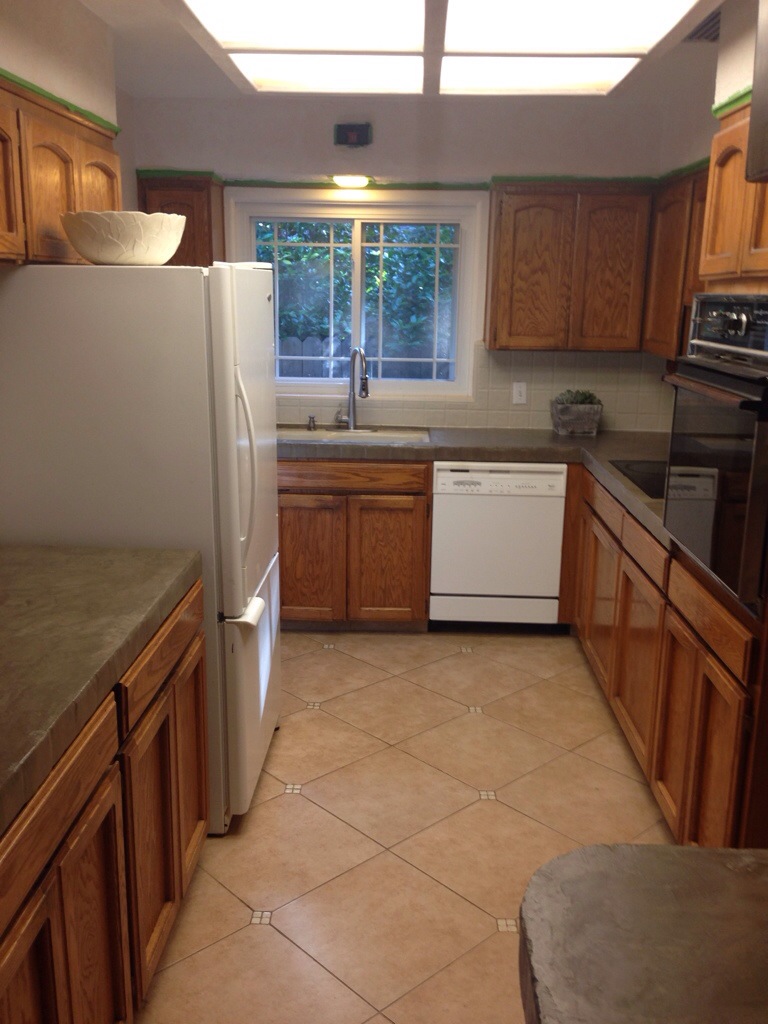
We’ll be testing out our new backsplash soon enough, complete with spaghetti sauce splatters and dish washing marathons to see how well it can withstand us (more on that to come) The kitchen is slowly coming together but worlds away from our original kitchen…

20140517-094737.jpg

20140517-094808.jpg
We’re going to take a small break in the coming week for birthdays and cuddling our squishy baby nephew. However we keep chanting “progress, progress” in our heads. Slow but sure, one busy foot at a time the kitchen updates will soon end. We’re looking forward to the day when all painters tape will be gone and we’re taking off for summer trips with the pups. In the meantime Happy Sunday everyone!

Here’s to the crazy ones…

The home decor rebels, the DIY pioneers, the homeowners on a budget…And when we see a paintbrush we see genius. Because the people who are crazy enough to think they can paint their floors, are the ones who do…

20140301-195857.jpg
Oh yes we finally got crazy and said goodbye to red, brown, orange, yellow, and lime green glass tile inserts.

20140301-200029.jpg
Some may argue the glass tiles don’t look too bad, some may say they’ve seen uglier…How about a close up then?

20140301-200244.jpg

20140301-200306.jpg
After we painted the fireplace gray and started priming away the mustard yellow walls, the tile was now the last piece of the ugly puzzle.
WARNING: Painting tile by hand is not for the faint of heart. You WILL be sore and curse yourself an hour into it. Imagine painting at least a hundred finger nails and you’ll get the idea.
However if you have a tiny budget (and are half way desperate) then this project is for you.
We already planned to patch the kitchen grout and even lighten it up with grout renew. While out shopping we discovered that grout renew in antique white was nearly the exact shade as Glidden’s natural linen paint. (The guys at Home Depot let me test it) It was a sign, so we asked them to match Glidden’s gripper primer to the color.

20140301-203229.jpg
We also picked up a can of clear high gloss paint, since the primer would need a protective coat.

20140301-203352.jpg
Once home, and still asking ourselves should we really do it, we cleaned and sanded each of the tiles.

20140301-203816.jpg

20140301-203829.jpg
The painting required two coats of primer and two coats of clear enamel. I worked in rotation and strategically blocked areas off from the dogs who wanted to help.

20140301-204328.jpg The hardest part of painting tiles was the tiny black dog hairs. Despite a pre painting vacuum and mopping, I was still picking and brushing them away from wet paint. It was tedious at times but a vast improvement from lime green and burgundy.

20140301-204801.jpg

20140301-204812.jpg

20140301-204849.jpg Our little eat-in kitchen is slowly coming together. Are painted floors going to stay? Maybe, or maybe not, but for now they are a low cost and even easier alternative to chipping out and tile replacement. We’ll be sure to post updates on how our floors stand up to high traffic, dogs and parties in the weeks to come. In the meantime, to all our fellow crazies, have a Happy Sunday everyone!