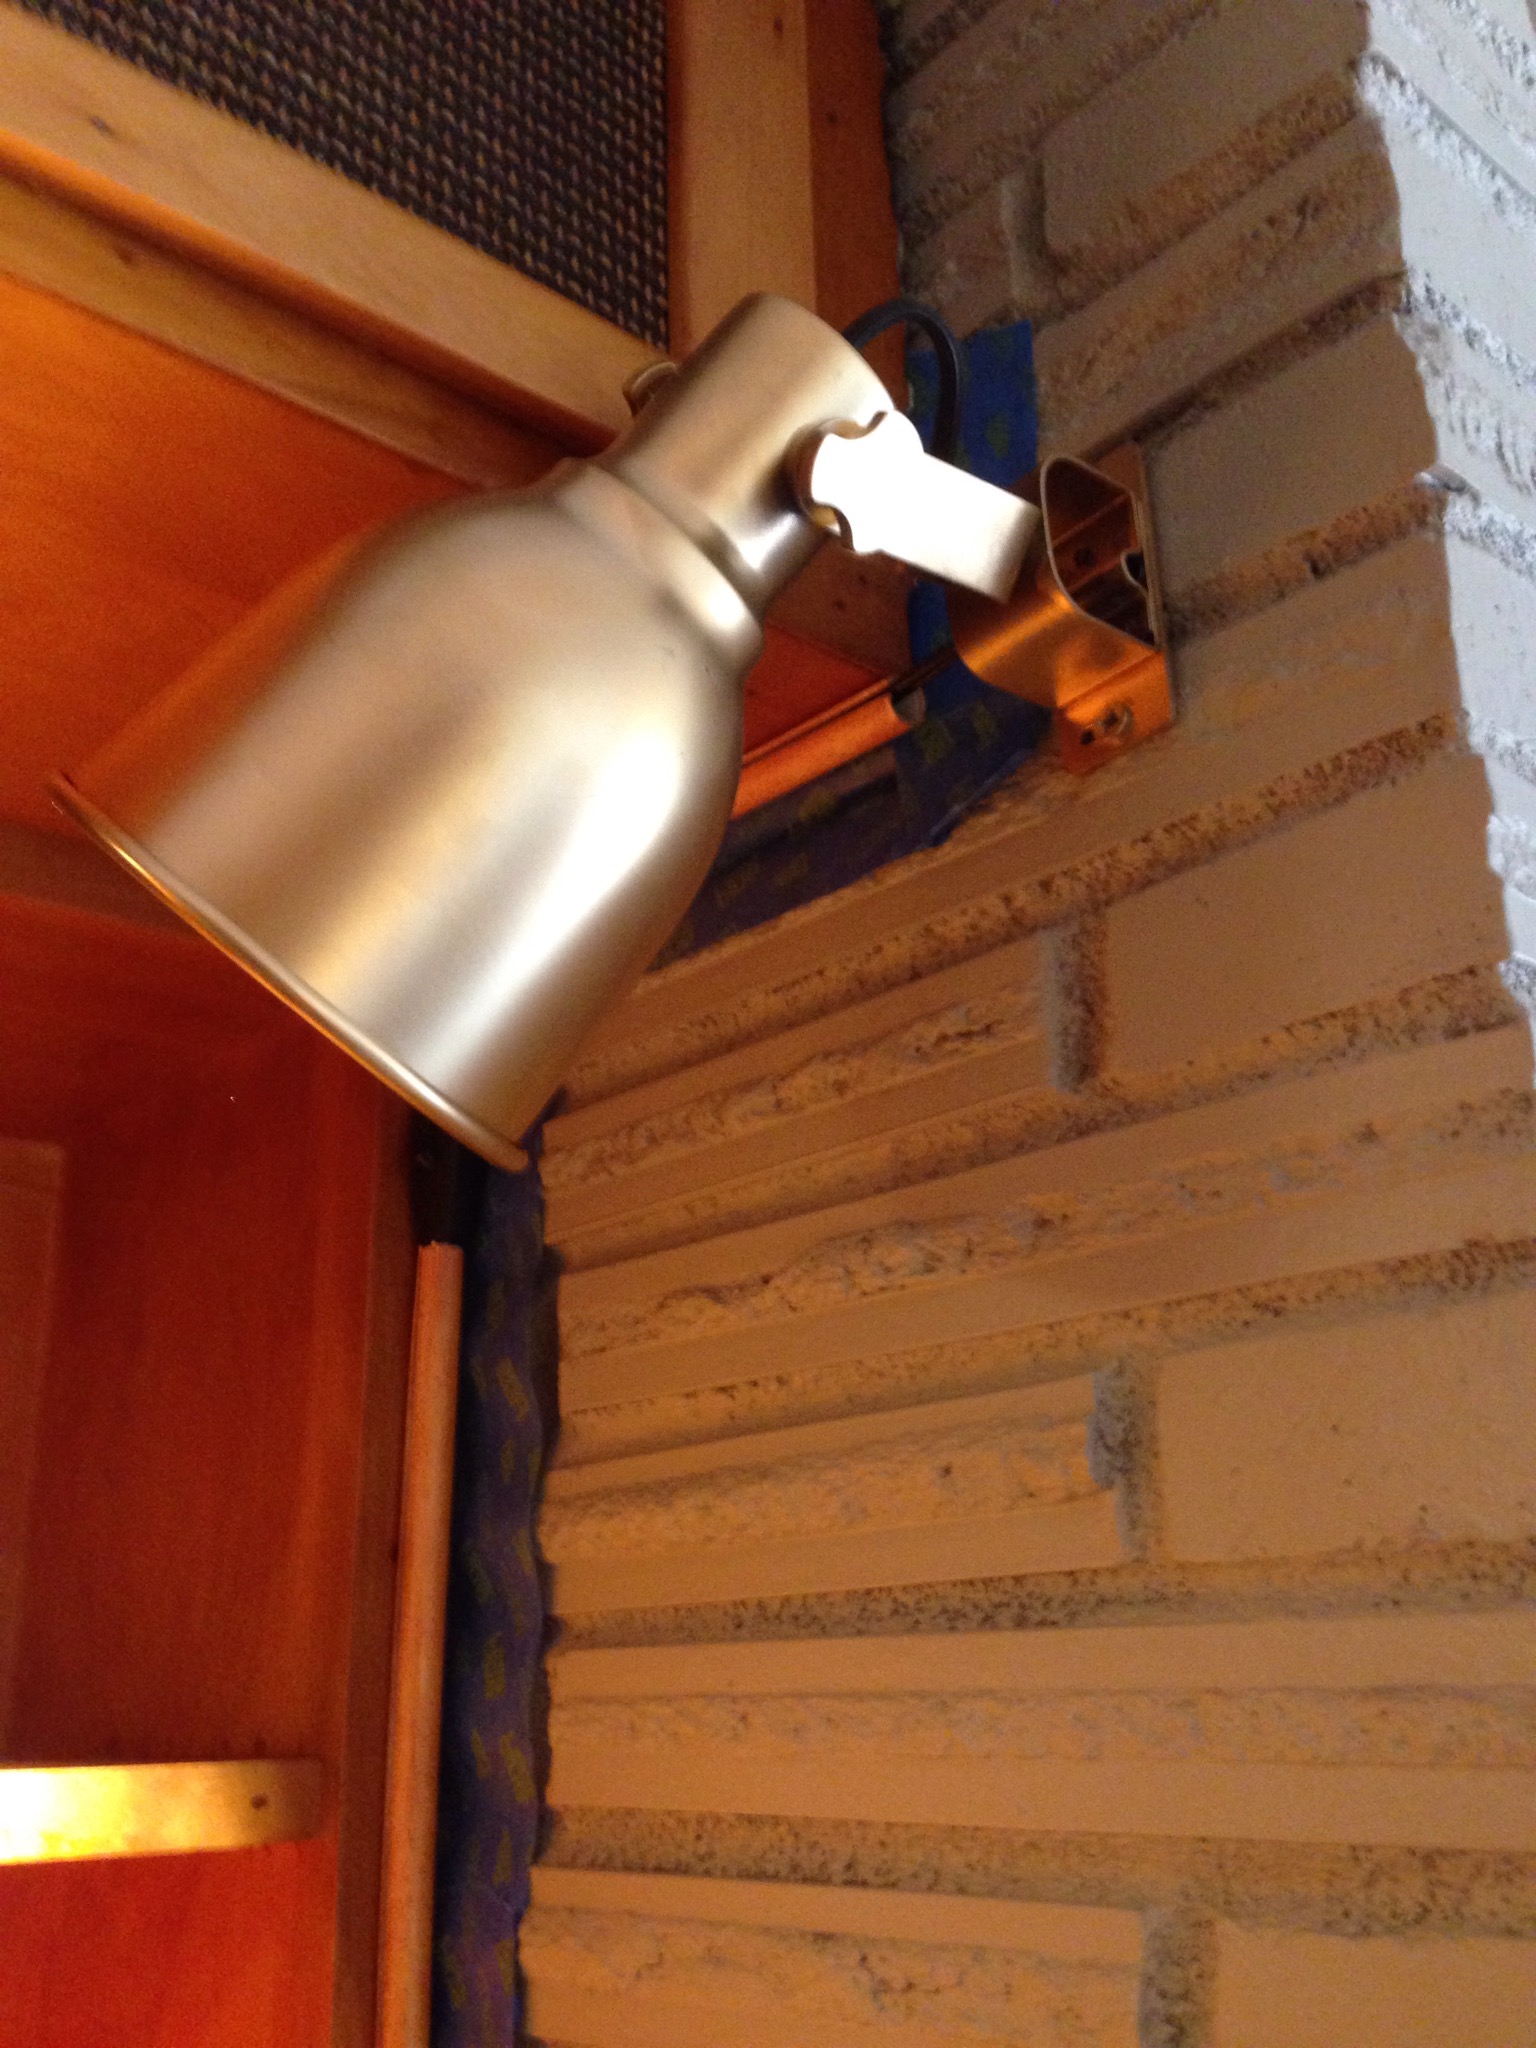
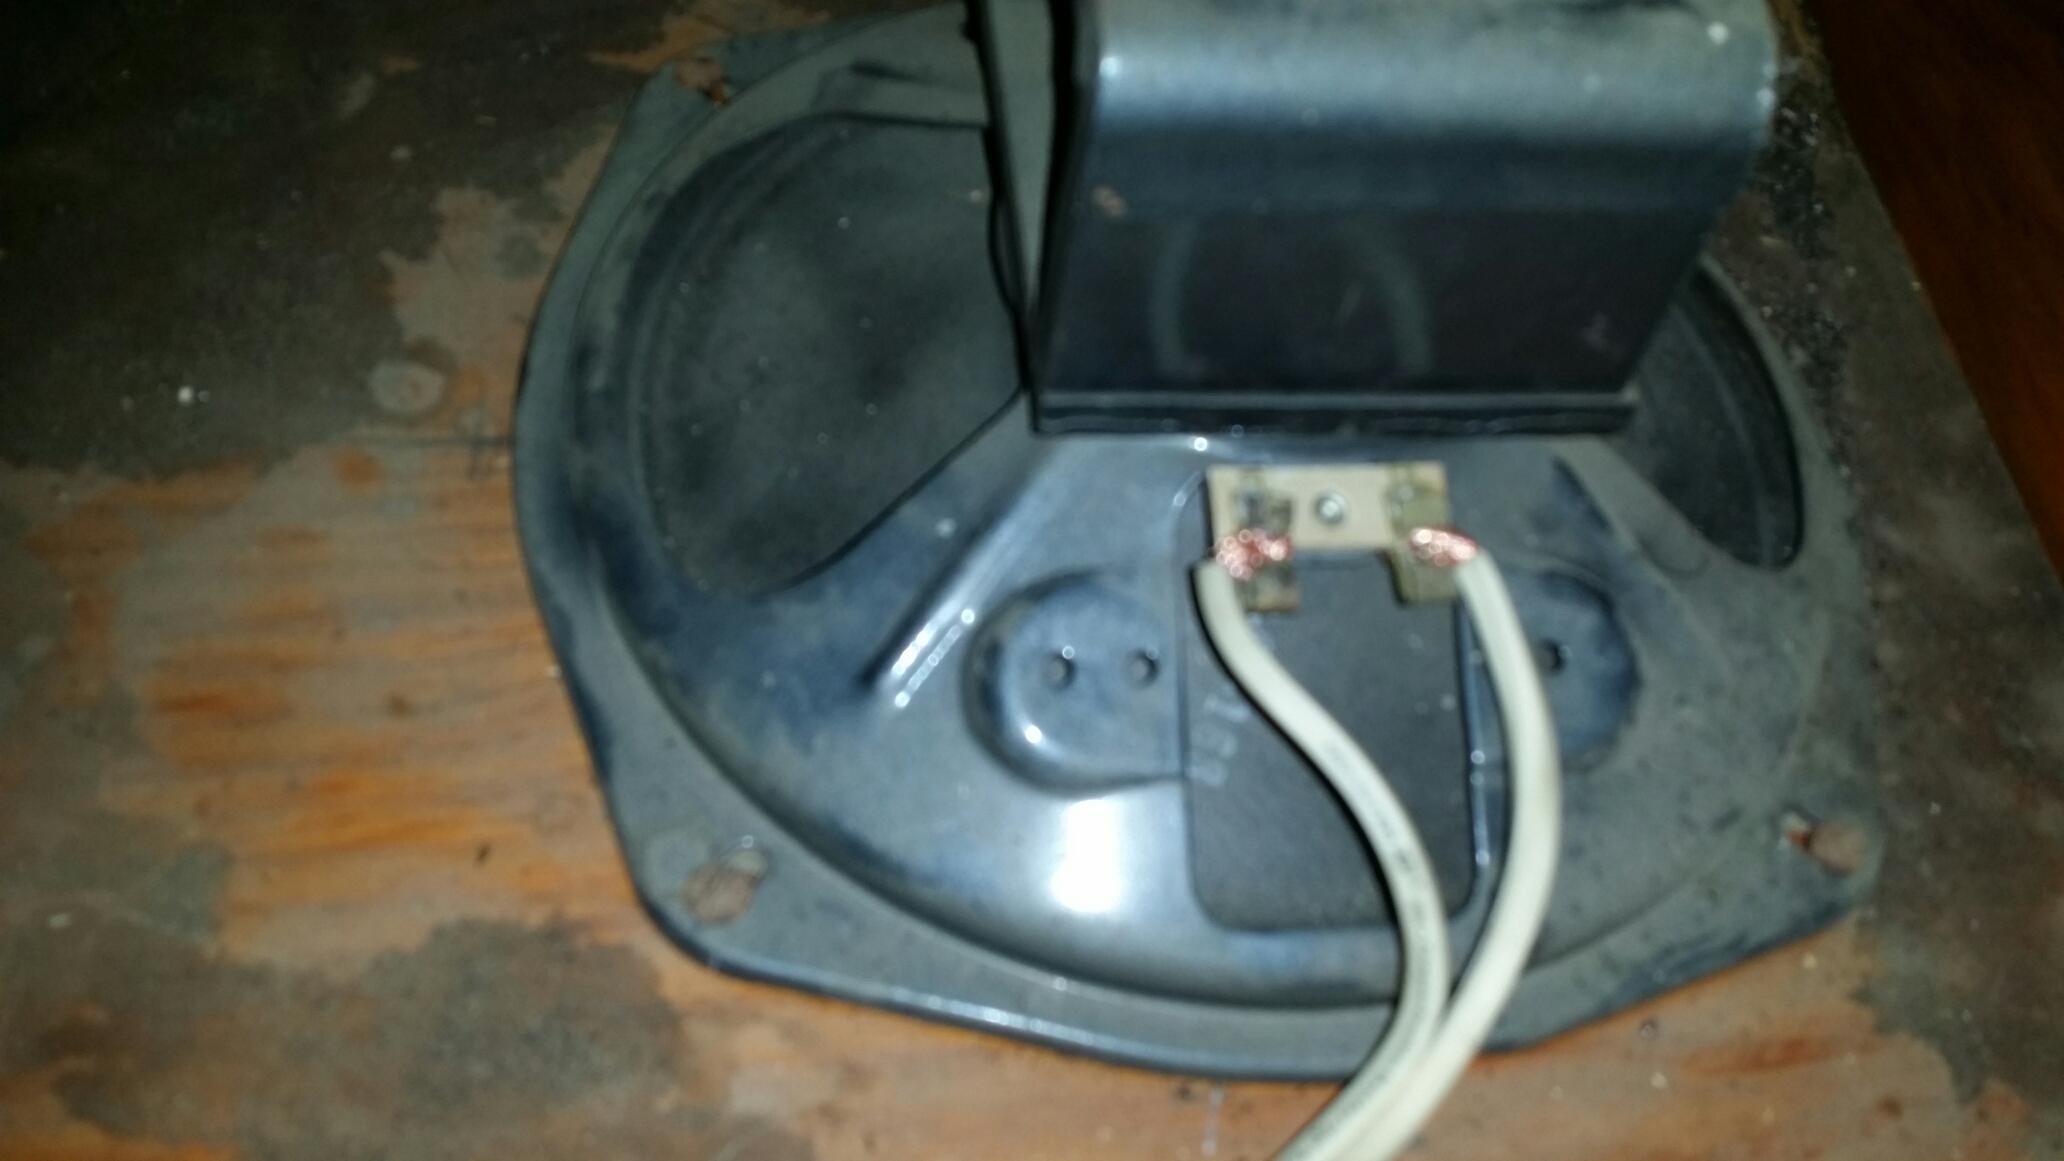
Do you remember our last picture of the built in’s speakers? If not, here they are again….
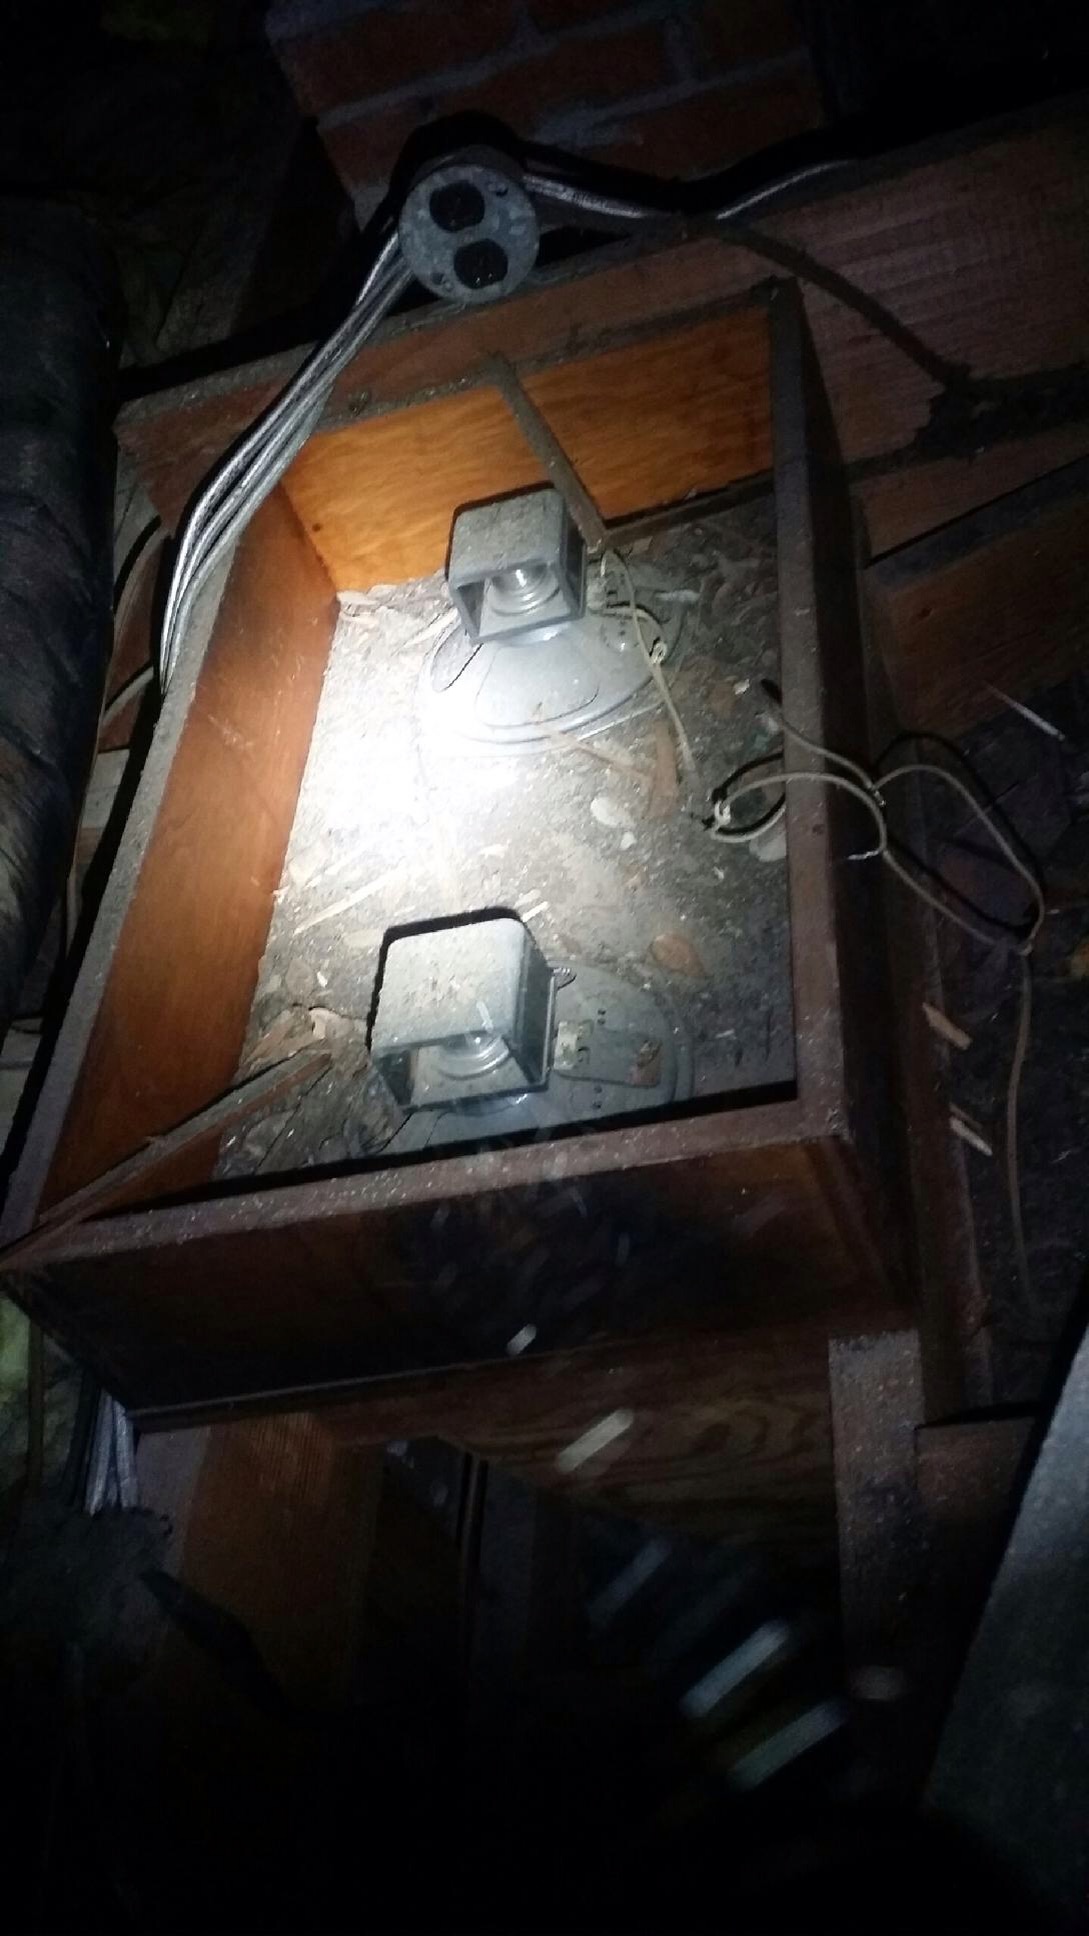
67 year old speakers in our attic, buried under roof debris, blown insulation and rat nests. (Oh yeah, our house originally came with a bad roof and a family of rats).
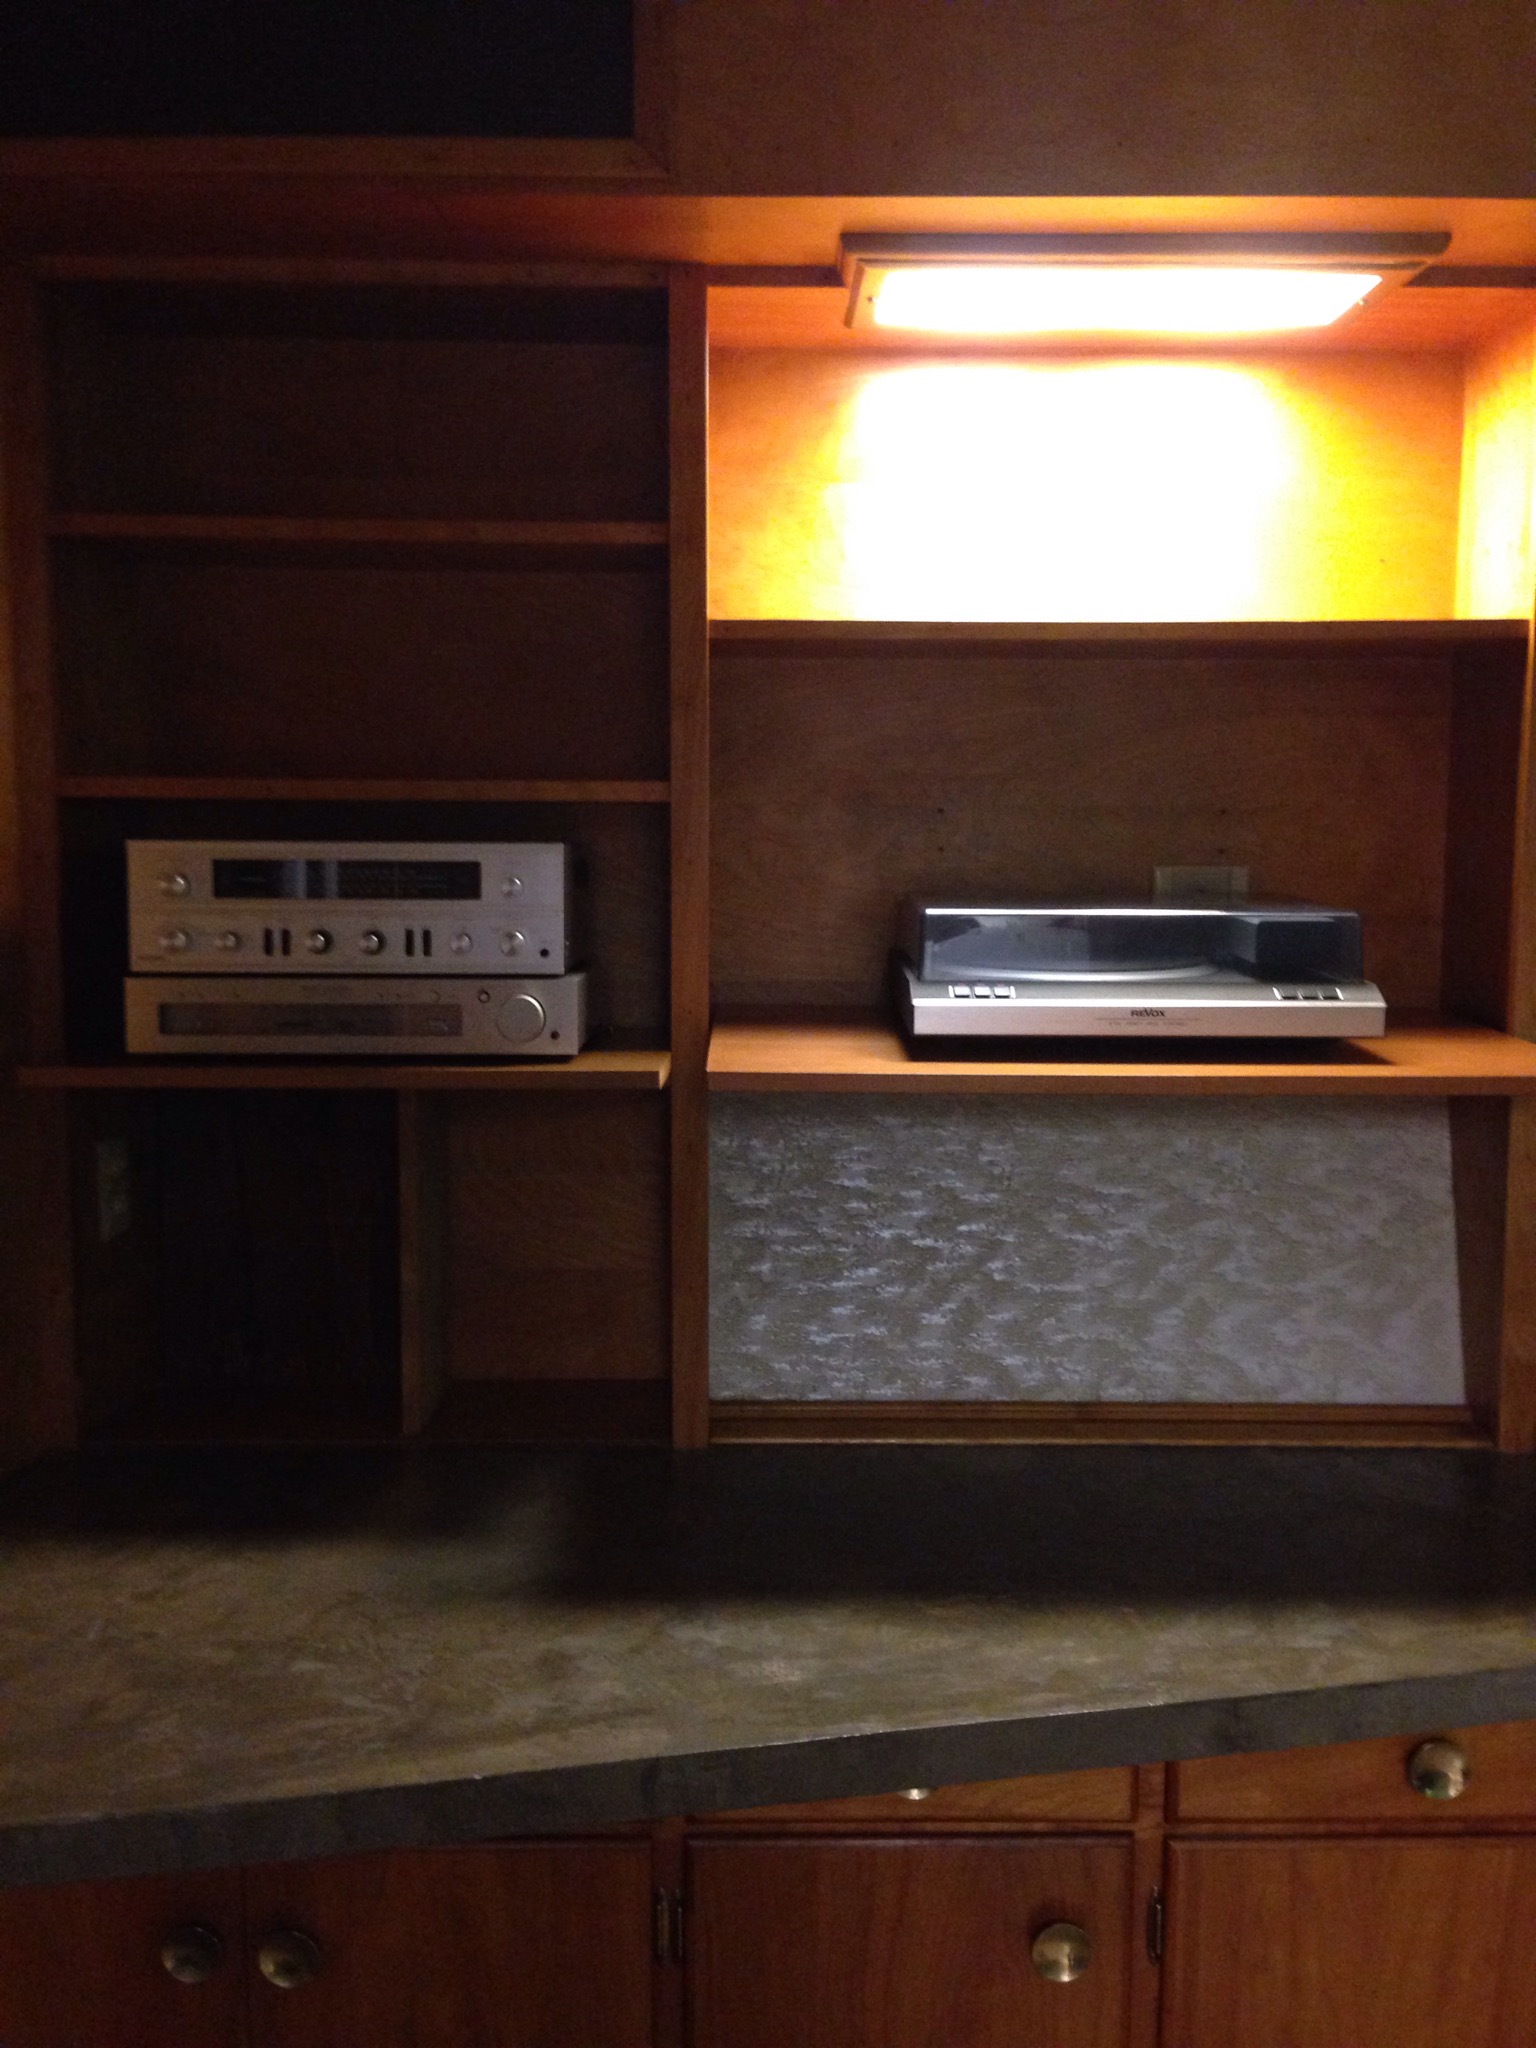
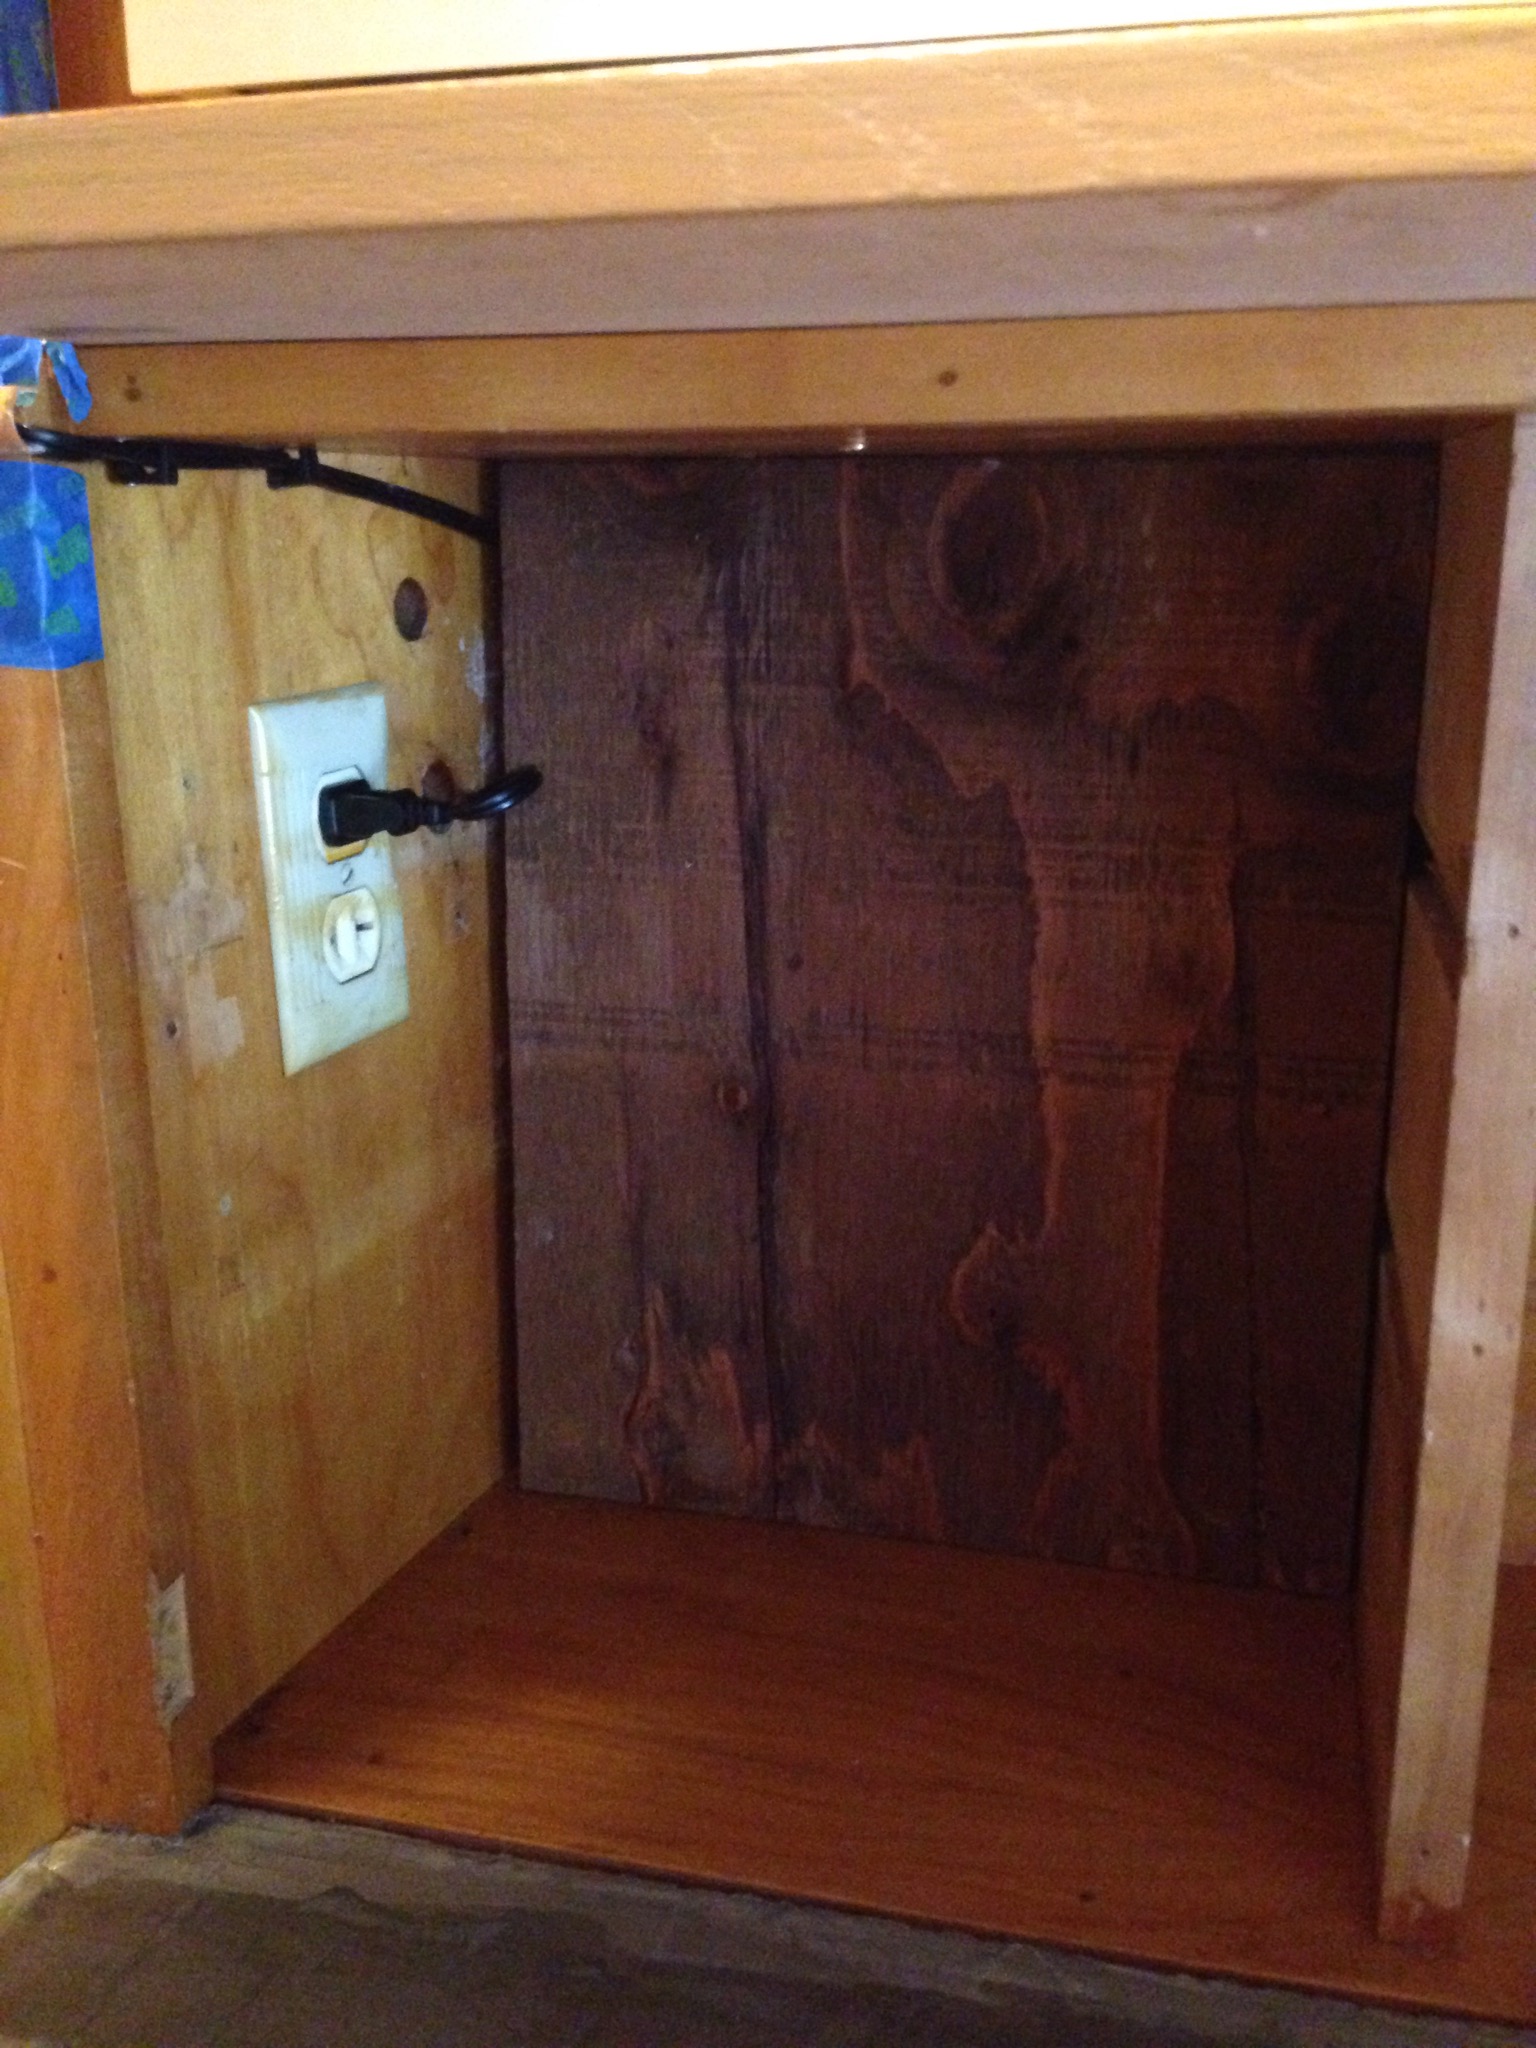
For those of you new to the blog, in the last two years we’ve been “respectfully” renovating a 1948 home. In the beginning, it felt like the house was just one huge money pit. (New roof, water heater flooding our basement, evicting rats, etc) Yet in the last year we’ve managed a few fun projects, and finally feel like we’re making progress towards “beautifying” a house versus just “maintenance”. Some of the fun projects has been uncovering little surprises, like our Midcentury built in with speakers!
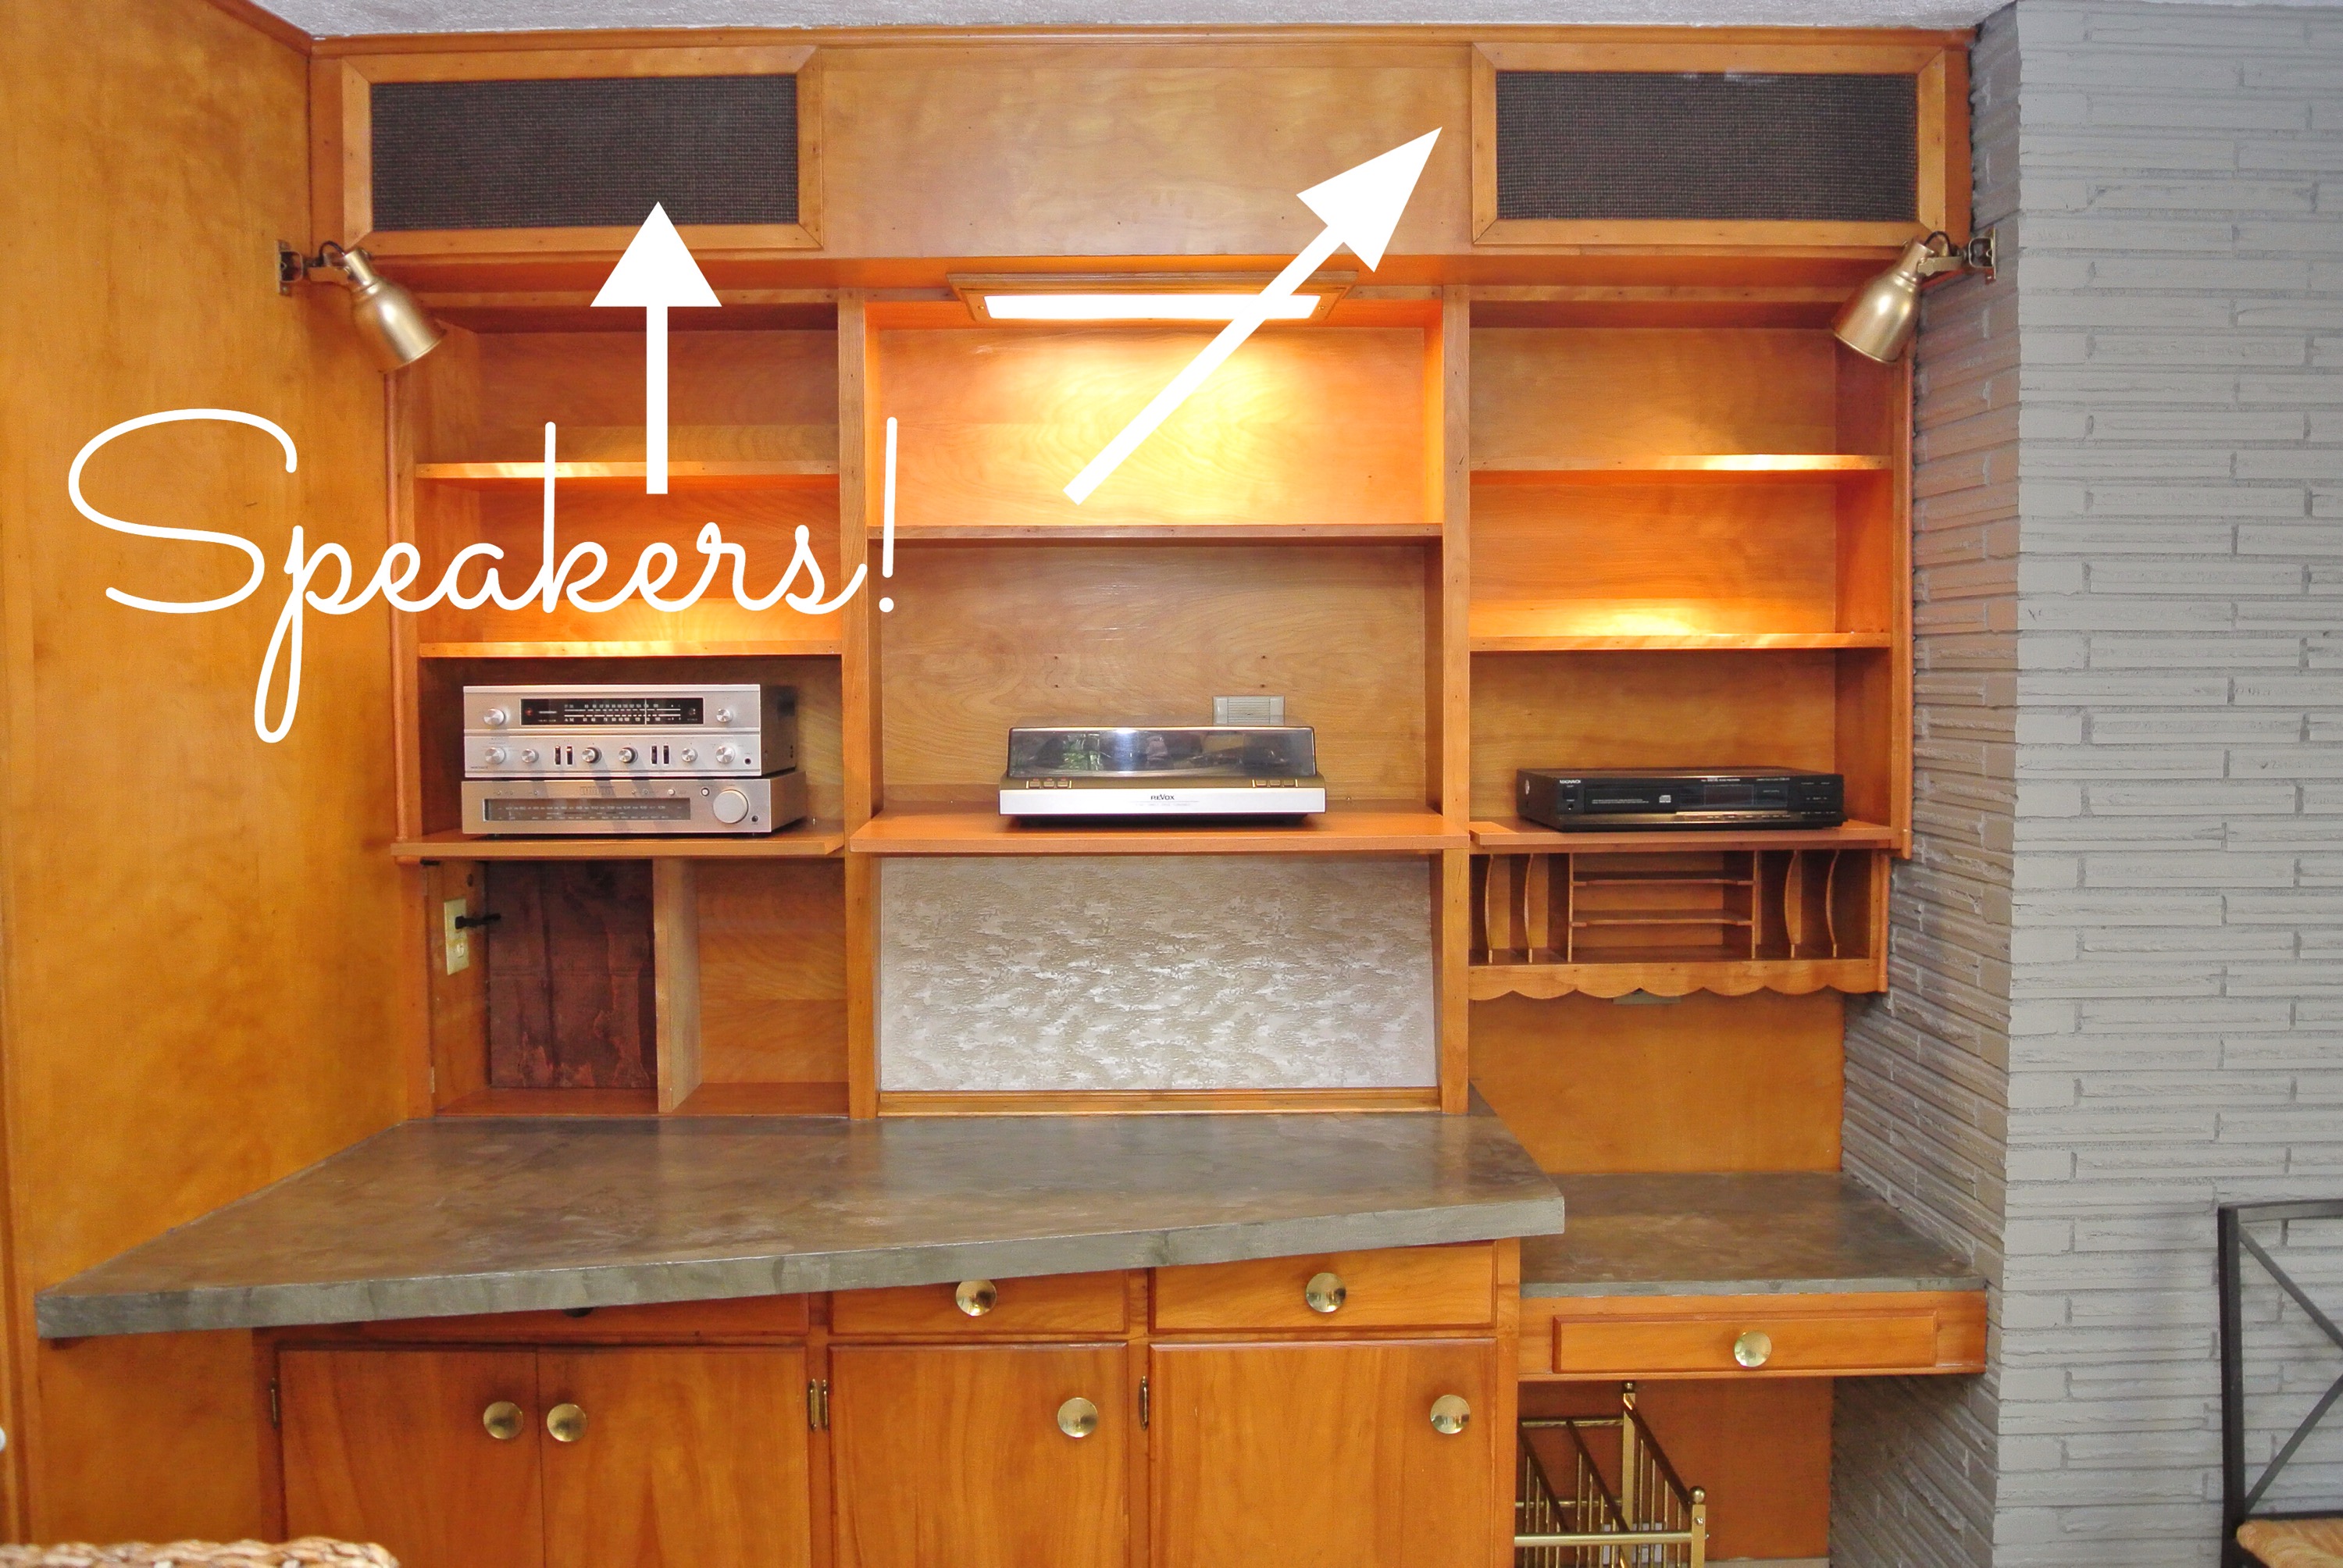
We also found out our home was once a designer “showcase” house on the block. Hidden cabinetry, unique mid century details and amazing craftsmanship. In this case we chose to restore versus demo the built-in. Even though open concept is the popular thing our hearts (and wallets) weren’t in it. Now we’re glad we never picked up that sledgehammer. Especially when your electrician friend comes over to help replace the speakers. What we didn’t expect was this (ps. I apologize ahead of time, my voice sounds so annoying through a cell video. Quoting my brutally honest husband, “no hon, your voice does not sound like that in person, I think our readers will understand, and not want to punch you in the face😉”)~thanks hon, and hopefully you all don’t…
Even though the quality could be improved we decided in the short term, use them till we lose them. Why replace when the point was to try to keep the original vintage qualities of the built in?
Hence our friend shuffled around in our attic for an hour, cleaning and rewiring at least one speaker on each side.
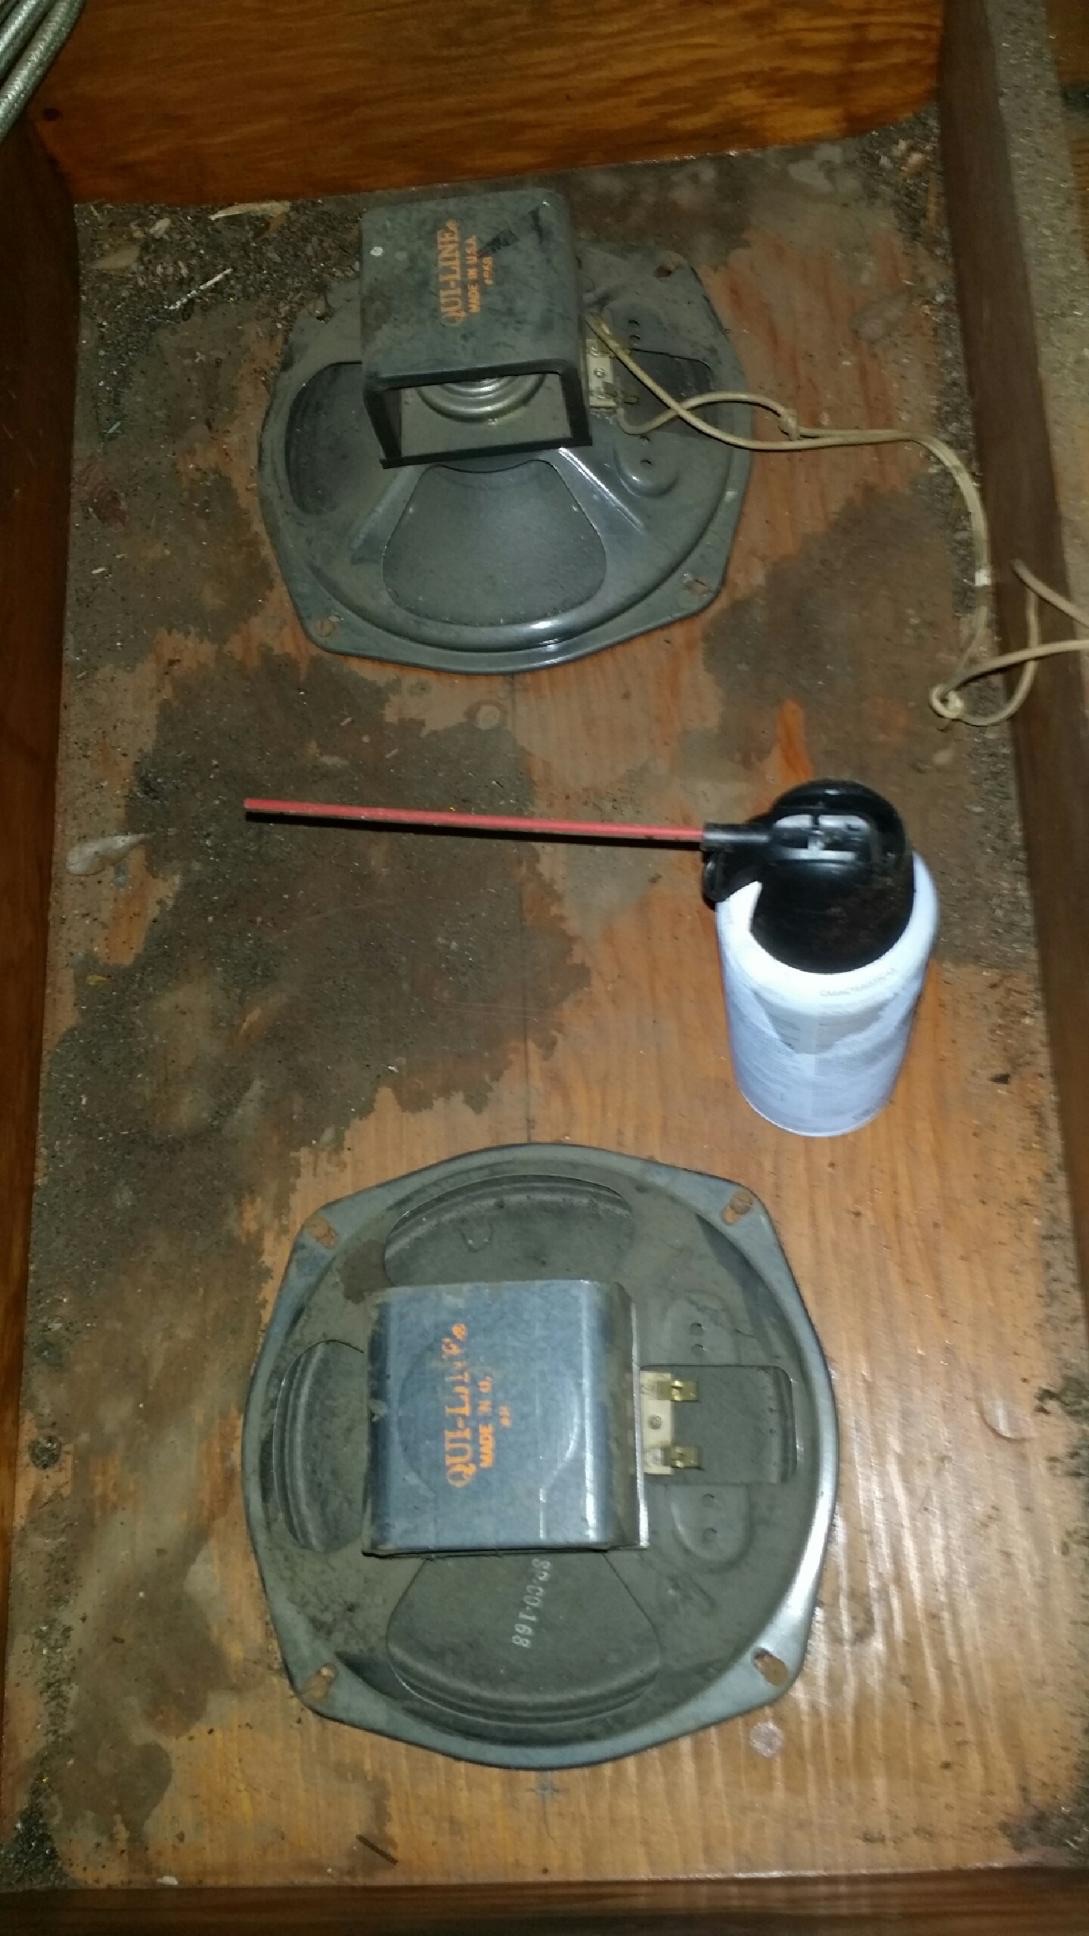
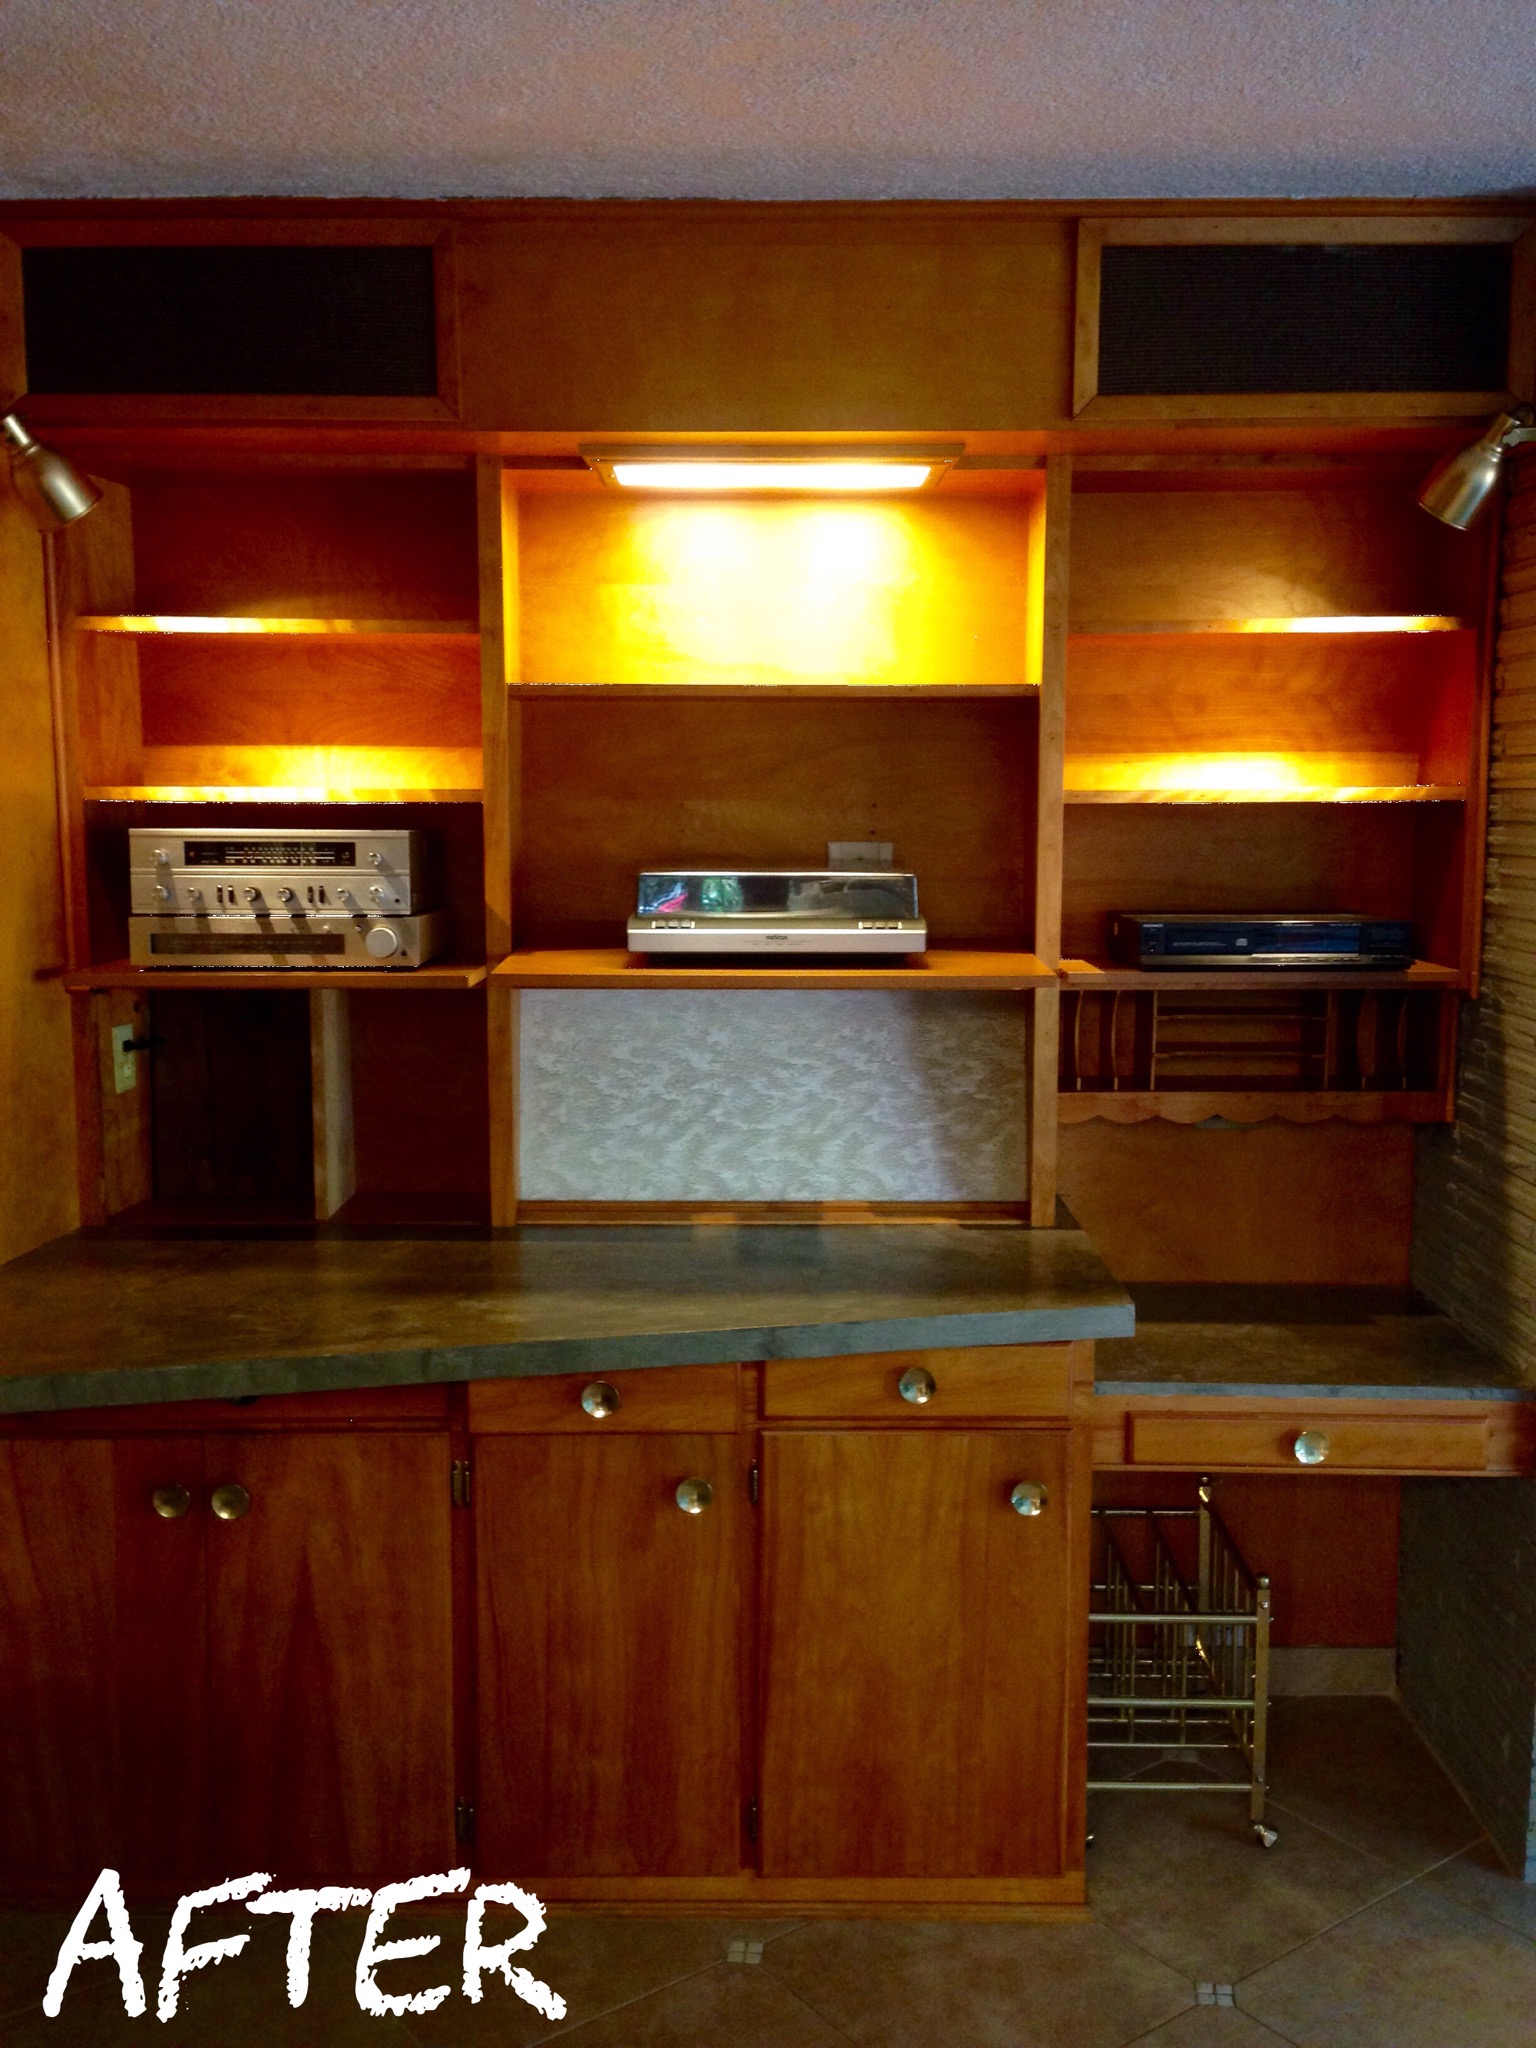
He placed a couple thin boards over each temporarily (just to keep the dust away). We really will need to replace these old girls, just for sound quality alone, but for now we’re content to listen to the warm tones created by 60+ years of age. Add the tube receiver and vinyl, it’s like taking a trip back in time to the 40s and 50s. Here is my attempt to recapture the listening experience of our grandparents since many of us youngsters have never heard it…
(FYI the clicking sound in the beginning is not the sound system but the puppies in the kitchen, they were curious about the sound coming from the attic and were enjoying it too)
We are really happy with keeping this vintage piece. All I need now is more vinyl and some staging ideas for the shelves. (Admittedly I have a severe “styling bookcase” disability) Any suggestions will be gladly appreciated😉. Happy Sunday everyone!