How-to Extend a Shelf (and Why it Took us 6 Months!)

Why does a simple project, that should’ve taken a weekend, instead lasts for 6 months? You know that project, the one requiring multiple trips to Home Depot and phone calls to your dad for advice. All us DIYers have experienced the so-called “easy” project.
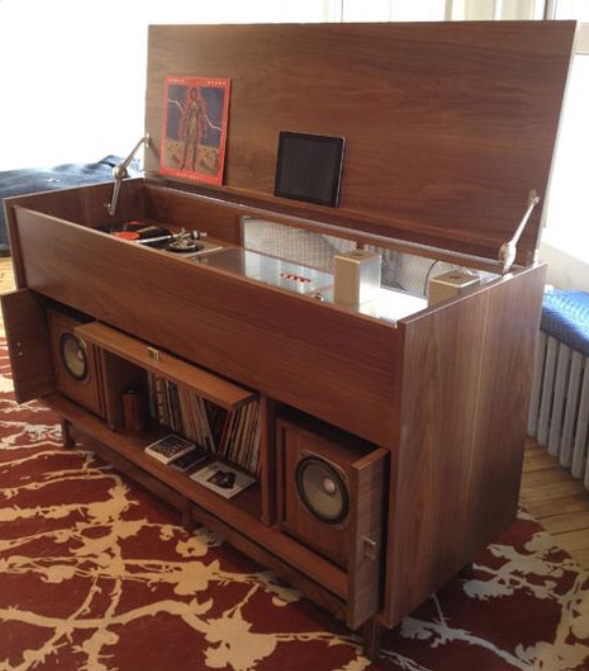
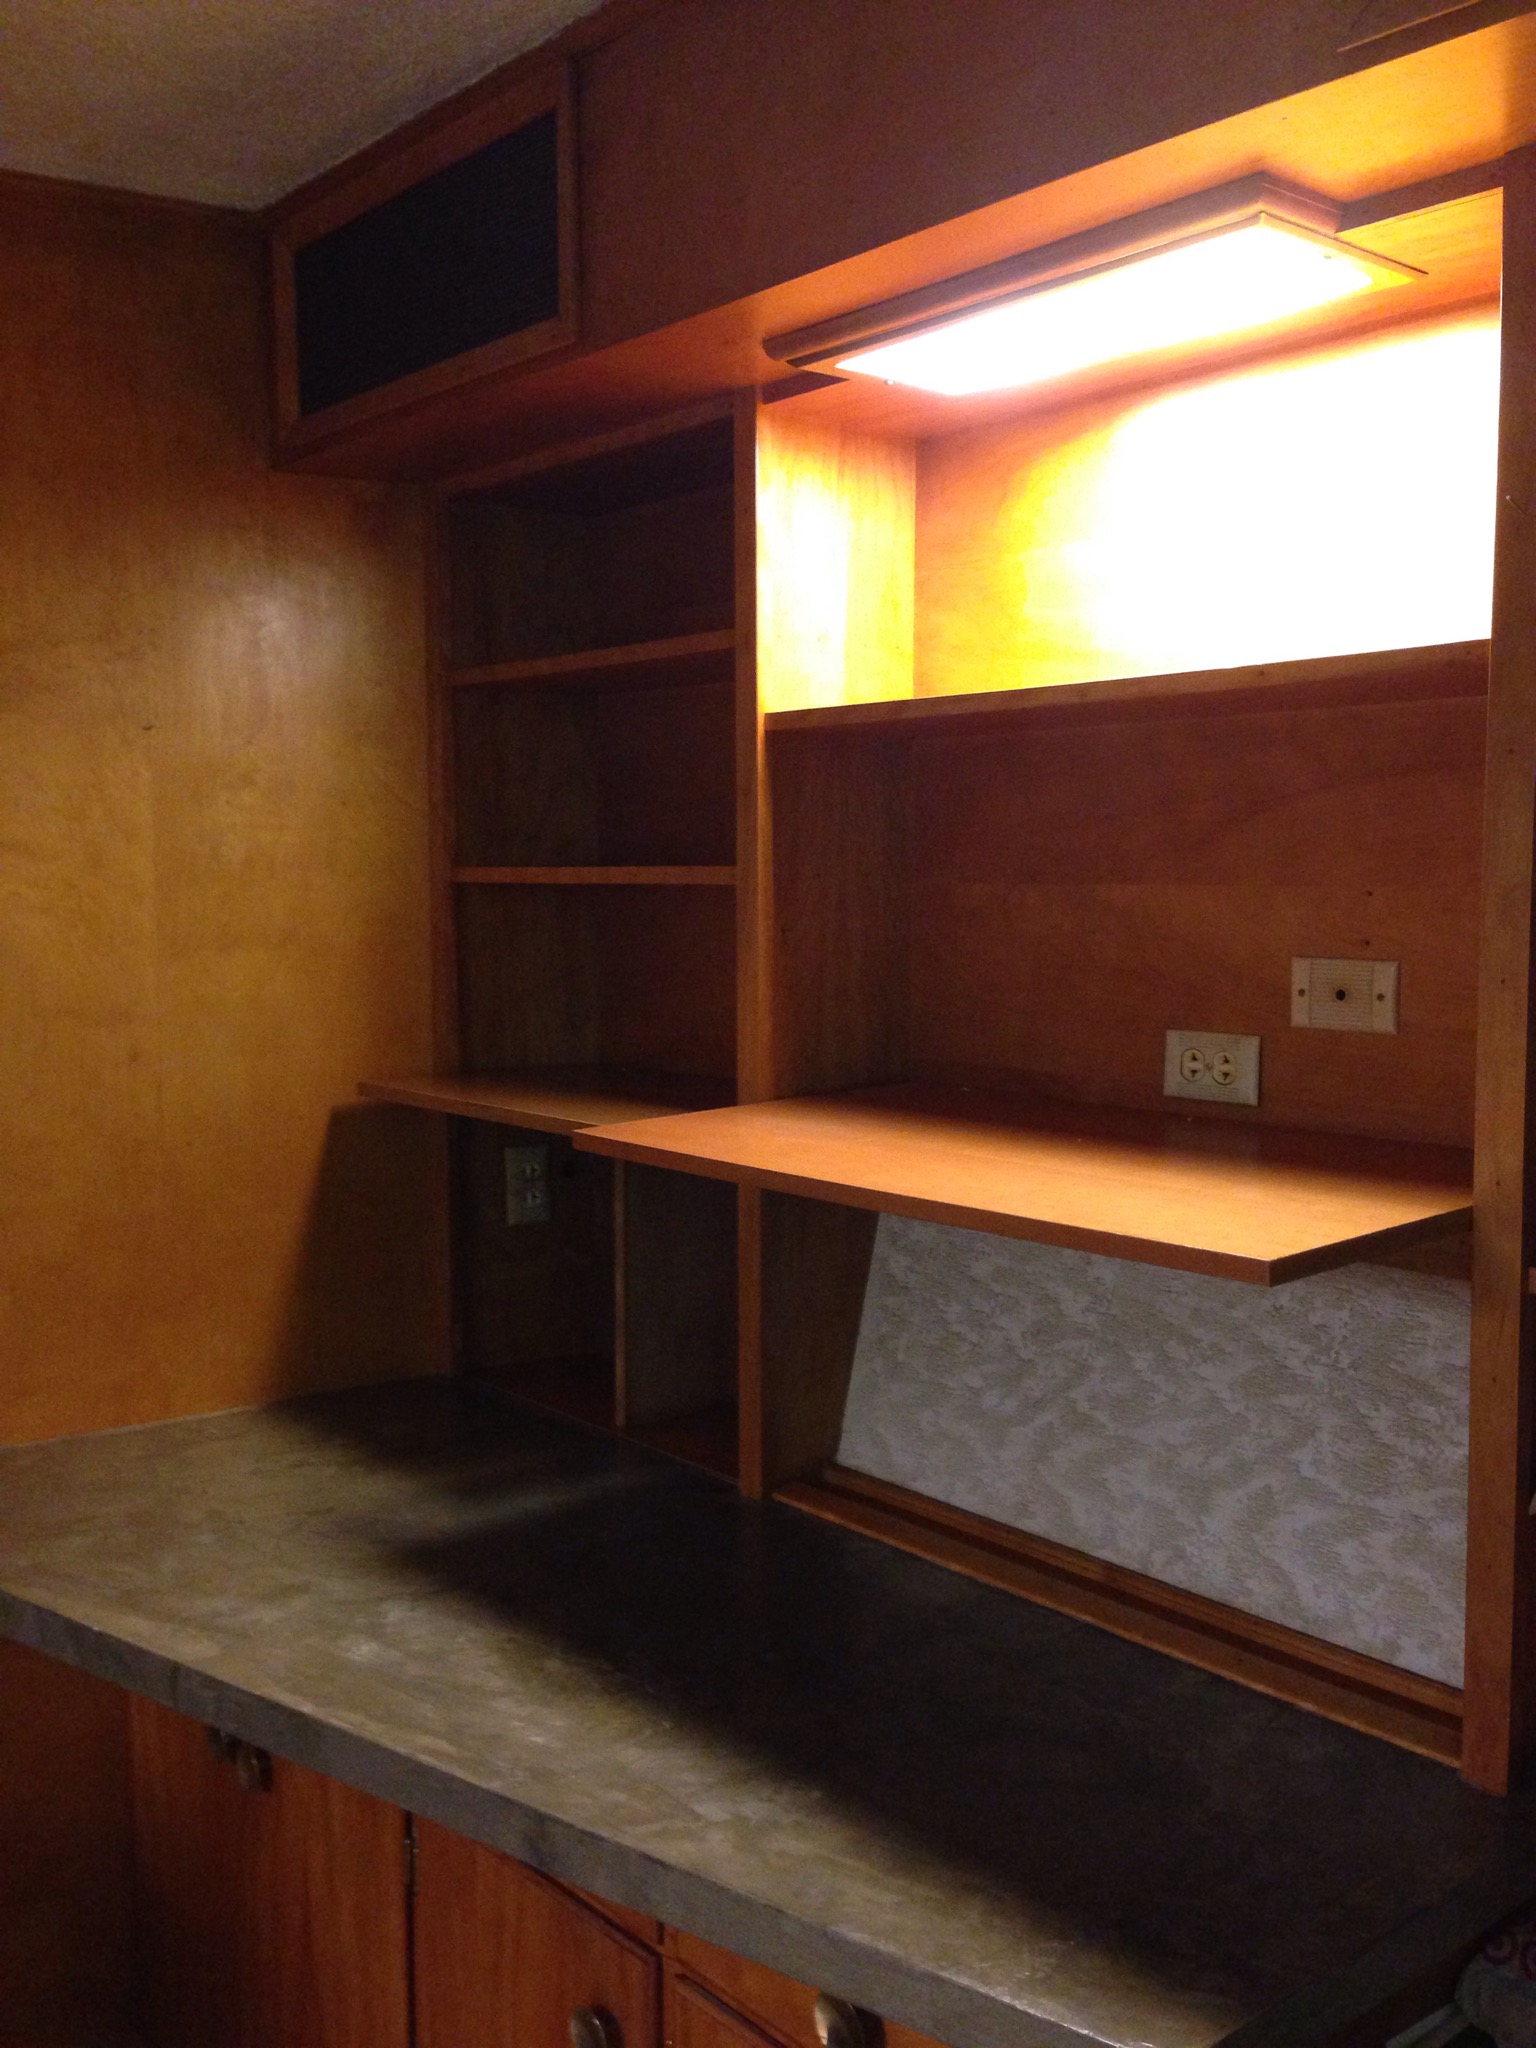
Our drama started when I decided let’s keep and restore our midcentury built in…

IMG_4455.JPG
According to our home’s blueprints these built-ins housed original audio equipment and mini organ in unfortunately what is now the countertop. The previous owners family had replaced the flip top cabinetry with a laminate countertop that poorly matched the original wood stain. Of course this was probably a practical decision because it increased countertop and work space. However we lost out on a valuable vintage detail that made these cabinets so unique. Like these…(via Pinterest)

IMG_4458.PNG

IMG_4457.PNG

IMG_4456.PNG
Therefore our next step was to extend the shelves. That wouldn’t be hard right? Wrong!
I literally schlepped to Home Depot 4 times on one Saturday with drawer in hand, trying to match wood stain. It is nearly impossible to achieve that perfectly aged amber color, familiar with midcentury cabinetry.

Finally I gave up and moped about it for a few months. (Admittedly this project was one of the reasons we were defeated by diy, and had such severe bloggers burn-out)

Luckily I got a second wind in 2015 and this project was back on track again. Except where do I find midcentury shelves? Especially ones with odd dimensions?

I hunted in antique fairs, thrift stores, and Craigslist. Every time coming up empty handed. Until I gave up again, and started looking for blue print cabinets. (Another project for another Sunday) I stumbled onto the perfect shelves at Rulands used office furniture in Sacramento!

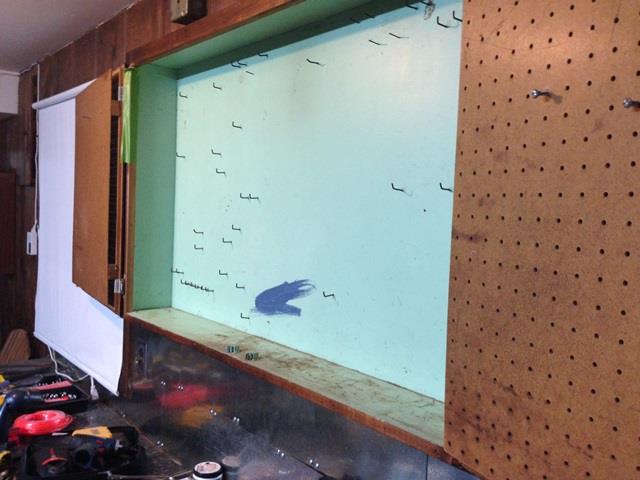
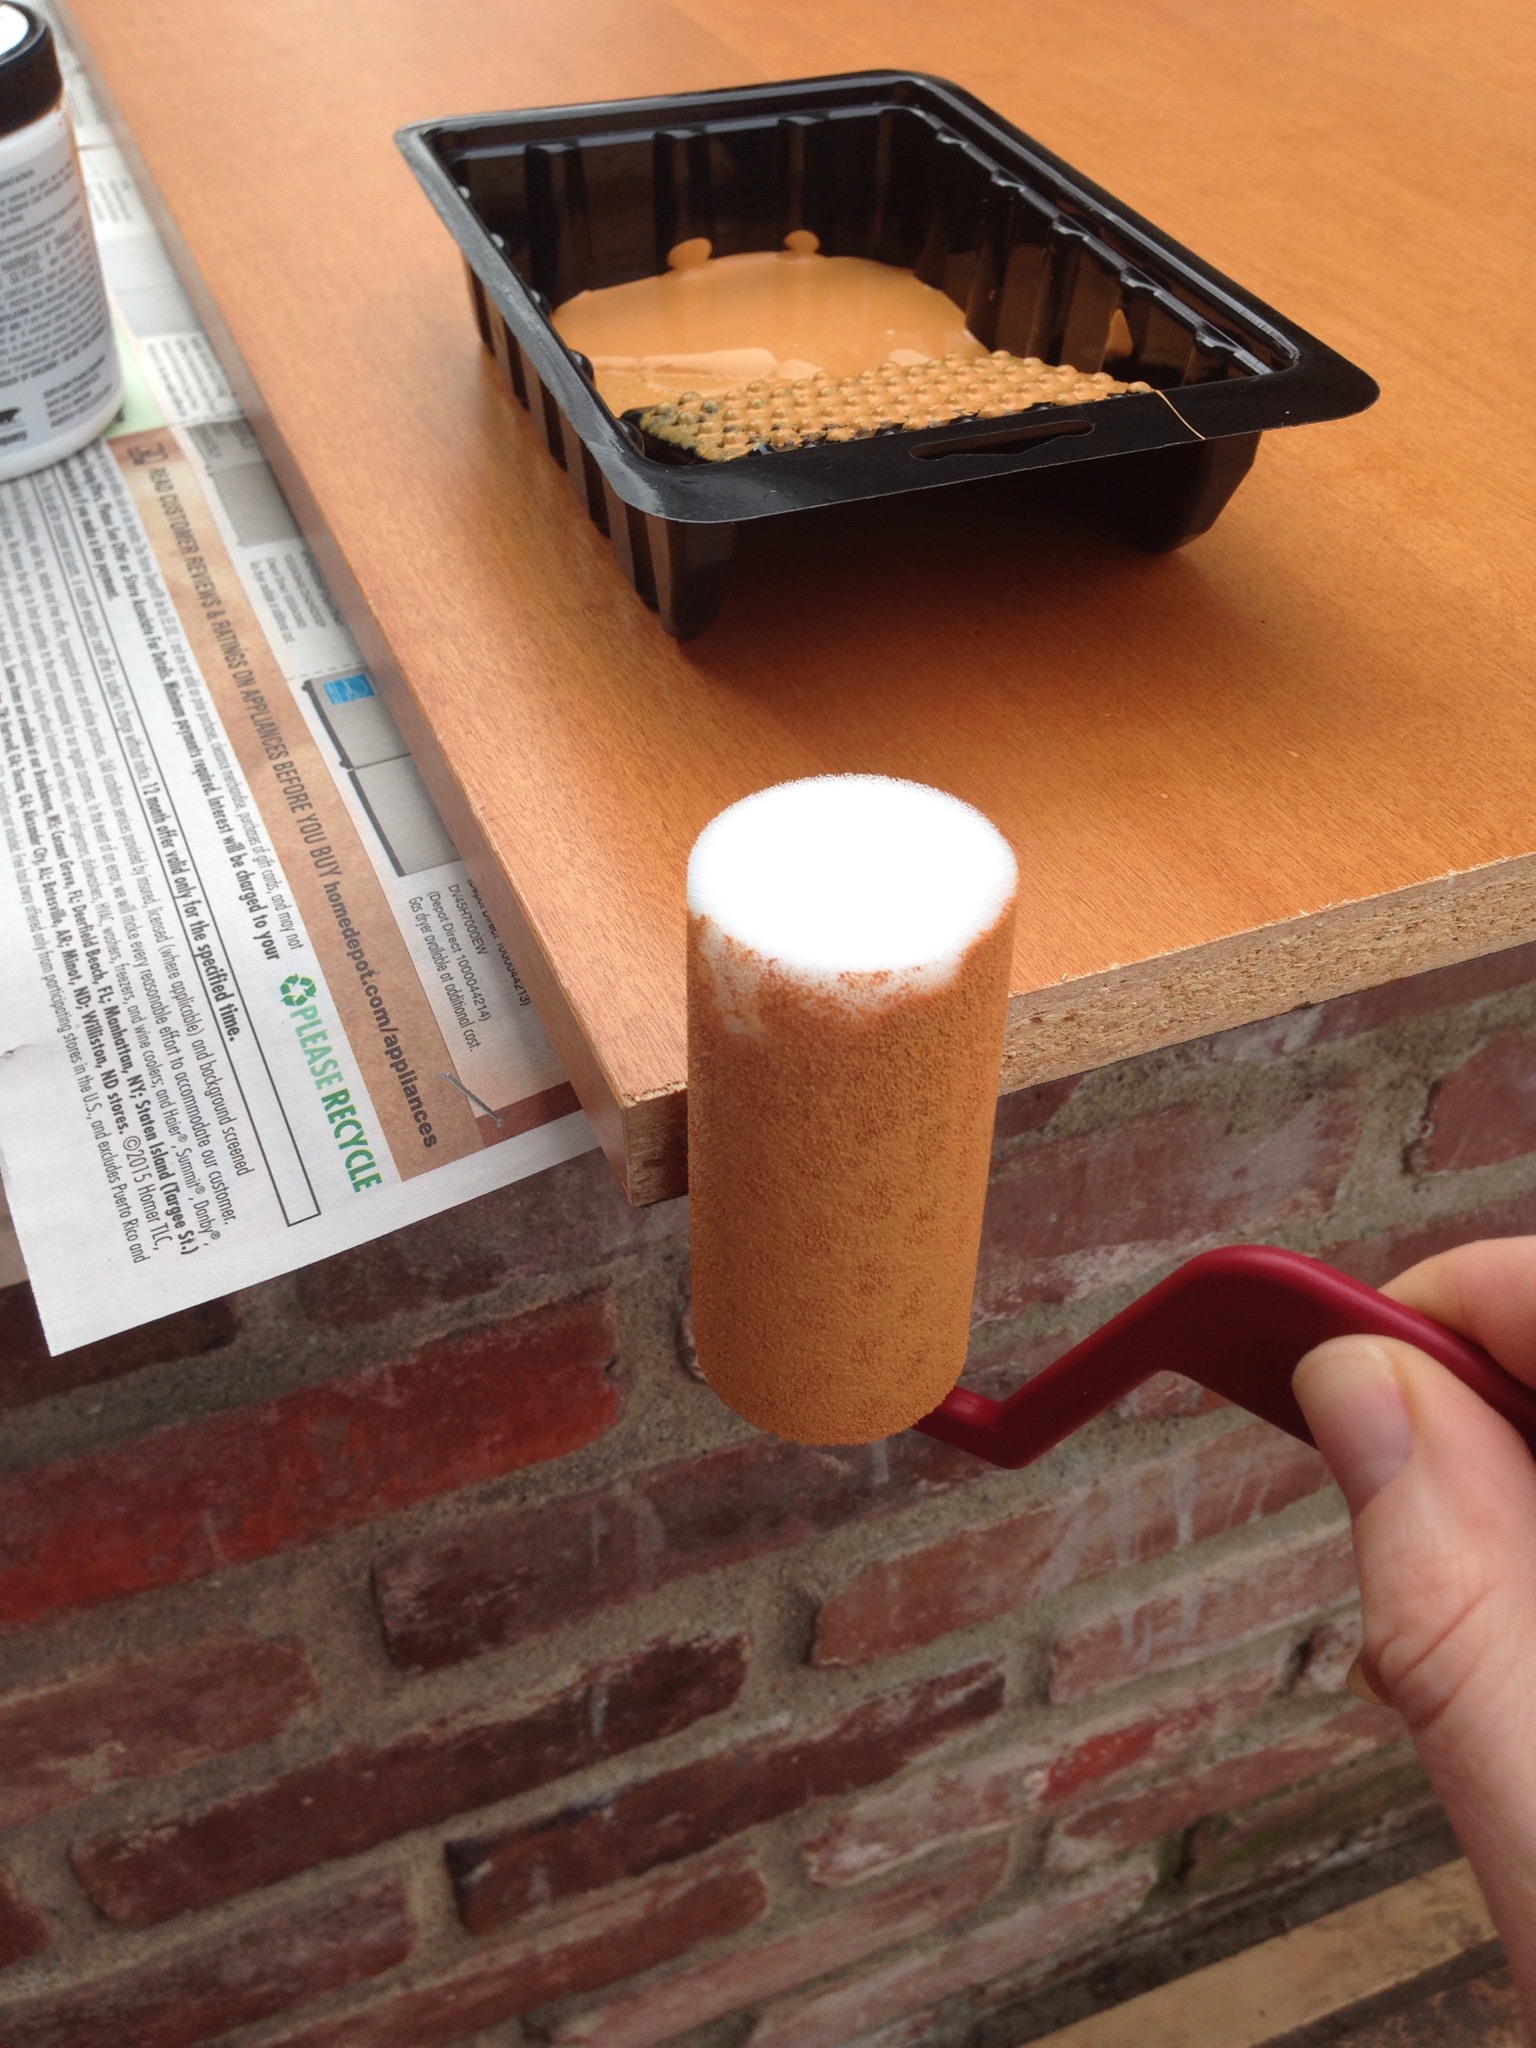
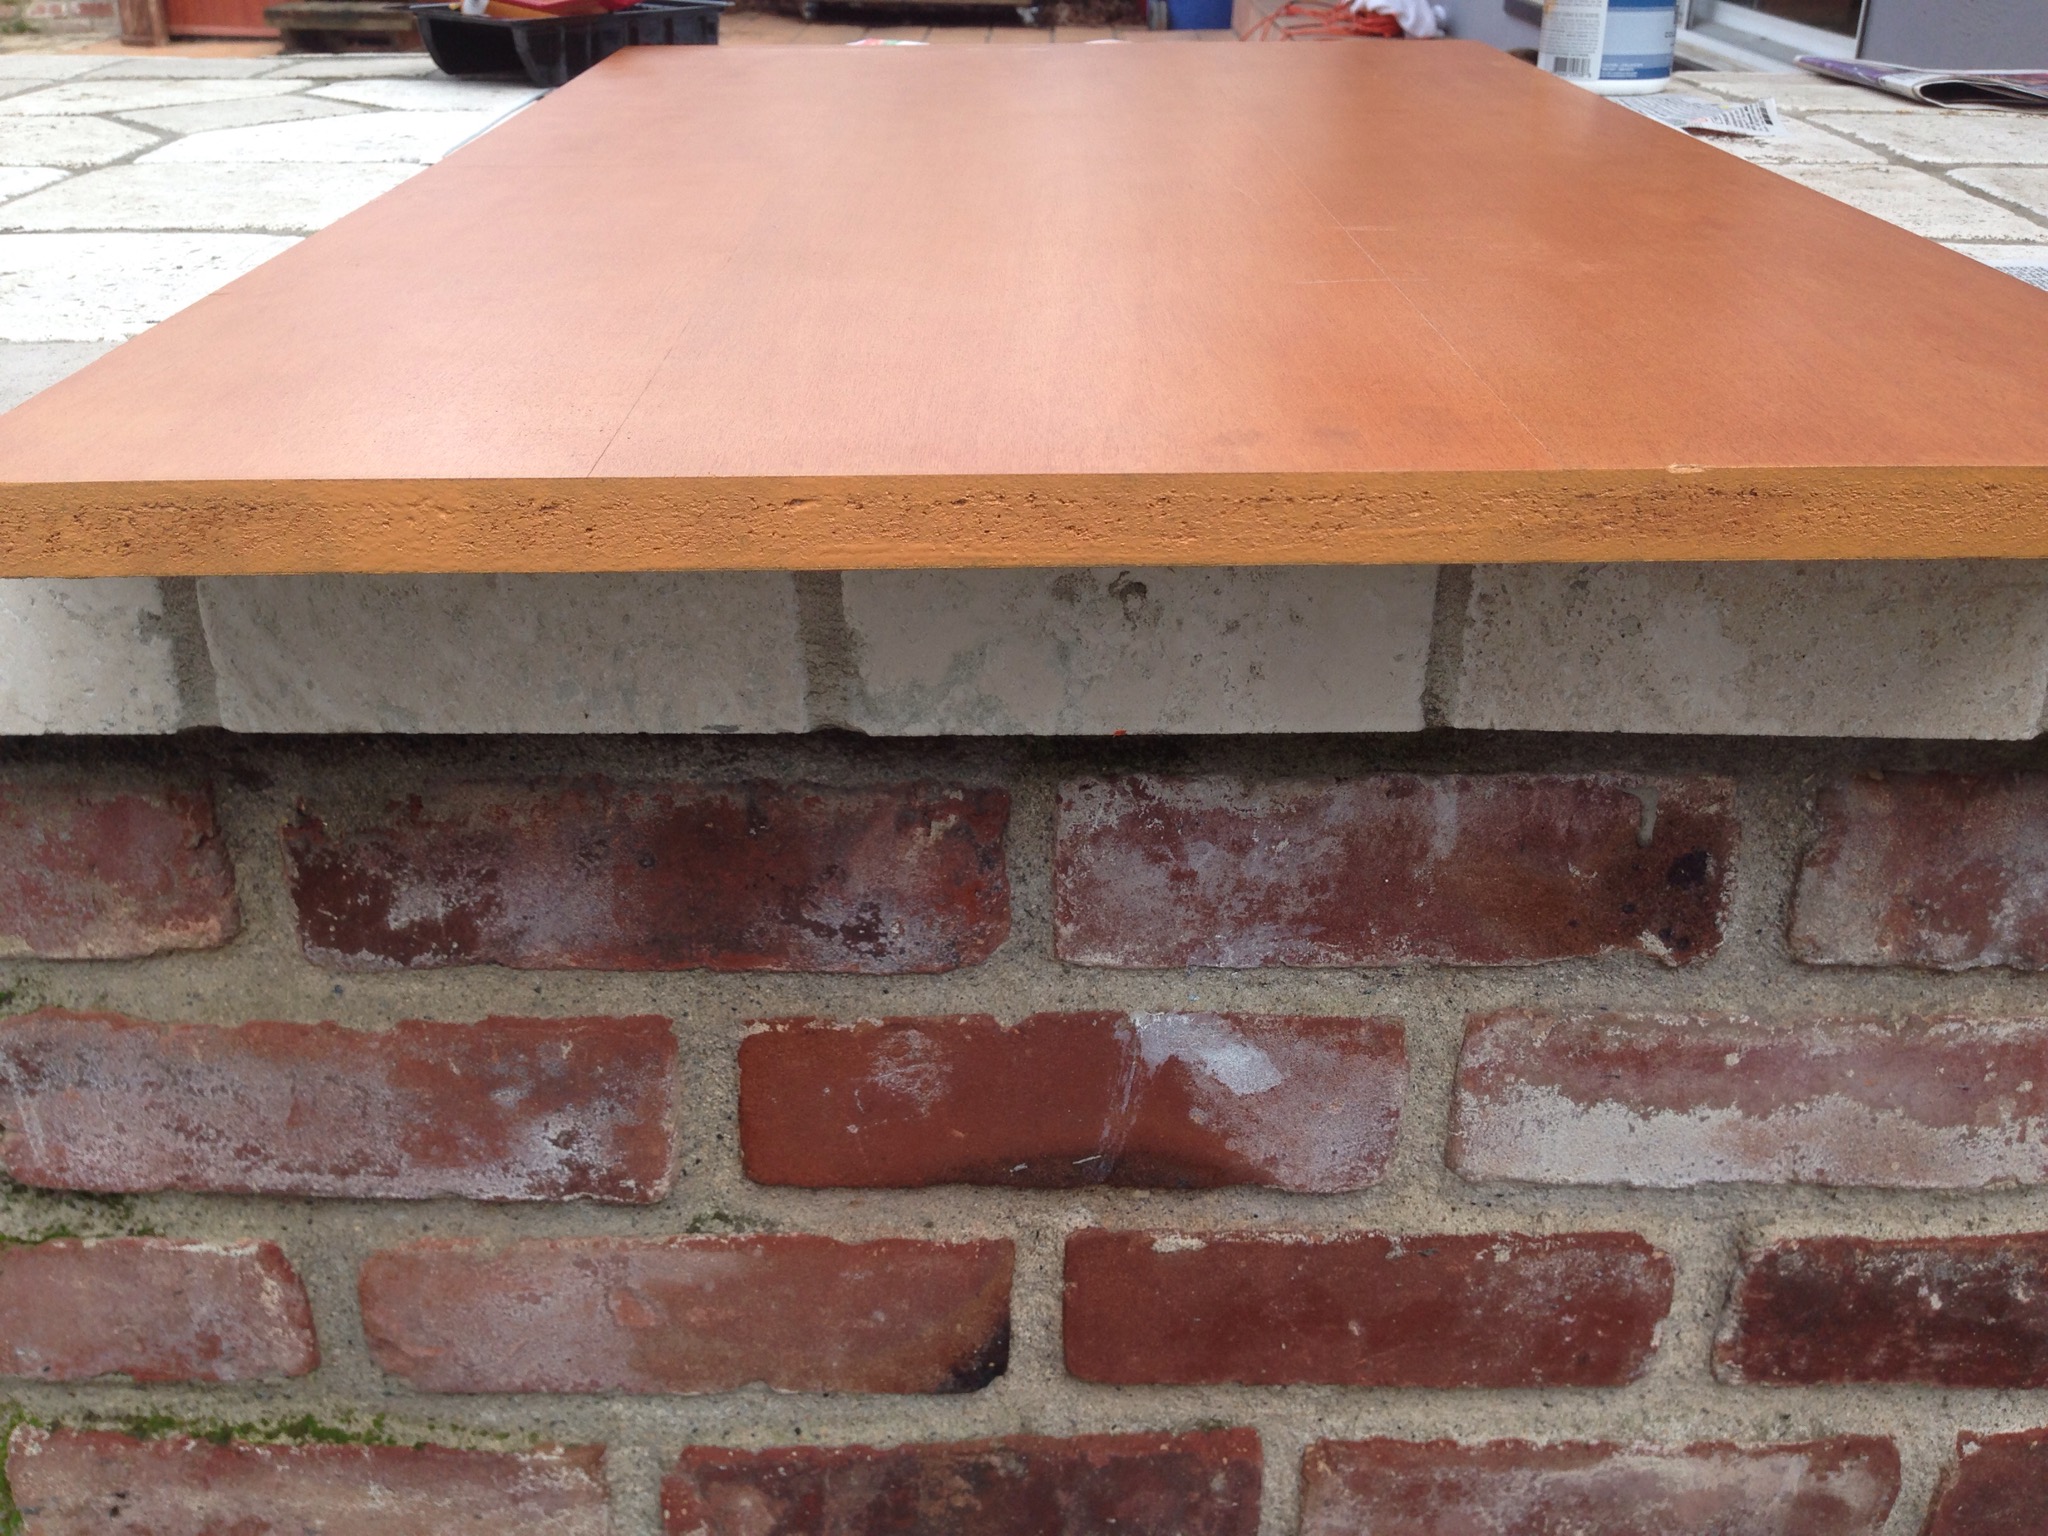
The only downside was that the edges of the shelves were unfinished particle board. Therefore we had Home Depot mix up a sample of color matched paint and with a mini foam roller got to work.

IMG_4272.JPG

IMG_4273.JPG
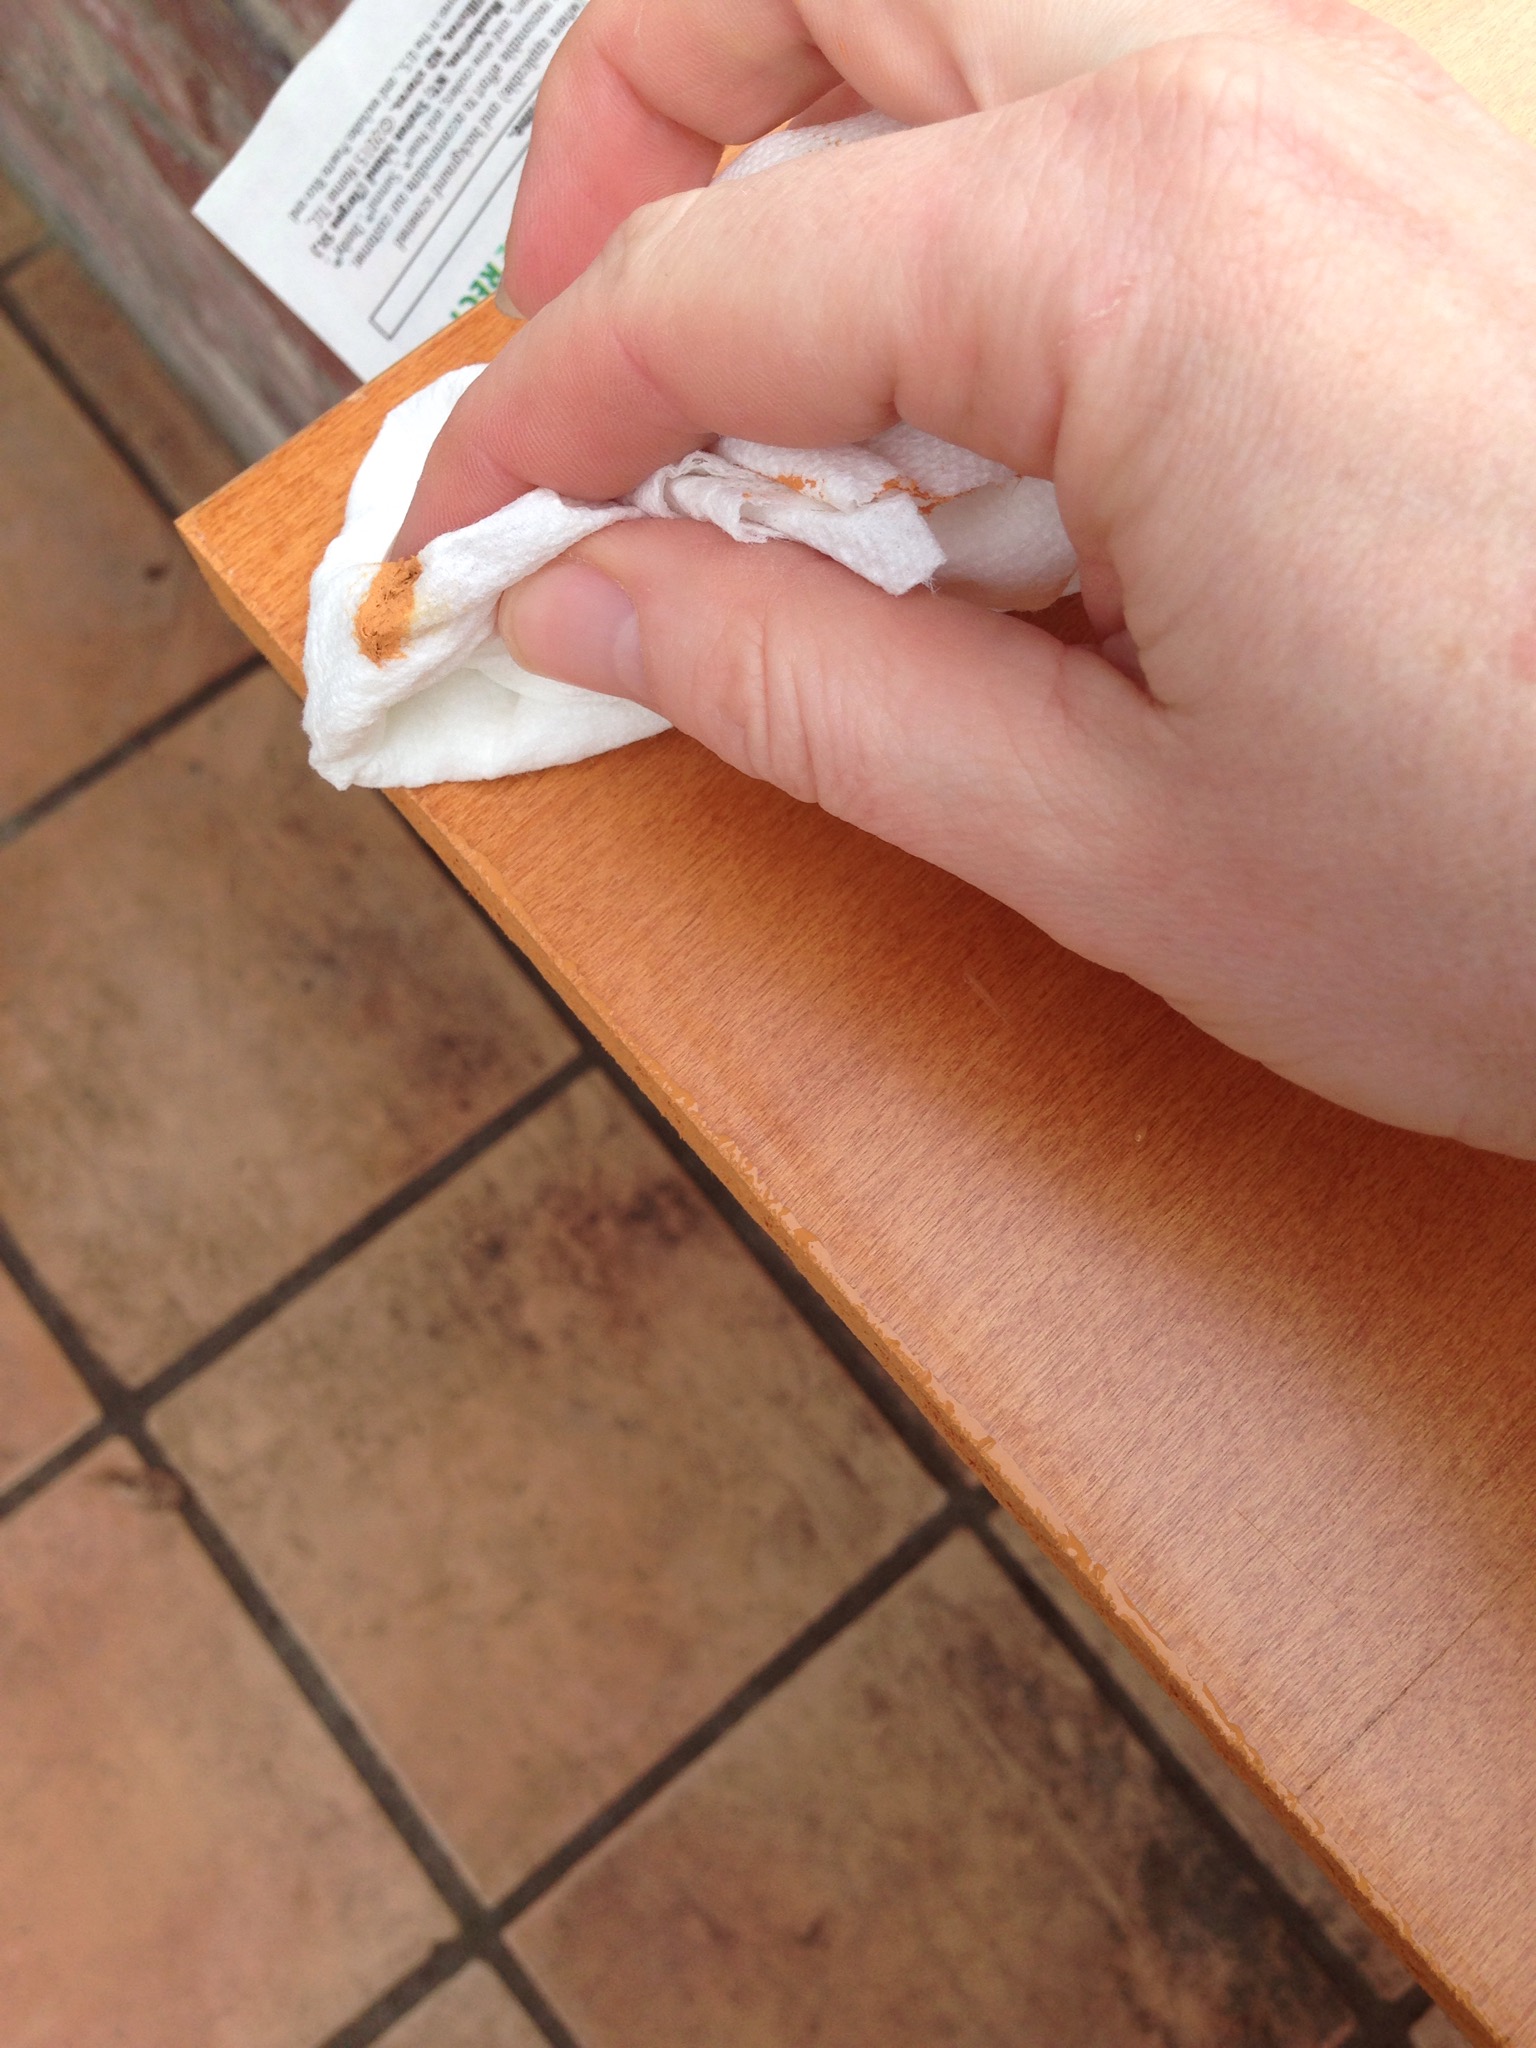
To prevent paint from running over the edges, I took a damp paper towel and wiped away the excess with each application.

IMG_4274.JPG

IMG_4275.JPG
Finally once the boards were dried we countersunk screws into the built in shelves (both from the bottom and top)

IMG_4315.JPG

IMG_4317.JPG

IMG_4316.JPG
Ultimately we did not glue the extension shelves to the builtin because should our tastes change we’d want the flexibility of just removing the screws if we need to. However with 6-8 two inch screws these shelves are not budging!

IMG_4319.JPG

IMG_4321.JPG
On to lighting next week! Happy “Super Bowl” Sunday everyone!

The hubby’s $8 Valentines Day gift…Before & After Tool Storage

organize tool cabinet diy quick easy (29)

Hubby and I have this “no money gift” policy right now…Maybe after a new roof, a water heater blow up, new fences, asbestos abatement…The “no money gift” policy starts to make sense. I don’t know if this happens after marriage or buying a house, but apparently we’re not the only couple who adopt this policy.

However that does not mean we don’t give each other sweet and thoughtful gifts, or lack in romantic gestures. Hub’s birthday, Christmas and Valentines gift request was ALL organized storage and cabinets.(Every one of them in the entire house!) He and I are both “closet” organization nerds (we love the idea of organization, but not always the doing). His official slogan is “no stuff”, but after two homes, even he realized stuff can accumulate. Hence the inspiration for my next project; including before & after shots, and tool organization tips!

Disclaimer and wife confession…Yes items were bought for this project… $8 for random hooks at Target on a gift card

[RECAP] You’ve seen the Before and the Progress Pics of the husband’s previous Man Cave present…

before garage pic4progress-garage-pic-1

(See more on the Man Cave Make-over by clicking on the pics!)

However what you haven’t seen is what we have hidden behind the cabinets…(cue “Jaws” music)

First the ugly before shot…

organize tool cabinet diy (40)

(For a supposed DIY couple, we’re pretty ashamed of this photo)

You’d think we’d show more respect for the tools, or at least have more of them. However this is pretty much it. We’ve made it through two homes with barely middle-of-the-line grade, and/or hand me down tools. The only few “quality” tools came as Christmas gifts. (I.e. our dads staging an intervention)

So with Super Bowl and Valentines day approaching I needed to quickly fix this mess…First paint over the really awful original paint with left over cabinet/workbench paint (custom match Glidden denim blue).

organize tool cabinet diy (43)

organize tool cabinet diy (47)As you can see two coats became necessary… ( A powder puff teal and blue tool cabinet would not meet man cave criteria)

Next I actually left the original hooks, they did serve a good purpose…The tools just needed to be reconfigured…

organize tool cabinet diy (48)

TIP #1 – Take advantage of Magnets! We already had an Ikea magnetic strip, normally used for knives. This became a great idea for storing our eclectic mix of screw drivers and  tool randomness.

organize tool cabinet diy (52)

TIP #2- Take advantage of storage cases the tools come in. We just unrolled, hooked and even nailed the current storage cases to the pegboard doors.

organize tool cabinet diy (26)organize tool cabinet diy (27)

organize tool cabinet diy (32)

Lastly we still had random odds and ends of power tools that had found their way into the tool cabinet from the cardboard box of power tools (No I did not take a picture of the card board box of tools… There are just some “before” pictures I am beyond ashamed of)…So using a left over metal shelf from our dog proof garden box project, I installed it in another cabinet. Then started the process of reorganizing the power tools. (BONUS tool cabinet!)

organize tool cabinet diy power tool storage (25)

TIP #3- Random hooks sold as hanging bike or yard tool hooks are also fabulous for storing power tools. This entire pack at Target cost about $8 and look at all the great ways to use them. I even found a dowel and with the hooks it became instant paint/duct tape dispenser.

TIP #4- Take a picture of the “after” organization, then place in the cabinet. This will remind husband, you and everyone else how it is supposed to look. (Taking the “thinking” out of reorganizing)

20140201-104949.jpg

20140201-104959.jpg

We hope these tips help you on your goals for an organized garage and tools. Happy Sunday everyone!