We stumbled unintentionally onto another “blog series”…Its called finishing projects…
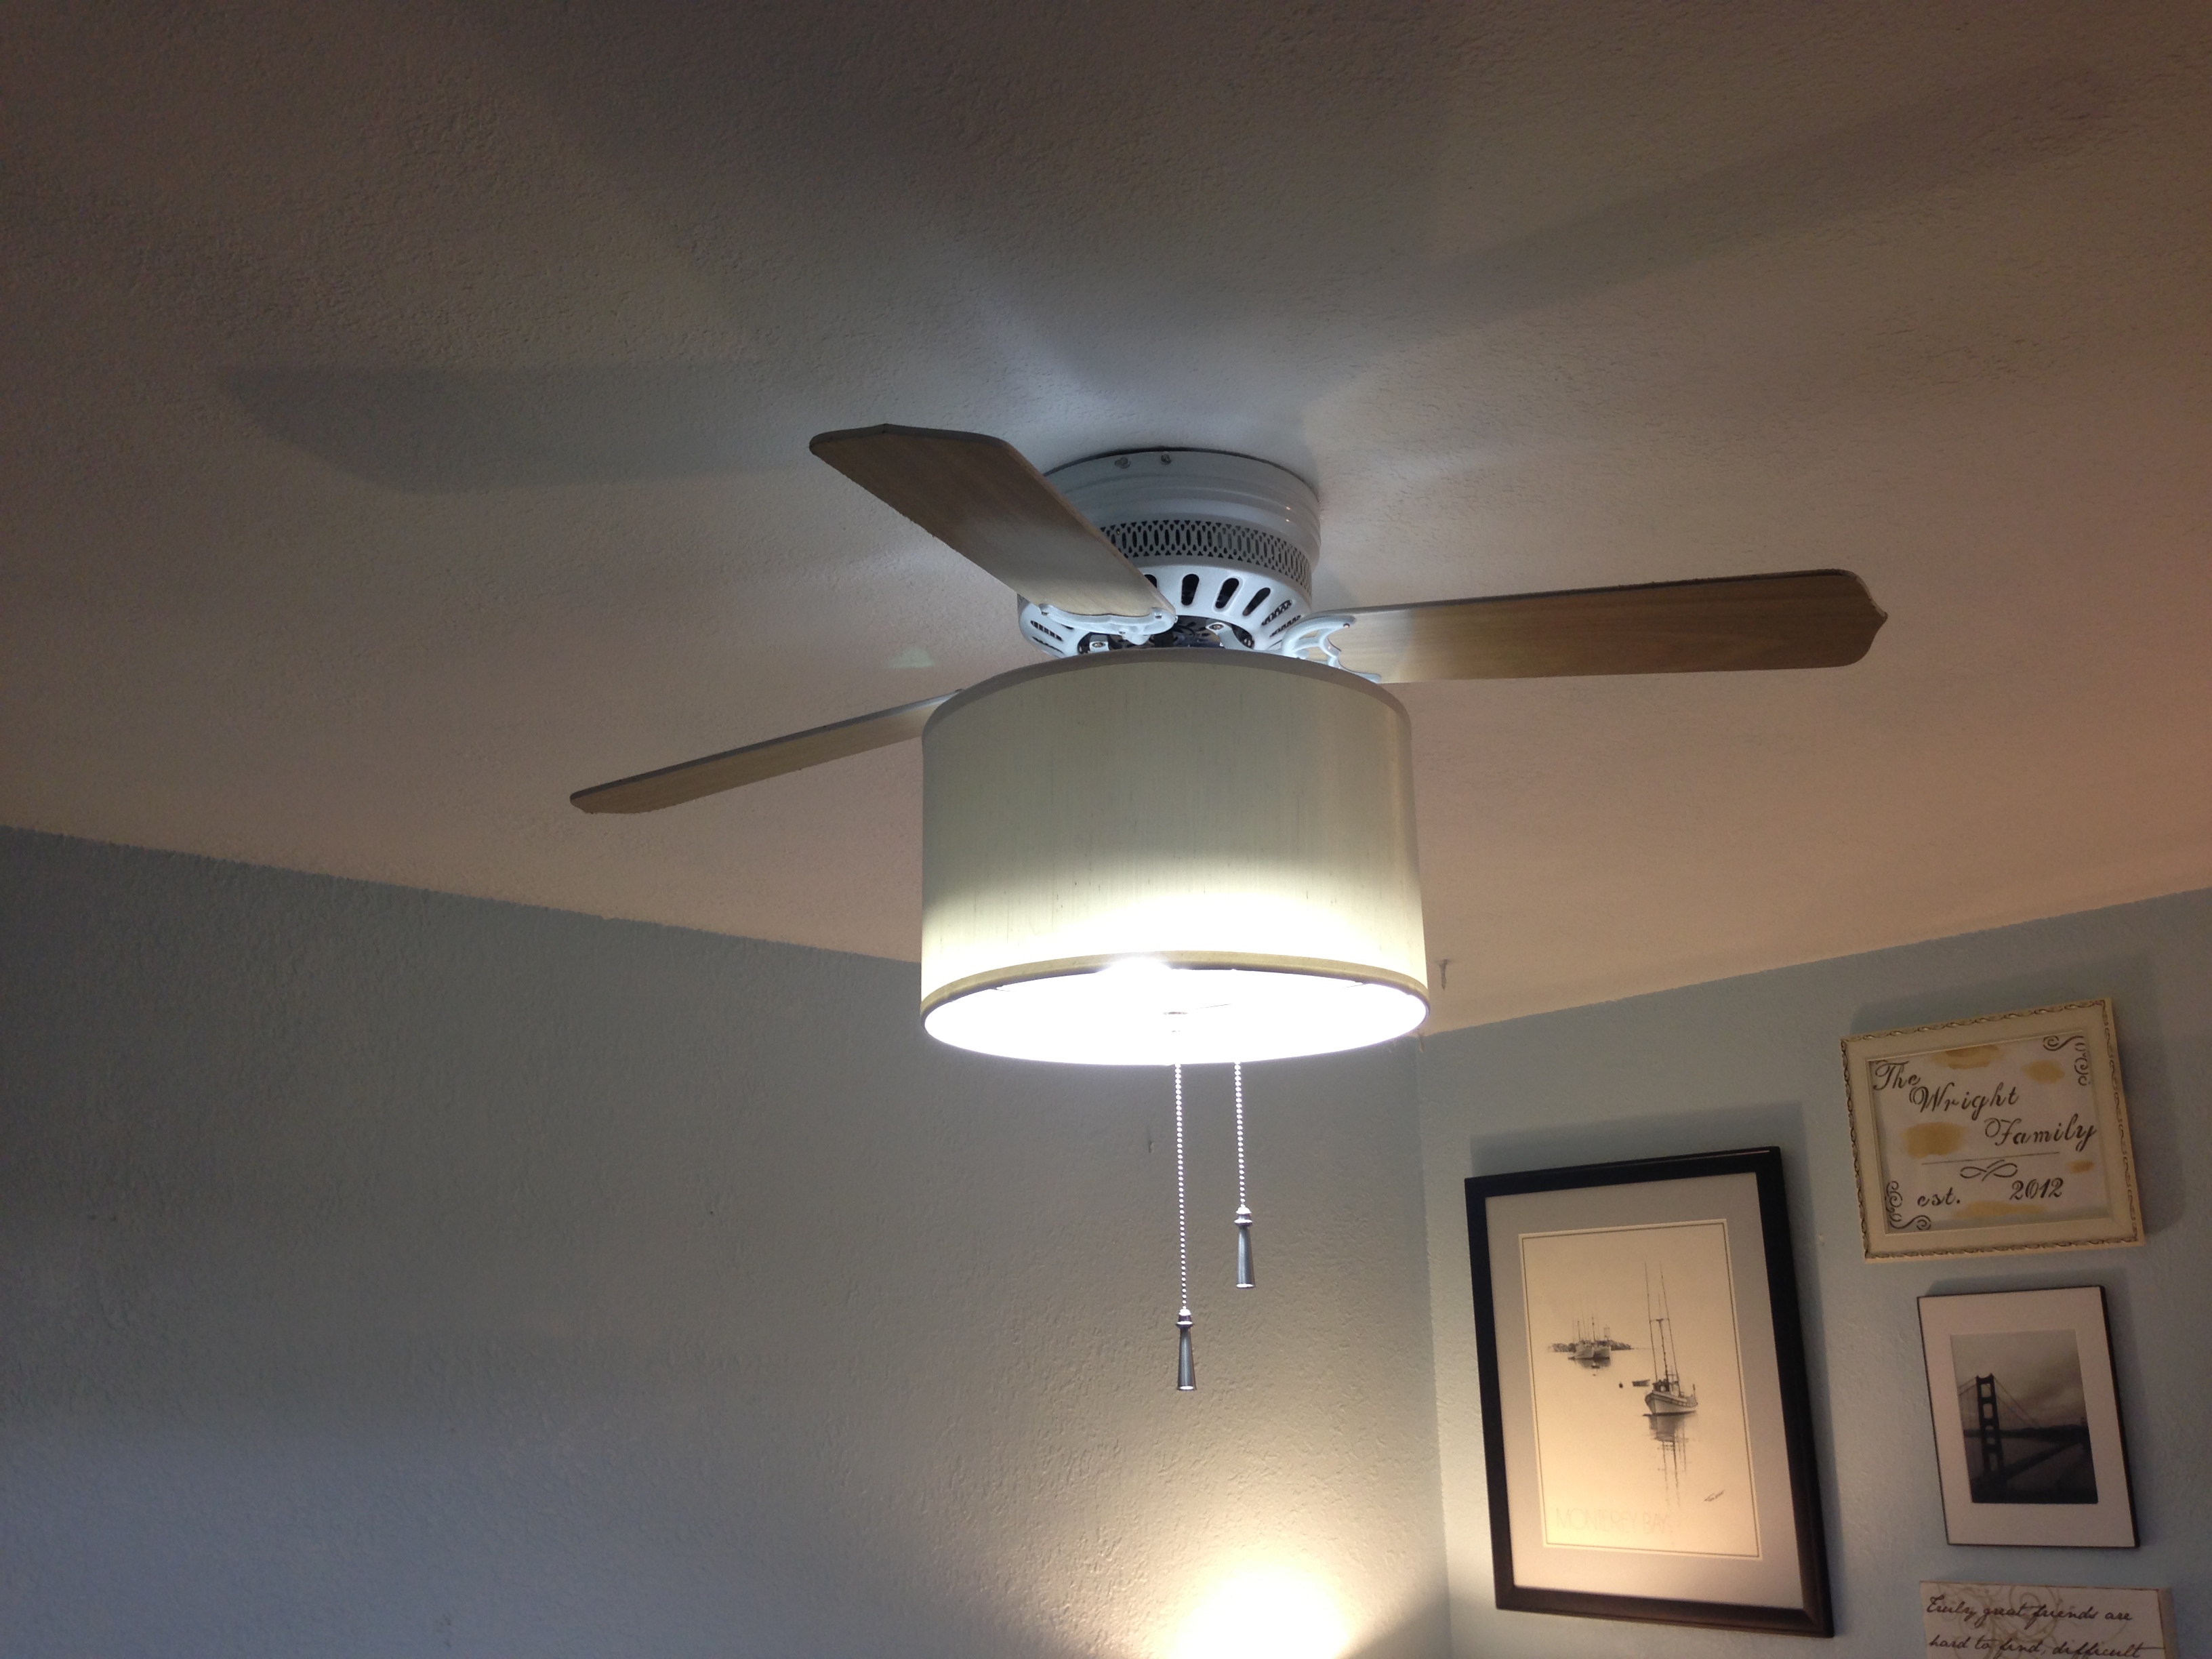
(This second lamp sat in a box for two years and we finally installed it this weekend)
Every home dweller can relate to the unending list of projects or house maintenance. We often ignore certain issues and take the road of “if it ain’t broke, don’t fix it”. Only when something is glaringly ugly and/or integral breaks do we call the handyman or pull out the hammer.
I am soooo guilty of project procrastination. Literally I kept a Big Lots arbor for 6 years and only until this week put it together…Yeah it’s that bad…

So why the sudden change and working on projects that have sat around? (some apparently for years) Well we have a deadline of sorts. In only a month we need to decorate a few rooms, do some major spring cleaning, and finish the unfinished…And there is no better motivation to knock out pesky house projects than giving yourself a deadline right? (Just as long as you’re not giving yourself an ulcer too😉)
I wish we had an amazing project or fabulous “after” reveal but to be honest, this week has been spent schlepping boxes of stuff to goodwill. The guest room/office is in complete chaos as we’re trying to reconfigure it for more usable space. Also we can finally walk through the guest house without tripping on camping gear or college textbooks (oh yeah we said goodbye to three boxes of our undergrad books! Happy Day!😊)
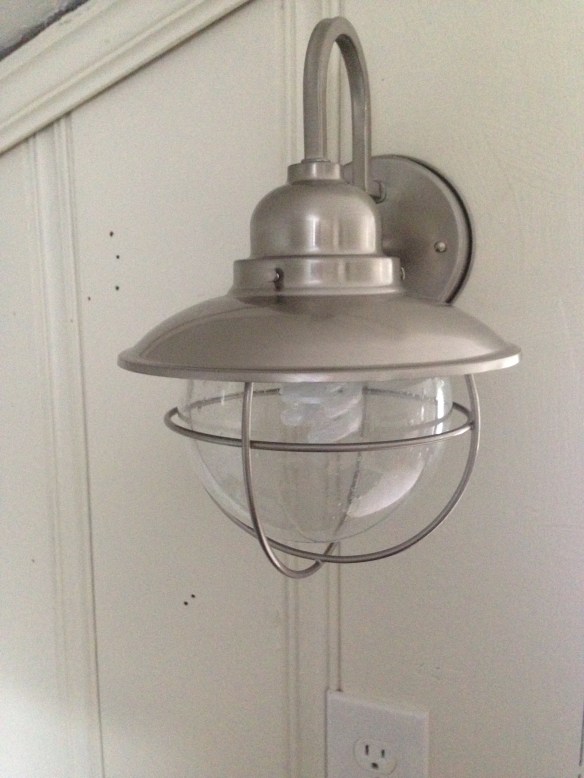
Unfortunately our only “after” reveal was replacing this rusted out 70s style outdoor light with a brand new “beachy” style one from homed depot.


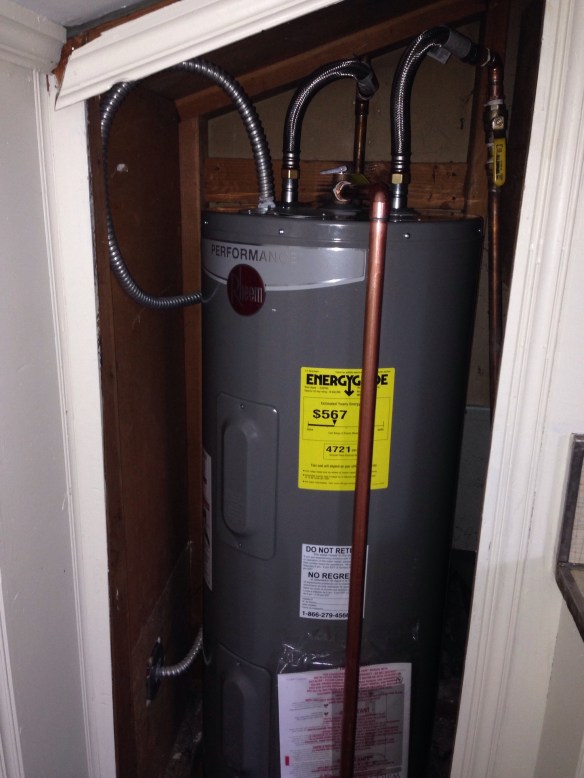
As well we’ve finally replaced our second water heater (in the guest house) Another boring maintenance project but necessary. In two years since we’ve bought our home we’ve replaced two water heaters. I’m hoping now that I will not have to budget for new ones within the next 10 years. (Grrr…money that could’ve been spent on new flooring)
Yet having running hot water for guests is probably a good thing. We’re also setting up for (hopefully) another concrete countertop project. This time we’re tackling a mini bar, and bathroom. I’m crossing fingers that we’ll be done by next Sunday. Especially since countdown is now 30 days away! Yikes gotta get back to work!
Unlike us, we hope you have an amazing weekend full of fun times. Don’t be like us kids, just say no to project procrastination. Or you end up digging holes and shoveling mulch on your Sunday. #TakeBackYourWeekends people! Happy Sunday everyone!