Ceiling Fan Re-deux

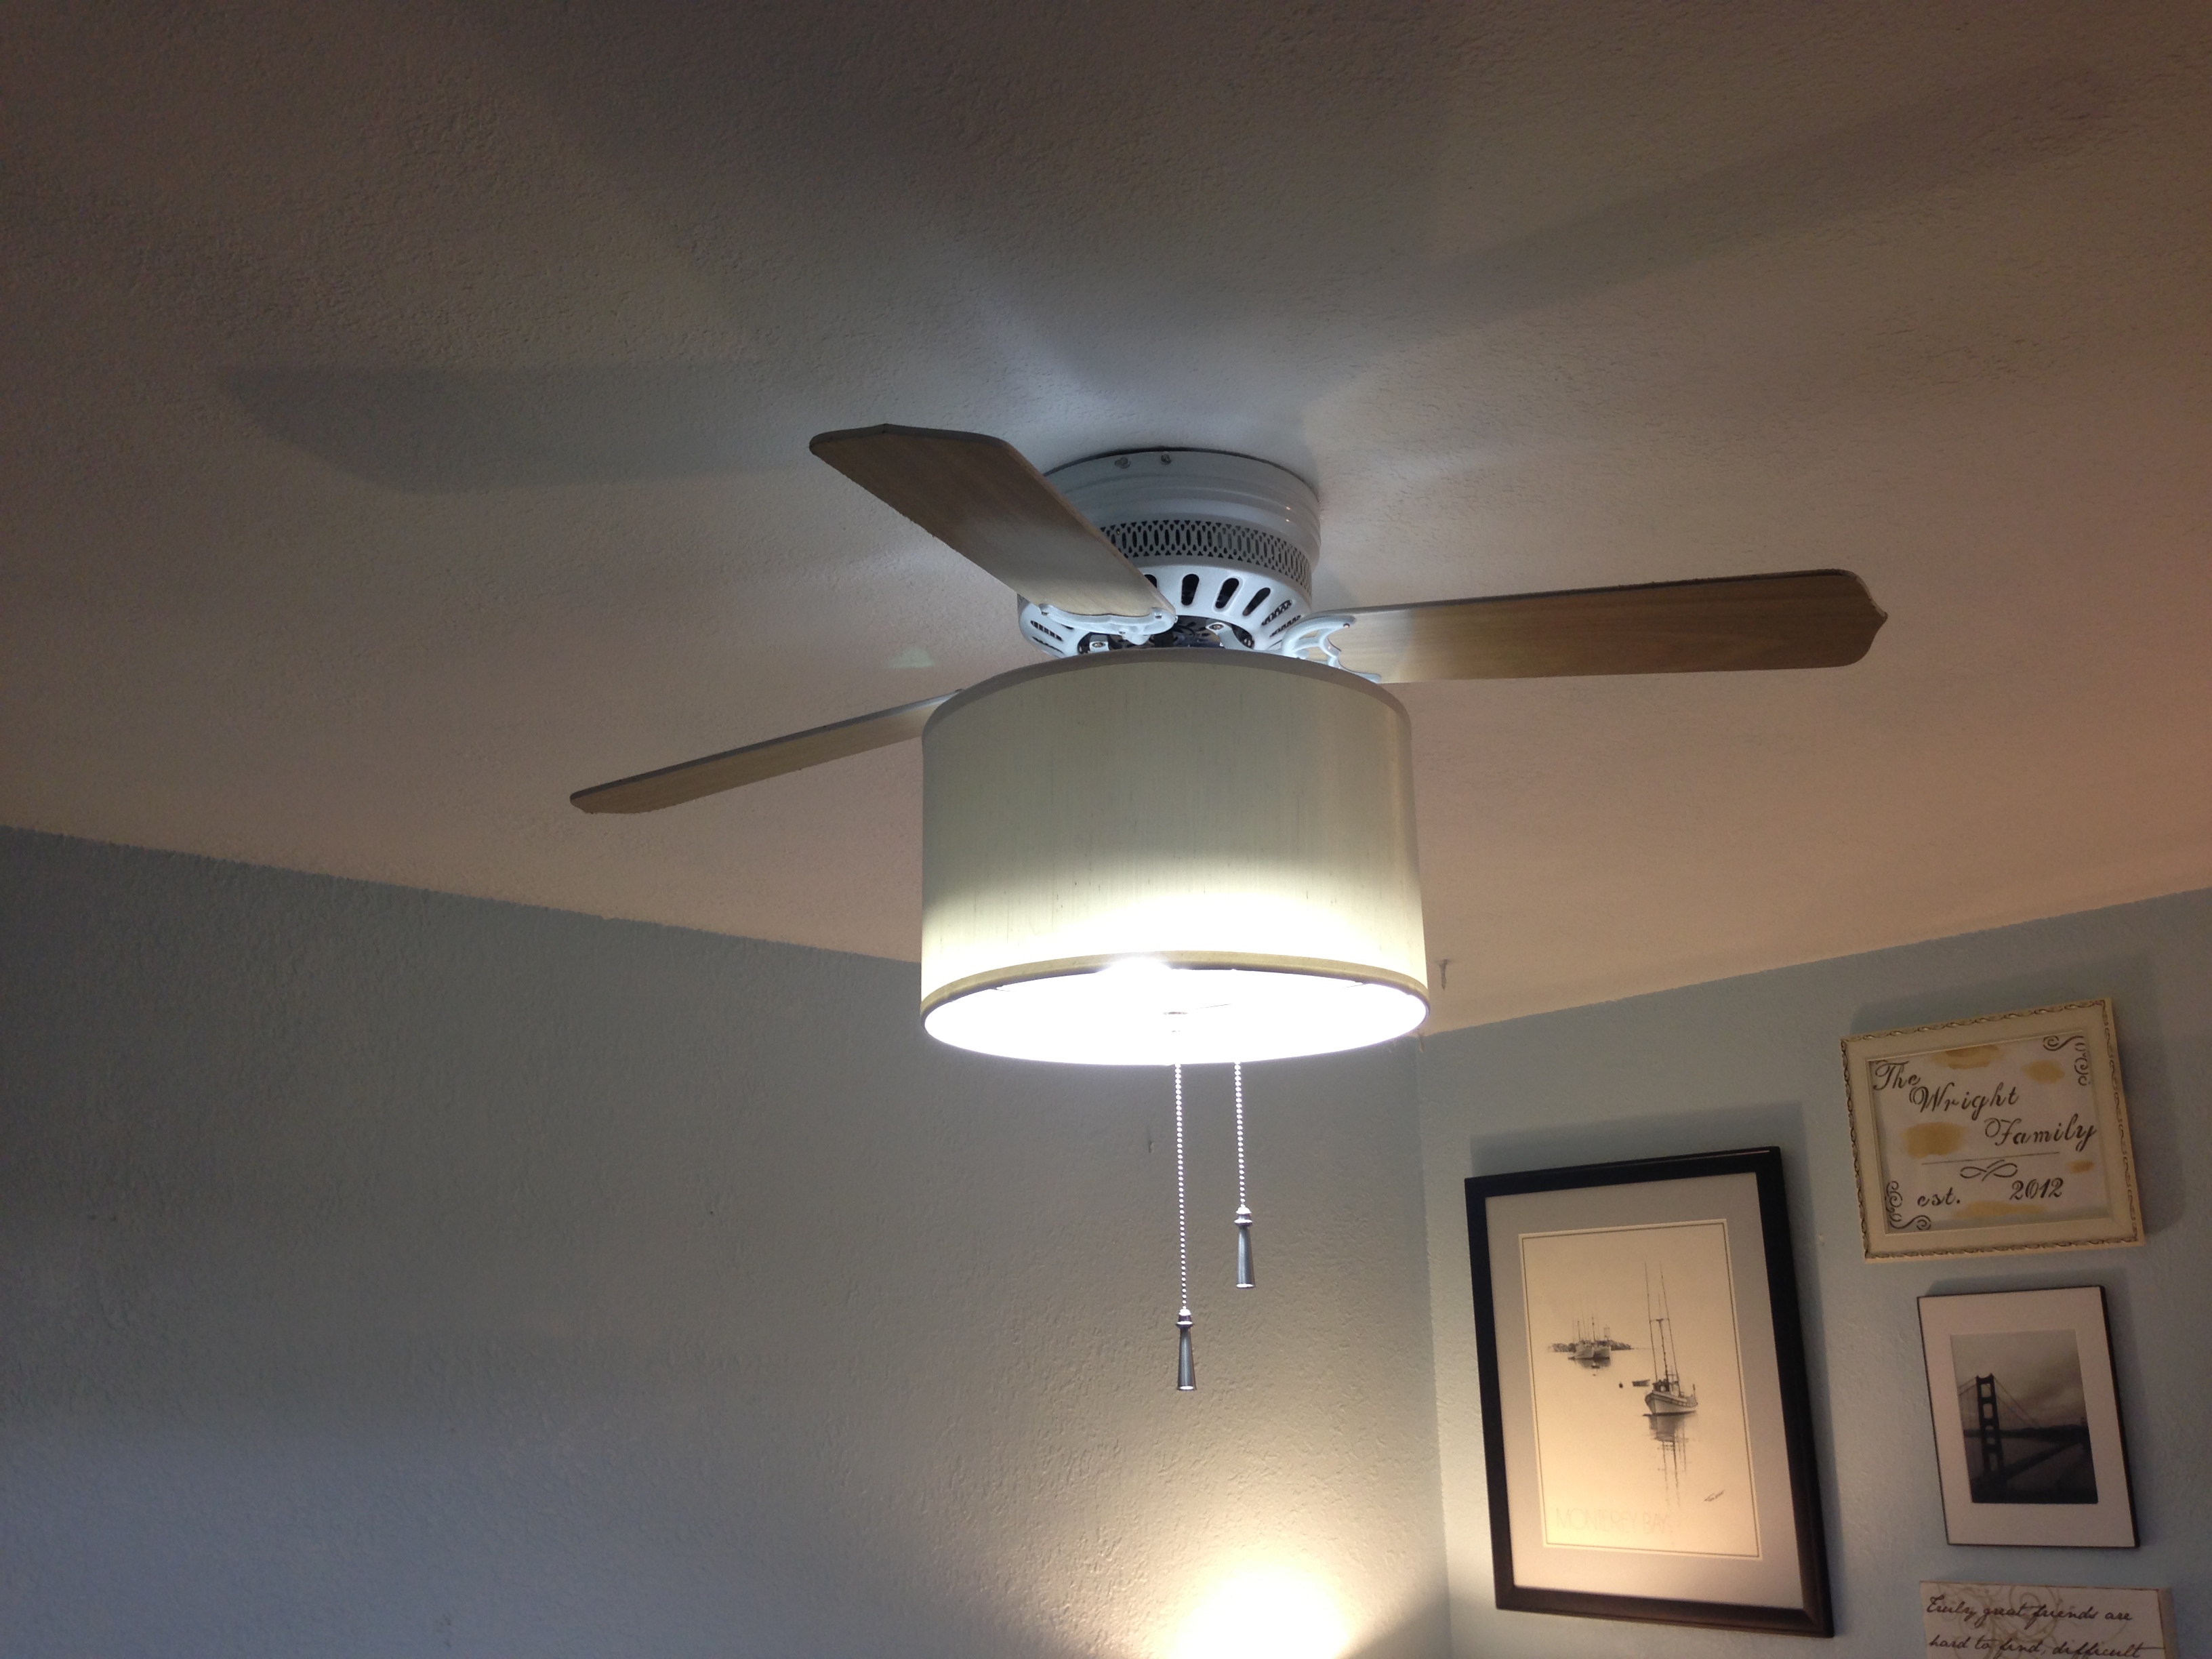
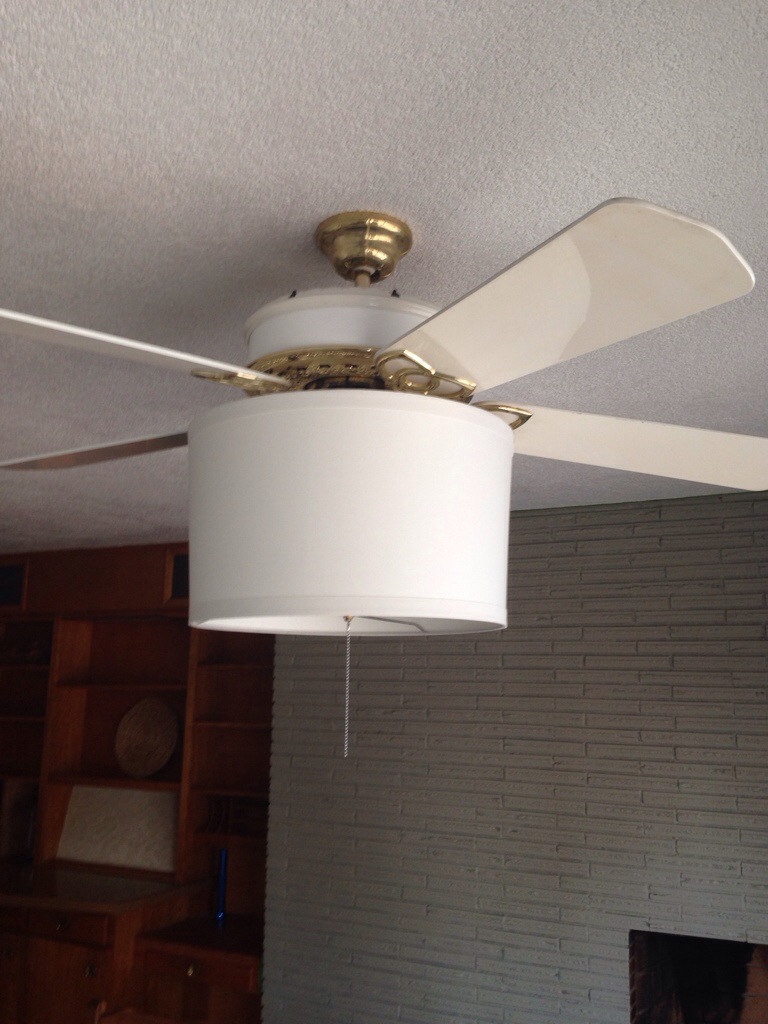
Here’s to the easiest DIY improvement year to date! Any homeowner or renter has encountered ugly ceiling fans at some point. Many replace them, others paint them, and then a few of us disguise them. Hands down disguising is the easiest and cheapest technique. Here’s a shot of the infamous 1980s, “mosquito fan” in the kitchen/dining room:

20140308-063432.jpg
It also doesn’t help with the ugliness, that this is the only room in the house with remnants of popcorn ceiling (albeit shaved off and painted). We also have a love-hate relationship with the original midcentury, tweed half- drapes (behind the fan) but that’s another story for another time.

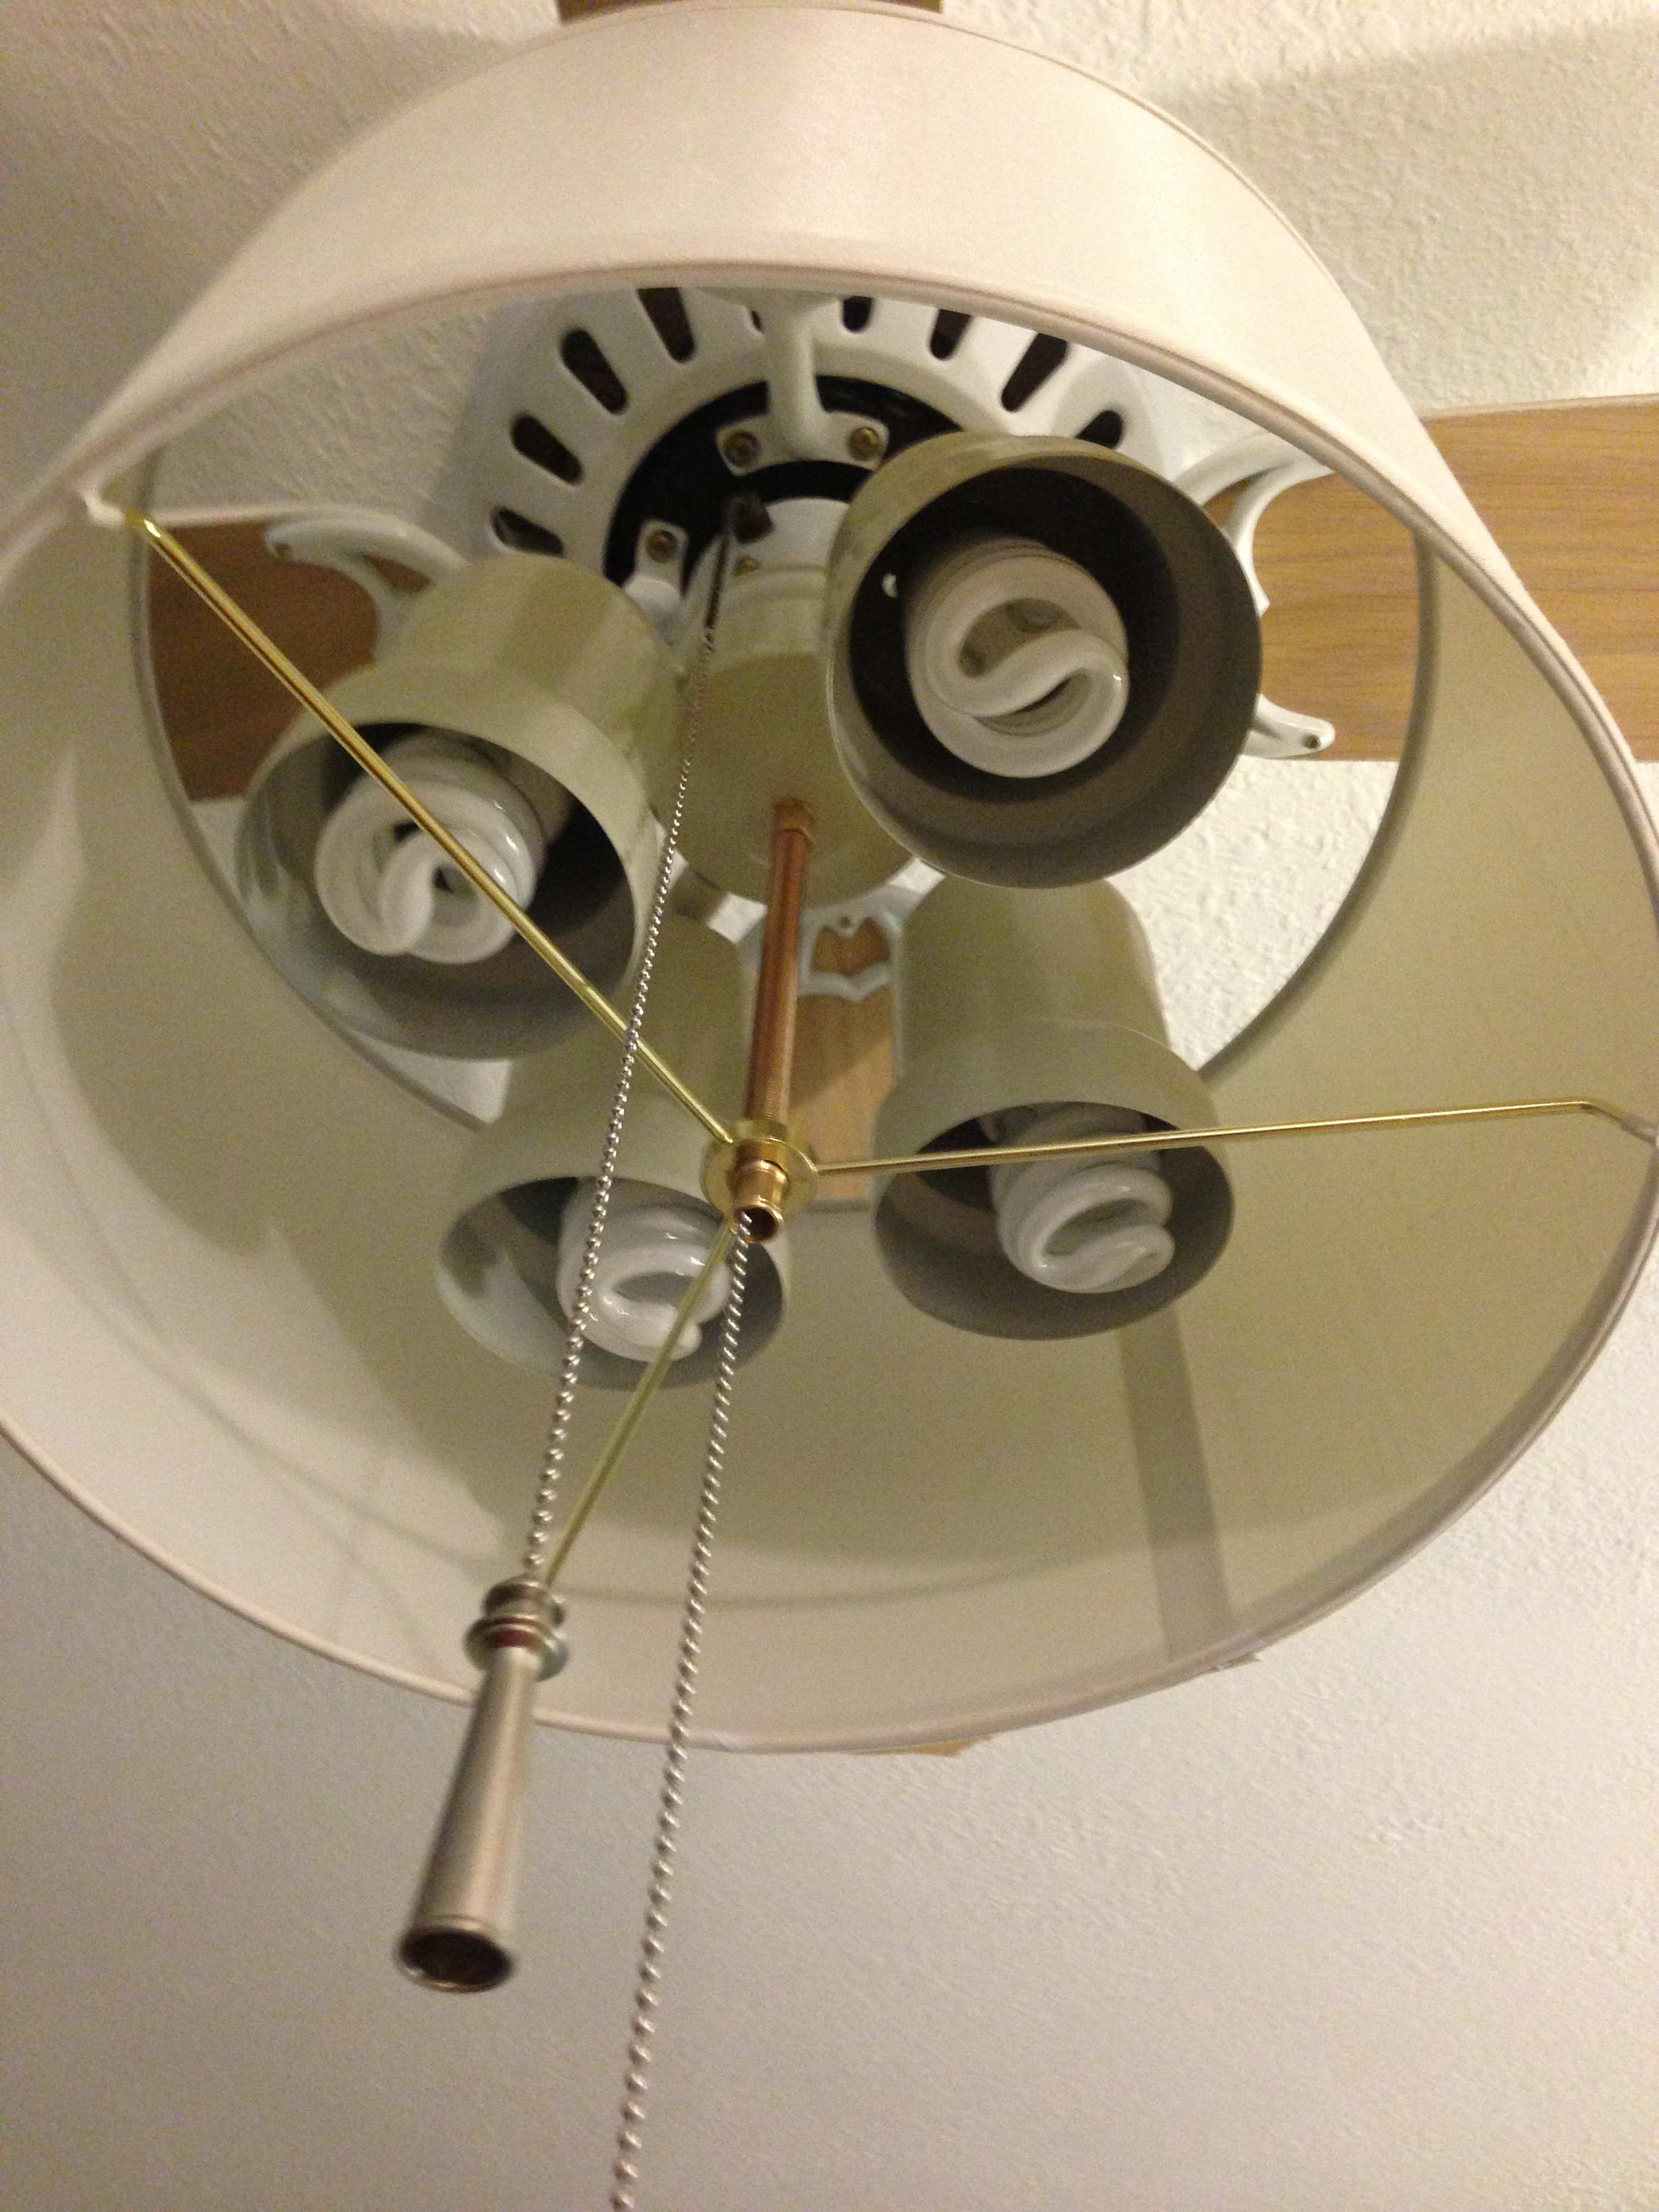
However the fan is a high quality, Casablanca. Quiet, multiple speeds and fabulous light. Not bad for an 80’s throwback? Yet the fan needed an update. During our two weekends of marathon painting I finally grew tired of looking at it. Grabbing a drum shade from another light in the house and extra extenders I gave it the ol’ college try.

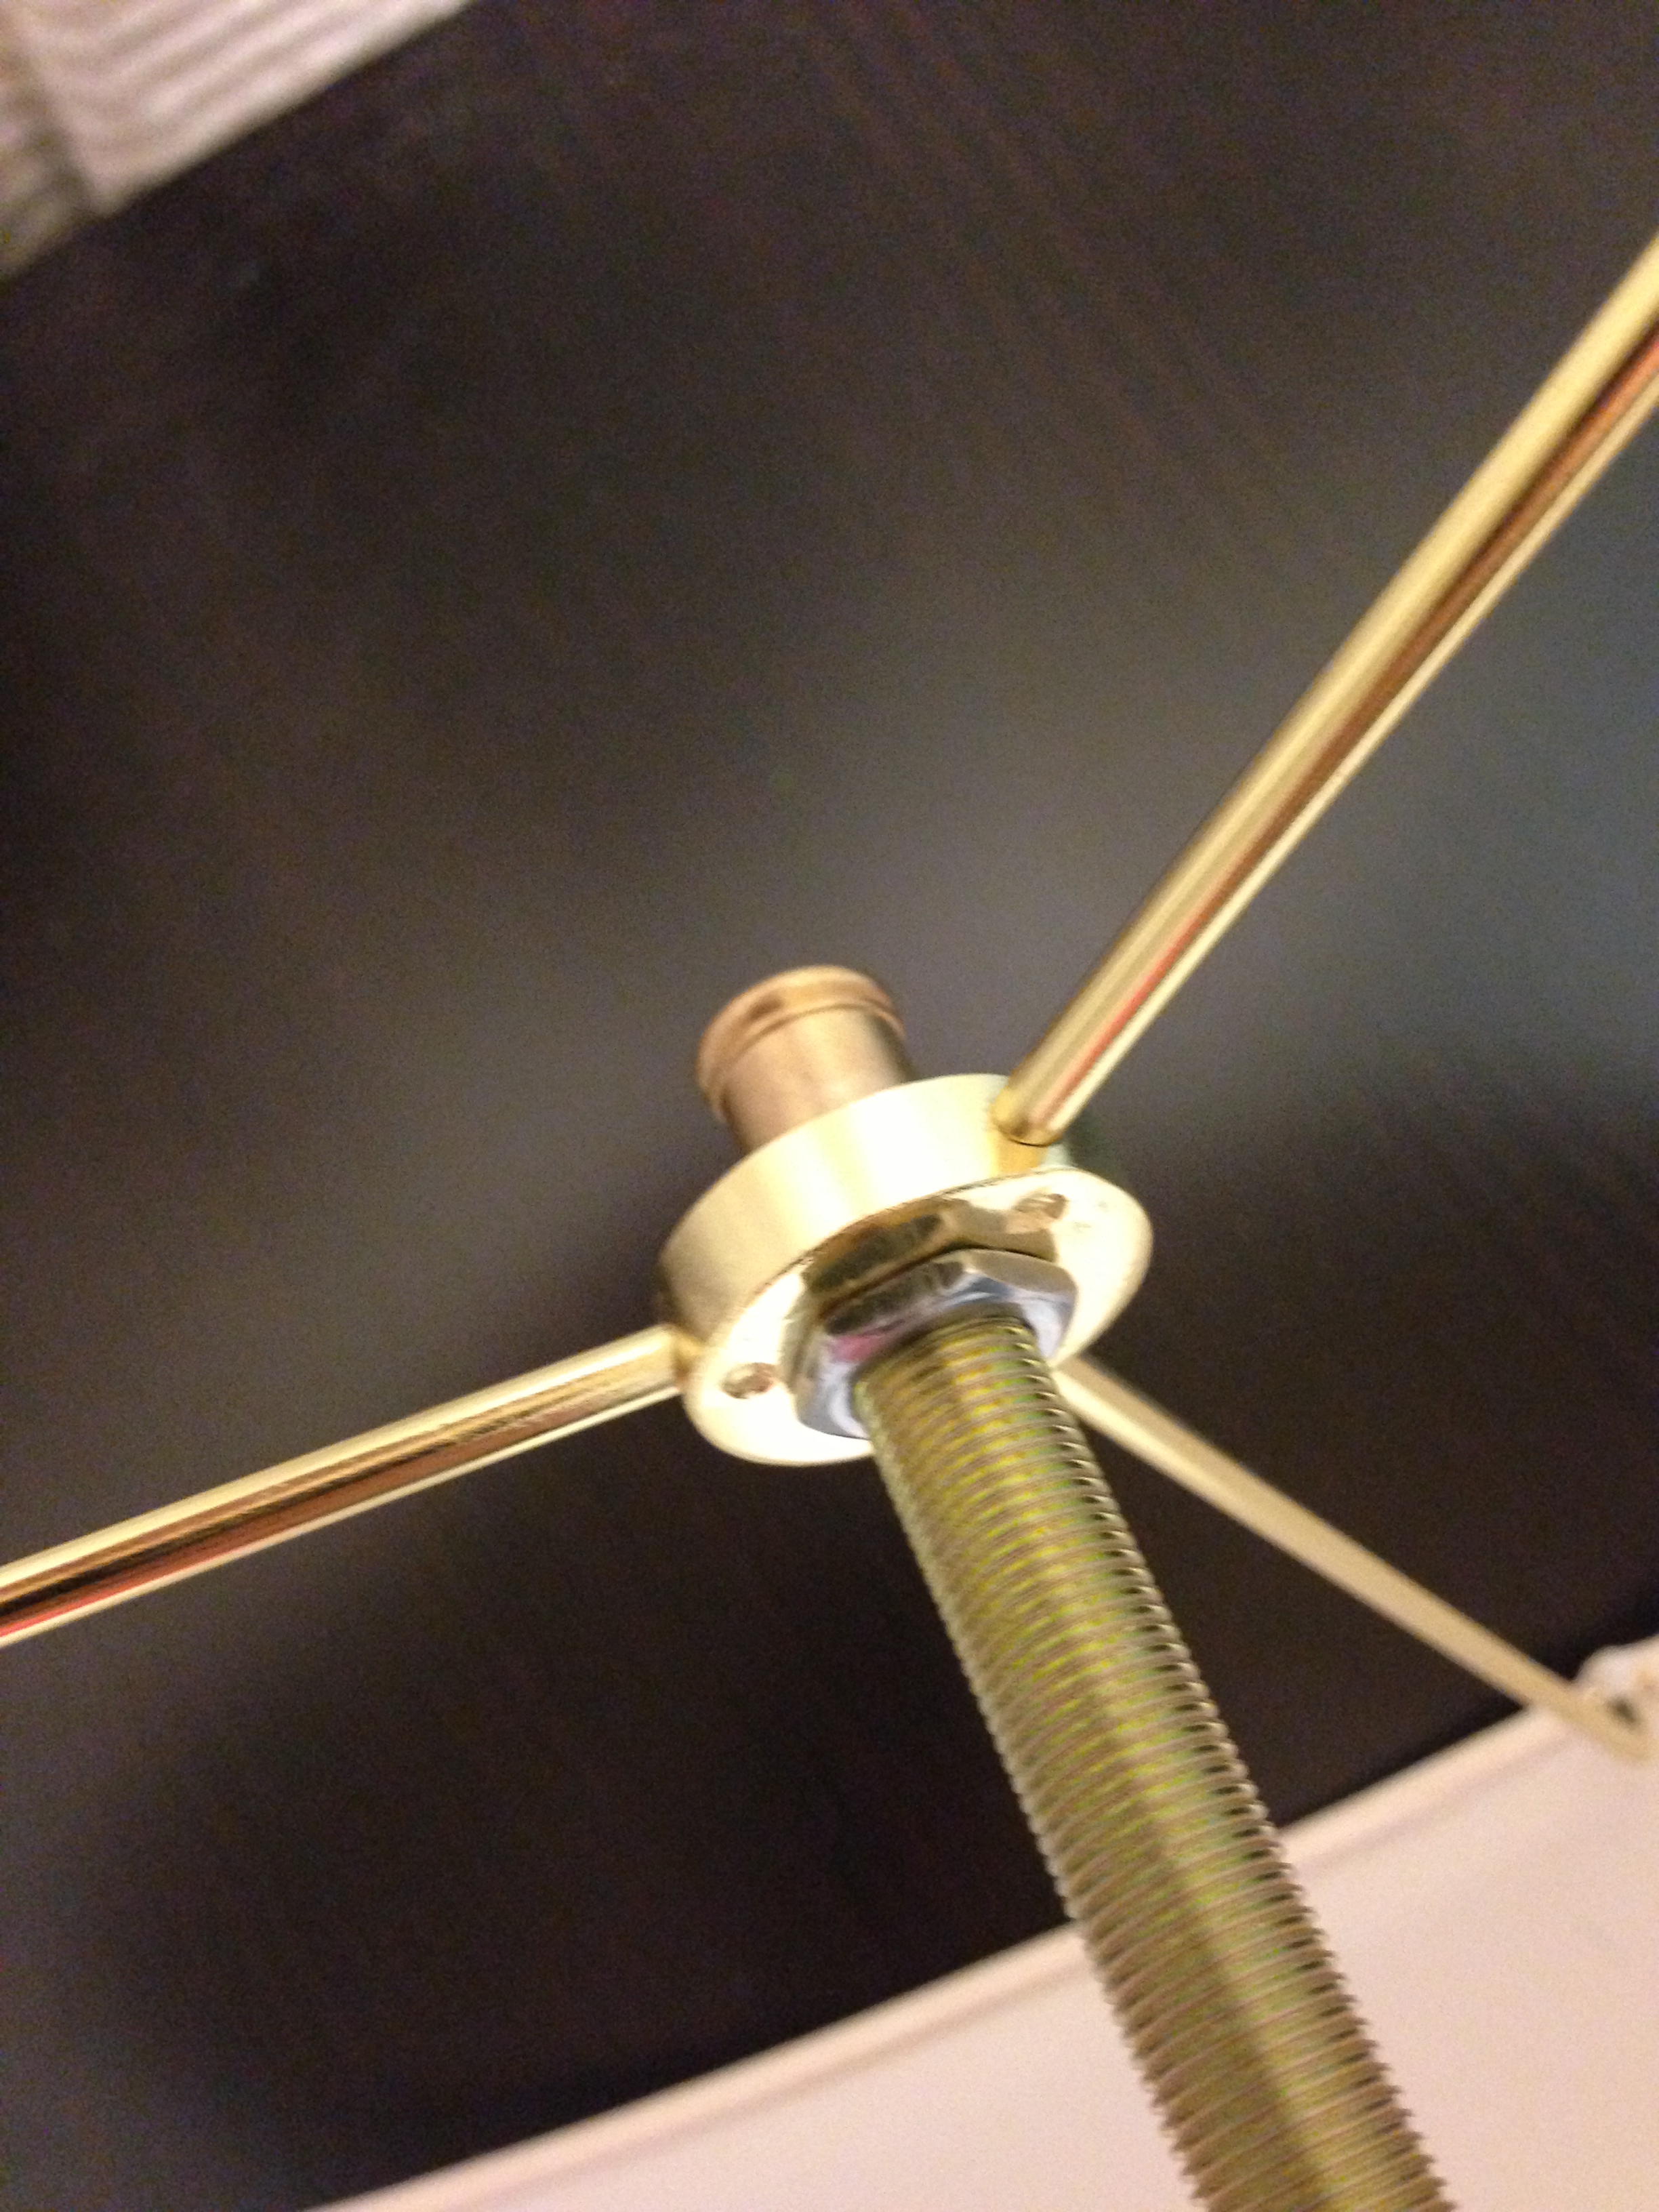
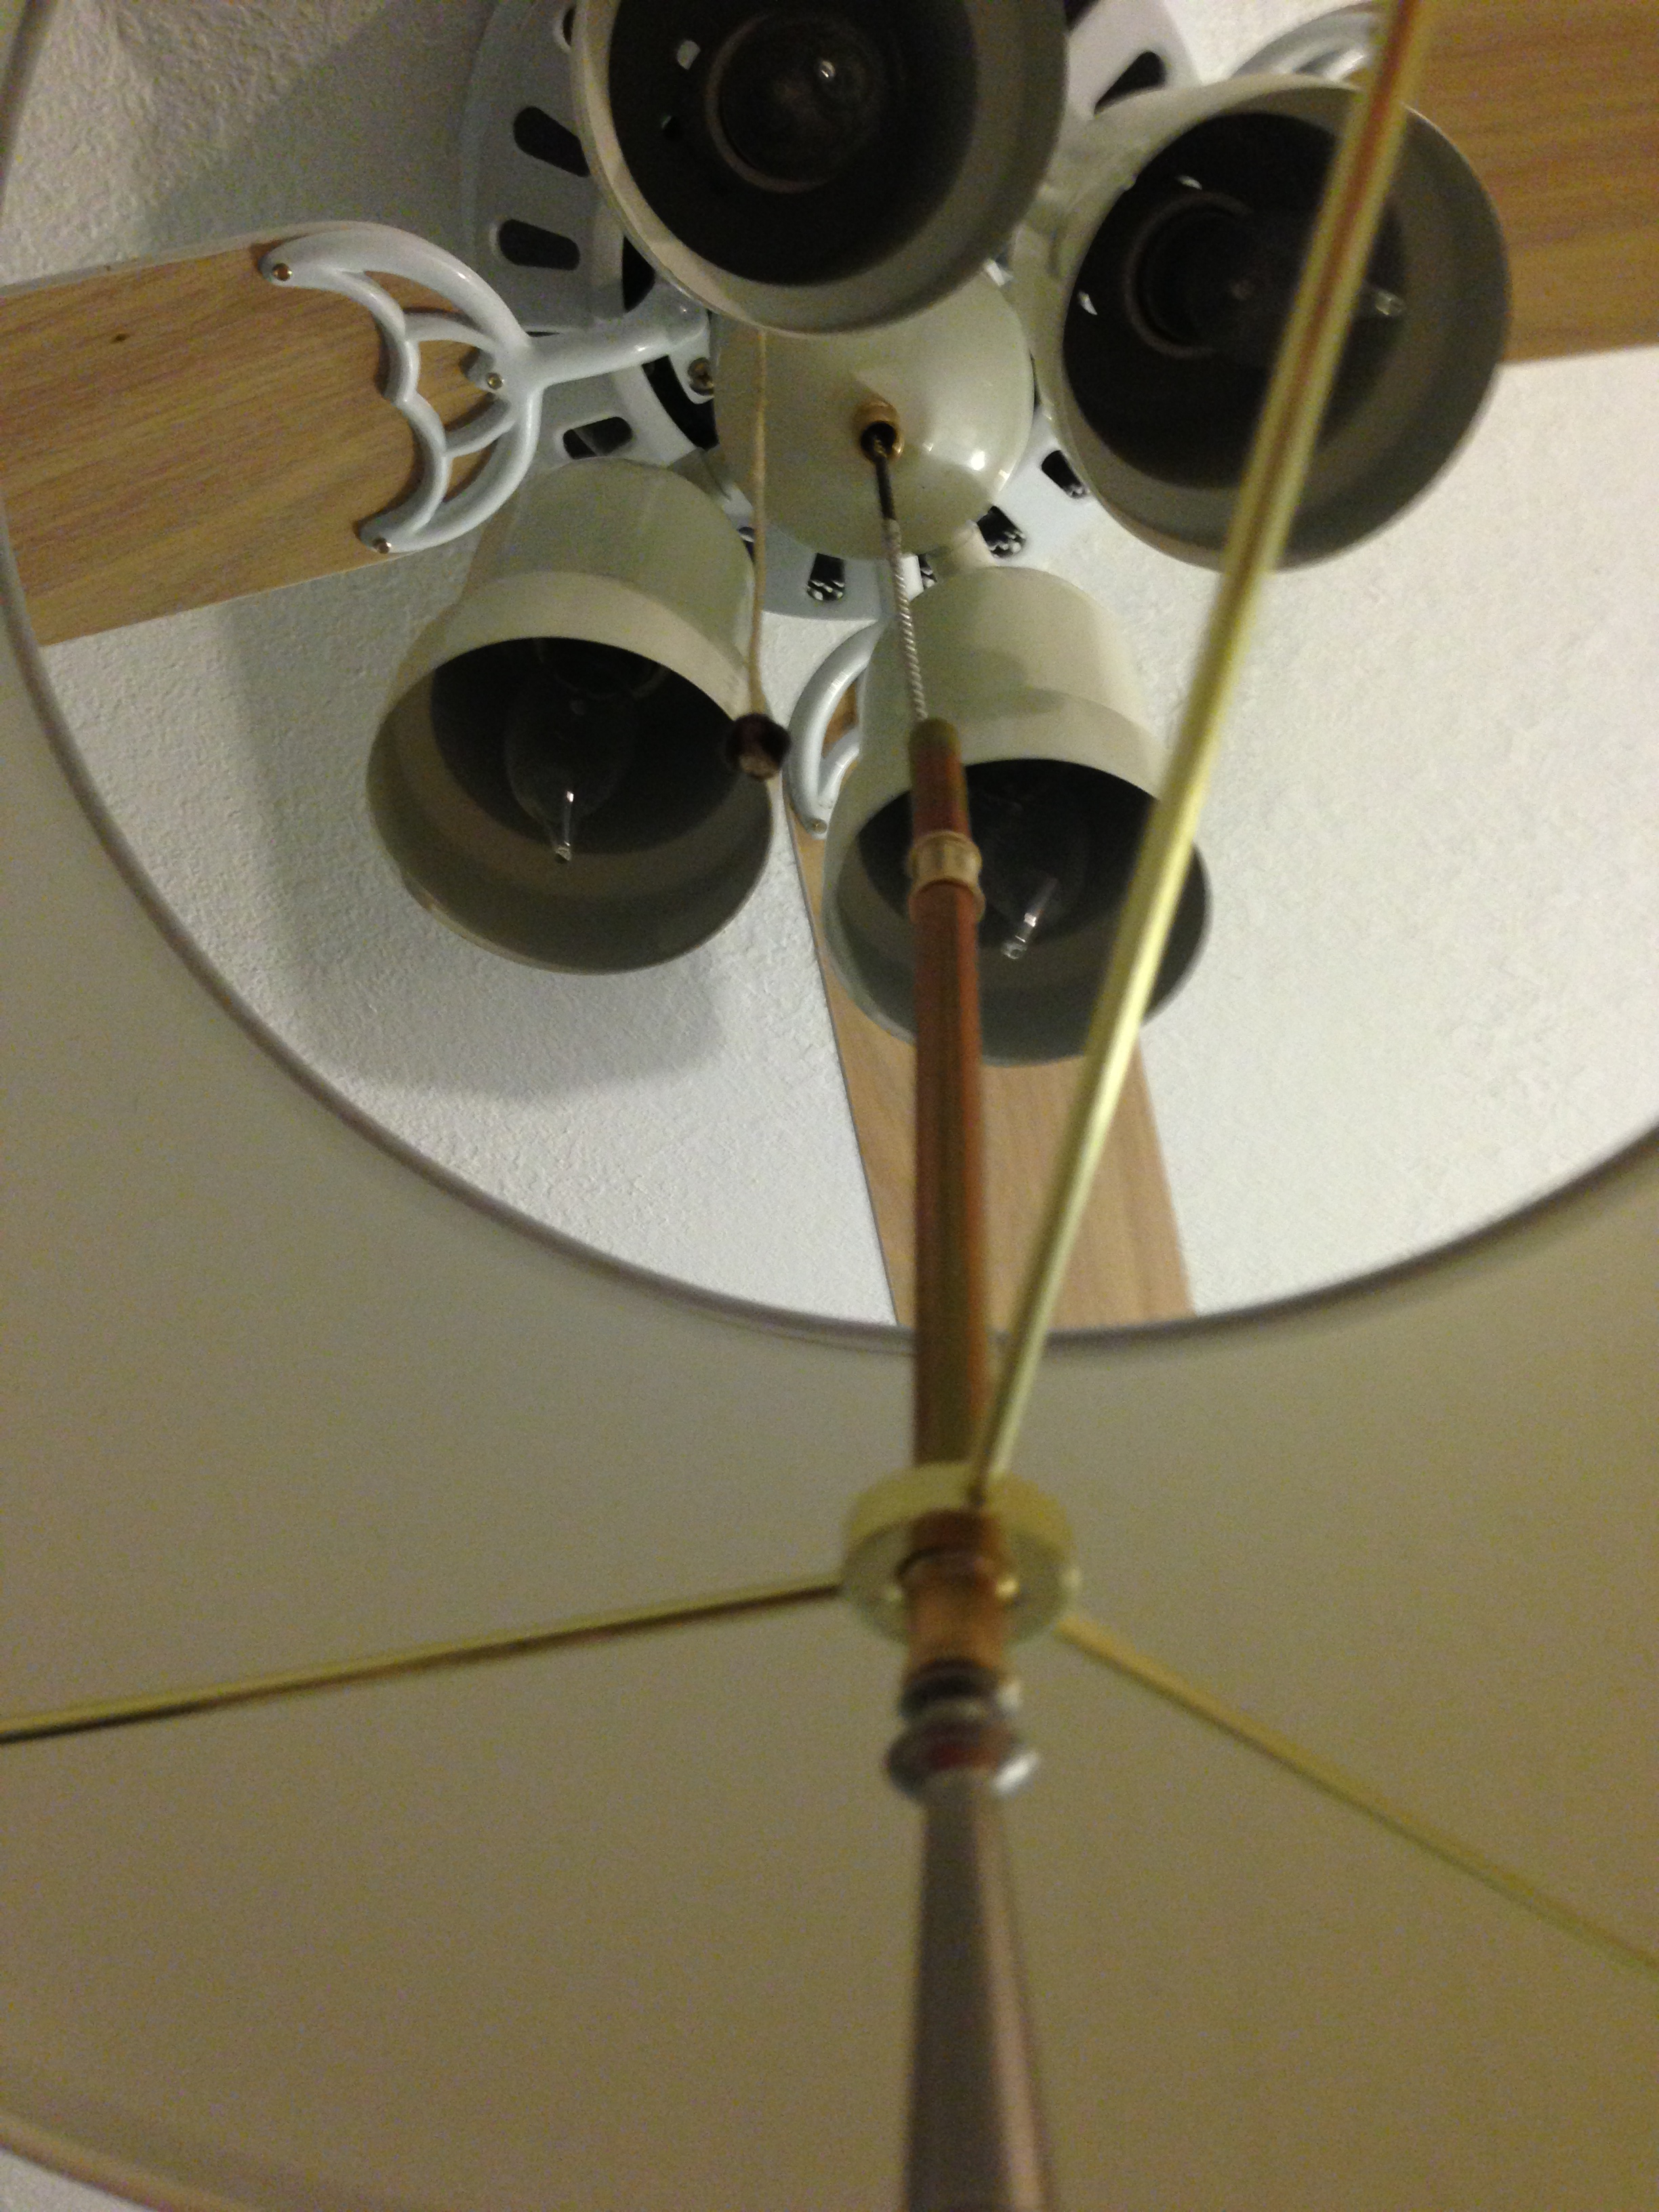
We used the same technique as our last, except we were able to use a smaller extender.

20140308-072213.jpg

20140308-072238.jpg

Yet altered our technique by adding a large washer between the shade and connectors in order to stabilize the shade. We also did not add extra chain and threaded the main chain through the middle of the shade. This allowed for a cleaner look.

20140308-072911.jpg

Lights on!

20140308-072956.jpg
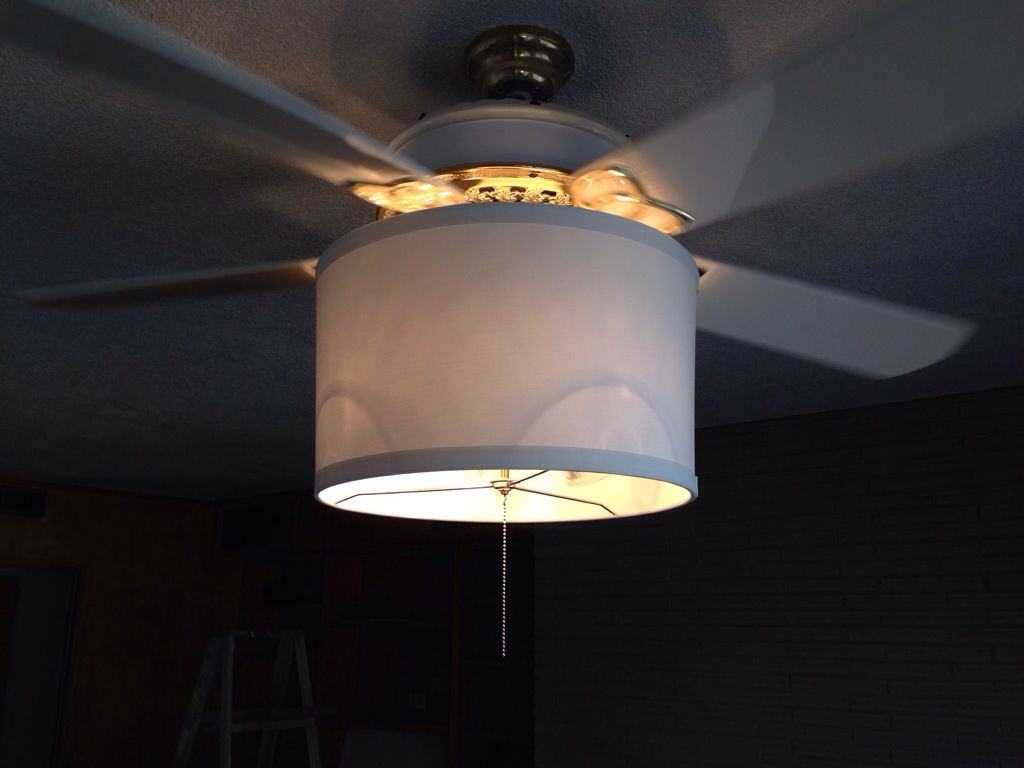
Such an improvement! It’s almost pretty!
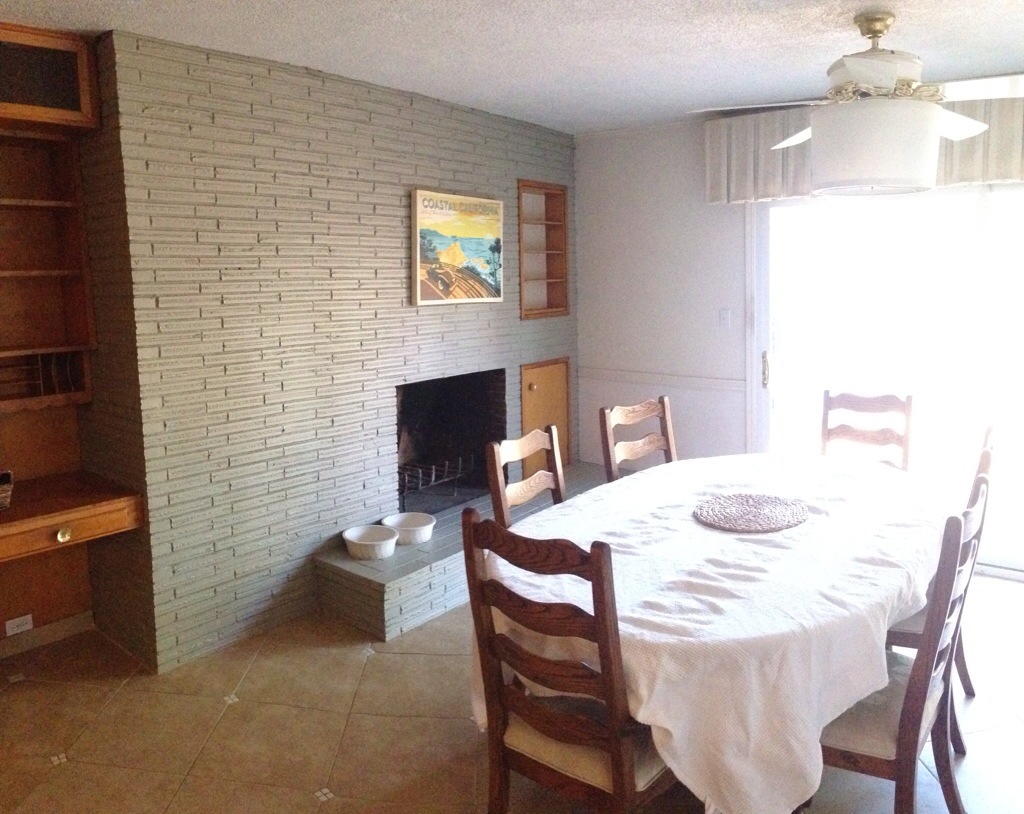
We actually are warming up to the cream colored fan blades and hint of gold brass. Originally we had the notion to paint the whole thing oil rubbed bronze, but the dark color would’ve drawn the eye towards ugly ceilings.
Also brass is starting to make a come back, and the fan ties in well to our mid century gold knobs in our built ins.

20140308-074434.jpg
Now the light is complementary and blends well with the room.

20140308-074621.jpg
Slow and steady seems to be our slogan these days. I’m sure you’ve all been in that frustrating place, torn between a budget and beautification? I think the muddy paw prints all over newly painted floors did me in. I am seriously close to entering us into one of those home make over contests! Ahmed of Yard Crashers may have a DIYer stalking him soon(just kidding Ahmed, nothing but love)

Who would’ve thought bringing a kitchen back to a neutral color pallet has been more work than expected. At least this was one easy and cheap update.

20140308-075600.jpg
Back to painting…Happy Sunday everyone!

A Few Inexpensive Updates…Drum light Ceiling Fan

I’ve been ever so slowly updating the office/guest room for the past….ummmm…year! We’ve  been in “hunker down and save” mode these past several months. That said, I hope to someday post some killer “after” pics but for now here are a few inexpensive updates anyone can do.

1) Add a $20 rug…I found this lovely one at Ikea…Our dogs are like magnets to a new rug…They are the official rug “flatten squad”. ipone pics 090

2) Update the room’s lighting…I traded out an old sit-a-top desk lamp for this plug-in Target pendant on clearance for $24. (Luckily I had a left over gift card handy so it was a freebie) I also washed, ironed and re-used hand me down drapes from the master bedroom.

ipone pics 068

3) Go crazy with drum shades! Total cost ($23 thanks to a few Ross finds and some connector pieces at Home Depot)

#1 light update, here is a lamp given to us for free…[Sigh] the difference a drum shade can make…

Before lamp before piclamp after pic After

#2 shade update, modernize an old ceiling fan with a drum shade…

ipone pics 115

Very easy project…Just see the following steps:

1) Find a triangle or old standard drum shade (not the kind where the shade attaches to the bulb base)

ipone pics 095

2) Based on the light fixtures you intend to hide, find an extender piece that will allow for enough space and hanging length. (Consider switching out or adding longer pull chains). You will also need some hex nuts and couplings. These can all be found in the lighting section of Home Depot normally next to the fan light kits.

ipone pics 101

3) In our case we flipped the shade over and secured it to the base of the fan light using a coupling and hex nut. Then adding a chain extender to the bottom chain, slid the chain through the shade extender and coupling. Next I screwed the shade extender into the coupling at the base of the fan. (See pics below)

ipone pics 103 ipone pics 098 ipone pics 106 ipone pics 108

4) We tested it to ensure the fan did not actually hit the shade. We also allowed enough air space between the lights and shade (After all we don’t need a fire hazard in the new home)

Yay! Instant update for a fraction of the cost of a new fan light kit.

ipone pics 112