Finishing the Unfinished…(IKEA Hack Pax Side Murphy Dog Bed)

On our blog we don’t try to hide the mess, the mayham or the unfinished…


(We just pretend it was meant to look that way) 😉

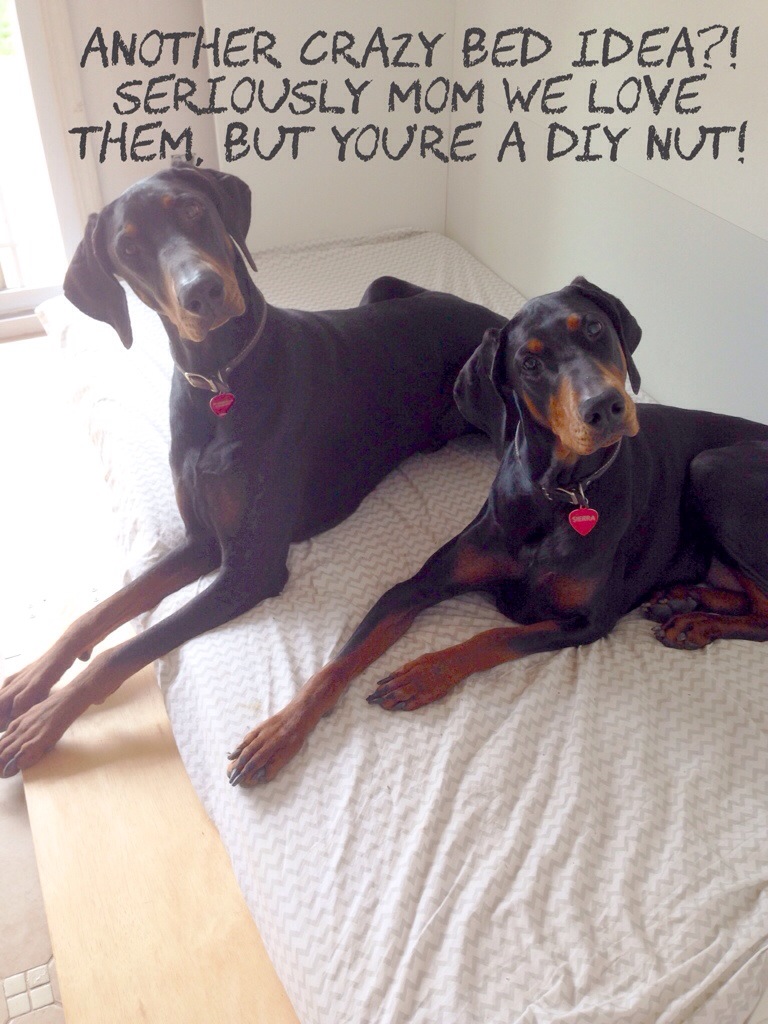
Last year we hacked a clearance Ikea Pax wardrobe to create a simple Side Murphy bed. Super easy and fun project! (Even though we use this for our dogs, the bed could work for us two legged folks as well) 


You can click here to read the original How-to, however we’ve made some minor changes recently (like actually finish this project) …


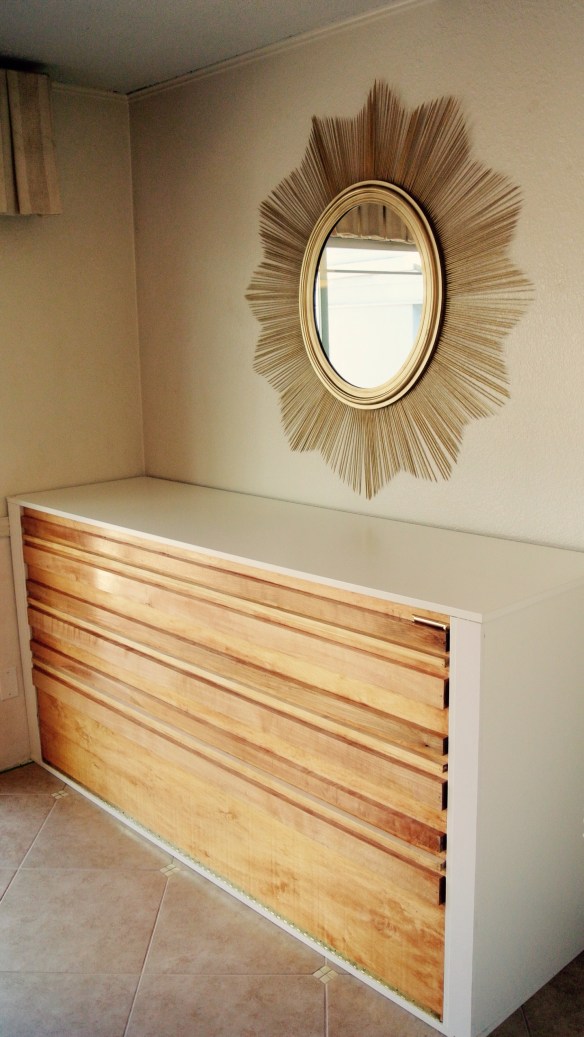
What an improvement! Subtle, but changes the look completely. (It’s like  having braces on your teeth to now a perfectly white, straight smile)

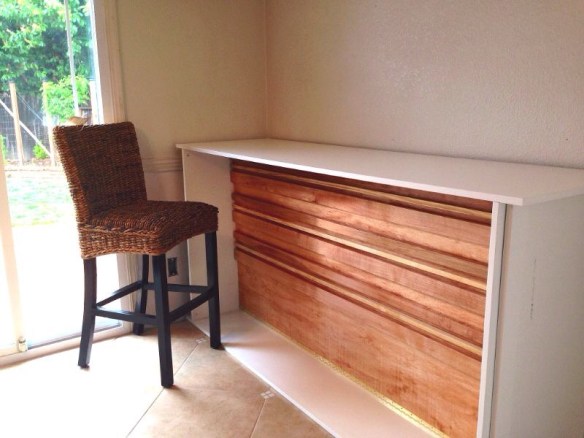
  To be honest, it was out of necessity that we changed it from an awkward, not-quite-bar, into a faux Midcentury sideboard/buffet. The necessity turned out to be Super Bowl 2015, and we needed a very tall snack station. Mainly to prevent super-sized puppies from sticking their noses in bean dip when no one was looking. (Sutter is the height of a small Great Dane so standard tables are no obstacle for him) Heres what we did:


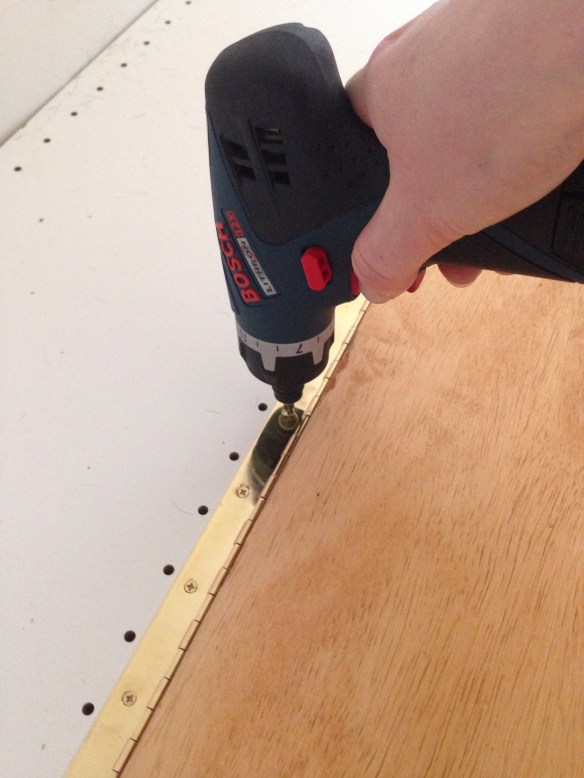
Moving the wood front piece was pretty simple, we just unscrewed the piano hinge connected to the Pax. Placed the board at the edge of the bottom piece (towards the front) and screwed it back in place.


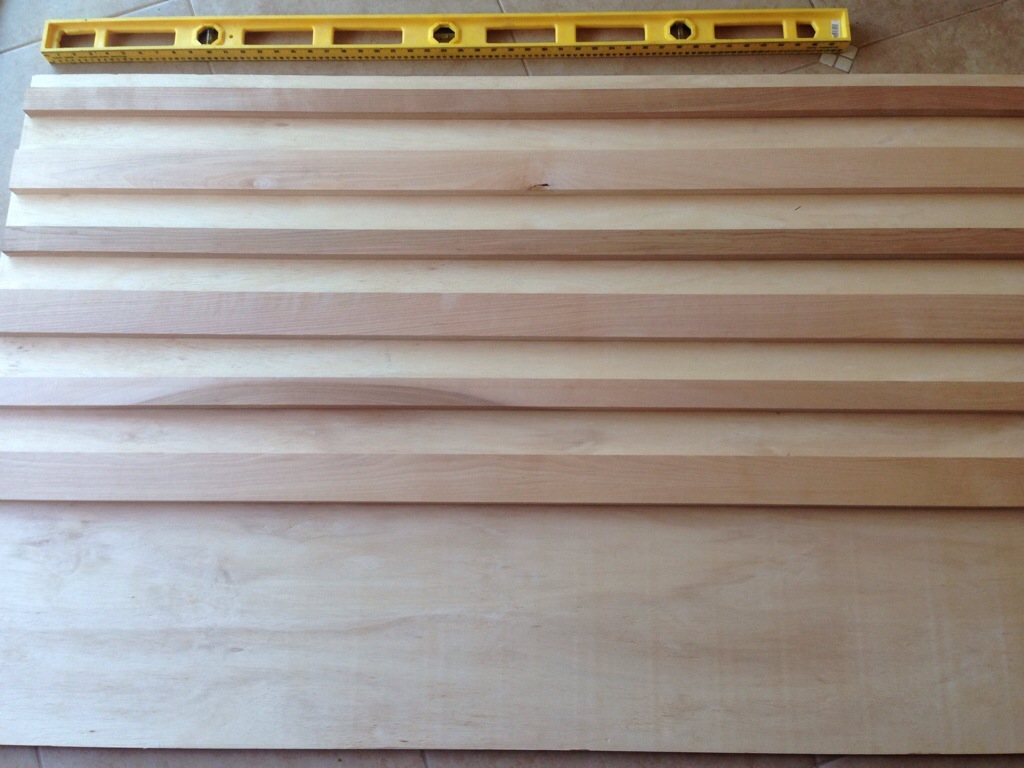
The second change required more thought but still pretty easy. First we went shopping for matching board and had it cut to size at Home Depot. 


Then if you have ever hacked IKEA furniture I’m sure you have extra dowels hanging around the house (if not they are normally available to buy at Home Depot). 


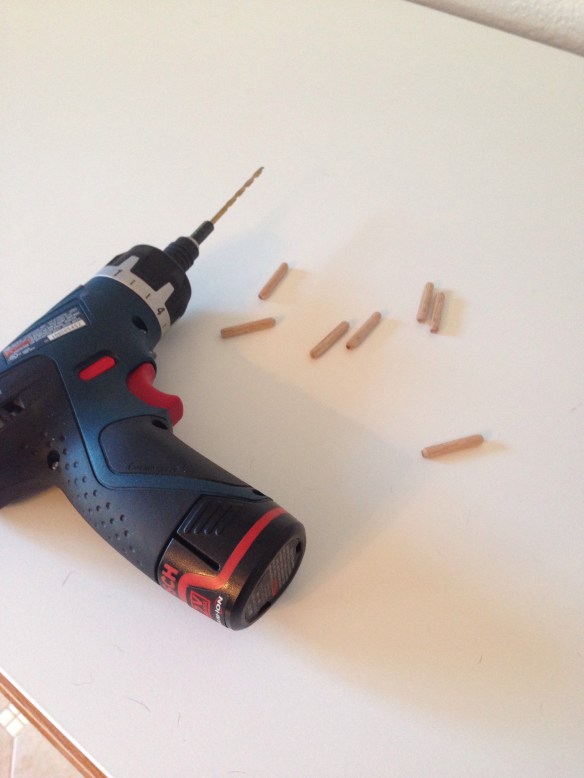
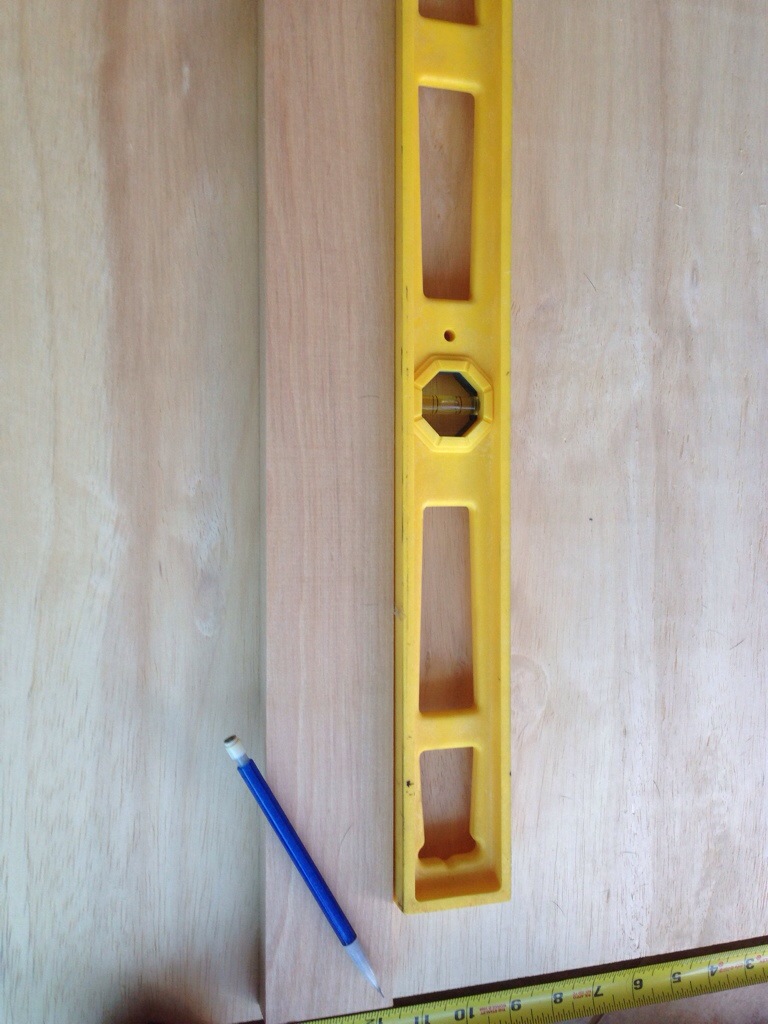
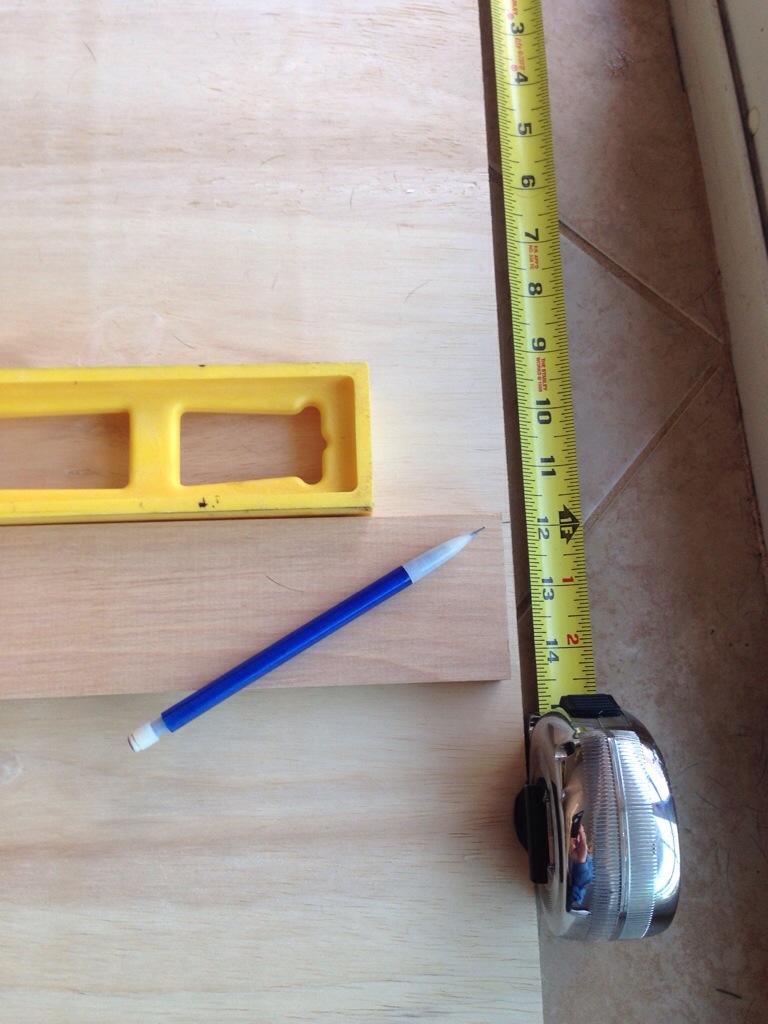
We drilled holes in the board the size of the dowels and then lined up the board at the end of the pax. 


Once satisfied with the placement we glued the pieces in place with gorilla wood glue. The weight of the boards kept the side piece in place but we had to get “creative” when gluing the small front piece…


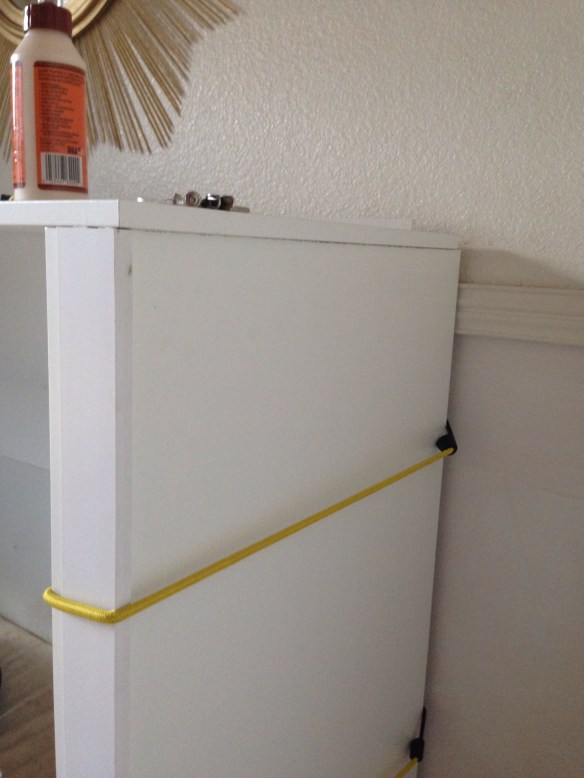
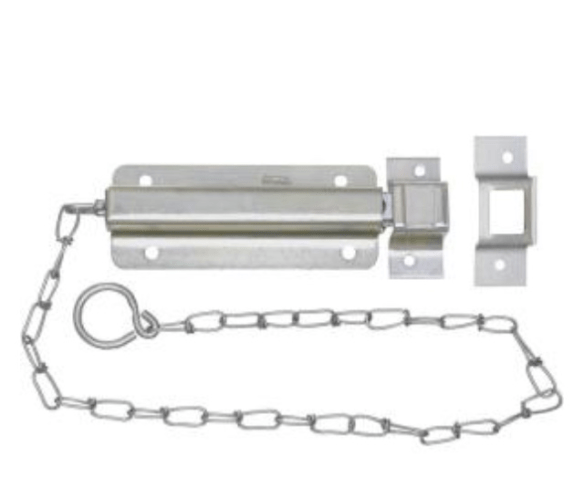
The one safety tip we highly recommend is to add a “safety chain” to the inside of the pax wardrobe and drill it to the front piece. In case the latch slips or you have little ones you don’t want the front piece to fall on a toe, etc. (Unfortunately we can’t recommend a specific kind because it’s based on the weight and how you customize the front piece of you Murphy bed) These types of door safety chain kits should be available at your local hardware store. 


Overall the  dogs are happy, and we’re happy with the final outcome to this project. 


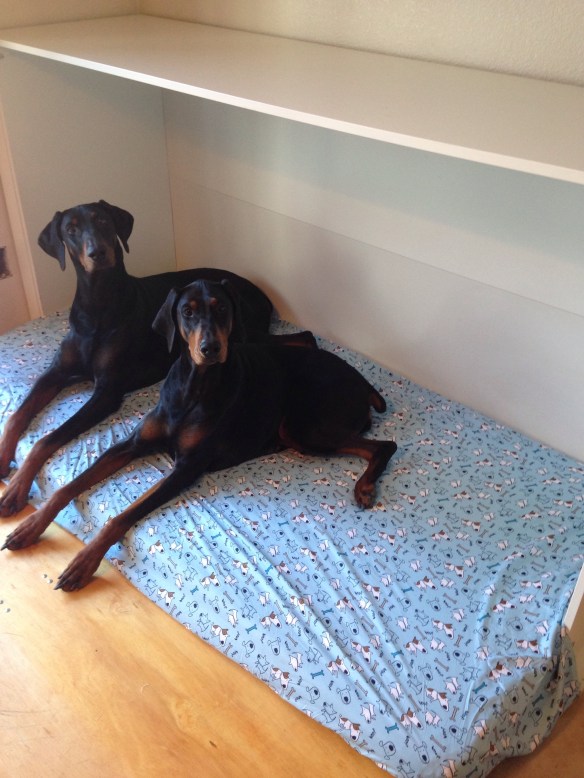
For someone with limited space, it is absolutely fantastic to hide away a bed. As a pet parent, it’s even better to hide dog beds, toys, etc for two massive pups! Hope our Ikea hack helps your doggy dilemma! Happy Sunday everyone! 

Ikea-hack-side-murphy-bed-dog-murphy-bed-pax-wardrobe-twin-murphy-bed-diy-midcentury-sideboard-bar.jpg

Psst…We’re hanging out at the Remodelaholic link party this month…Check out all the budget friendly ideas!

 <a href=”http://www.remodelaholic.com&#8221; target=”_blank” rel=”nofollow”><img class=”nopin pib-hover-img” border=”0″ alt=”I party with Remodelaholic” src=”http://www.remodelaholic.com/wp-content/uploads/2014/04/remodelaholic_party.jpg”/></a&gt;

Ikea Hack! SIDE MURPHY BED /dog bed…Again?!

Have you ever completed a DIY project, were proud of it, pinterest it, and, then you lived with it….Finally realizing…This sh—(stuff) ain’t workin for us!

Remember I had hacked an Ikea day bed, turning it into a trundle bed/ dog bed. Everything was going fine except one problem, “WE” were the problem.

It wasn’t a bad concept, and it was useful some of the time. We admittedly just got lazy, (like letting pups sleep on the comfy bench portion). Also it took up too much space in our little place.

Honestly I seriously started to miss the functionality of the old dog Murphy beds from our first home. This is also when I look over at the hubs, and say “you were right…you know your project obsessed wife was going to change her mind like 4 more times” then ask him sweetly to help me lug the daybed up into the guest house.

Some bleach, new mattresses…We have an actual bed again! Now on to recreating dog Murphy beds…

20140607-071514-26114640.jpg

This time the design was going to be a cross between this…

20140607-071712-26232964.jpg

20140607-071712-26232912.jpg
And this…

20140607-071806-26286577.jpg

We still had an extra Ikea mattress, and the piece of birch we used for “upholstering” the bench. I was hoping to piece the Murphy bed together with scrap wood lying around the house, when I found this…

20140607-072227-26547675.jpg
Waited a week, they knocked it down to $49.90…Huzzah!
I had a frame/box that perfectly fit the twin Ikea mattress.

20140607-072825-26905981.jpg
The only modification we had to make from the instructions was move the bottom/side a half inch to fit the piece of birch by re-drilling new holes.

20140607-073126-27086962.jpg
Next came the front piece, which was pretty easy, just bought some pieces of birch the same 6ft length, and with finishing nails and wood glue attached them to the front.

20140607-073515-27315553.jpg

20140607-073514-27314622.jpg

20140607-073513-27313790.jpg

20140607-073516-27316511.jpg
Followed by staining the piece with minwax polyurethane & stain in pecan

20140607-073640-27400082.jpg
The last part was the easiest, by adding a piano hinge.

20140607-073820-27500571.jpg
And also a locking mechanism…

20140607-073910-27550239.jpg

Overall you’ll noticed we set the piano hinge and front of the Murphy bed halfway in the box, to allow for more space on the floor when the bed is down.

20140607-074211-27731411.jpg

20140607-074212-27732365.jpg

Here is our final “Progress” pic, we’re still in the process of adding trim, etc to make it look less like a random box and more like a tall bar.

20140607-074525-27925034.jpg
But oh how functional it is! Dog beds disappear! You can also re-create this side Murphy bed ikea hack as an extra bed for guests. Cause I guess that’s what most people would use a Murphy bed for. (Com’on you’re not all crazy dog mamas?!)

Happy Sunday everyone!

Psst…We’ve recently improved the design for our Side Murphy Bed, click here for more details.