“Trailer Talk” Makeover Series: The Green Machine…The Exterior Updates Continue…

Nope we weren’t off on another adventure…Unfortunately we were home bound due to work and grown-up responsibilities. (Kids, when you’re parents say “don’t be in a rush to grow up” listen to them

That doesn’t mean we didn’t enjoy our home town, baseball games, windsurfing at local lakes and visiting our city’s newest breweries… 


We also tried to squeeze as many trailer repairs as possible into two very busy weekends. 

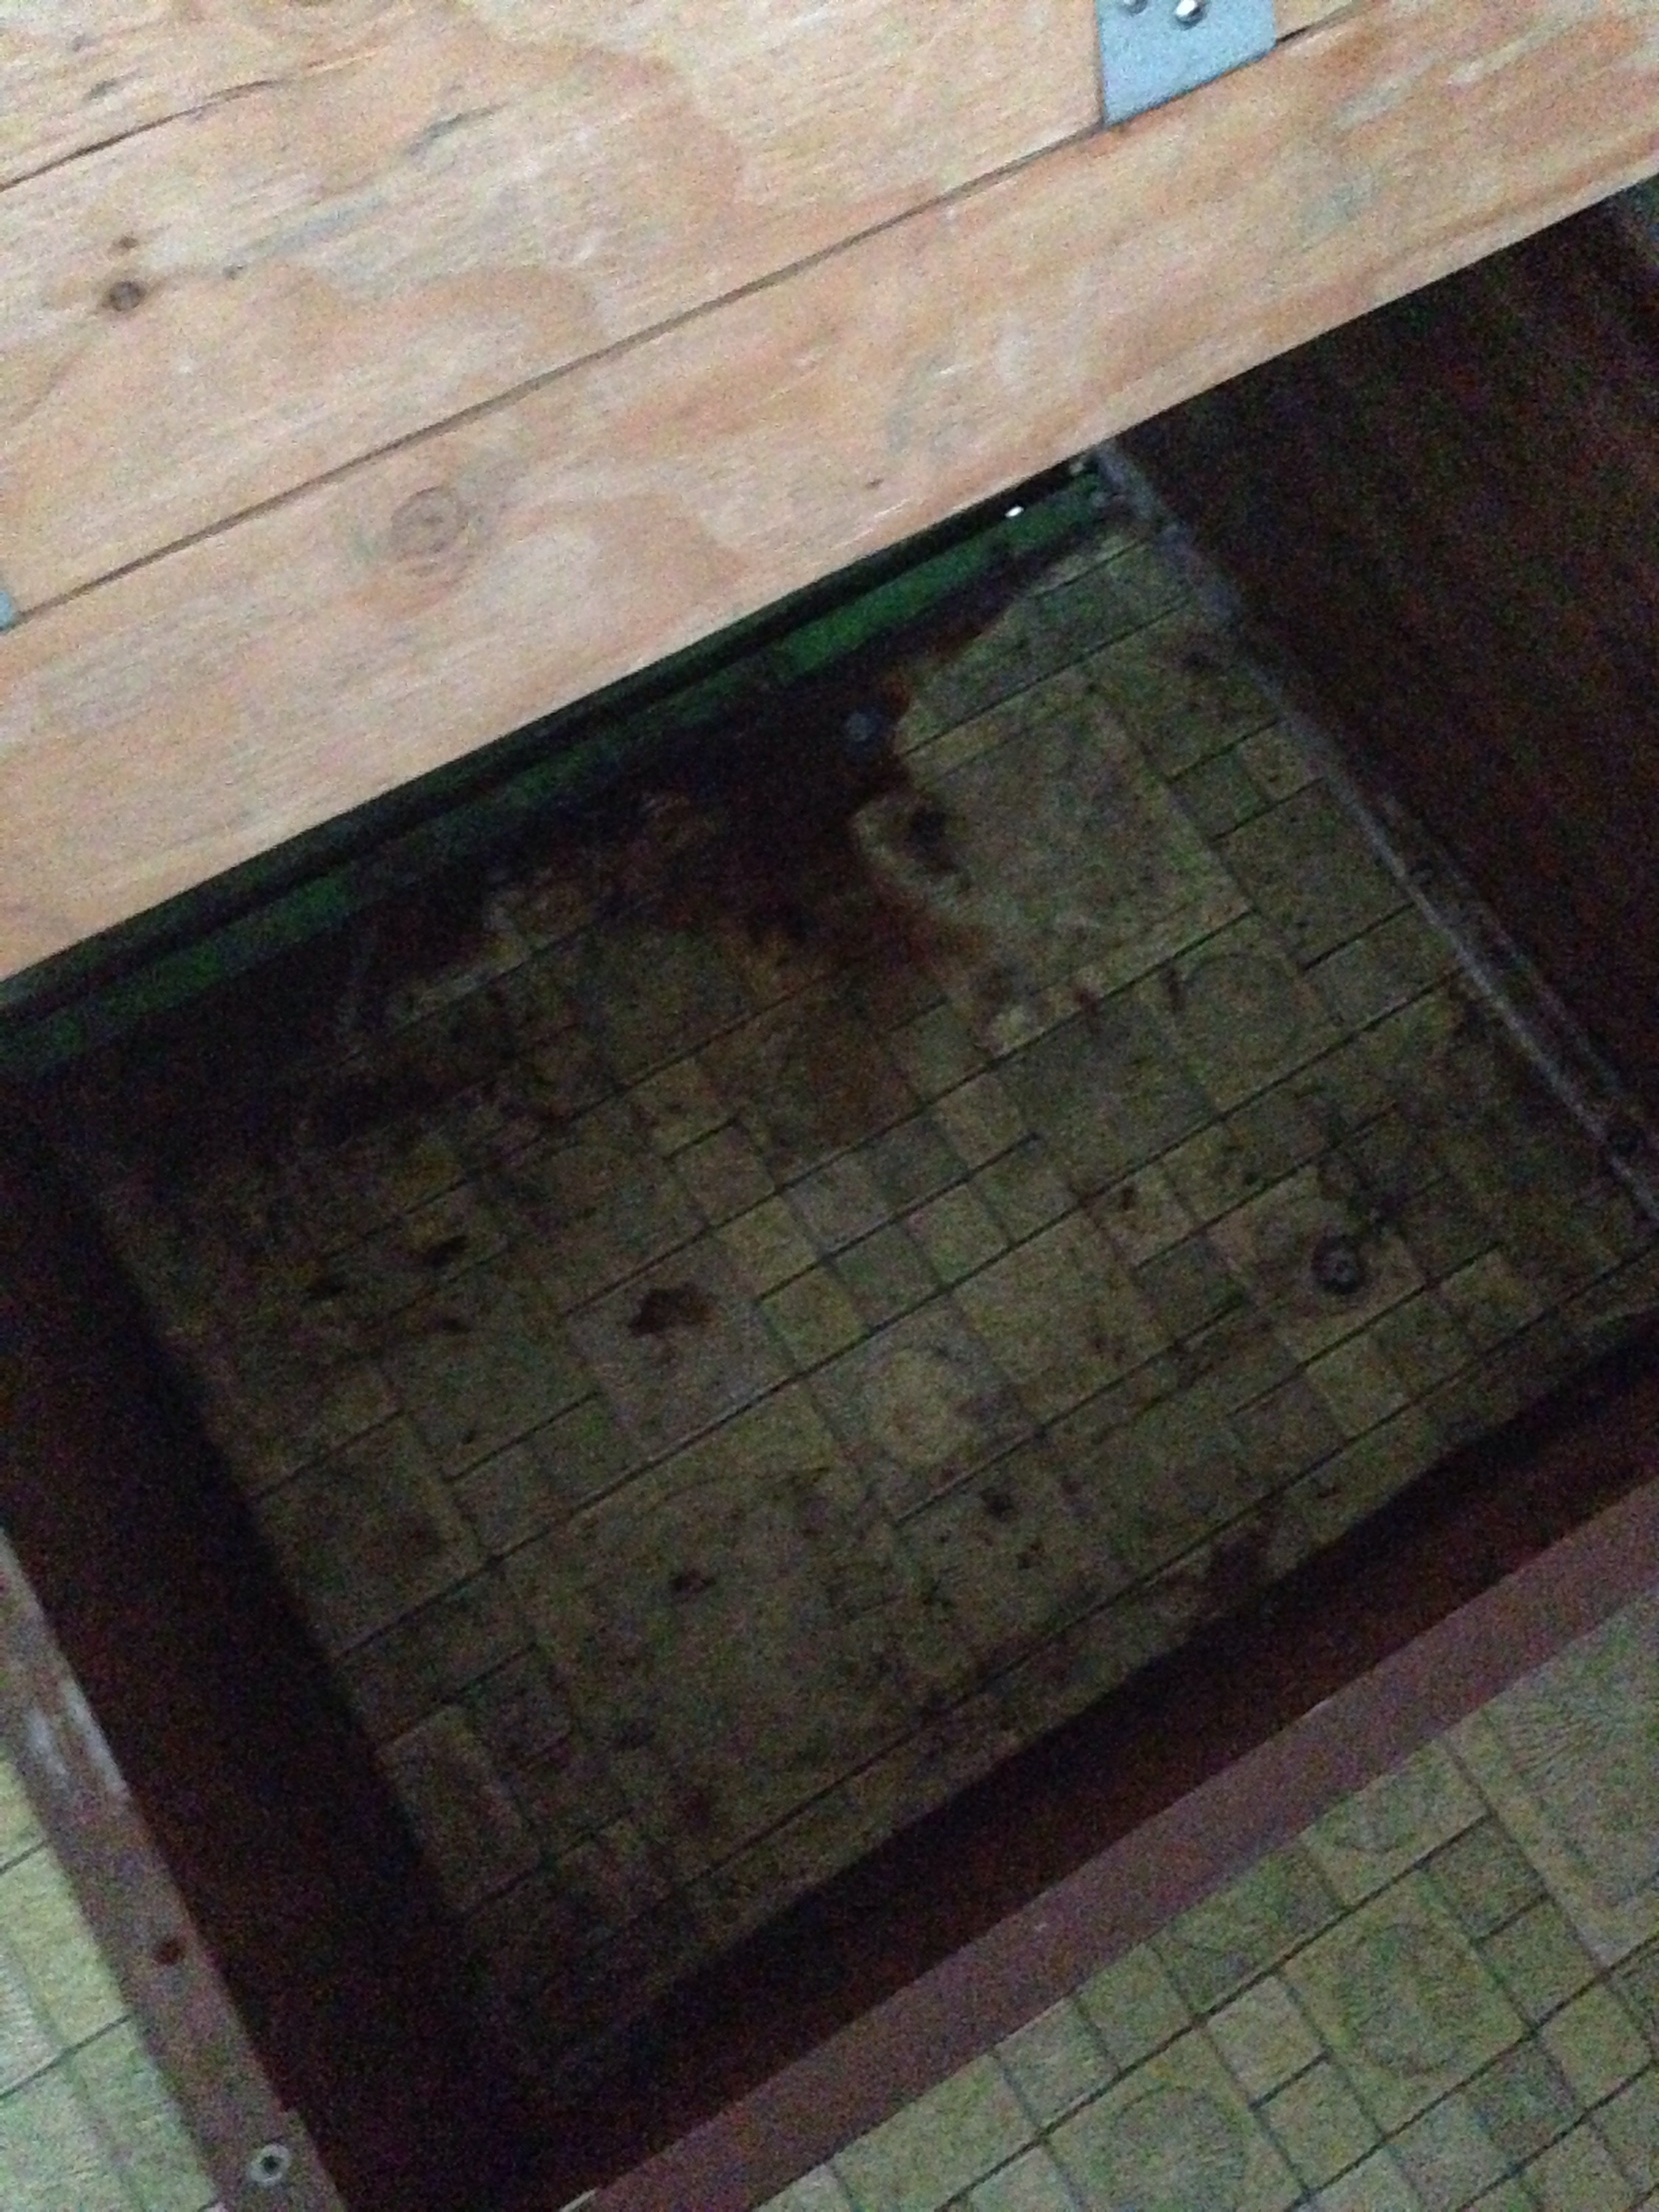
The first exterior update was to replace the infamous bunkend weather stripping. Reading the Apache websites and group posts, the weatherstripping is always the first and most necessary to be replaced as it helps prevent leaking. However issues arise, it’s not always easily available and each strip can cost up to $30 each. Luckily the seller of our trailer had already purchased these parts and threw them in for free. Here’s a before pic of the cracked and missing weather stripping after removing the aluminum trim…

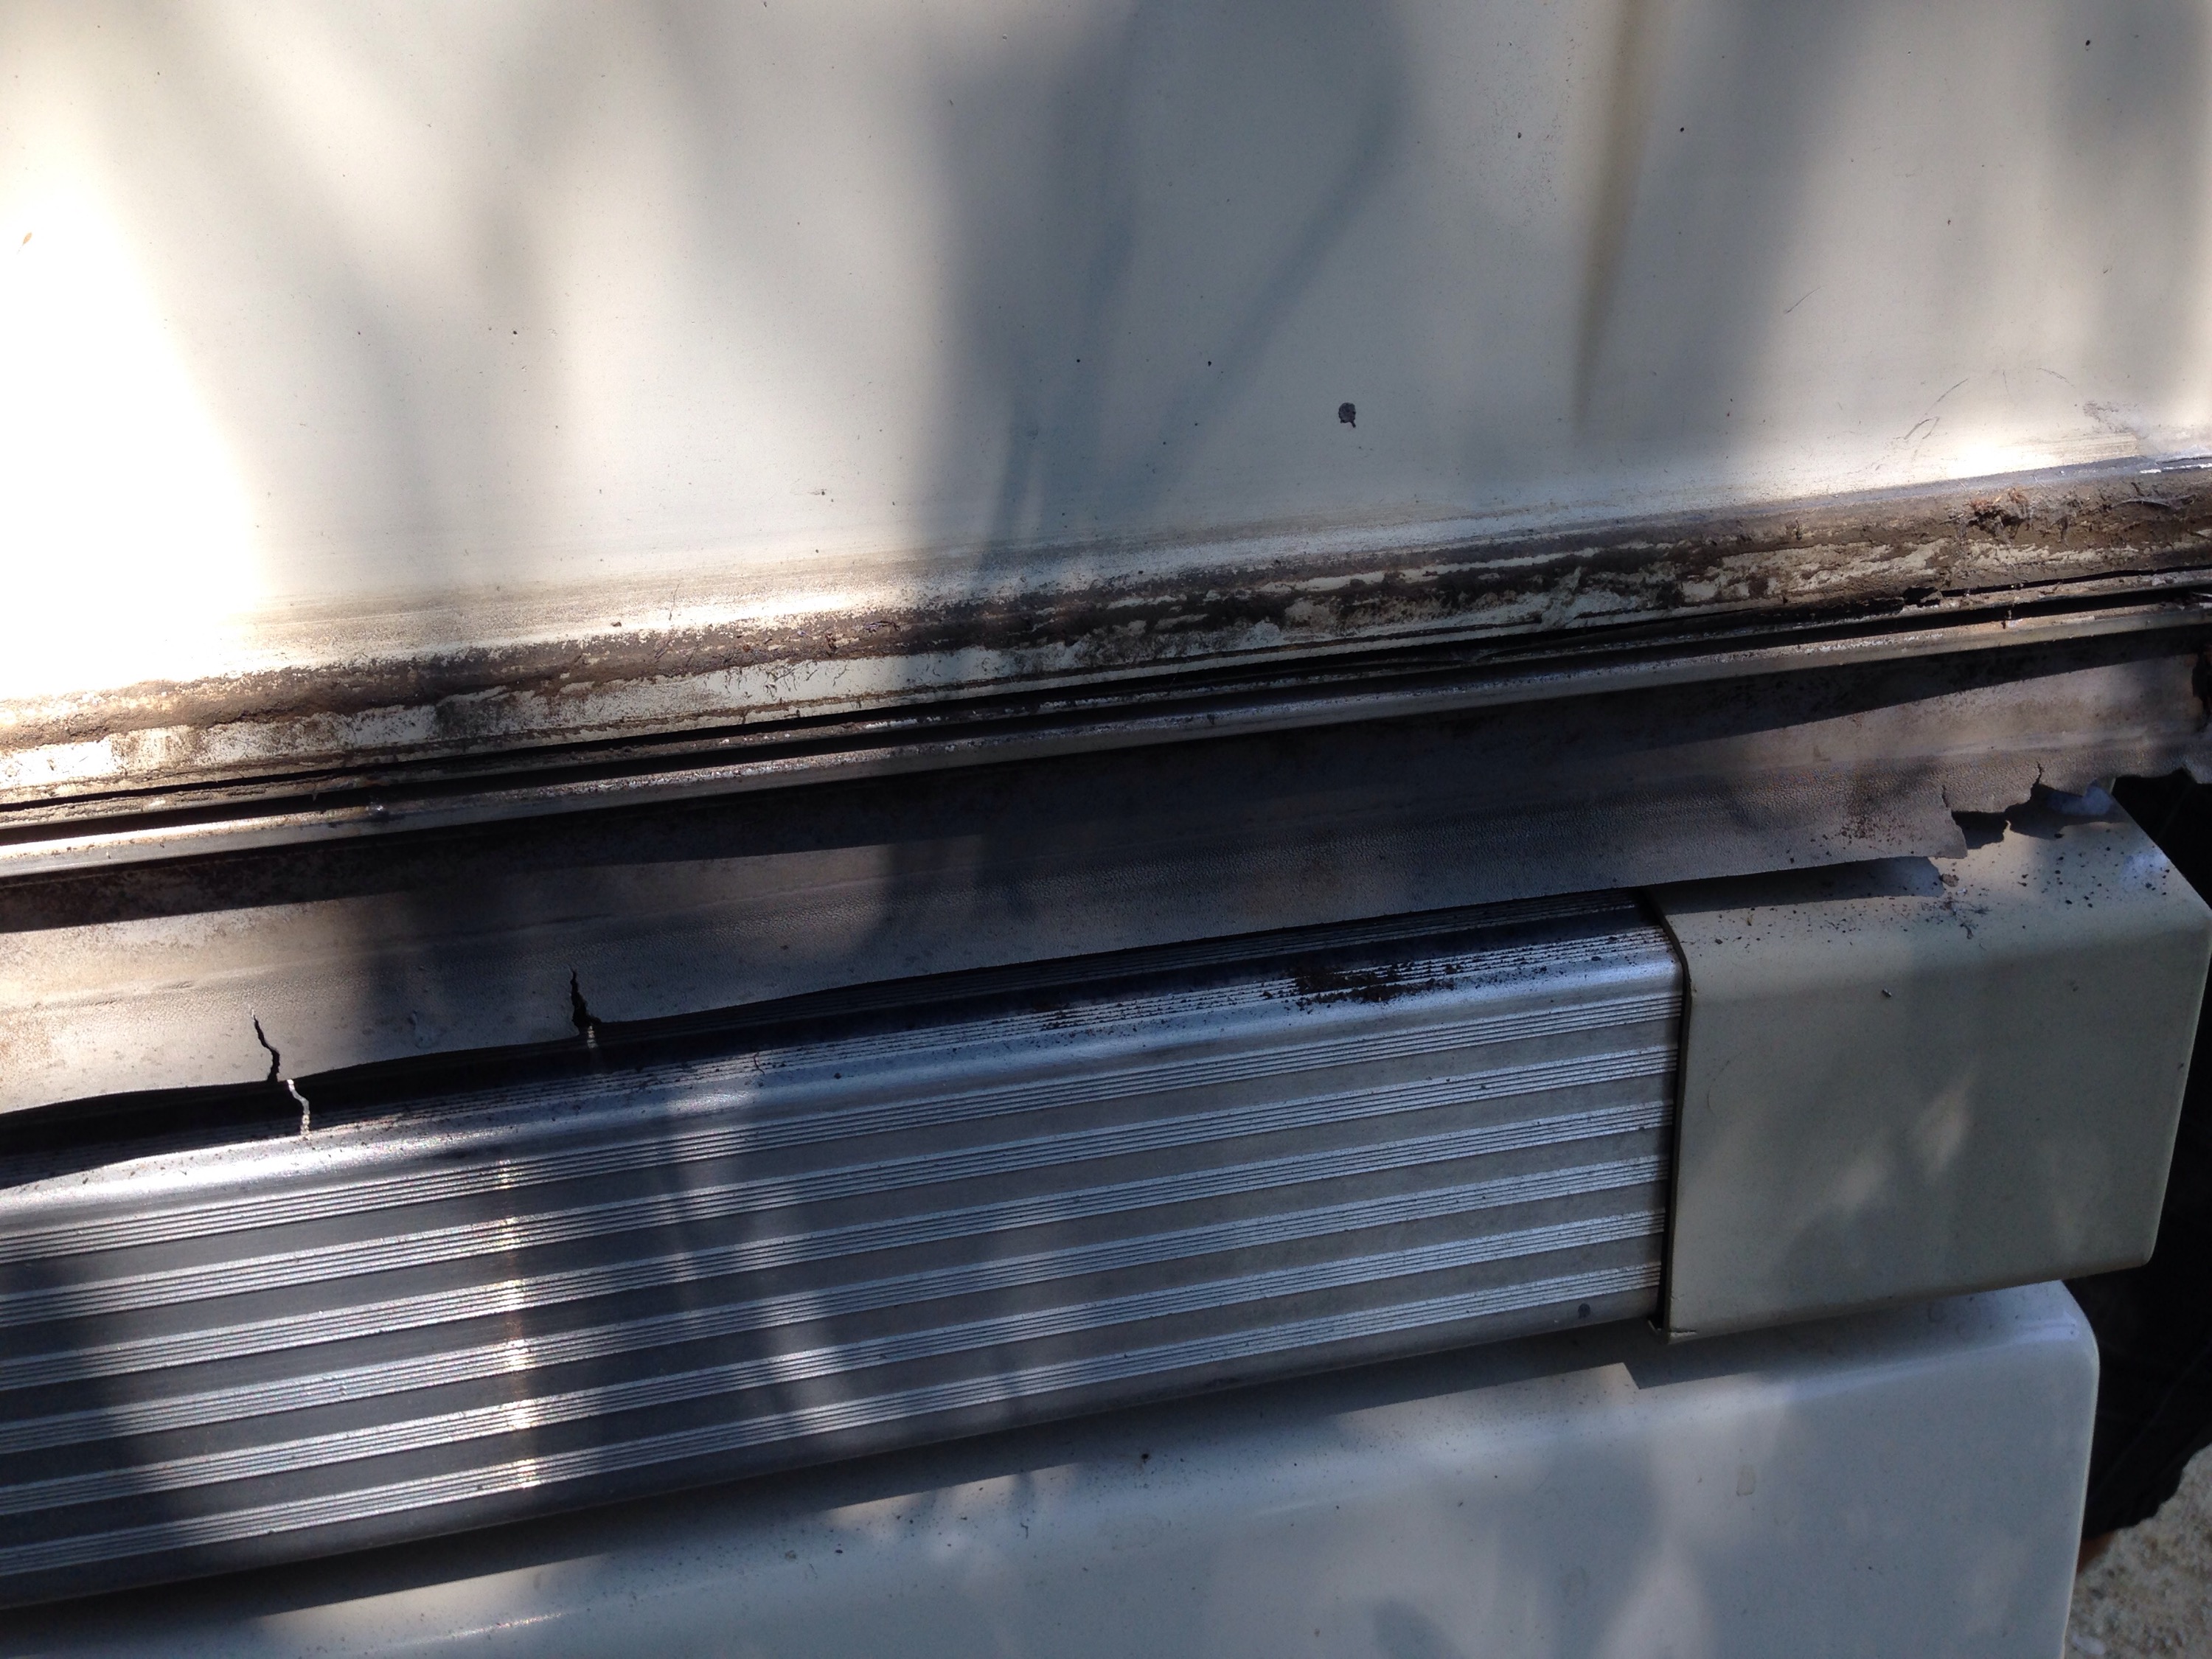
 Pretty gross, that’s another 37 years of dust and grime. Once the old rotten stripping was removed we had to gently, and meticulously scrap away the glue from the ABS roof with a razor blade and steel wool.  

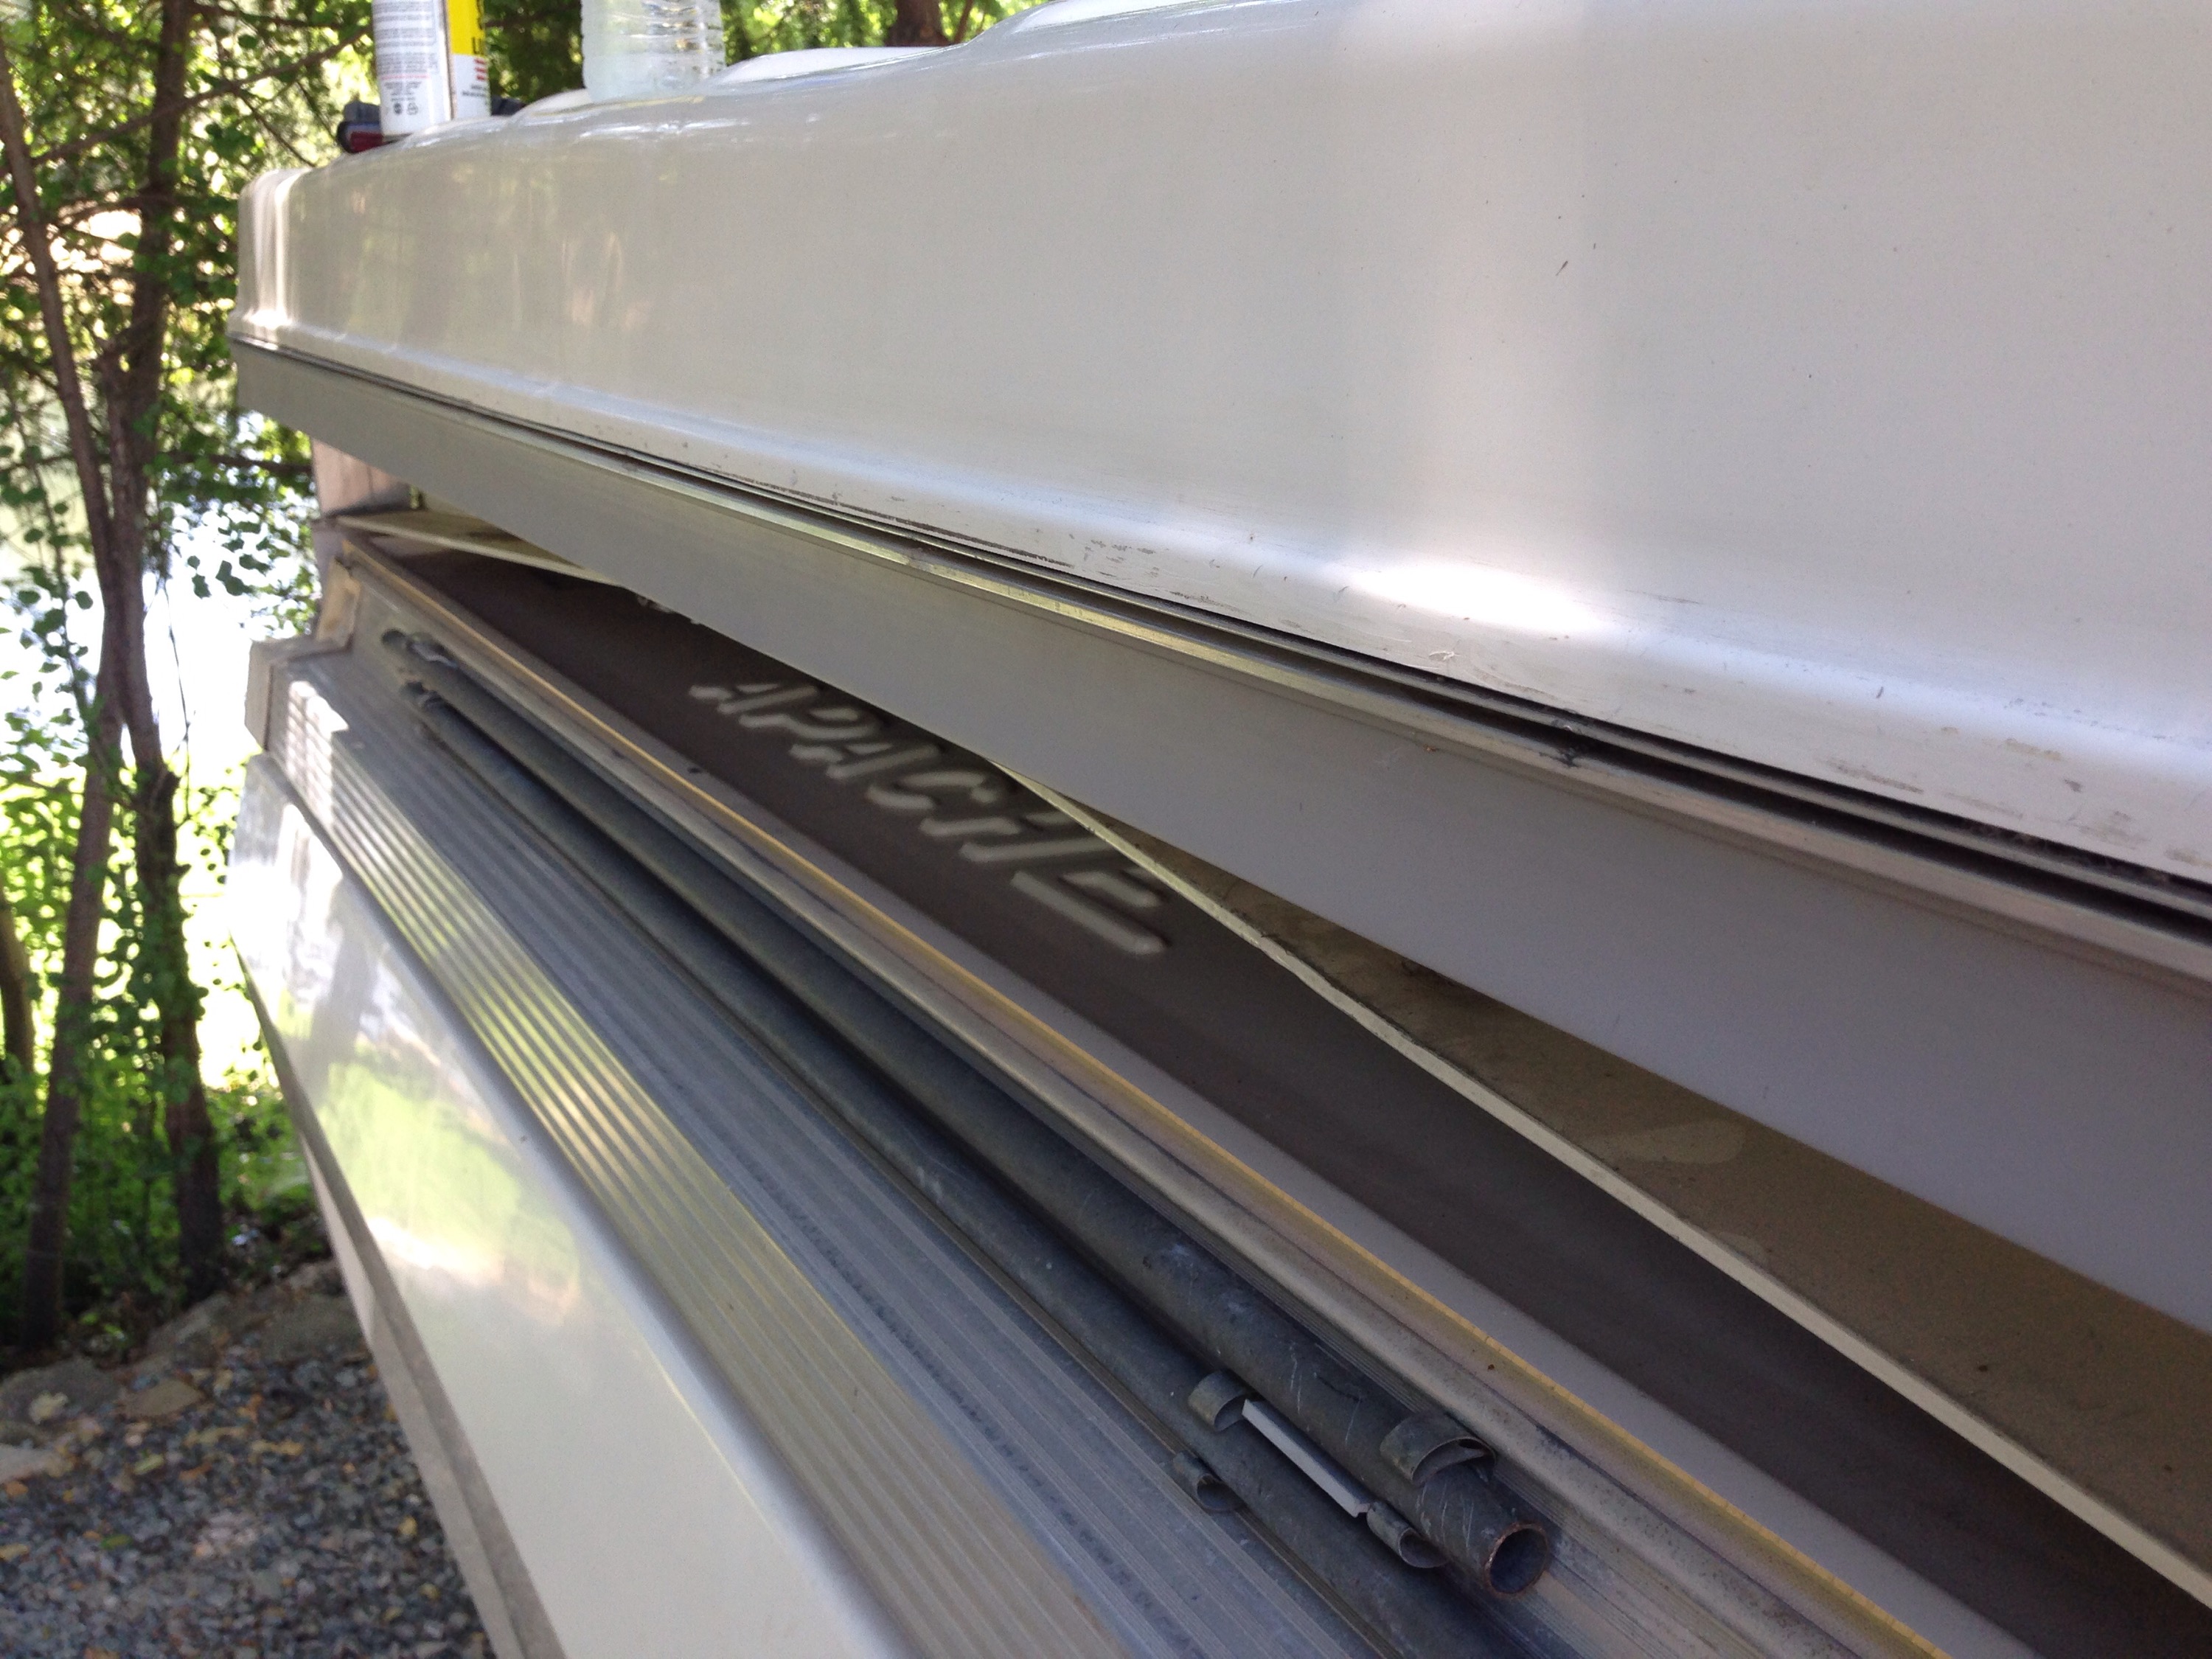
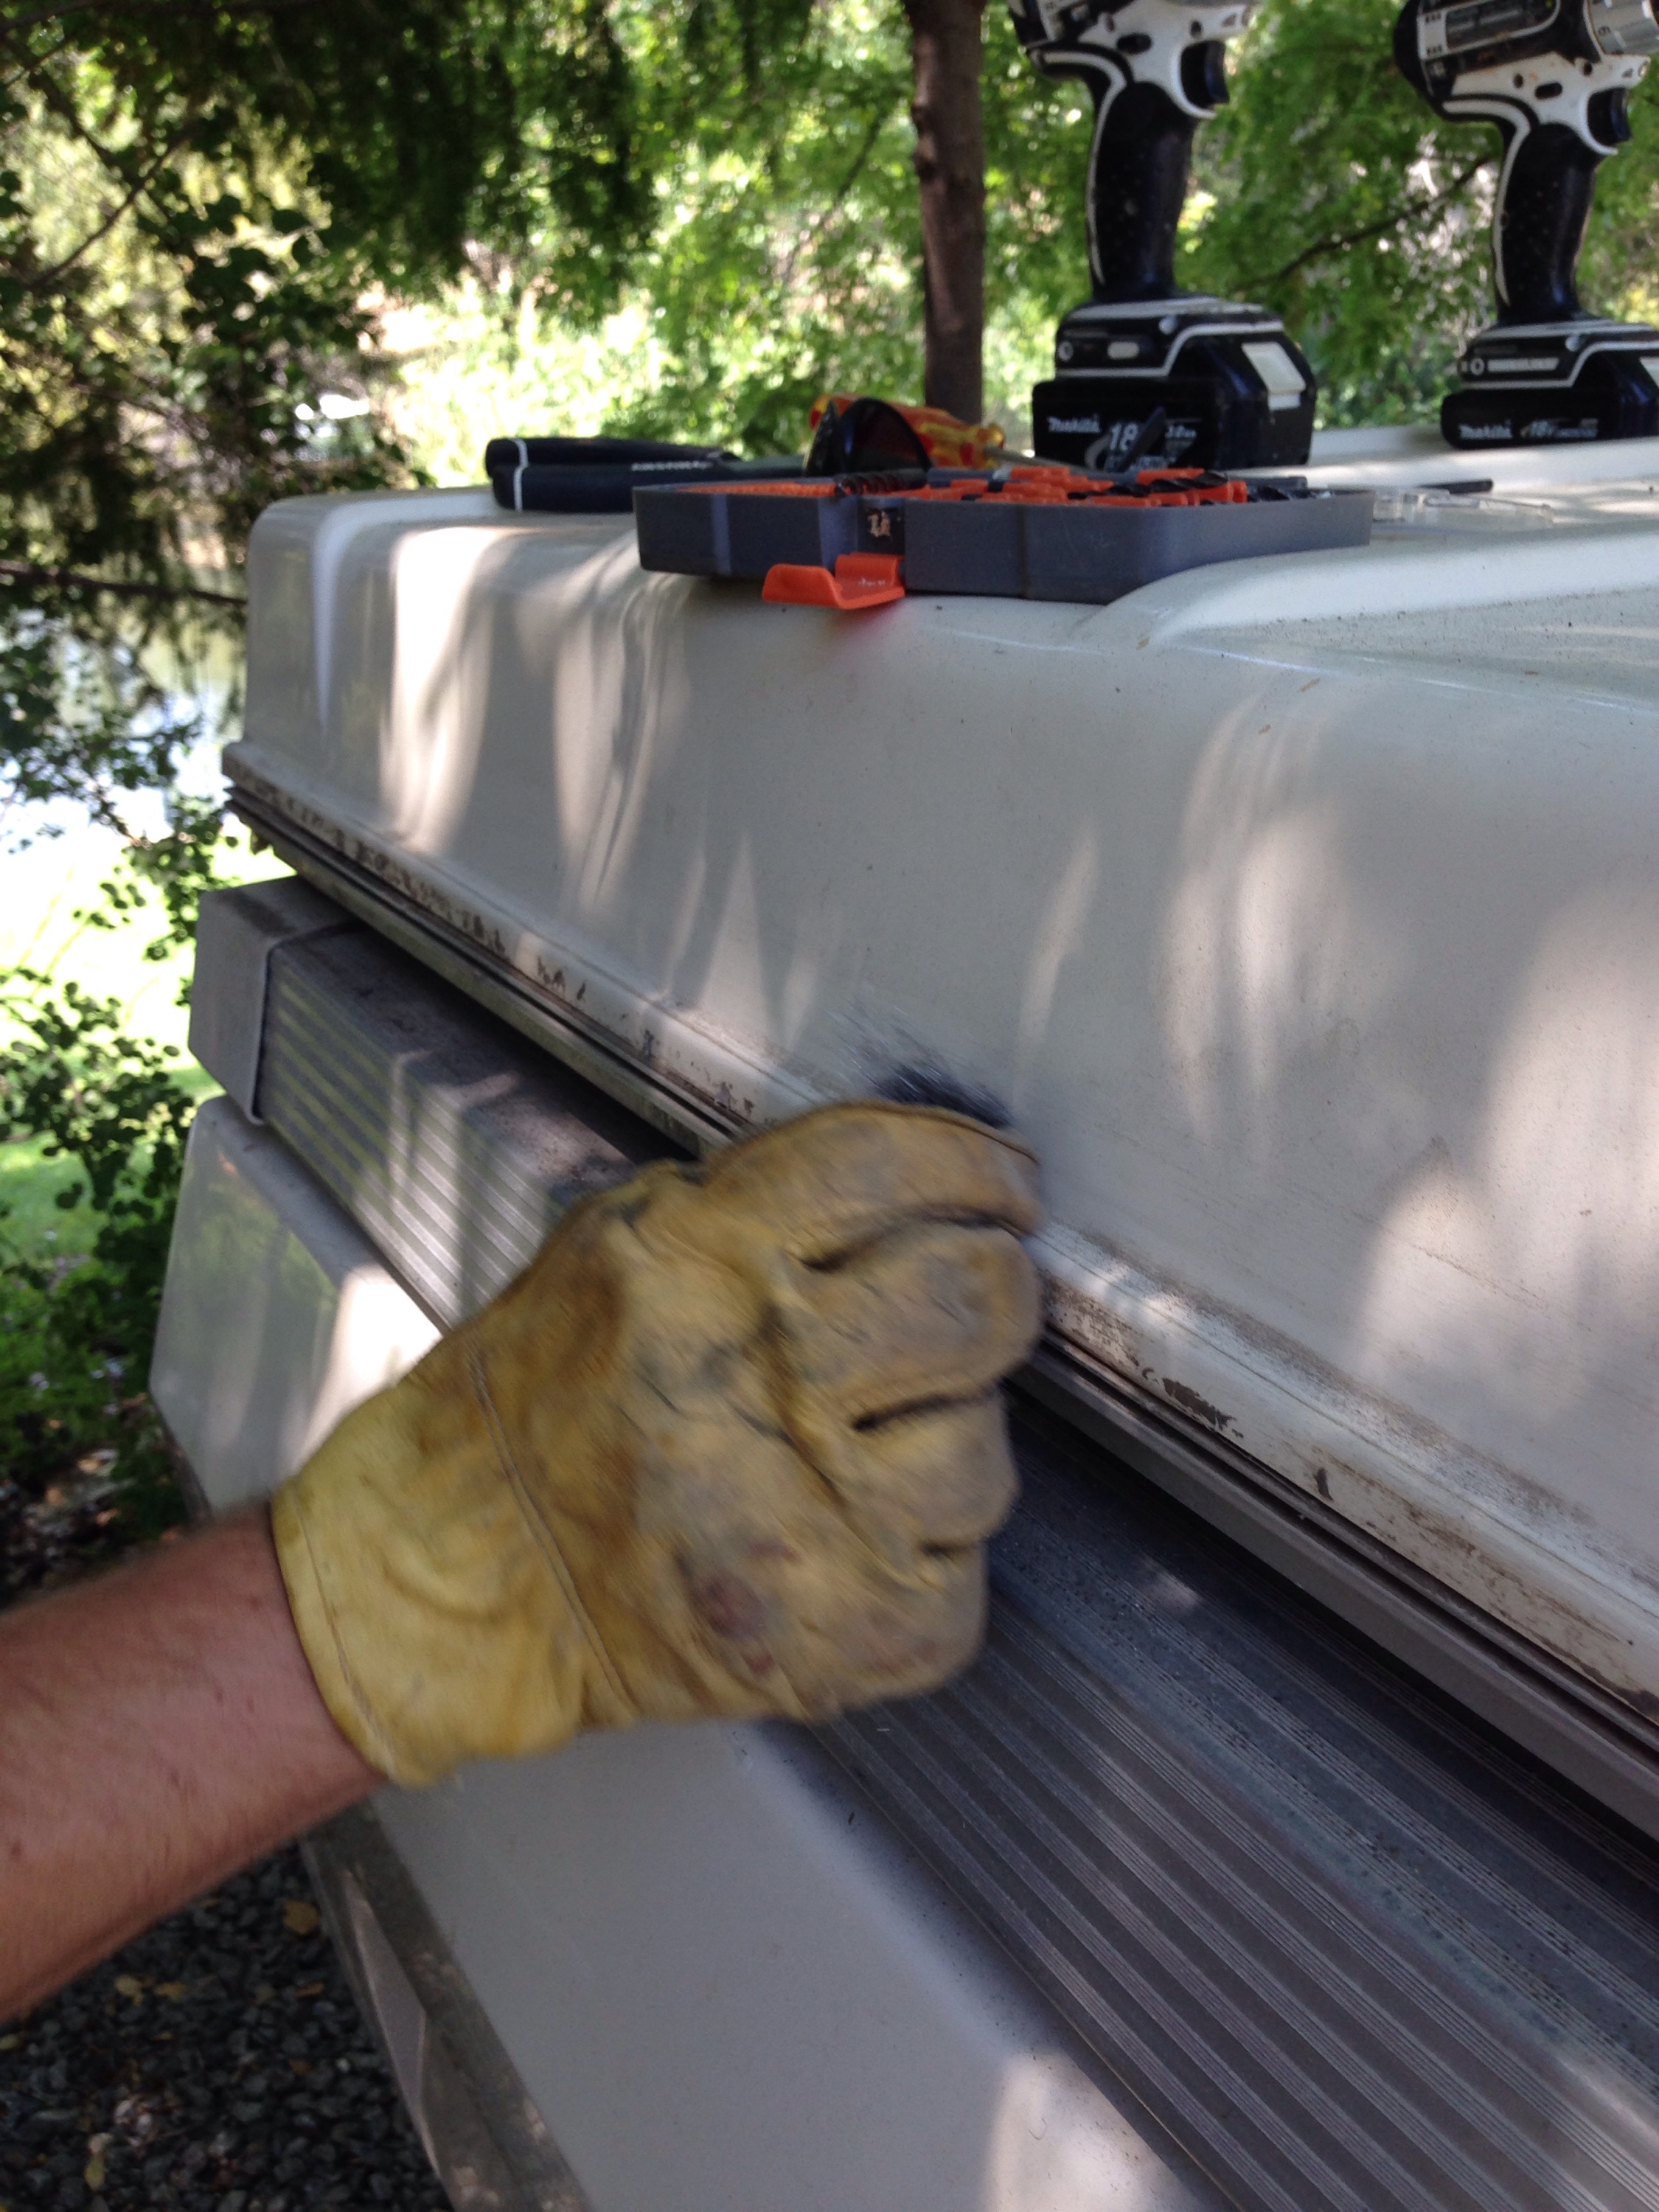
   After the surface was clean of gunk we replaced out the vinyl (even though our weather stripping was purchased from an Apache parts store) I still had to cut/shave down the “T” end of the stripping by hand with scissors. This allowed the stripping to slide perfectly into the groove of the roof line.    


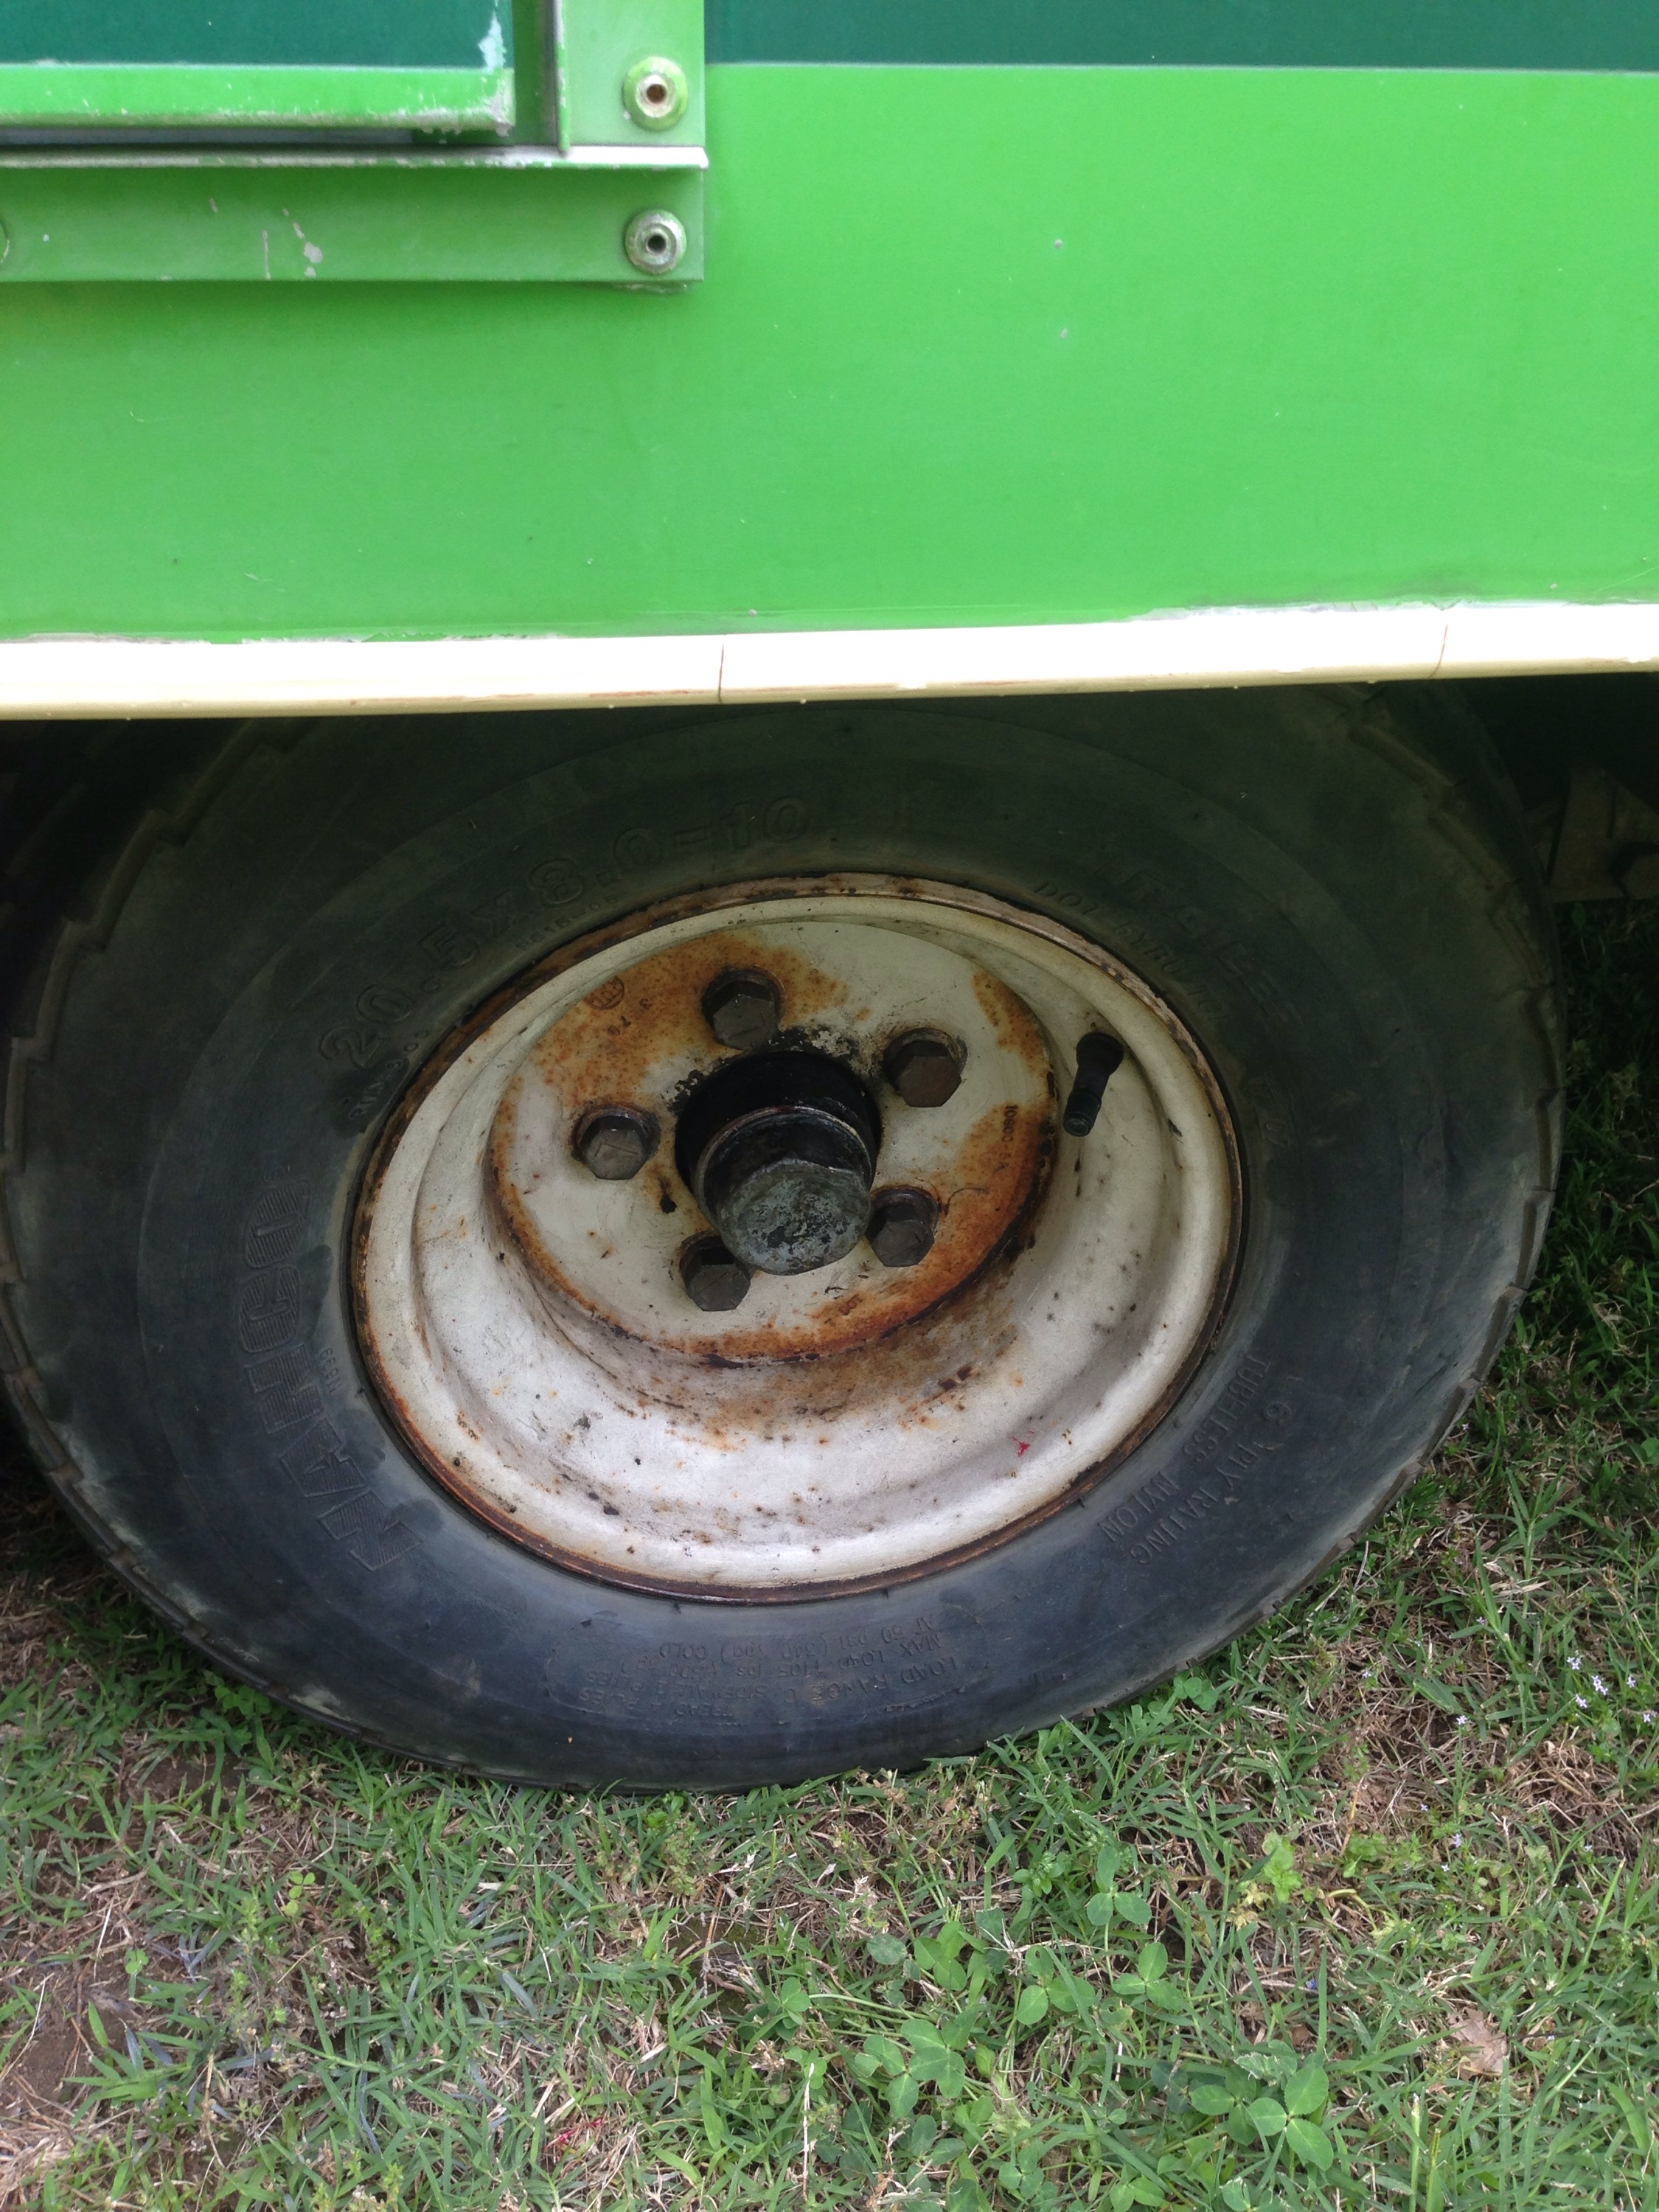
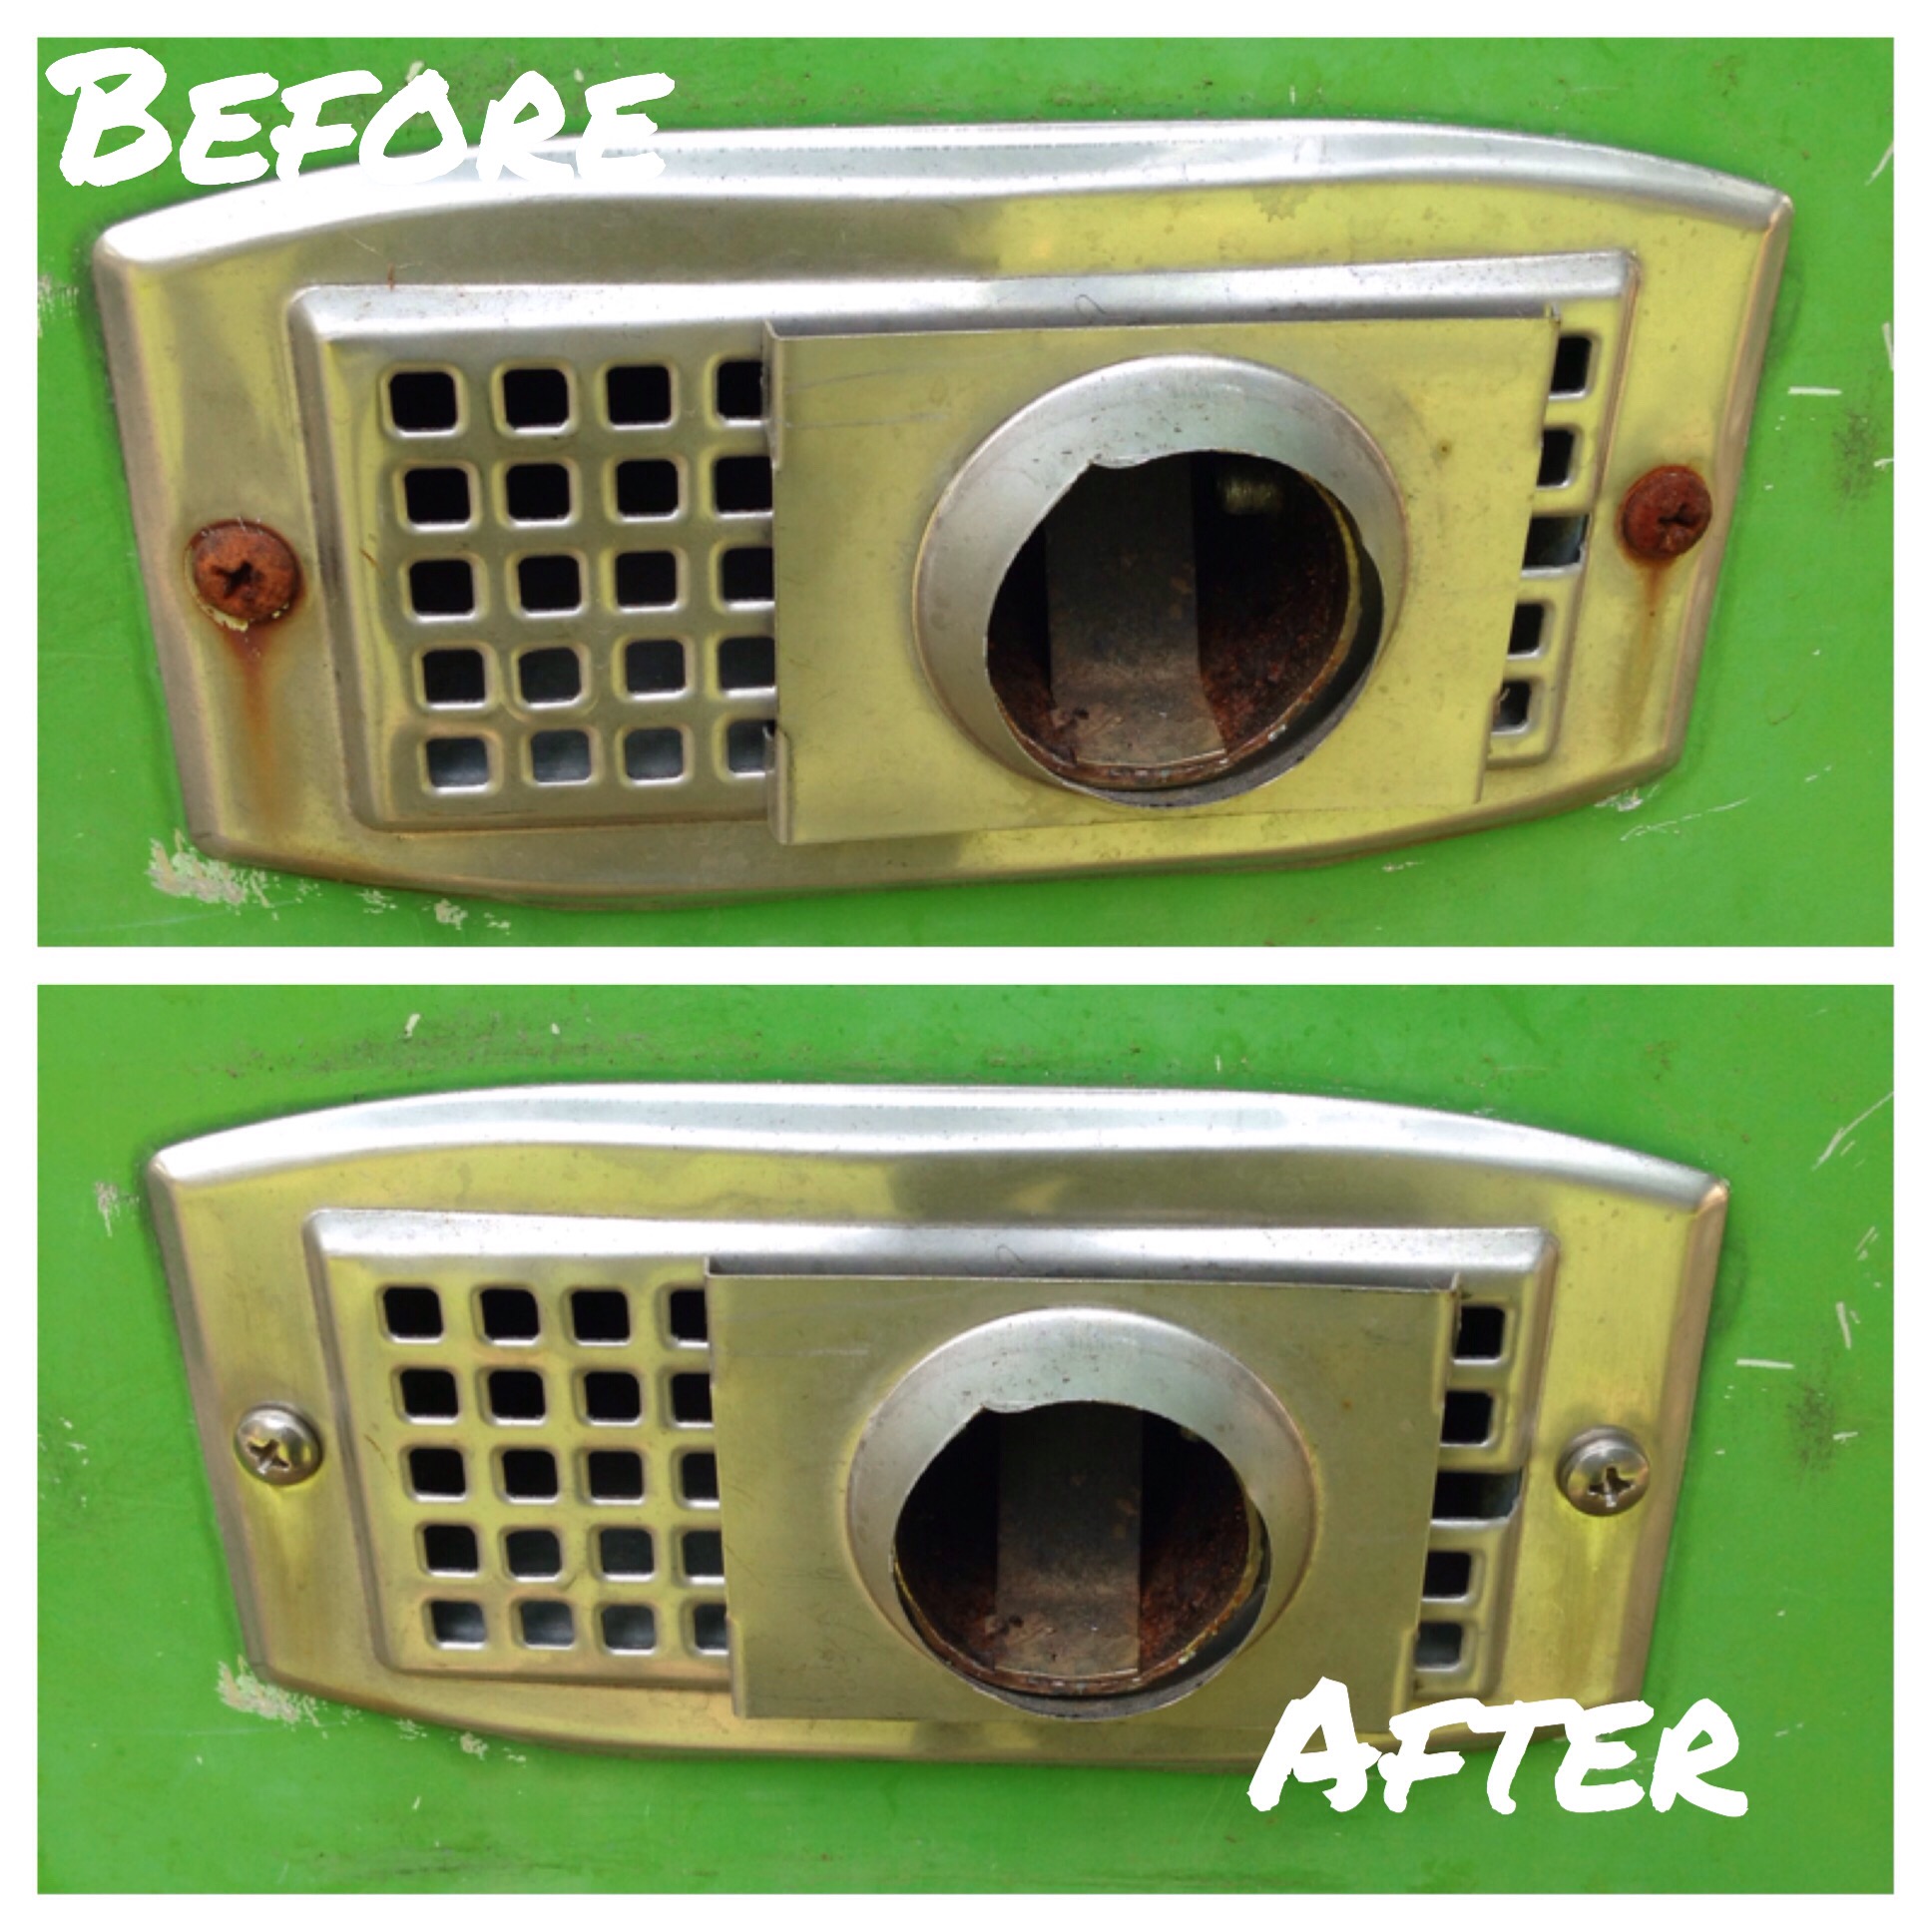
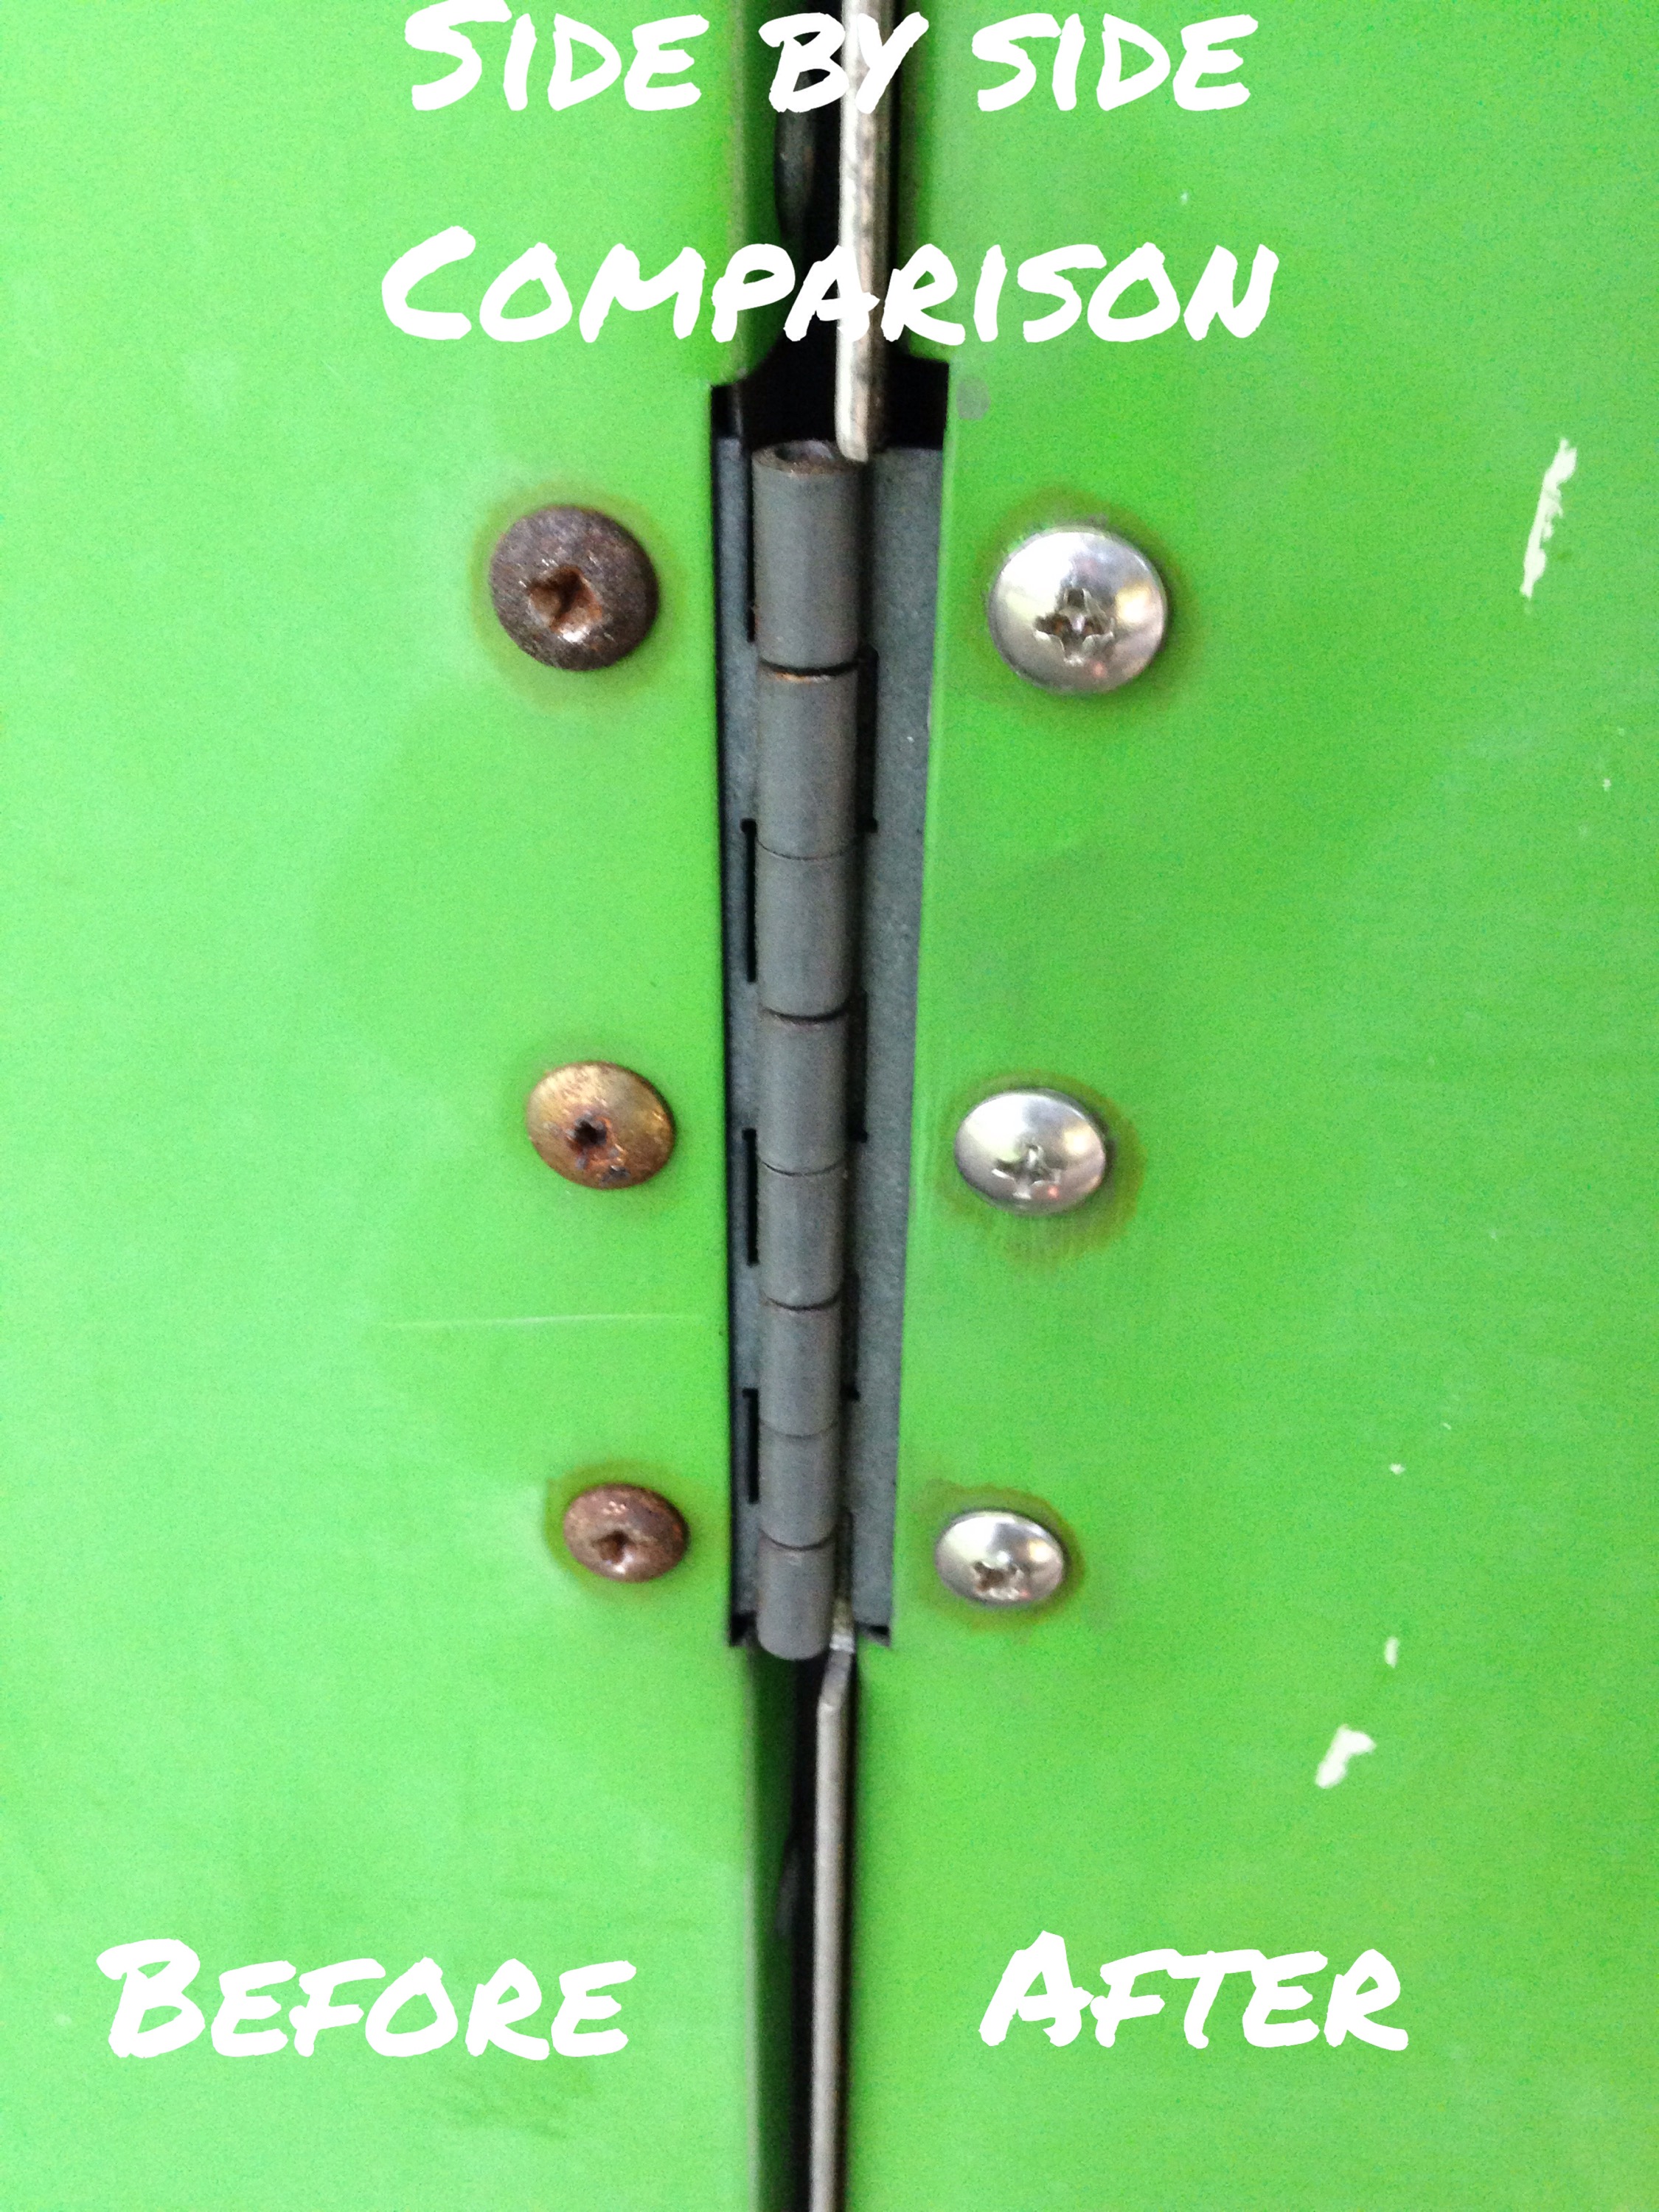
Next up was replacing out all the rusted screws of the Apache exterior with stainless steel ones. Some quick before and after pics… 

   As for follow-up from our last blog post, I did test the combination of Rustoleums Rust Reformer spray (matte black), followed by two coats of Rustoleum “painters touch” semi gloss black enamel spray. The results were fabulous and used this combo both on the trailer frame, and stabilizing jacks after another round of wire brushing rust… 


Lastly I attempted to remove the stubborn 1978 cracked decals. The heat gun method did not work, and rather burned the paint in my last blog post. I did some internet research and Roamin Fam’s blog had a cheap solution of just removing the decals with MEK solvent and a few hours of scraping. However their intention was to repaint the entire aluminum body, whereas I’m partial to the original green color. Also our paint is not in too bad of shape, probably just needs touch up paint and a good waxing. 

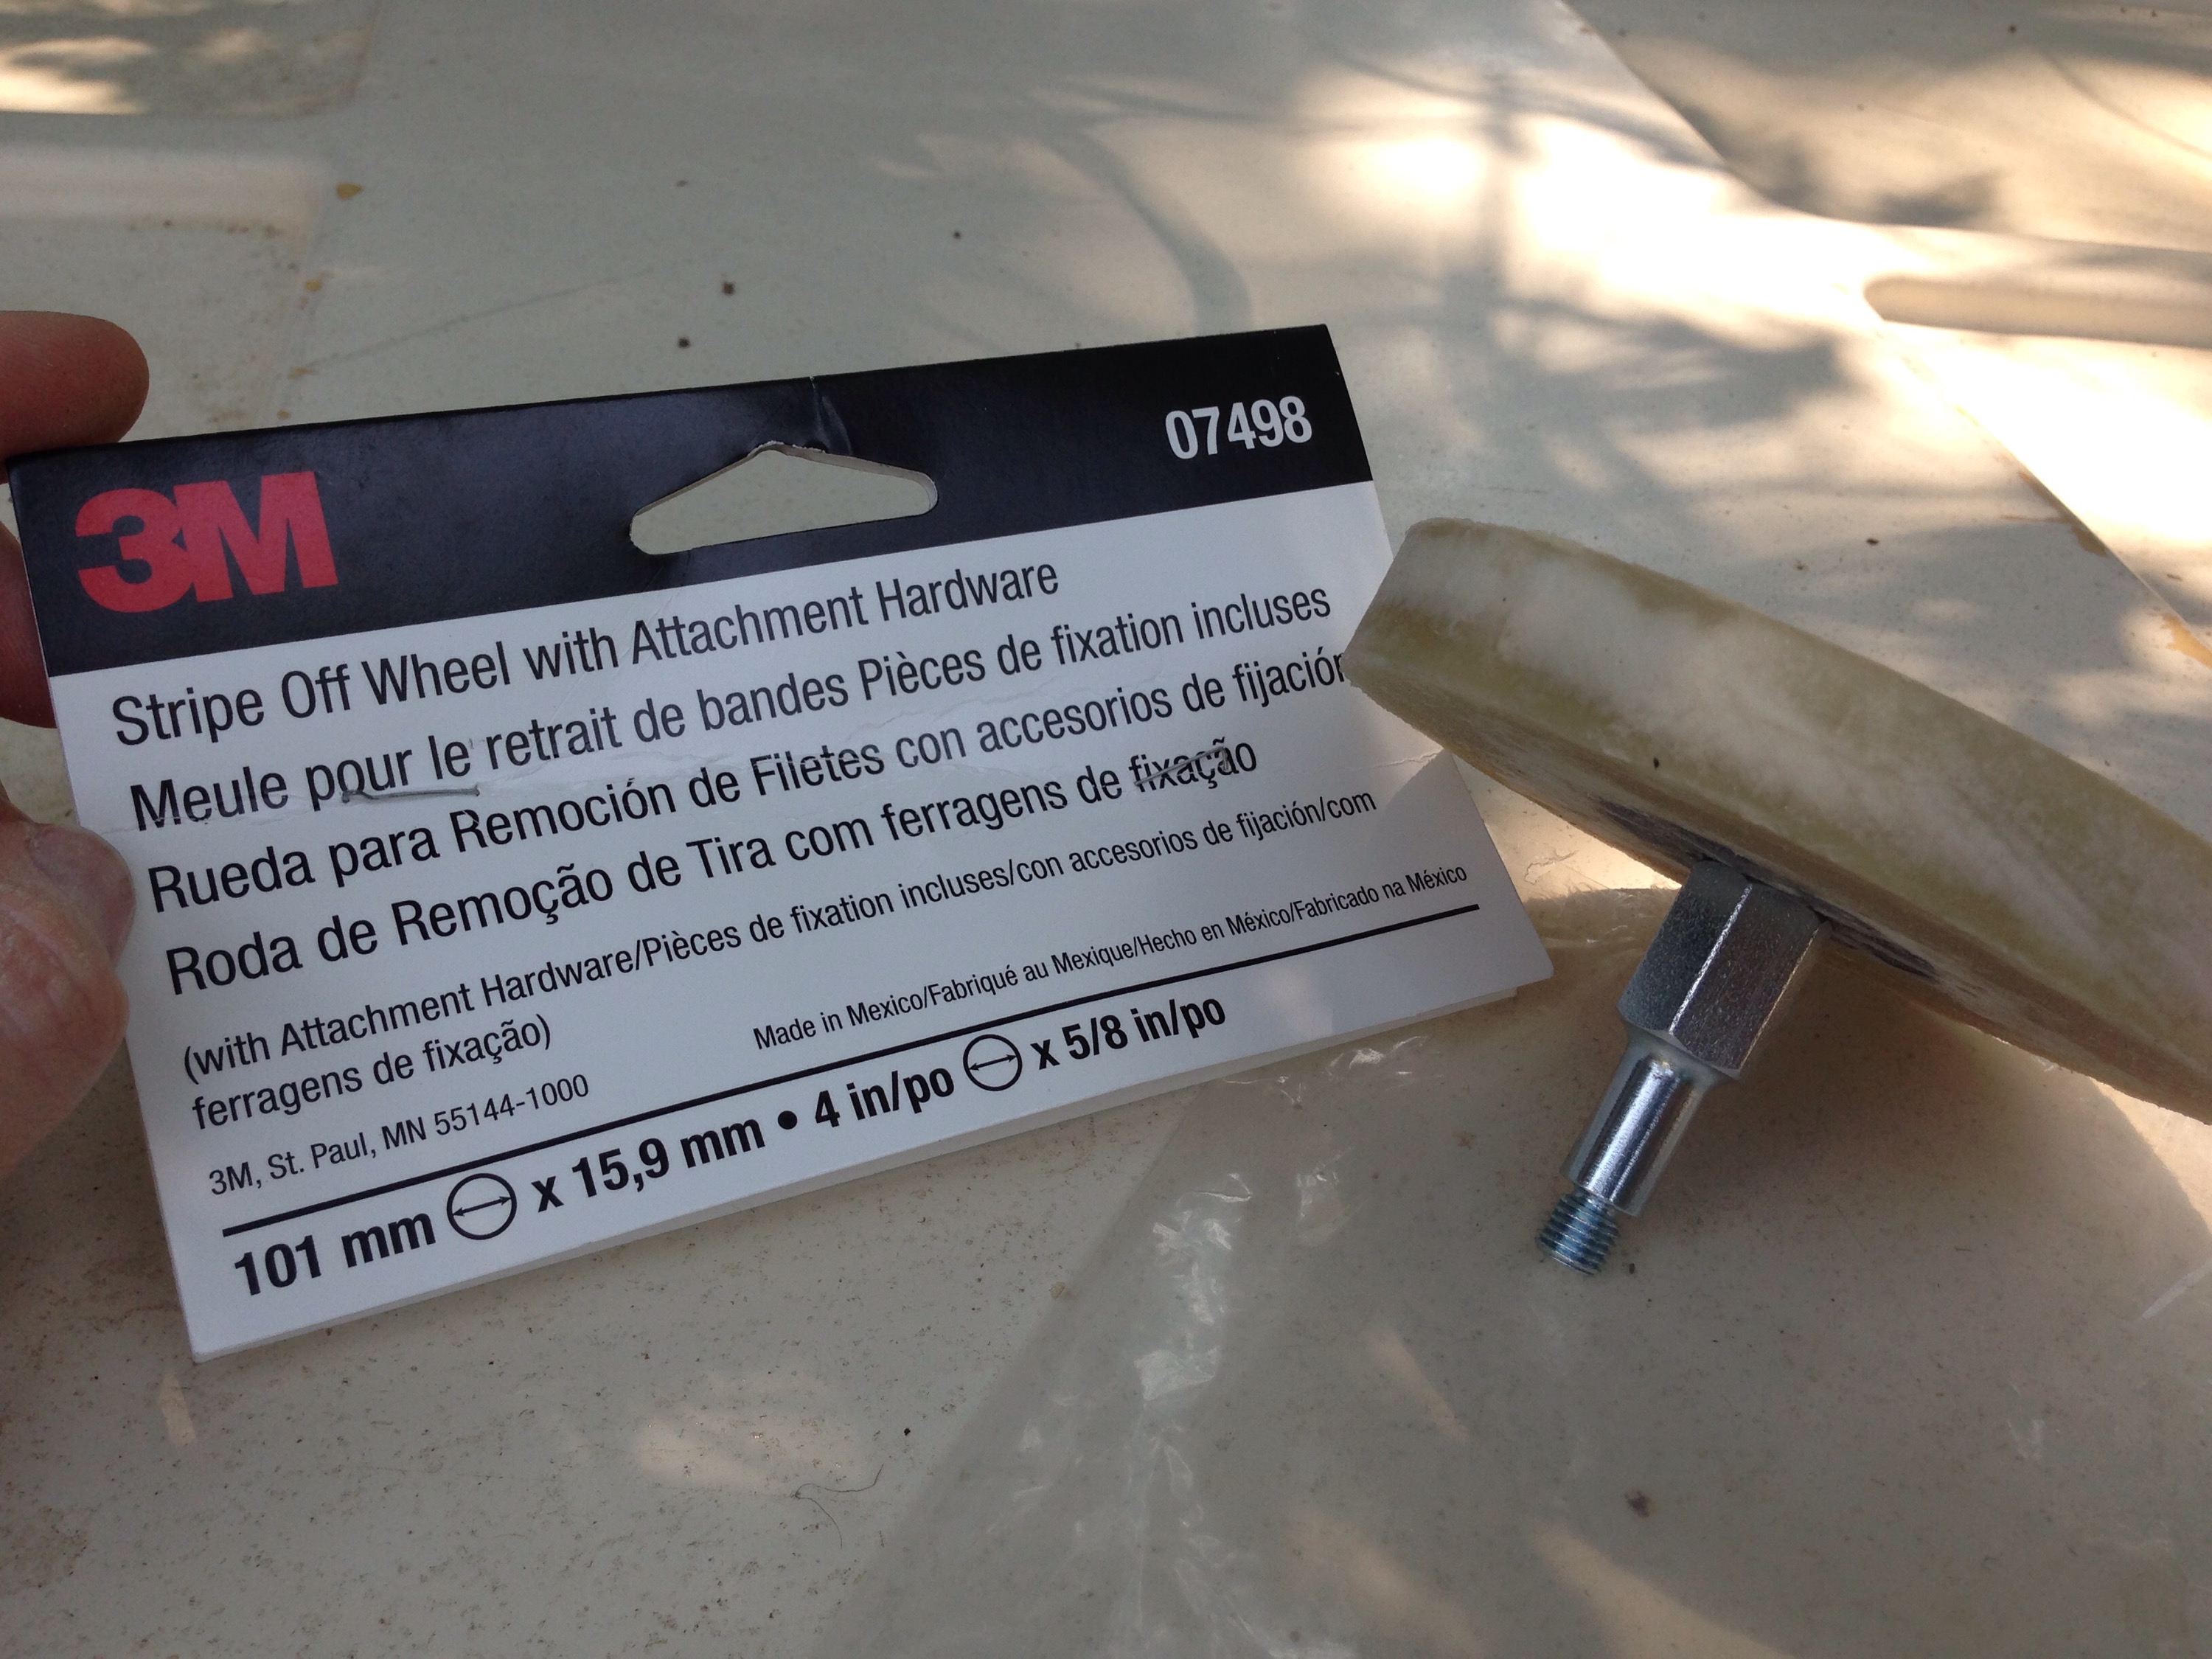
Reaching out to a couple auto body experts, the secret to removing decals, crud, etc from your car/trailer without damaging the paint is using a 3M eraser attached to a drill (FYI with cord, because you will kill your battery on a cordless, nor get the sustained 2700 rpms you need) However just be aware the price was $47, because I needed enough eraser for such a large surface area. 

  And what do you know it worked! 

FYI, my drill did get hot and the bit did not want to latch in at times. Therefore it was imparative for safety glasses, leather work gloves and most definitely a face mask. (Guaranteed you will be covered in rubber particles and old decal flakes!)  I also had to take several breaks to cool off the drill and my arms. One last tip, so as not to kill my back I sat on a bucket and used my knees to prop my elbows and support my arms working laterally down the trailer. 

The decals were stubborn, and it was a crazy amount of work, but I’m really glad I used the eraser method… 


I’m also really digging that teal/ blue stain leftover from decals against the lime green paint… 


 Maybe repaint the areas by hand in the same shade? Since  I don’t want to lose the originality and character of our vintage trailer. Also this color combo really captures the colors of that era. Would be interested to know if others used the eraser method and/or have repainted emblems? More to research…

All in all another weekend of “jello” arms but we’re getting closer to a rehabbed trailer, ready for the road. Hubs has promised me wine, dark chocolate and a back rub for all my hard work😉 

We have a deadline this summer to not only complete the trailer, but also haul it back to our own house. The to- do list has definitely gotten longer as we work on it each weekend. 

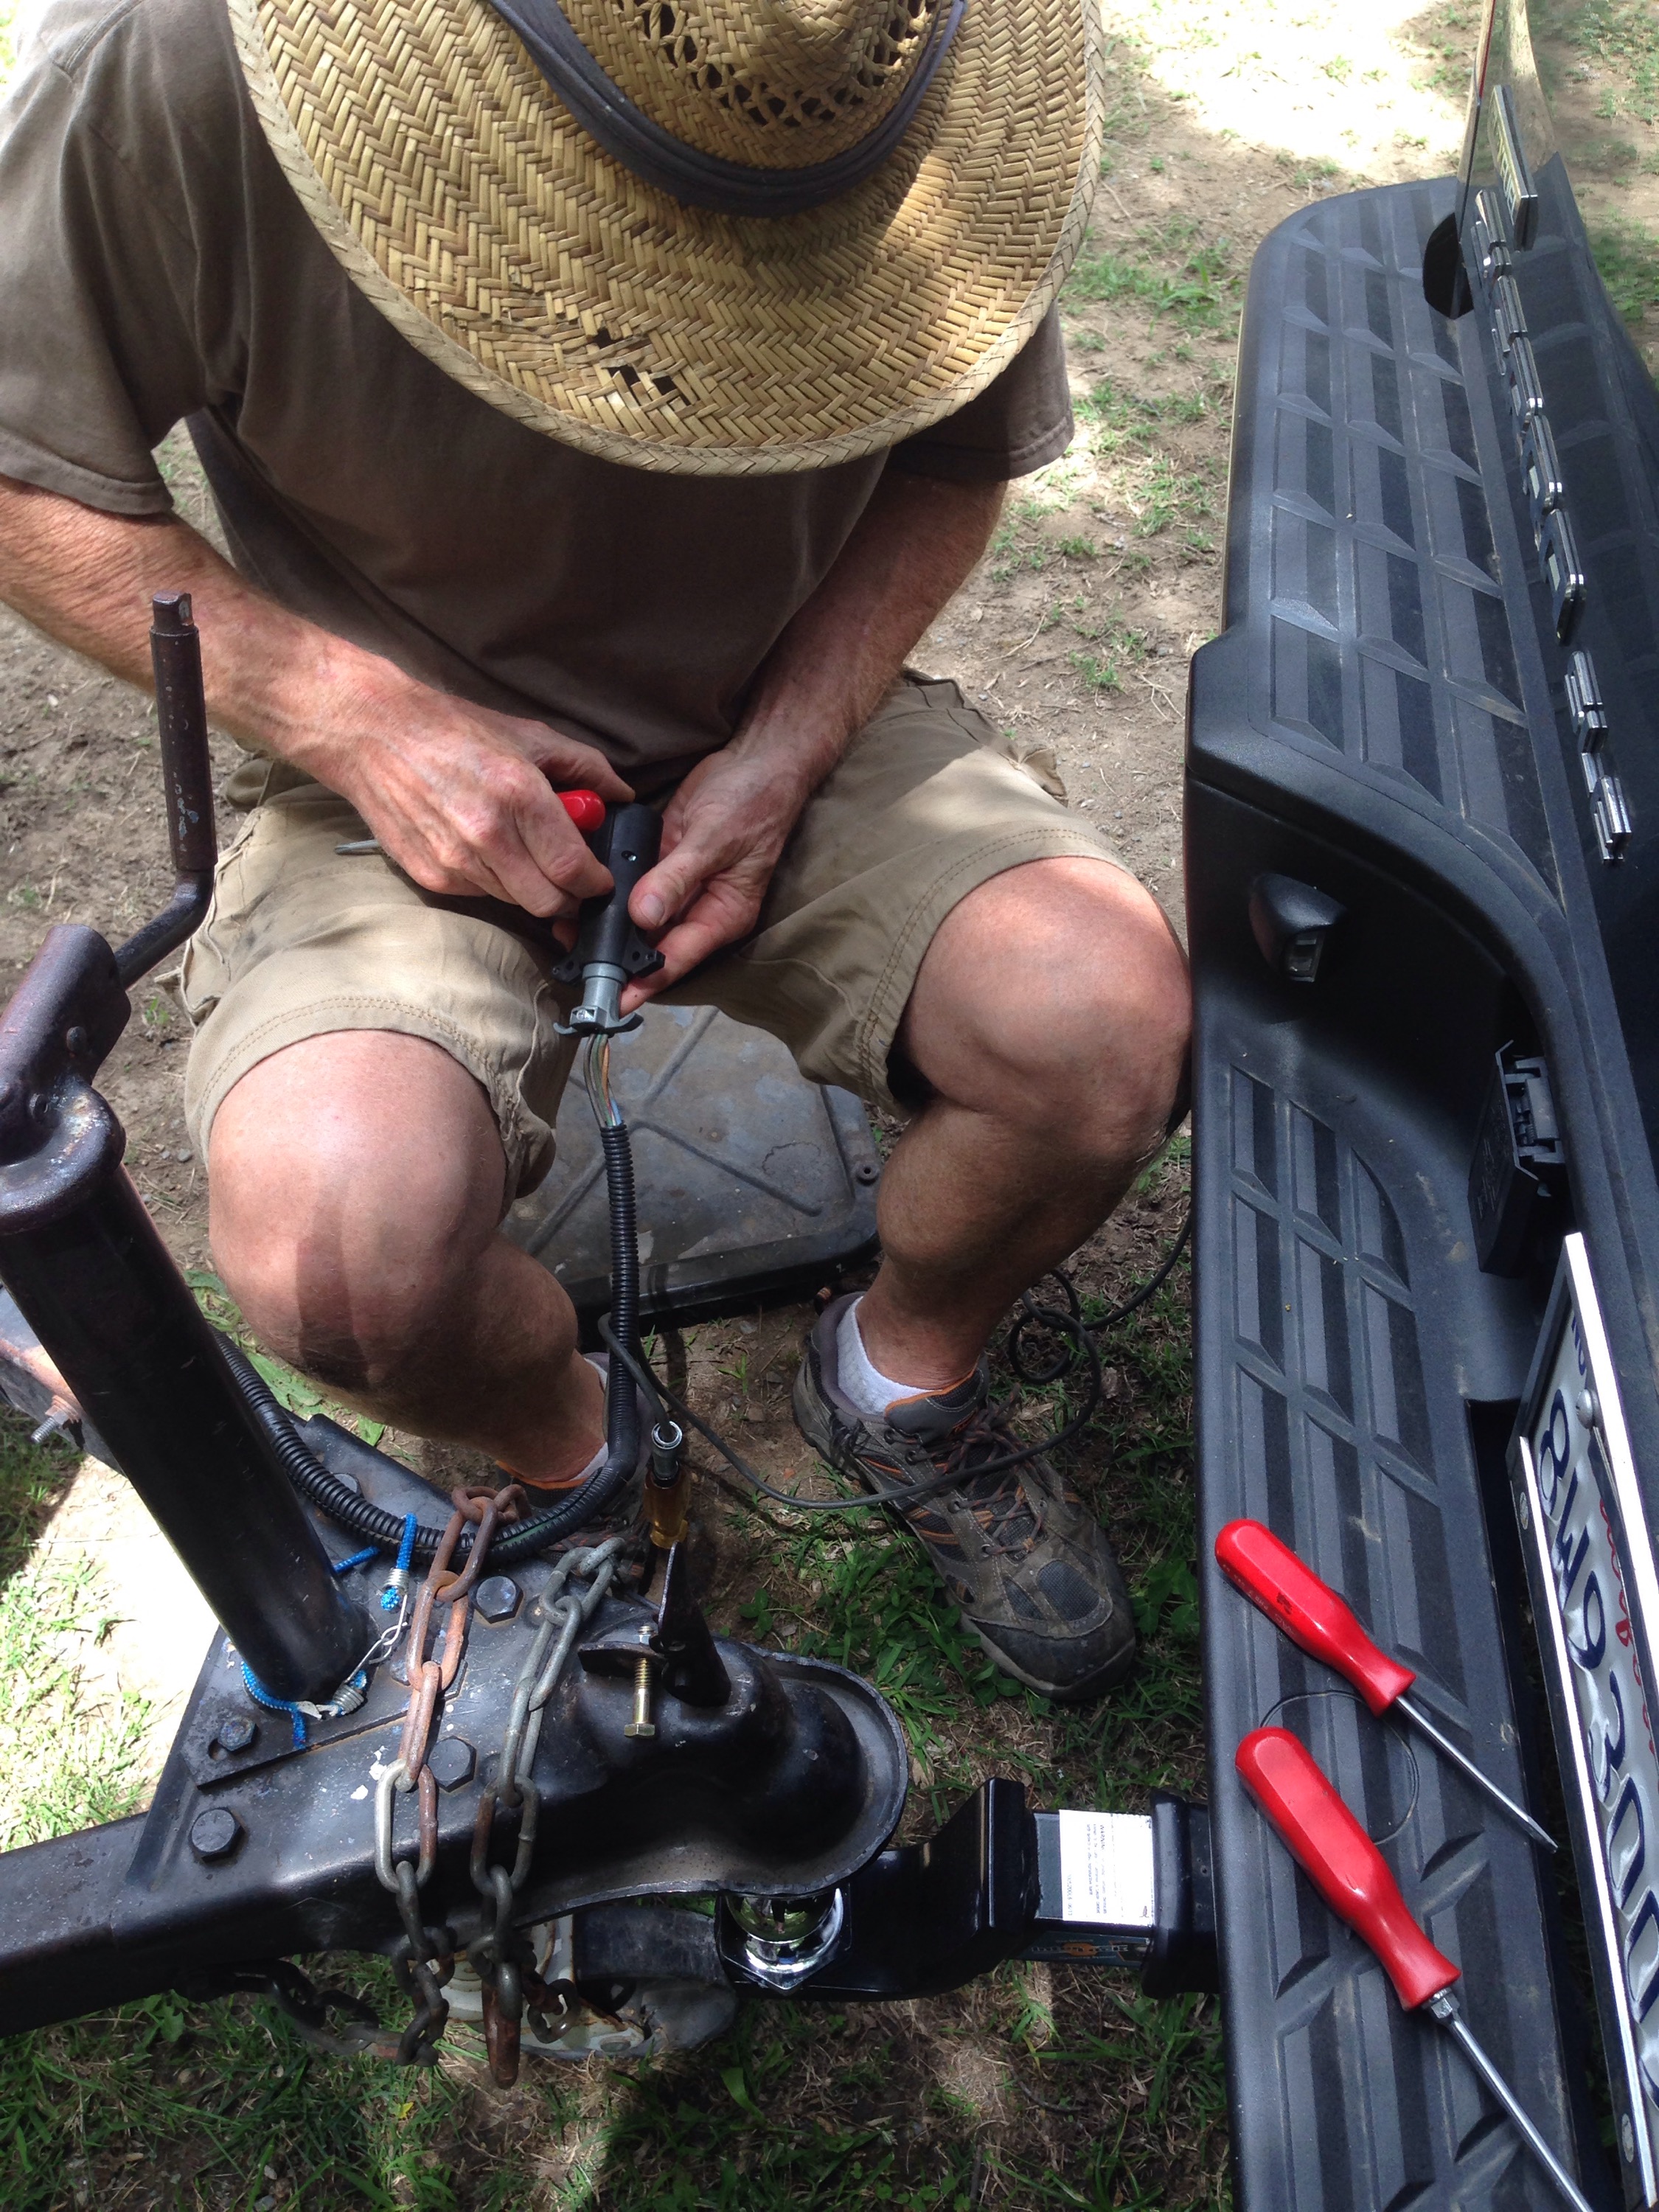
Hopefully next Sunday I will have mastered the finer points of ABS repair, rewiring tow lights and attempt to color match the panels and roof. I’m still biting my lip and waiting very patiently to rehab the interior of trailer. This girl wants to talk fabrics, color combos, and getting it “glamp” ready!👏🏻(So tired of boring maintenance work! 😫 I can be a “girly” girl sometimes people!)

More to come and thanks for hanging in (I know it’s not home renovation and dog friendly travel) but it’s a learning experience and a portal to future adventures. Happy Sunday everyone!

“Trailer Talk” Makeover Series: The Green Machine…The Clean and Safe Machine


 Over the last couple weeks we learned some valuable lessons about buying a vintage trailer…(even one that was well loved, garaged, and in good condition)… 

1. Towing safety is top priority! 

2. Unless it was plastic wrapped for its entire existence, there will be road grime and deep cleaning to do. 


Bleh😝

We’ve been trying to check these two very important items off our list and lets just say progress has been slow going (partially in part to my right wrist being out of commission after a running accident)

Now towing safety first…Which can mean several checklist items; trailer frame, tail lights, wheels and bearings. 

We mentioned in our last post in the series that our little Green Machine was off to be “lifted”. Which turned out to be more important than we anticipated, and found out there were several cracks in the trailer frame. 😁

We originally needed the trailer lifted a few inches to clear our steeply angled driveway and to potentially add larger wheels in the future. 

However our family friend found several cracks in the trailer frame to which we innocently overlooked. He repaired all the cracks and Green Machine is sitting a good three inches higher! Whootwhoot!👍 

Next were wheels and bearings to check off the list. Big thanks to my pops, he taught us how to repack the wheel bearings and surprised us with newly painted wheels while at work one day! So pretty! 

Last up with safety, driving our little Green Machine home we noticed the right indicator light would blink at the same time as our left. Also the right brake light was out. (Luckily for us, in California you only need one working brake light to get home 😳) However after much fiddling, bulb replacement, and testing we’ve decided we’ll need to rewire the trailer.  

 This also means two brand new, matching tail lights. (Rather than one original and “Mickey moused” one) Tweetys RV and Trailer Supplies online had new (nearly identical, #342) to the original tail lights. These should be coming soon and we’ll be learning the ins and outs of rewiring a trailer. 

As for cleaning 37 years of road grime… (And mystery stains)


We’ve found cleaning not only is therapeutic, but necessary for figuring out the trailer’s anatomy. For example we had no idea the trailer had 4 beds, or how to get to the water tank from the inside?! We’ll be highlighting the different and newly discovered features in the coming weeks. All sorts of little quirks you discover on your hands and knees mopping floors😉. Speaking of which, back  to more scrubbing! Happy Sunday everyone!

“Trailer Talk” Makeover Series: Meet the Green Machine…Our Vintage Pop up Camper Trailer

We’re knee deep into spring, summer almost here, and we’re happily stuck at home. Wait?! What?! 

You two trailmix eating, take your dogs everywhere, wanderlust, camping addicts are not travelling?! What gives?! 

Well, one big reason we’re not brewing coffee on a campfire this morning is because we have this project to work on…   Ummm, what is that? Was the hubs famous words when I showed him the craigslist ad. 


That my dear husband is called “compromise”… 

For 6 long years I’ve wanted a vintage trailer. Airstreams were my first love, followed by Canned Hams, Shastas, Aristocrat Lo-liners, Casitas, the list can go on and on. Problem has been, so has everyone else. With TV shows like Flipping Rvs now, restoring vintage ️trailers is the new “thing”. Leaving only  the trailers (that met our minuscule budget), were the hopeless, rotted out, run-from-screaming kind of projects. 

Another obstacle in our search for a vintage trailer has been the size requirements. We literally have the perfect space for storing a trailer, but it had to be under 7.5 feet wide to get it through our gate. Nor did we want to pull some massive beast, guzzling up gas along the way. 

There were other issues to consider, when you chose to go small, and vintage. The creature comfort of space, and lack of future upgrades like refrigerator or AC (due to the aforementioned lack of space). Hubs and I went round and round over things he and I wanted: 

Hubs

1. Not a money pit (newer preferred)

2. Something I can see over/low profile while driving

3. Can I get a king bed? Or at least not squished together on a full size bed.

Me

1. Vintage project! (Who cares if it’s a money pit)

2. Umm who says you get to drive and haul it all the time?

3. Agree, but I’m thinking about where to put the pups?

Unfortunately as we researched and shopped, all signs were pointed towards a newer (1990s) trailer or pop up tent trailer. My dreams of vintage fixers were sadly fading away. 

It wasn’t until I saw a 1970s Apache hard sided pop up listed on Craigslist last month.  I was literally the fourth person to call the seller. Five minutes later the ad was taken down (apparently there was so much interest and potential buyers the poor guy had to remove the ad) he had three buyers lined up already for Monday morning.  

Well after some research the  solid state did get me…I sat for two weeks thinking I missed the opportunity of a lifetime; perfect price, met the  hubs wish list, and I’d still get my vintage fixer. I won’t lie I moped a little, and we continued shopping for those newer tent trailers…ugh😝

Then the same Apache trailer craigslist ad resurfaced (not lying) morning of my birthday. This time the price had been increased by almost $400. Originally the seller hadn’t realized the cult following of these solid state beauties. 

Luckily we drove 70 miles for an “as is” trailer, only to find out it was in better condition then expected. Garaged most of its existence, you could tell it was once well loved. Two owners only (including the seller), and a clean title, with all original manuals. The current owner had planned to rehab it as a side project, but realized he didn’t have the time for it. (He also admitted he was tired of the selling process and Craigslist “flakes”…I guess persistence pays off😉) In the end he sold it to us for the original listing price and threw in for free the $250 worth of replacement parts/materials he previously purchased. 

Now here she is our little Green Machine, or as a friend called it our “transformer”…Pop-ups in disguise…


We’ll be working on this project over the summer, ending with a “maiden voyage” camping trip in Santa Cruz. There is so much design potential, and we’ll also include important nuts and bolts of trailer repair. Luckily for us rookies, there is a plethora of websites and groups focused on rehabbing vintage Apache pop ups. Our goal is to condense these great resources down into bite size pieces and specific projects in this makeover series. Right now she’s  hanging out at the parents house waiting to be lifted. (More to come in the following weeks!) Happy Sunday everyone!


Happy Dogs, Vintage Trailers and Chicken Soup

What do they all have in common?

20140817-214349-78229128.jpg

Give up yet? We did not lift a diy finger at all this weekend. Instead we spent time with the pups, laying on couches, and eating chicken soup while we tried to get over our summer colds. I also spent way too much time on Pinterest. (The best way to mindlessly waste a Sunday afternoon when sick) Our few ventures out of the house this weekend were to pick up a craigslist shell for the truck…

20140817-214911-78551941.jpg

( Wait did she just say truck?! Aren’t they little car people?) Yes, finally after 6 long years, we pulled the trigger and bought a used truck. You’d think after a couple fixer homes and monstrous dogs, a truck would’ve been very practical.

20140817-215425-78865844.jpg

Now both us and especially the pups are in love. The world of camping and adventures has been opened up to us. Including the dream of owning and restoring a vintage trailer.

20140817-215814-79094358.jpg
I’ve been blog stalking Kristiana of Silvertrailer.com ever since she’s been featured in Sac Magazine 4 years ago. Her air streams are just gorgeous!

20140817-220151-79311178.jpg

20140817-220151-79311334.jpg

However renovating these beauties are a bit pricey, and towing them even more so. Considering we’re tent campers by experience, I’ve turned my interest towards the idea of renovating a tent trailer. Compact, light weight, and inexpensive (used), renovating a tent trailer seems like a great baby step towards an actual airstream someday. Especially when there are so many cute ideas floating about on Pinterest…

20140817-220918-79758423.jpg

20140817-220918-79758731.jpg

20140817-220919-79759003.jpg

20140817-220918-79758583.jpg

20140817-220918-79758867.jpg
(Via Pinterest)

If you follow us on Pinterest you’ll see our outdoor adventure board filling up with all these wonderful sources of inspiration. The idea of renovating another little home “on wheels” is such motivation to save our pennies, and break out the tool box…I think once I’m over this cold the DIY sickness will strike again…Happy Sunday everyone!