Super Easy (and Cheap) Curtain Rod Hack: West Elm with Wood

For 6 months I was secretly watching these beautiful West Elm curtain rods, crossing fingers they’d drop in price… 


Um yeah no…Sorry West a Elm we just can’t drop a dime on curtain rods right now. (As pretty as they are😞) 

Instead we had these Martha Stewart “door knob” curtain rods, as free hand me downs… 


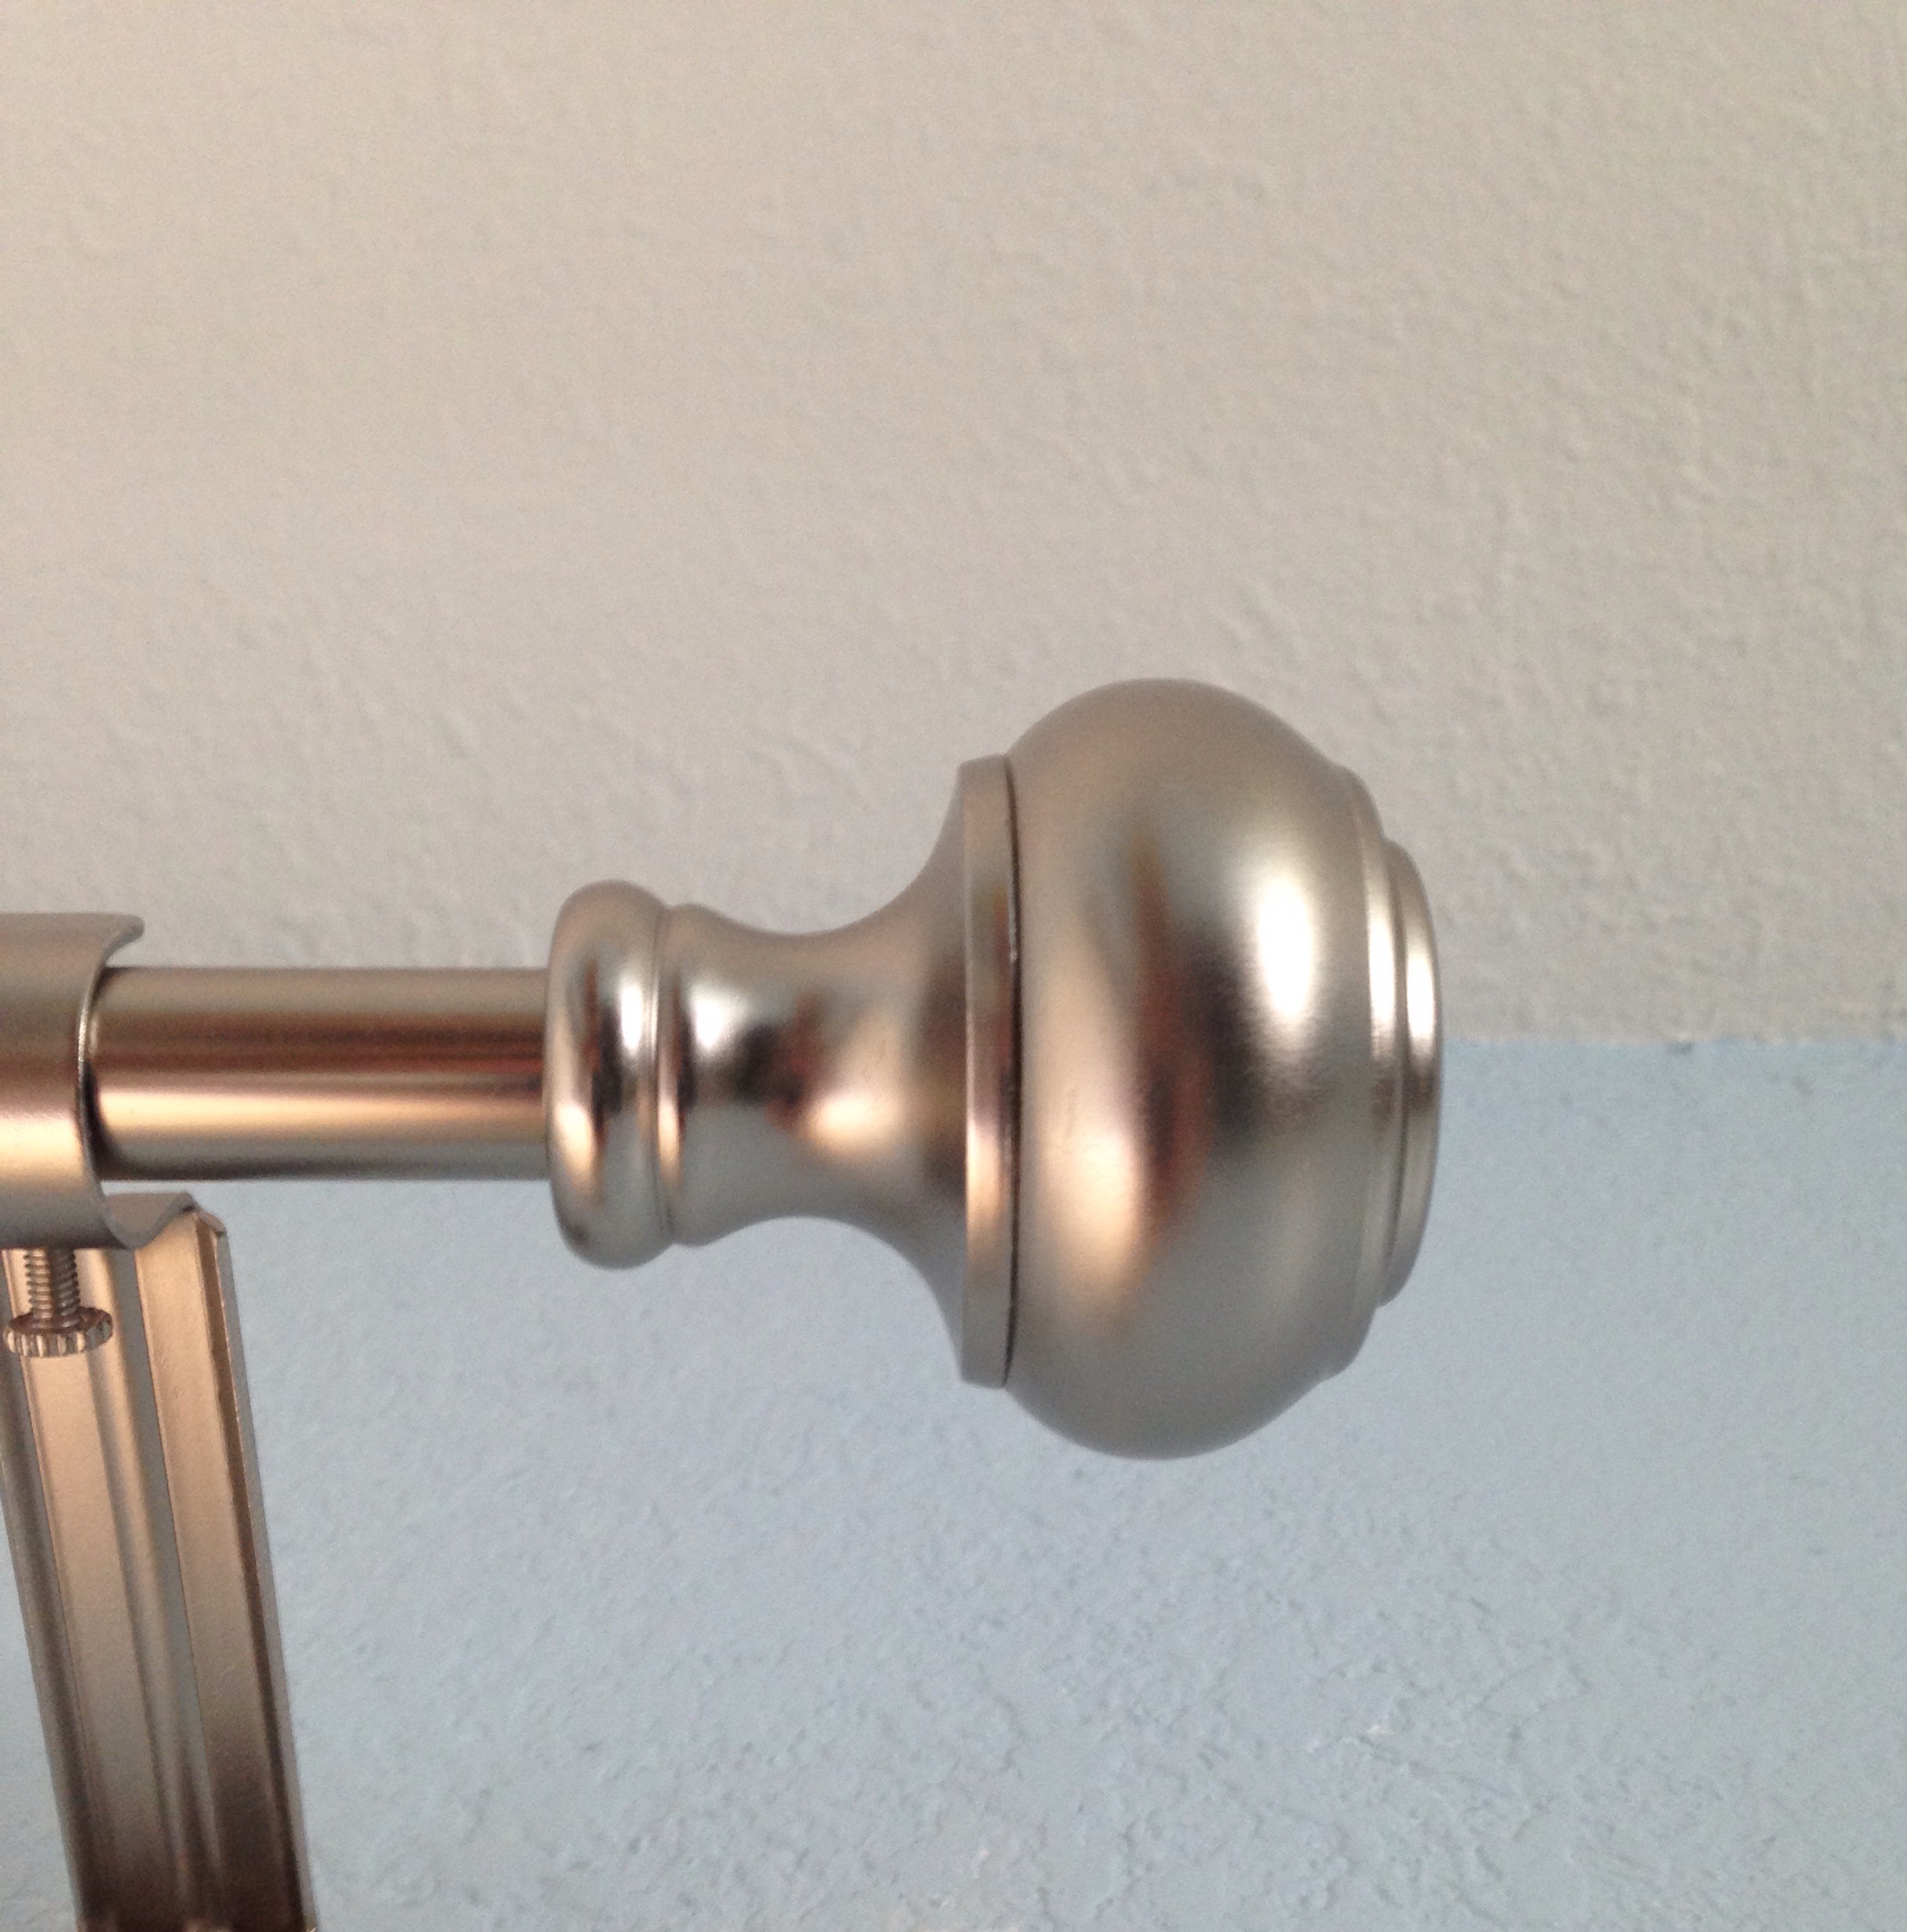
I guess these might be pretty but they aren’t the clean and simple lines of midcentury. West Elm seems to have captured that with their curtain rods. Darn them and their addicting product lines! Oh the decorating torture! 

After putting up our oversized map in the guest room I soon realized the existing curtain rods were too traditional and “knobby”. Also the “wood” frame of the map gave inspiration and would help tie the wood and metal together in the room. 

First we had some random dowels left over from our guest house cabinet project which I cut in 4 equal sizes. (I went with a longer 3inch length since I only have a hand saw and did not want to cut off a finger.) Then sanded each piece smooth. 


I found theses handy dandy curtain rod connector screws, and drilling pilot holes, screwed them into each piece.


Once done, I unscrewed each of the existing rod ends and replaced them with the new wooden dowel ends. 


Ridiculously easy way to change your existing curtain rods style without spending a mint. Hope you all have a safe and fun holiday weekend! Happy Sunday everyone! 

Ceiling Fan Re-deux

Here’s to the easiest DIY improvement year to date! Any homeowner or renter has encountered ugly ceiling fans at some point. Many replace them, others paint them, and then a few of us disguise them. Hands down disguising is the easiest and cheapest technique. Here’s a shot of the infamous 1980s, “mosquito fan” in the kitchen/dining room:

20140308-063432.jpg
It also doesn’t help with the ugliness, that this is the only room in the house with remnants of popcorn ceiling (albeit shaved off and painted). We also have a love-hate relationship with the original midcentury, tweed half- drapes (behind the fan) but that’s another story for another time.

However the fan is a high quality, Casablanca. Quiet, multiple speeds and fabulous light. Not bad for an 80’s throwback? Yet the fan needed an update. During our two weekends of marathon painting I finally grew tired of looking at it. Grabbing a drum shade from another light in the house and extra extenders I gave it the ol’ college try.

We used the same technique as our last, except we were able to use a smaller extender.

20140308-072213.jpg

20140308-072238.jpg

Yet altered our technique by adding a large washer between the shade and connectors in order to stabilize the shade. We also did not add extra chain and threaded the main chain through the middle of the shade. This allowed for a cleaner look.

20140308-072911.jpg

Lights on!

20140308-072956.jpg
Such an improvement! It’s almost pretty!
We actually are warming up to the cream colored fan blades and hint of gold brass. Originally we had the notion to paint the whole thing oil rubbed bronze, but the dark color would’ve drawn the eye towards ugly ceilings.
Also brass is starting to make a come back, and the fan ties in well to our mid century gold knobs in our built ins.

20140308-074434.jpg
Now the light is complementary and blends well with the room.

20140308-074621.jpg
Slow and steady seems to be our slogan these days. I’m sure you’ve all been in that frustrating place, torn between a budget and beautification? I think the muddy paw prints all over newly painted floors did me in. I am seriously close to entering us into one of those home make over contests! Ahmed of Yard Crashers may have a DIYer stalking him soon(just kidding Ahmed, nothing but love)

Who would’ve thought bringing a kitchen back to a neutral color pallet has been more work than expected. At least this was one easy and cheap update.

20140308-075600.jpg
Back to painting…Happy Sunday everyone!