Spring Has Sprung! (Unless you Live in California, then it  was Back in January)

We were hoping to share our latest foray into concrete countertops…


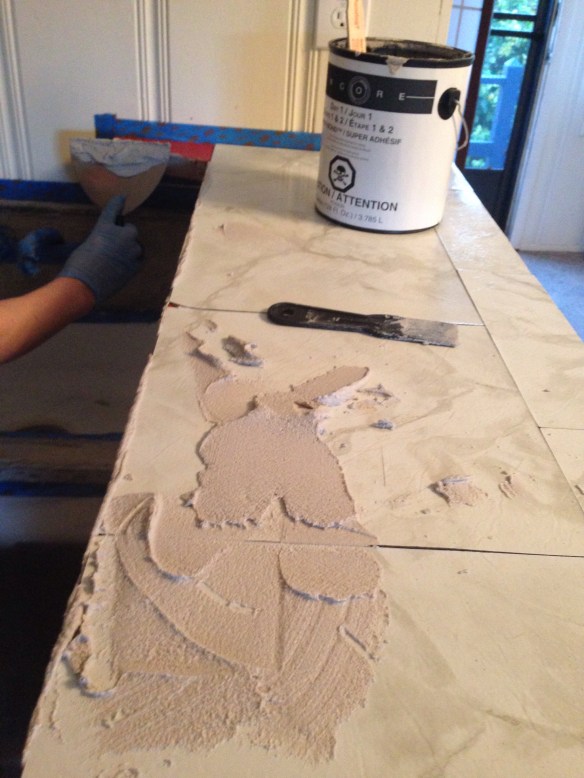
…But it just wasn’t meant to be. 

I should know by now that no DIY project goes according to plan.(Especially when you tell all your readers ahead of time-then its a sure thing your project will run over schedule) So instead of showing you our new concrete counters in the guest house, we’ll distract you with pictures of pretty flowers…


Yes we’ve been in full bloom out here in California since January. Lovely weather but unfortunately we all are expecting a long hot summer. (No really the east coast should start selling us snow, we’re in a water crisis over here) 

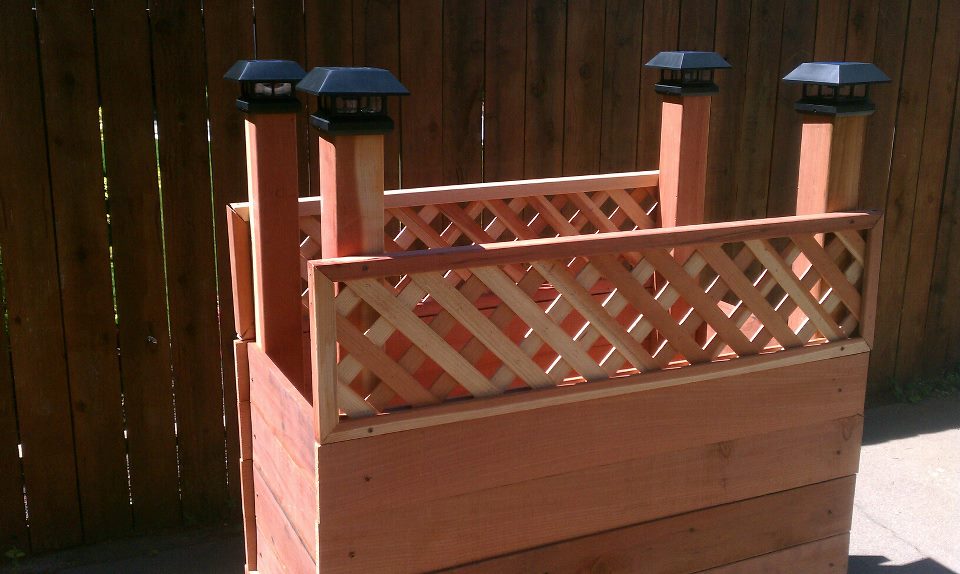
In the meantime we’ve  taken the opportunity to add a few new flowers and finish another unfinished project that has sat around since last spring. Like these hanging baskets…


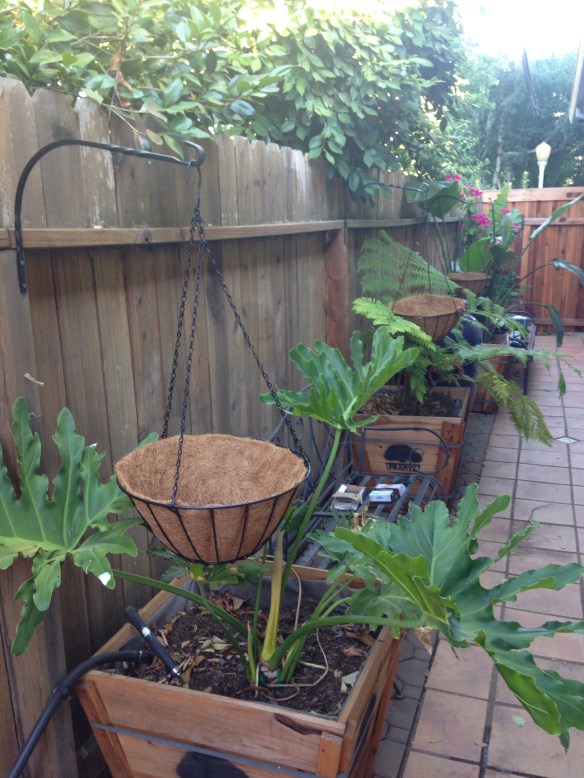
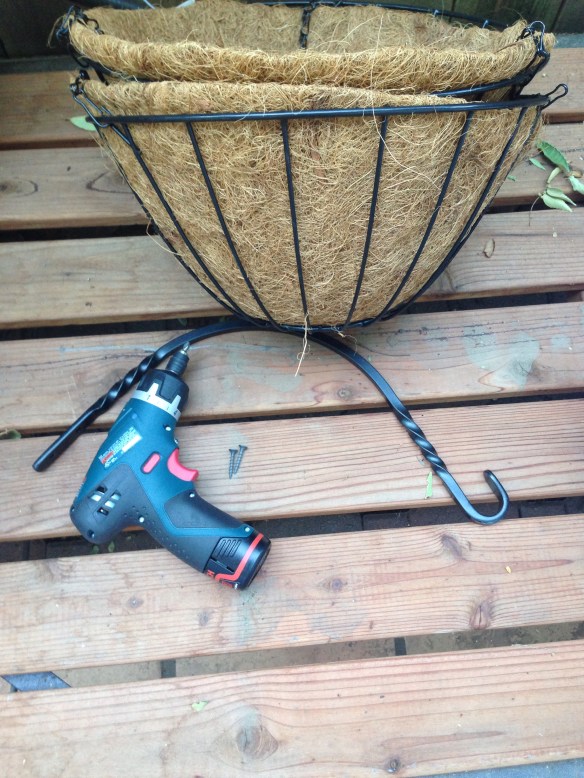
Which have been hanging around without any plants, and just collecting leaves all through the winter. (Project procrastination” it’s a real sickness people)

Last year we were so busy landscaping our drought tolerant, “dog proof” backyard, I’d forgotten about the baskets in the sideyard.  

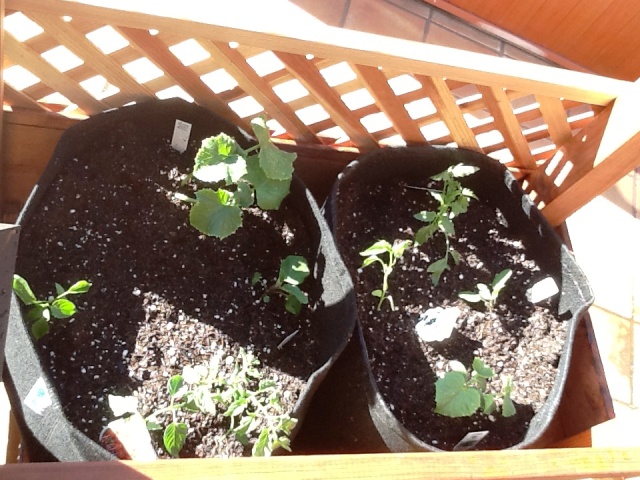
One thing we’ve learned with our dogs is that they are magnets to new plants and fresh soil. (Especially soil mixed with manure – they go nuts for the smell) Therefore we’ve learned to plant “up”. Whether that be with tall pots or hanging baskets, the technique keeps curious wet noses out of our plants. Also when you do plant “up” it means you can add not so “pet friendly” plants to your garden. Like jasmin, lilies and begonias, which may be poisonous to dogs. 


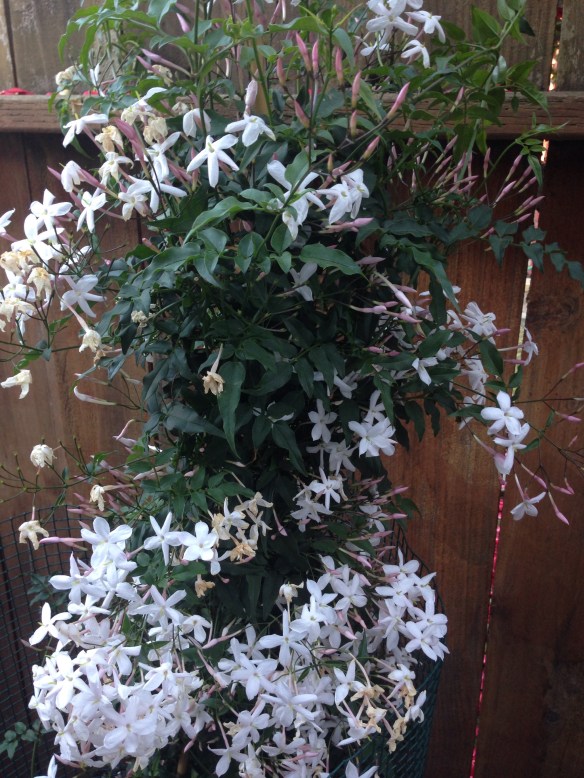
Although the jasmin was not planted in a basket (the papyrus died so we had an extra tall pot sitting vacant) We instead wrapped it with green chicken wire to keep the dogs out. Also the sideyard is shaded  and sheltered enough for the lillies and begonias withstand the summer heat. To conserve water/moisture we’ll probably add mulch to all the pots and baskets. 

We still have more updates for the sideyard and cleaning  up but it feels good to cross another unfinished project off the list.


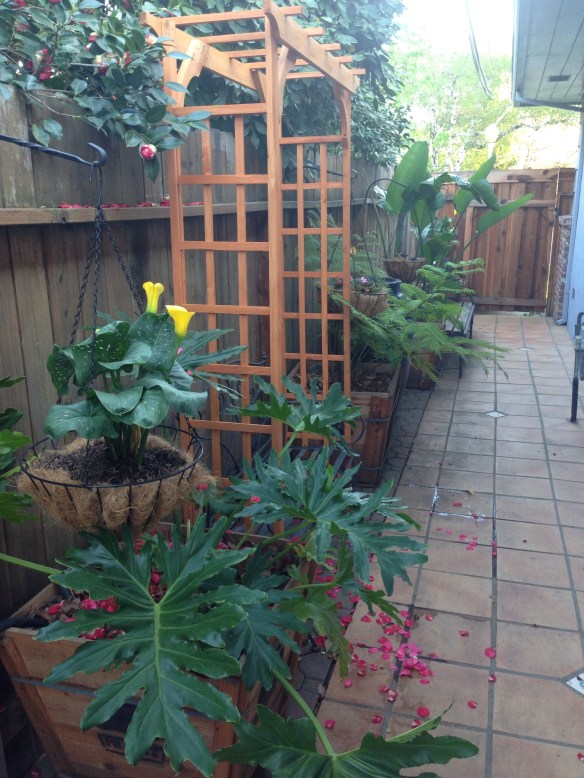
This area is still one our favorite places to sit in the shade. Now you’ll know where I’m drinking my coffee this morning and beating  the spring heat. Happy Sunday everyone! 

Did you miss us? Where are we today…

Summer is nearly over! Hopefully you’re all out doing something amazing this Labor Day weekend! We’ve spent the last couple Sundays trying to squeeze in as little diy labor and as much summer fun with the pups as possible. (Sorry folks we’ll be back to tackling fall house projects soon enough) Today we’re hiding out over at Studiogblog.com a website all about beautifully designed gardens and fabulous backyard inspiration.

20140831-071426-26066052.jpg
We were thrilled when they asked to feature our (nearly) dog proof backyard makeover! The website is just gorgeous, filled with gardening inspiration, and is an absolutely addicting website. Send LHBD some love, leave a comment or like us on FB, while you’re checking out studiogblog.com In the meantime the pups and us wish you all a safe and wonderful Labor Day weekend! Happy Sunday everyone!

What to do with extra posts?…

That was the question…I desperately wanted a vegetable garden, but there were two big obstacles standing in my way:

1) Two monstrous dogs who literally eat everything in sight (including vegetables).

2) Moving shade, due to all the trees in our neighborhood. The only place with full six hours of sun was on the tile patio.

Using extra material from our Privacy Screen project

The rolling, [dog proof] vegetable garden was born!

rolling garden cart side view

rolling garden cart baby plants 4

This cart stands about 4 ft tall, with two lattice sides for added height to keep wet noses out of the tomatoes. Here’s how we did it…

1) Using two left over 8 ft x 4 inch redwood posts, cut in half and 4 (6ftx 3/4 inch) redwood planks cut into two pieces ( a 2 ft cut and 4 ft cut). We also had 2 left over boards of 6 ft x 2 inches, (again cut into 4ft and 2 ft pieces). We connected the bottom with the sturdier (6ft x 2inch) boards and posts using tan deck screws, and essentially framed a rectangular box like the diagram below: (Extra tip: To add stability we added an extra piece of scrap wood, cut just shy of 2 ft and it helped stabilize the frame by screwing it across the middle of the box)

rolling garden card diagram 1

2) Working our way up the top we stacked and screwed the 4 ft and 2ft redwood planks to the outside of the posts.

rolling garden card diagram 2

3. To add additional height and protection from hungry dogs we cut and added redwood lattice to two sides of the cart. Then we screwed heavy duty wheels with breaking mechanisms to the bottom of the 4 inch posts. As well as brace two 2inch x 4ft boards running parallel along the inside of the framed box. (see pictures below for a better visual) This would allow for heavy duty metal wire racks to lay on them. The pots of plants sat on top of these racks, since we needed to allow for proper drainage when watering the vegetables.

rolling garden cart inside

rolling garden cart baby plants 2

4. Add a few solar post lights for decoration, and using Geopots, we now have a rolling [dog proof] vegetable garden. Here are the tomatoes starting to spring up…

rolling garden cart baby plants 3

And here again are the tomatoes that actually survived the Sacramento heat spell we just endured a couple weeks back…

rolling garden cart baby plants 4

We hope to make a few more carts in the future. Only instead plant them with different, lusher, and decorative plants for under our future pergola. These also work great for blocking off the outdoor dining space from our two big chow hounds.