Defrosting the Ferns…Easy way to Protect your Plants during Winter

Yay! Fall (and in some places Winter) is upon us! Only problem is if you have tropical plants (zone 9-9b+) you know its also time to protect them. We’ve used the special frost fabric, and even old bed sheets in the past, but here is our newest and cheapest technique for protecting plants from winter’s chill. This inexpensive trick was suggested by the garden experts at Green Acres here in Sacramento after we almost fell over looking at pop up “frost tents” ($17 a piece!). All you will need is some burlap (a roll is about $10-$12 at Home Depot), long bamboo stakes ($0.89-$1.50) and lots of dried leaves (we have plenty of those this time of year). As for tools you’ll need only scissors and a hand staple gun. protecting plants from frost 010protecting plants from frost 011

First sink your bamboo stakes, either 3 or 4, to a pot/plant depending how large your plants are.

protecting plants from frost 006

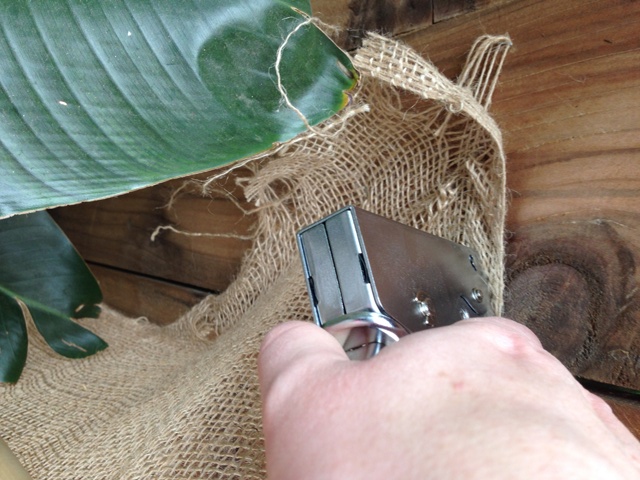
Next wrap your plant with the burlap and attach it to the bamboo stakes using the staple gun or even stapling it to the adjacent fence if necessary.

protecting plants from frost 009

protecting plants from frost 004

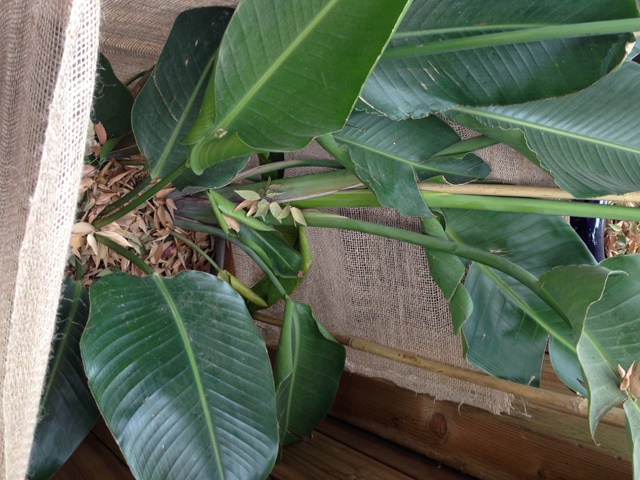
Finally add your leaves, and be sure to cover the root ball or base of your plant, as the experts say, its actually not the outer leaves, branches, etc you’re trying to protect but rather the root system. If you don’t have leaves, they suggested purchasing cedar mulch.

protecting plants from frost 005

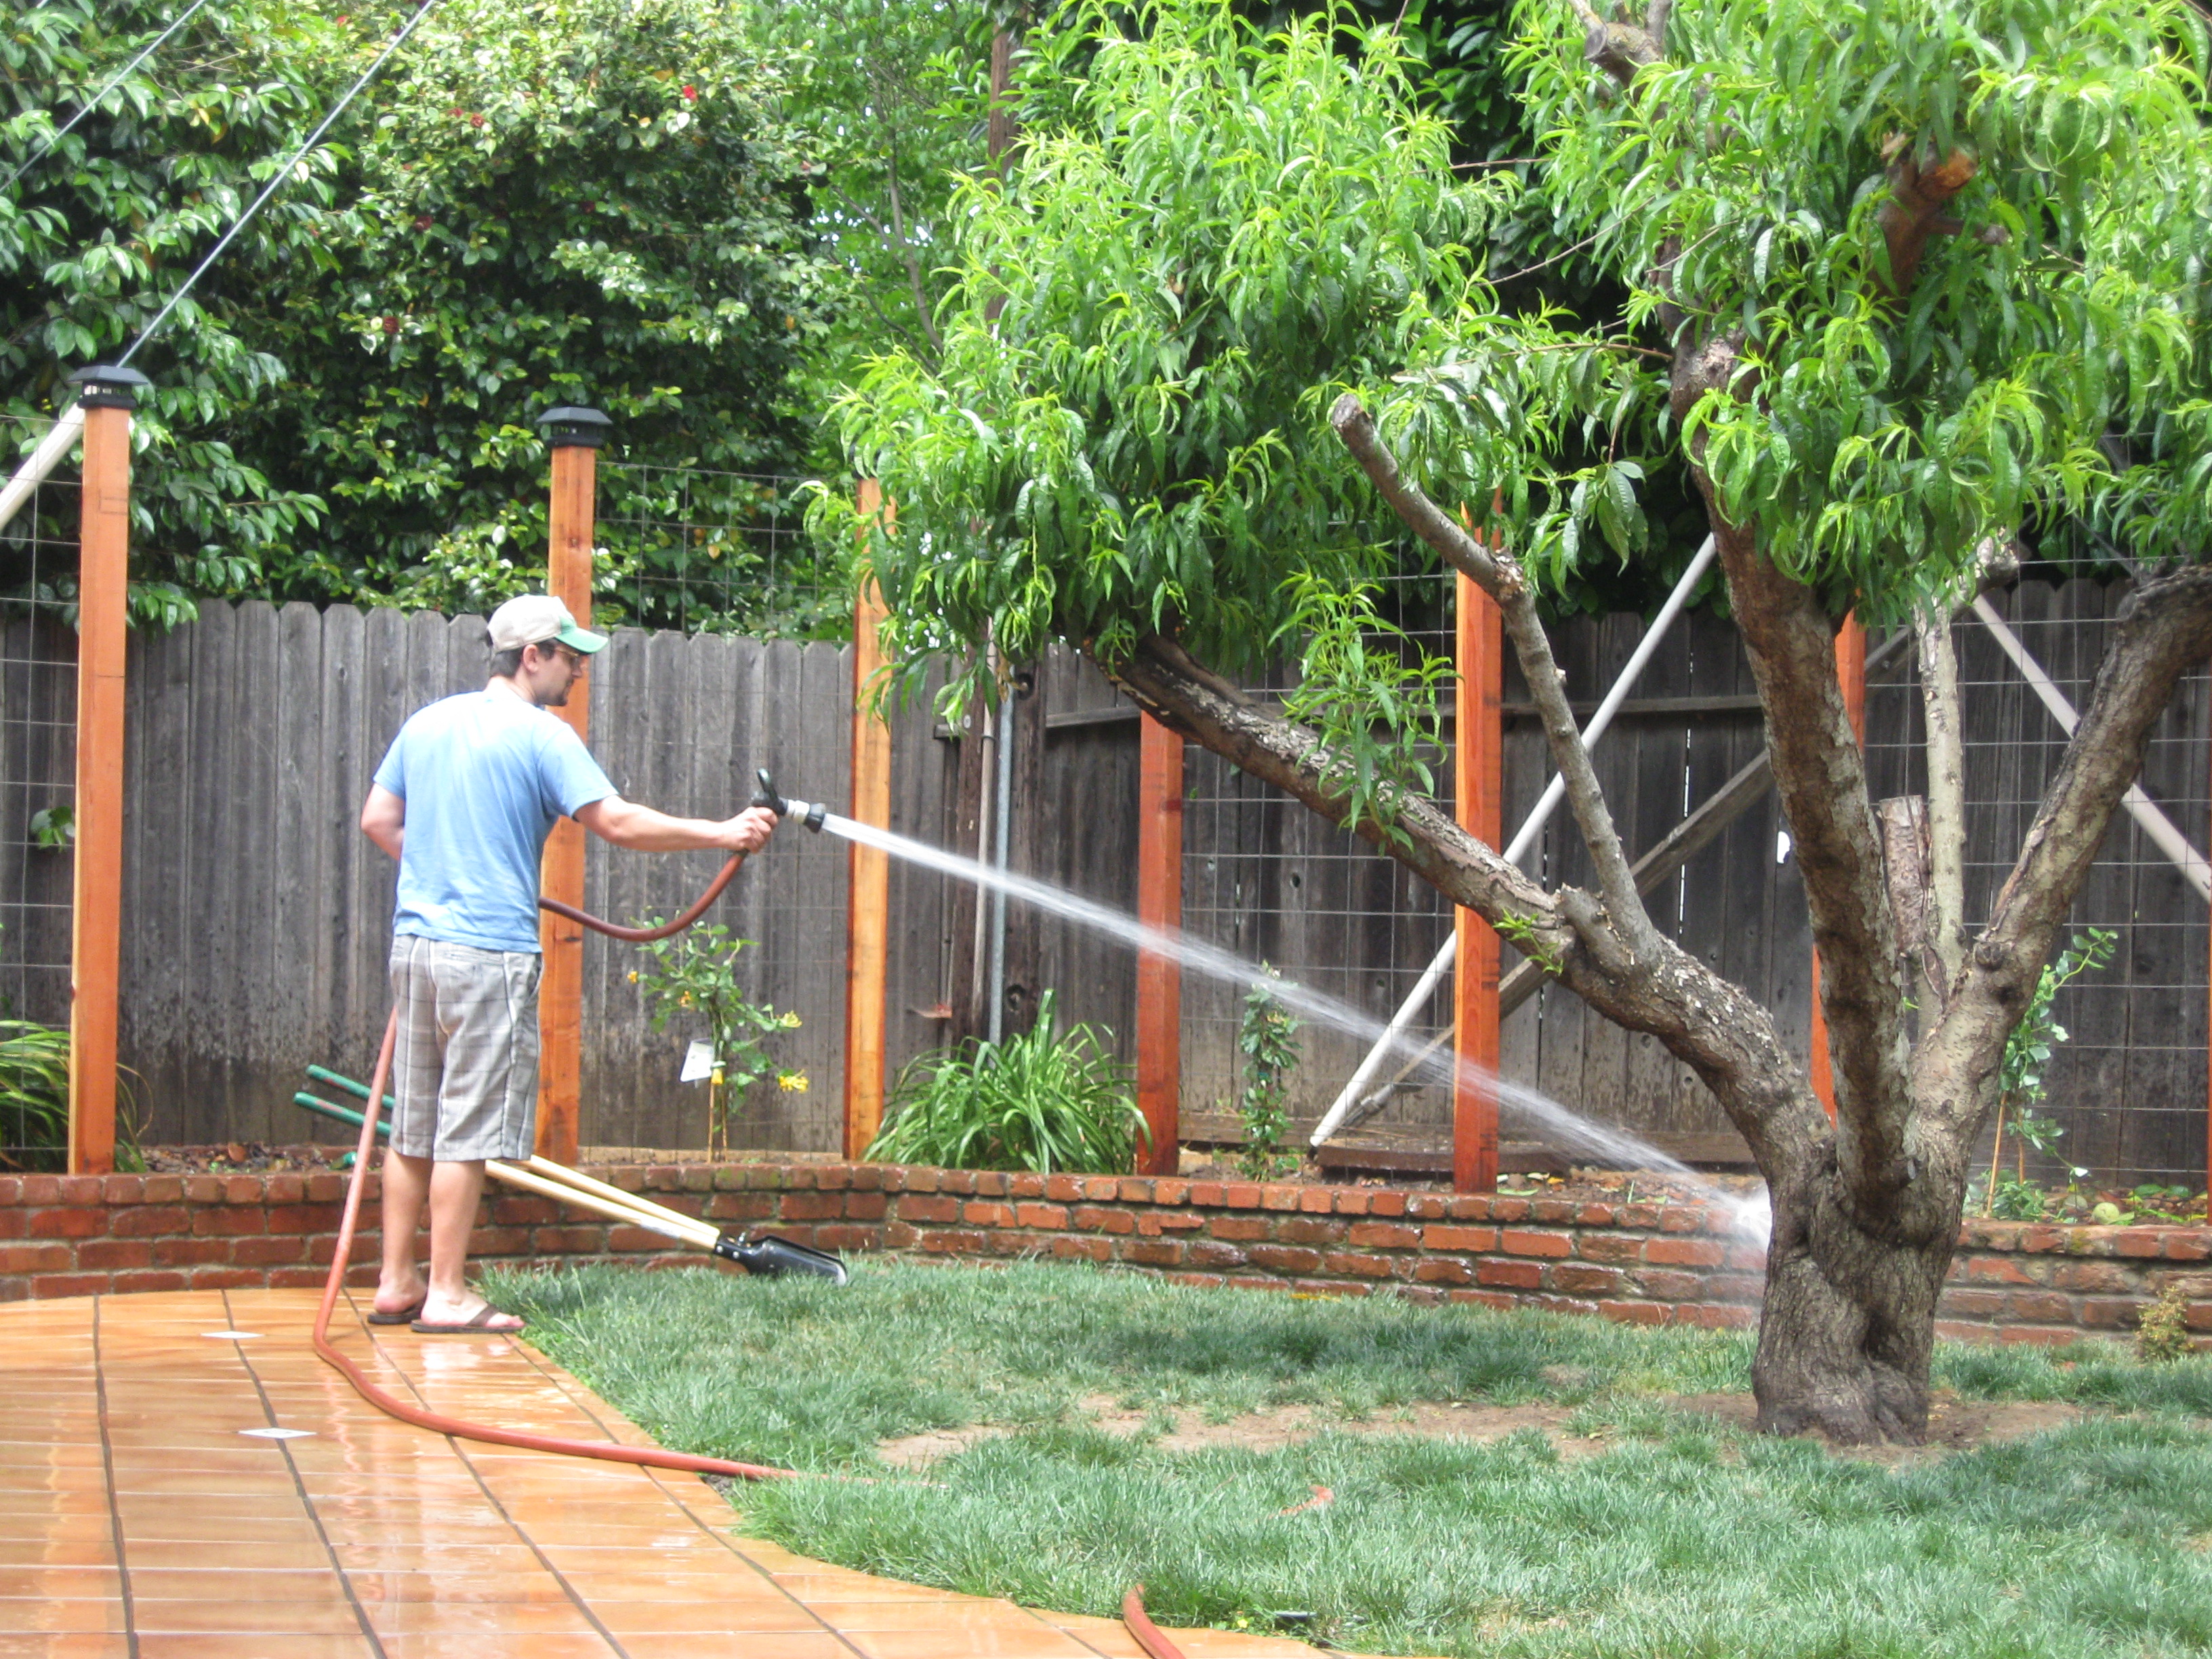
Now if you have a real hard frost, use any excess burlap to cover the tops of the plants at night, and just remove the covers during the day so they can still get some winter sun, rain and/or if the day warms up. They also suggested to give the plants a good watering during the warmest part of the day at least twice a week during dry, cold stretches. (Making sure the water is penetrating the root system.) This may not be the prettiest idea, but it should protect our tropical plants.  We’ll free the “girls” in the spring and see if this technique actually worked!

protecting plants from frost 013

What to do with extra posts?…

That was the question…I desperately wanted a vegetable garden, but there were two big obstacles standing in my way:

1) Two monstrous dogs who literally eat everything in sight (including vegetables).

2) Moving shade, due to all the trees in our neighborhood. The only place with full six hours of sun was on the tile patio.

Using extra material from our Privacy Screen project

The rolling, [dog proof] vegetable garden was born!

rolling garden cart side view

rolling garden cart baby plants 4

This cart stands about 4 ft tall, with two lattice sides for added height to keep wet noses out of the tomatoes. Here’s how we did it…

1) Using two left over 8 ft x 4 inch redwood posts, cut in half and 4 (6ftx 3/4 inch) redwood planks cut into two pieces ( a 2 ft cut and 4 ft cut). We also had 2 left over boards of 6 ft x 2 inches, (again cut into 4ft and 2 ft pieces). We connected the bottom with the sturdier (6ft x 2inch) boards and posts using tan deck screws, and essentially framed a rectangular box like the diagram below: (Extra tip: To add stability we added an extra piece of scrap wood, cut just shy of 2 ft and it helped stabilize the frame by screwing it across the middle of the box)

rolling garden card diagram 1

2) Working our way up the top we stacked and screwed the 4 ft and 2ft redwood planks to the outside of the posts.

rolling garden card diagram 2

3. To add additional height and protection from hungry dogs we cut and added redwood lattice to two sides of the cart. Then we screwed heavy duty wheels with breaking mechanisms to the bottom of the 4 inch posts. As well as brace two 2inch x 4ft boards running parallel along the inside of the framed box. (see pictures below for a better visual) This would allow for heavy duty metal wire racks to lay on them. The pots of plants sat on top of these racks, since we needed to allow for proper drainage when watering the vegetables.

rolling garden cart inside

rolling garden cart baby plants 2

4. Add a few solar post lights for decoration, and using Geopots, we now have a rolling [dog proof] vegetable garden. Here are the tomatoes starting to spring up…

rolling garden cart baby plants 3

And here again are the tomatoes that actually survived the Sacramento heat spell we just endured a couple weeks back…

rolling garden cart baby plants 4

We hope to make a few more carts in the future. Only instead plant them with different, lusher, and decorative plants for under our future pergola. These also work great for blocking off the outdoor dining space from our two big chow hounds.

Privacy Screens Part Deux!

After Privacy Screens Part 1, the second half of the privacy screens/pole hider/dog agility course project was to beautify these random posts and wire with climbing vines. Vines that would add lushness and color to the back of the garden, and also hide dog messes.

photo (31)

The only obstacle was that we needed vines hardy enough to withstand Sutter (oh yes, the marking already started) and the Sacramento summer heat (it reached 106 last weekend).

We already had great success with trumpet vine at our last house. We also knew our dogs never touched the stuff. (they preferred tearing up the lavender and flax) Luckily for us we experienced the puppy stages in our old home with non-toxic plants.

The plant is fairly lush throughout the year except in the winter. Also the orange flowers were so tropical we hope to fake a Hawaiian paradise in Sacramento.

Green Acres nursery in Sacramento is one of our favorites for the non-generic plant varietals not found normally in big box stores. Plus they have fabulous landscaping displays where we can get inspiration and help.

We settled on actually three different honey suckle varieties along with the trumpet vine.privacy screen pt2 001 privacy screen 002 privacy screen 003

Also if you are considering planting a vine and have a plant eating puppy around, Honeysuckle may be the way to go. According to the ASPCA Plant list it was considered non-toxic. However you know your dog best, so maybe living with a backyard desert for a few years til they grow up is the way to go.

Total cost for 5 vines $62.50…(We could have waited for a sale but were impatient to get the plants in the ground before the July heat sets in.)

Next we used the post hole digger again (the fastest way to dig holes for plants.) Centering the vine  in front of each wire screen. You don’t need more than one vine since they will gradually grow in nice and thick.

privacy screen pt 2 005

We placed the two trumpet vines in front of the outer screens (#1 and #5) since they are the hardiest and could probably take the most Sutter “marking” abuse. The honeysuckle were placed in the middle screens (#2, #3, #4) Be sure to break up the plant’s bottom roots a bit after removing it from the pot, place in hole and cover with soil. Finally give it a nice soak… Hubs gets a cameo because he was in charge of clean up and watering. (Once more ignore Stumpy the diseased tree and brown spots in the grass…all are on the project list)

privacy screen 010

Here’s a nice after shot of our little ones growing away…The lillies wanted in on the picture action.

progress pic on the privacy screens

We promise to post pictures along the way as we continue to “dogscape” the backyard.