Light it update!

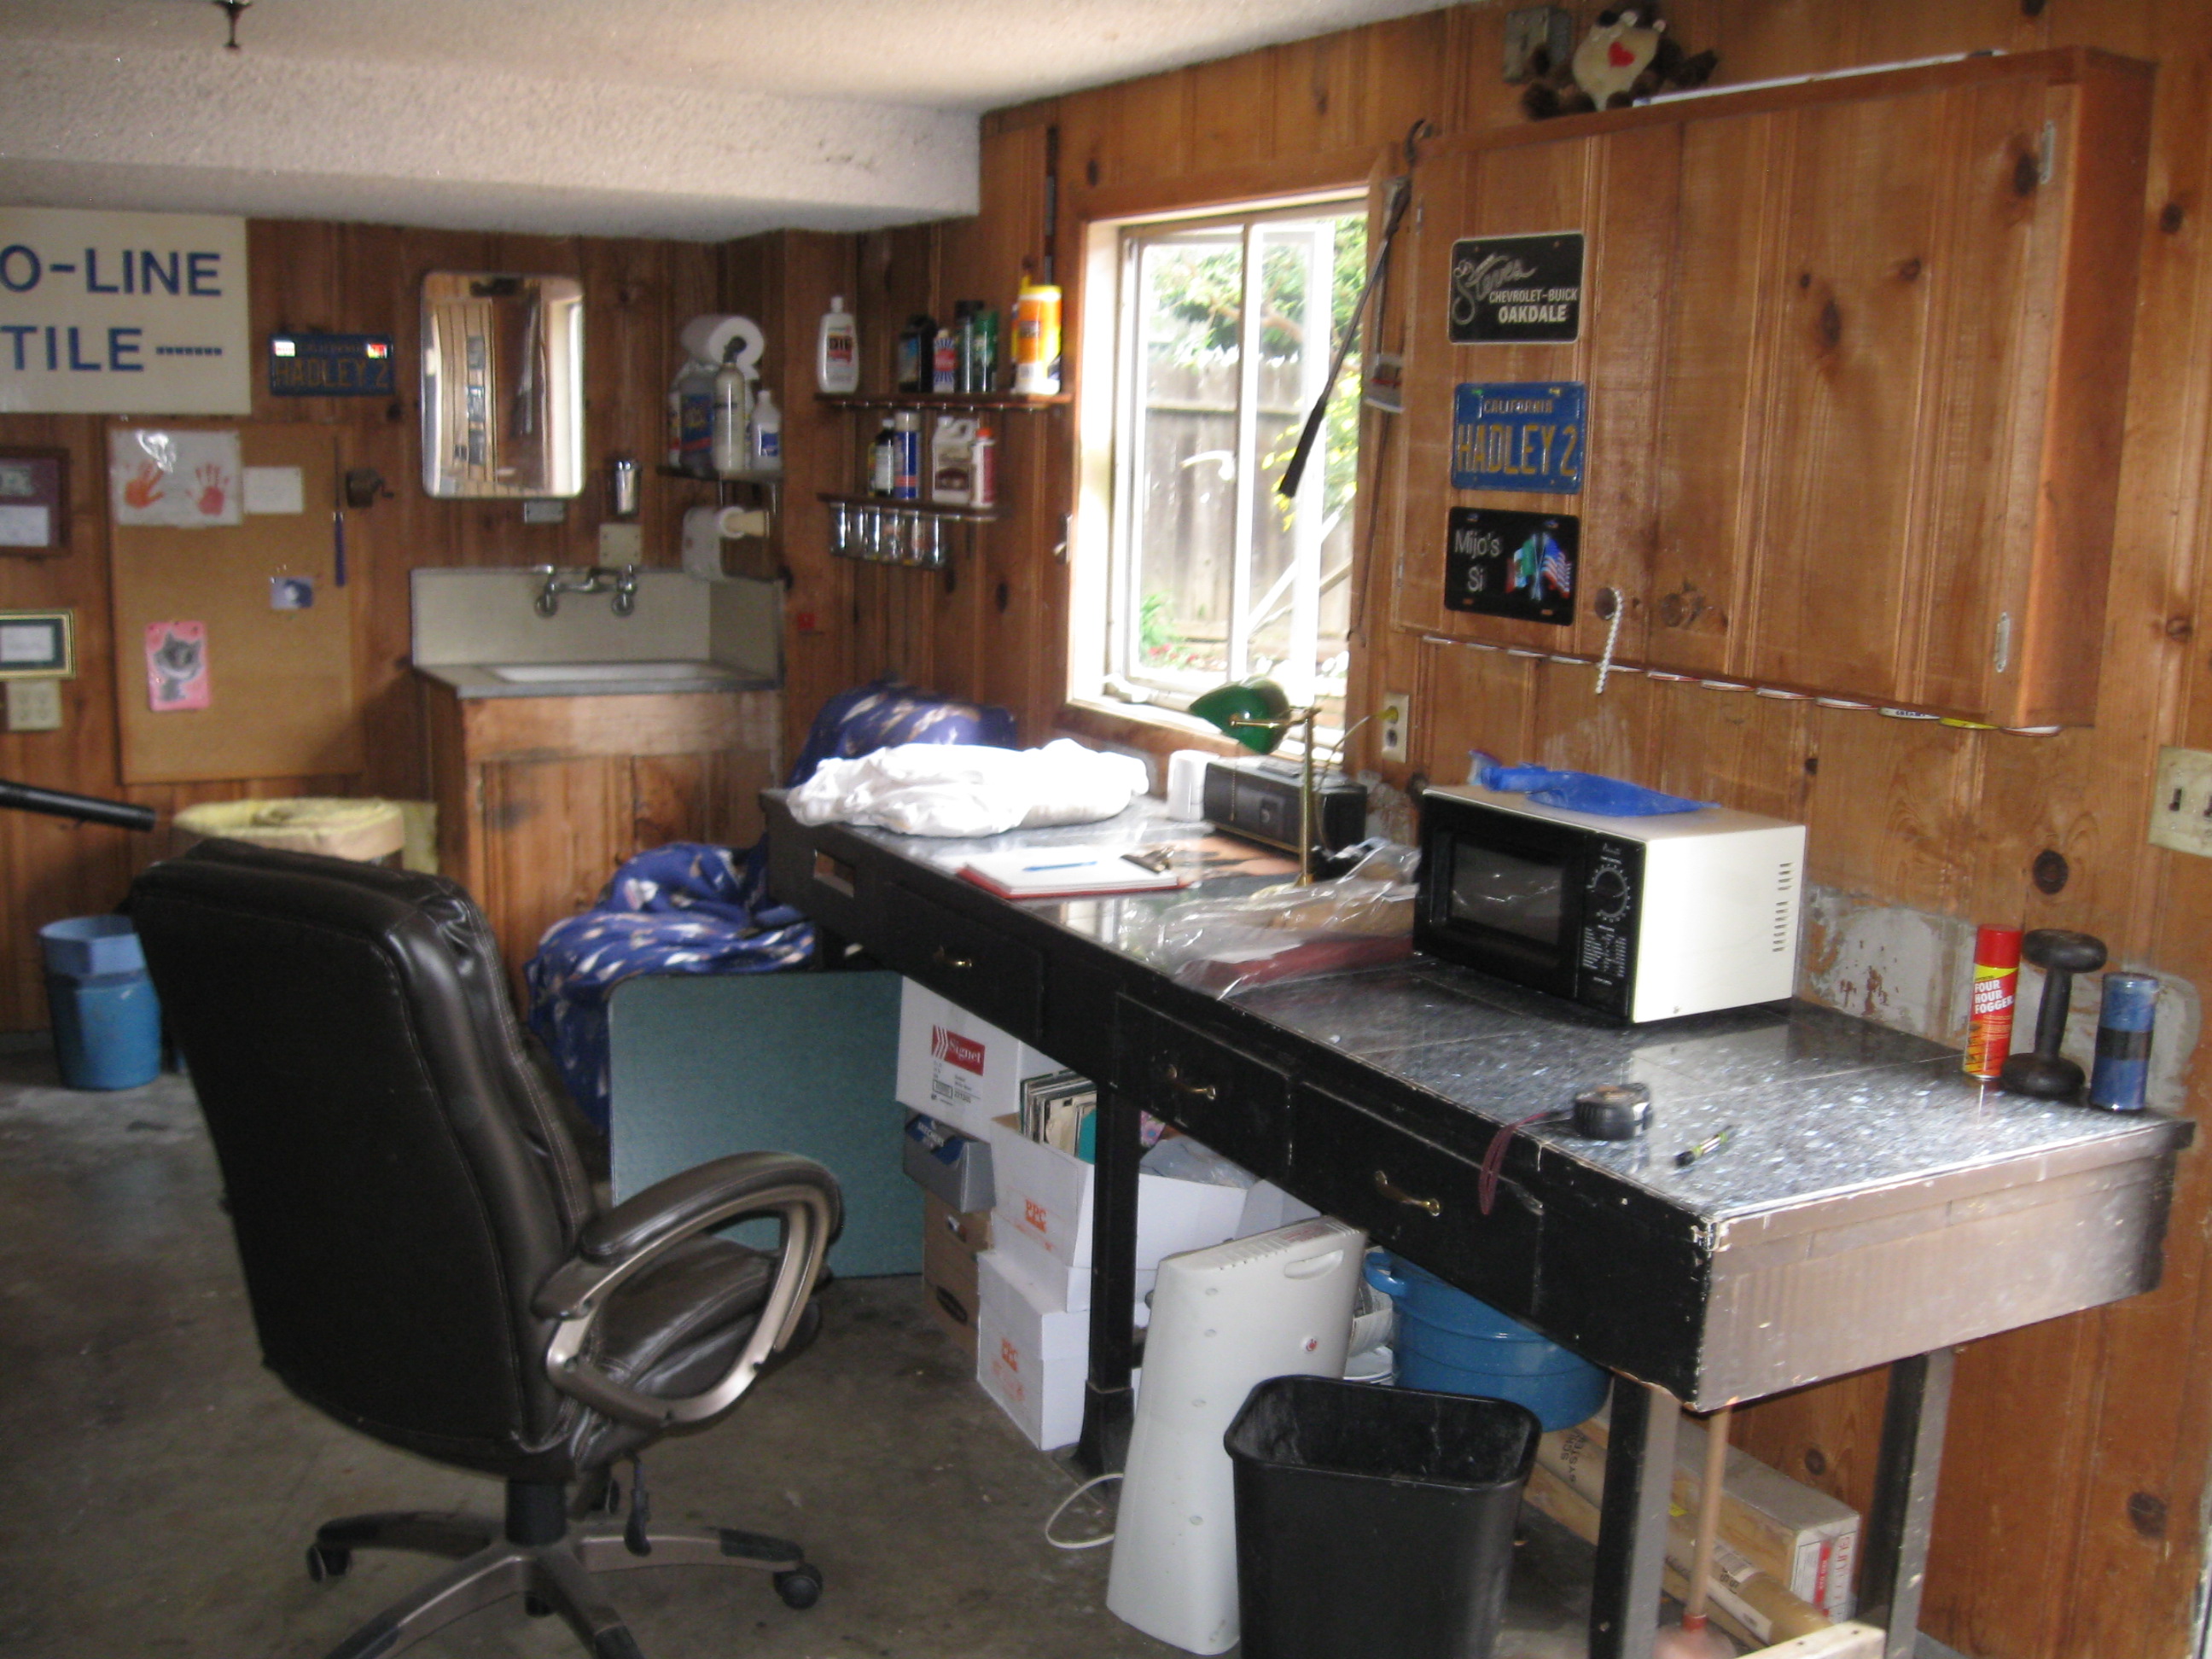
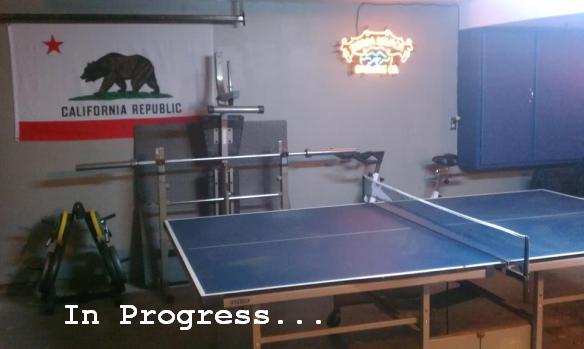
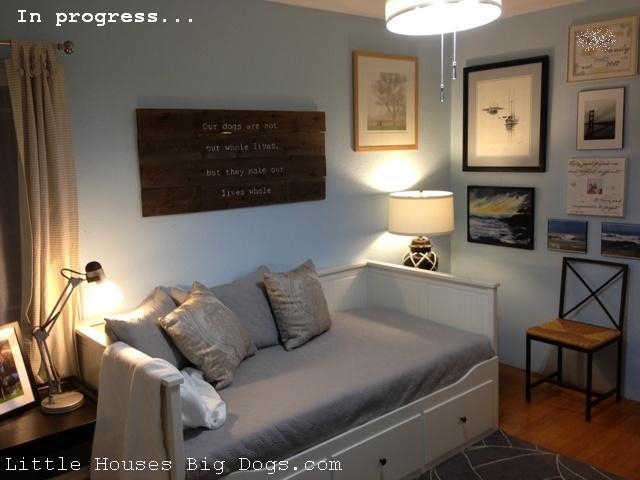
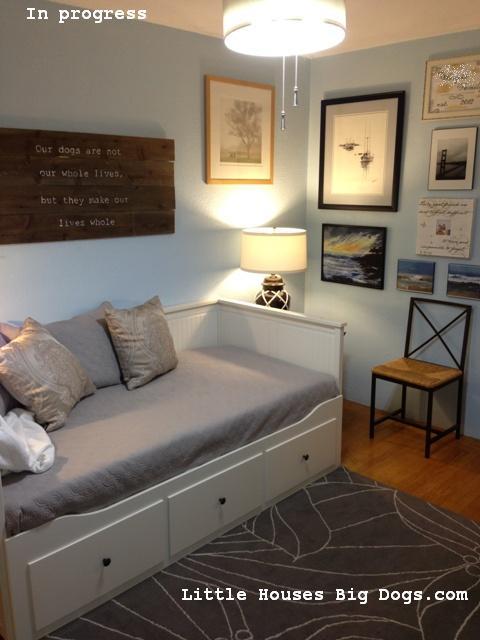
We needed to shed some light in the guest studio/ my woman cave, I had found two amazing sea-side inspired exterior lights on sale at the Home Depot.coast light

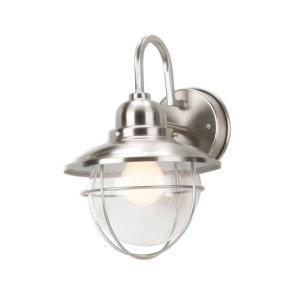
Unfortunately the two light boxes set for these beauties weren’t routing to any wall switch. (This was only figured out after we had installed one of the lights)

Here’s how the conversation went:

Me: Look at how nice it looks! And I didn’t even electrocute myself installing it!

Hubby: Good job babe that does look really nice!

Me: I know right! I love the light it looks like something out of Coastal Living

Hubby: Yeah it does, except honey, how do you turn it off? 

I was so deflated and ready to return the lights. I was even walking around HD forlornly with my two little lights in hand contemplating, whether I should give them up or re-wire my entire guest house… When low in behold, an “angel” in an orange apron named John, came to my rescue in the electrical aisle and found me this…

oar curtains and dog bed pillows 001

My $3.99 push button switch solution, John even walked me through the installation and attached them to the lights while in the store. (I think every HD needs a John in their store…sorry for the pun) Here is how it looks from the front and back…

oar curtains and dog bed pillows 011 oar curtains and dog bed pillows 010

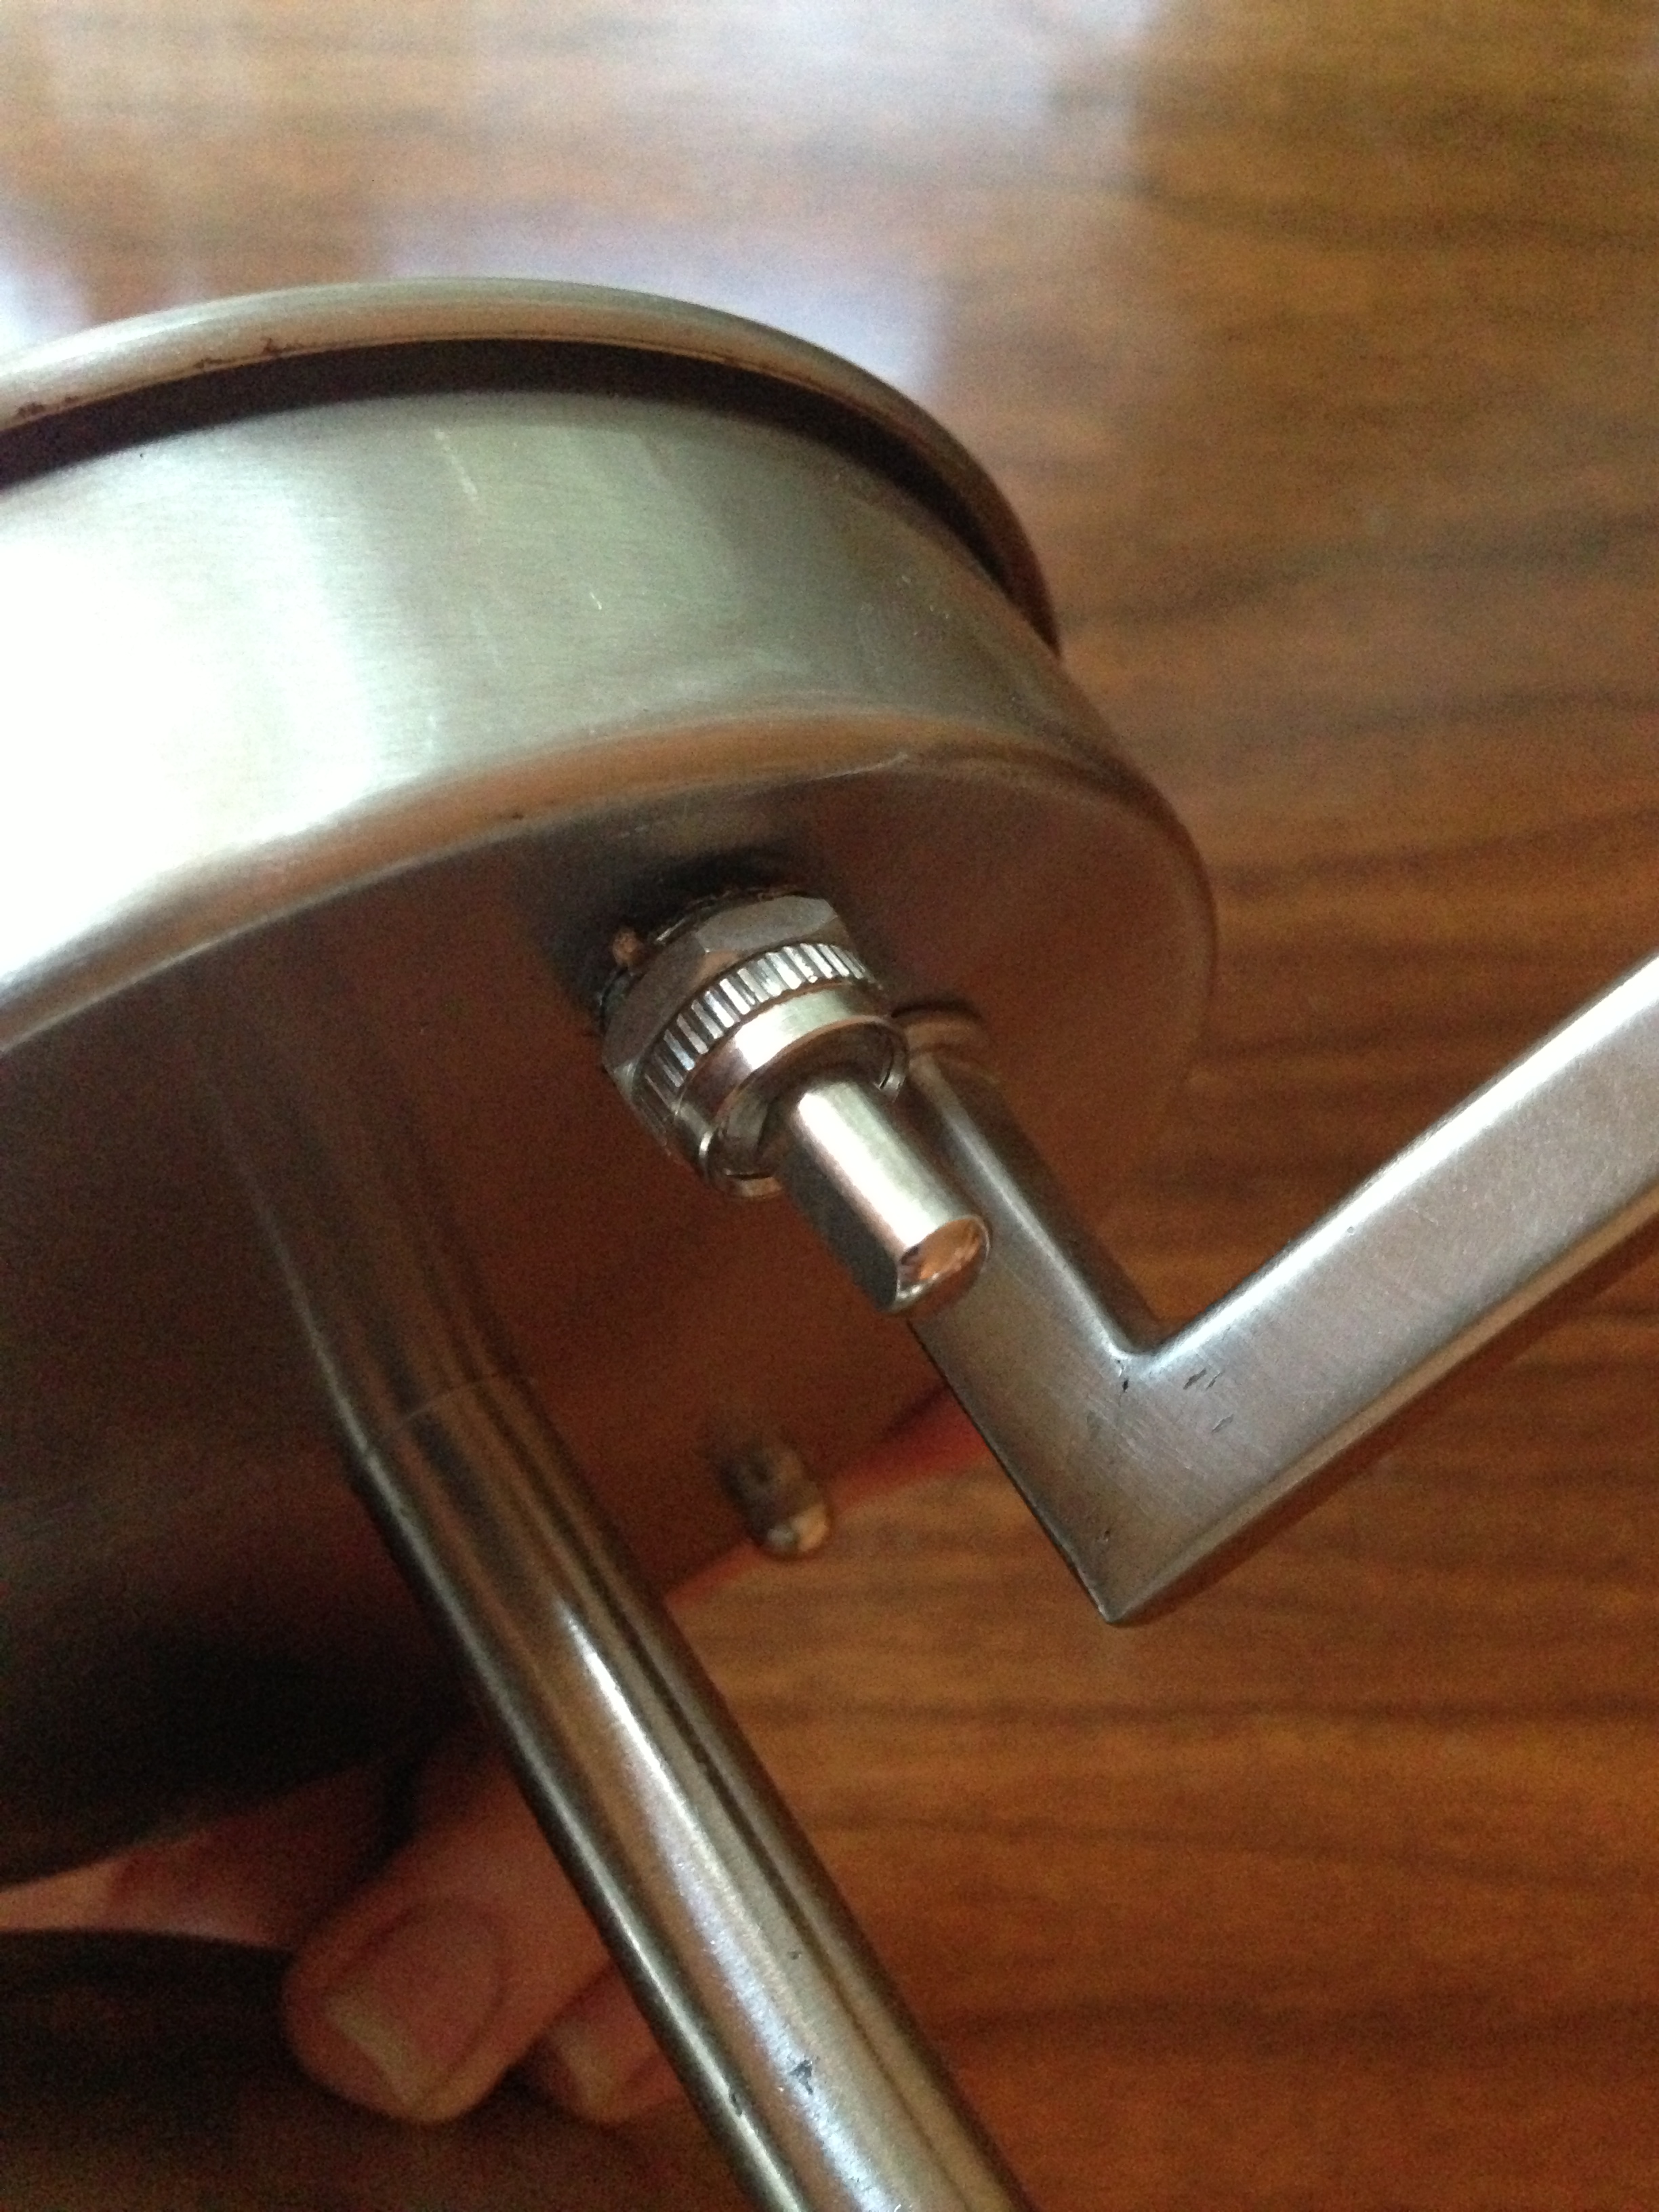
Now we’re not licensed electricians, which is why it so important to read the instructions for both light and the switch in order to safely convert a light. It also helps to have a “John” in your corner who happened to be a retired licensed electrician.

All in all you’re going to need a drill bit the same size as the push switch’s base. Drill the hole in the light base, for where you want the switch to be, then secure it with the nut and washer that comes with the switch. You will need an extra plastic electrical connector/nut to connect one of the black wires of the switch, to the light’s black wire. Then follow the instructions that comes with the light for the actual light install, if all else fails, have a licensed electrician install it if you’ve already had a bad experience with electricity. However adding a pull chain or push button switch is an easy and economical solution to your lighting dilemma…Done!

oar curtains and dog bed pillows 003

Pillow Talk…

In a stroke of good luck, and timing we were able to score some Hampton Bay deep seat cushions at a great deal! I’d been eyeing the outdoor furniture at Home Depot for the past several weeks, and hoping for end of summer sales. Normal price per two cushions $59 each…Ouch!

oar curtains and dog bed pillows 002

Finally after weeks of waiting we found our Hampton Bay cushions in cream for $33 each. Follow that price with a gift card and they were almost free…Yay! (Again, let the snoopy dance commence!)

Now here they are in their new home…

oar curtains and dog bed pillows 043

oar curtains and dog bed pillows 030

We knew outdoor cushions are pretty sturdy and stains can be easily wiped away. Also the cushions are incredibly comfortable. Luckily we found two little decorative pillows to tie the gray bench seat and yellow/cream cushions together. These came in a two-pack at Marshall’s for $16.99.

oar curtains and dog bed pillows 038

I was also playing around with alternative fabrics for re-upholstering the bench seat. Here are the new cushions against tan colored linen. (Above) However we’re still not sure what our new color scheme will be for the kitchen. Until then we’ll hold off on the custom pillow and cushion covers. (Admittedly I need to hone my sewing skills first.)

All in all a very sweet deal and very simple update!

Wow! Week day posting!

Featured on the Budget Savvy Bride

budget savvy bride

I’m just tickled and so grateful to the Budget Savvy Bride for featuring our DIY wedding today! Giving the majority of the DIY credit to our parents, we are very grateful for their hard work! We want to thank everyone for helping us create a beautiful budget friendly wedding! Thank you the Budget Savvy Bride for featuring us!

Little Car…Big Dogs? [And FREE PRINTABLE!]

Taking a break from house projects, let’s talk about summer travel and camping! There are still a few more months left before autumn comes! Perhaps your big summer vacation is already done? Maybe you’re looking for budget friendly weekend jaunts? Are you taking the dogs with you?

dog bed 072

This post includes our printable checklist for camping and travelling with dogs.

Don’t have a truck or SUV?  This post includes how we space save and pack all the camping gear and two big hounds into one little car.

Despite having two big dogs and the ongoing home improvement projects one would assume we had a truck?…NOPE! We own two little cars; one as a commuter and one as our “Cruck” (a car that thinks it’s a truck).

Instead we’re perfectly happy with the “less is more” approach (especially as gas prices go up). Like most dog owners, we’ve also found camping to be the best economically for overnight trips. However it can be tricky to fit an entire camp, us, the dogs and two enormous dog crates in a little car. Therefore we’ve had to master the art of camping and traveling with very little space. No roof rack, no trailer, all the gear in the car trunk! Here’s our gear list and packing tricks…

First all the camping gear laid out…

dog bed 083

Now here’s all the gear fitting into this tiny little rubbermaid…(The kind that slides under the bed as storage)

dog bed 081

A great space saving camping tip is to take a back packers approach to cooking. We bring foods that don’t require a stove or ice chest, and can be boiled like spaghetti, and soups. (Which are fabulosuly inexpensive for the traveller on a budget) Also we use backpackers cooking utensils, such as the GSI kits, and Jet boil heating system, which allows us to ditch the big propane camp stove. If we want grilled or fried we use the campfire.

Need more details? Check out our free printable camping gear checklist! 

printable camping list graphic

Printable camping list

As the checklist includes, here are the dogs’ gear and first aid kit

dog bed 087

Now for packing the car…

dog bed 066

We normally pack away the two foldable dog crates on the bottom, and place the camp gear on top.The tent packs neatly to the side and if we want, we can store away a small cooler towards the back. This leaves plenty of space for  food, sleeping bags and our backpacks of clothes to sit atop the rubbermaid. As for the aerobeds, pillows and our porta potty…(Oh yes if you looked at the checklist you’ll see those items listed as well.)

These easily stow behind the front seats…

dog bed 063

The dogs foam mattress and blankets go right on top…leaving them extra space to stretch out…

dog bed 069

dog bed 078

Luckily once they’re harnessed and belted in, they curl up behind our seats for long naps…Oh yes, like big babies, a car ride puts these two to sleep.

Ready for the weekend! Time to hit the road…We have lakes to play in and hills to hike! Any good packing strategies? The pups want to know!

dog bed 076

Before, Move-in mayhem, and In Progress Pics

Time to start breaking out a few of the before and “in progress” pictures. We’ve been so busy with work, and projects our home is too much of a disaster zone to be snapping the perfect “after” shots just yet. However here are a few good pics to show what we’ve been up to these past months.

The Man Cave Recap…

Before (previous owners)

owners before pics 024

Before (move in mayhem and after the bedazzled popcorn ceilings were removed)

before garage pic4 before garage pic3 before garage pic 2

In progress…

progress-garage-pic-1 progress garage pic 2

progress-garage-pic-3

workbench backsplash final

The Living Room

Before (previous owners with popcorn ceilings still intact)

owners before pics 030

In progress…

untitled

The Office…

Before (previous owners)

guest room before pic

Before (our move in mayhem)

office before pic 004 office before pic 003

In progress…

in progress office pic In progress pic

The Master bedroom (previous owners)

master before pic

Master bedroom Before (move in)….

master bedroom move in

We still have several rooms to go…Kitchen, dining room, two baths, and my “woman cave”…the guest house. We’re going through each room, very slowly, and with much TLC for this ol’ 1948 home. This home is in our dream neighborhood, so we don’t see ourselves moving anytime soon. We may even build up or out as time and money allows. Yet to be honest my first love is the backyard. We’re blessed here in California to have beautiful weather throughout the year, so to have an outdoor living space has been my dream for us and the dogs. We’ll be posting more dogscape updates throughout the summer. So many projects, so many blog posts, so much time!


Happy Tuesday!…(Holy smokes she’s breaking her own rules!)

I normally don’t post during the week, but I’m a bit giddy right now and jumping the gun…

featured on big horizontal

IKEA HACKERS featured our wine rack today!

winerack

I’ve crushed on this website for 2 years and have found so much inspiration through all the featured projects. (If you are an ikea hacker like me, then this is the website for you!) I never thought they’d be interested in featuring my, shot-in-the- dark,  make-shift wine rack!

THANK YOU IKEA HACKERS!

Office In Progress

Wrapping up our Sunday, I figured I’d better post some in progress pictures of the office/guest room. It had been our “stuff” /catch all room, that we pretty much had ignored. The only two requests from the hubby was not go “crazy DIY” and paint. Basically I made do with what we had on hand. Here are the before and in progress pictures…

office before pic 003

In progress pic

Before (at an uglier and wider angle)

office before pic 004

in progress office pic


That’s it for Sunday! We have more work to do in the coming week, till then!

Everyone Should have a Dream Wall

What is a “Dream Wall?” DIYers have heard of a dream board or inspiration board. We clog up our Pinterest pages full of ideas and inspiration for the next project or post them on a blog. However we should all seriously consider creating our own “Dream Wall.” Where one wall of your home is used to display art work and items that remind you of a goal or dream you want to attain someday. Visualizing goals are so important to making a dream a reality. Essentially a “Dream Wall” is like taping a 3×5 index card to your bathroom mirror with your goals, except a lot more stylish!

Here is mine, can you take a guess on what my goal and dream might be?

wall decor and Adam's before pics 005

I’ve been collecting and photographing beach prints and photos for years with the hope of someday owning a little piece of the [expensive] California coast. A place our friends and family can use, and the dogs can chase seagulls on th beach. This Dream Wall, prominently displayed in my home office is a reminder every time we work on the budget, write, or plan the next DIY project. It is a fabulous way to keep you grounded and inspire you at the same time.

What does your “Dream Wall” look like?

Sac-Town in the movies!

Never fails! I always have to post or edit something late on Sunday night…Maybe because I don’t want Monday to come? Just a theory… However I wanted to give a quick
shout-out (or “post out”) to Frances Ha for featuring Sacramento in the movie. The star of the movie Greta Gerwig is from our ‘hood’ here in Sac. Fabulously funny movie! Go see it!

Murphy Dog Beds (FIRST HOME FLASHBACK!)

Its the work week and as we’re busy with projects on the current house so I thought I’d share a project from our first home. (Warning: the pics used in this post are circa Christmas 2010 and a bit fuzzy)

The Murphy Dog bed came to fruition when I had to stash the dog beds in the garage and clean up before guests arrived. When I brought them back into the house, I brought also a BW (black widow) in as well! EWWWW! Creeped me out royally! Hence I needed a place to stash or fold away dog beds when not in use but didn’t want to drag them into the bedrooms.

Hence MURPHY DOG BEDS!

THEY LOOK LIKE CABINETS….

murphy dog beds 009

BUT WHOA! DOG BEDS…murphy dog beds 010

They were a bit unfinished (this was my first foray into cabinetry and staining, I’ve learned a bit since then)

Lets take a walk down memory lane…

Here are some before pics:

This was what we originally moved into…It was a major fixer foreclosure after all…

murphy dog beds 001

Then we re-painted and added a granite breakfast bar…Improvement…

murphy dog beds 003

We still needed a place for the dogs to sleep and they’d grown out of their crates. Our  bedroom was not an option, since it was and still is the only dog free zone in the house. (These pups can snore like no other!) Therefore I had to get creative…

After measuring the space under the counter top and a standard Costco dog bed, I had wood cut to dimensions that would form a large box with a lid. After adding some heavy duty door hardware, and screwing everything together I let them test it out.

murphy dog beds 005

They didn’t seem to have an issue with it and I made sure the folding mechanism was working. Next came creating a second box and adding a cabinet facade…However the trick of the front details was that the extra pieces of wood were actually additional support  pieces for when 90 lbs of doberman laid on them.

I had to strategically glue fake molding from Home depot to add detail to the facade of cabinets. One of the mistakes you’ll see at the bottom, that I originally made was not lining up the front piece perfectly with the box. Oh well, I luckily corrected it on the second Murphy Bed….

murphy dog beds 006

Then painted and added low profile hardware to give the look of cabinets and drawers. We also added a little safety chain and latch on the inside to prevent any injuries. (When completed the front piece was heavier than expected and we didn’t want to lose any toes from it falling). We also secured the back box portion to the wall for stabilization, just in case of an earthquake or even just rambunctious play.

murphy dog beds 009

Unfortunately this is a project from the first home so I don’t have any specific notes on the wood used, or the dimensions. However since these are custom pieces we hope you will at least find some inspiration from ours. We are currently in the process of making another set of dog beds for the new place. We’ll have to reveal those soon…