Why I Spent Valentines in My Attic…So Romantic!

Hope everyone had a wonderful Valentines Day. As my friends posted pictures of roses, chocolates, romantic dinners and jewelry, I started to wonder if something was wrong with me? I had an amazingly romantic day; trips to my favorite stores, Costco and Home Depot, followed by crawling around in the attic with my husband. How more romantic can you get?!

IMG_4512.JPG
This is in complete seriousness. My husband knew one of the best Valentine’s Day gifts he could give me was finish two house projects that are near and dear to my heart.

The first project on the list was organize and set up the basement to be the perfect storage space. Complete with cold storage since I love to freezer cook. (prepping meals ahead of time then freezing) We’re super busy career folks, so more healthy home cooked meals, with less cooking the better.
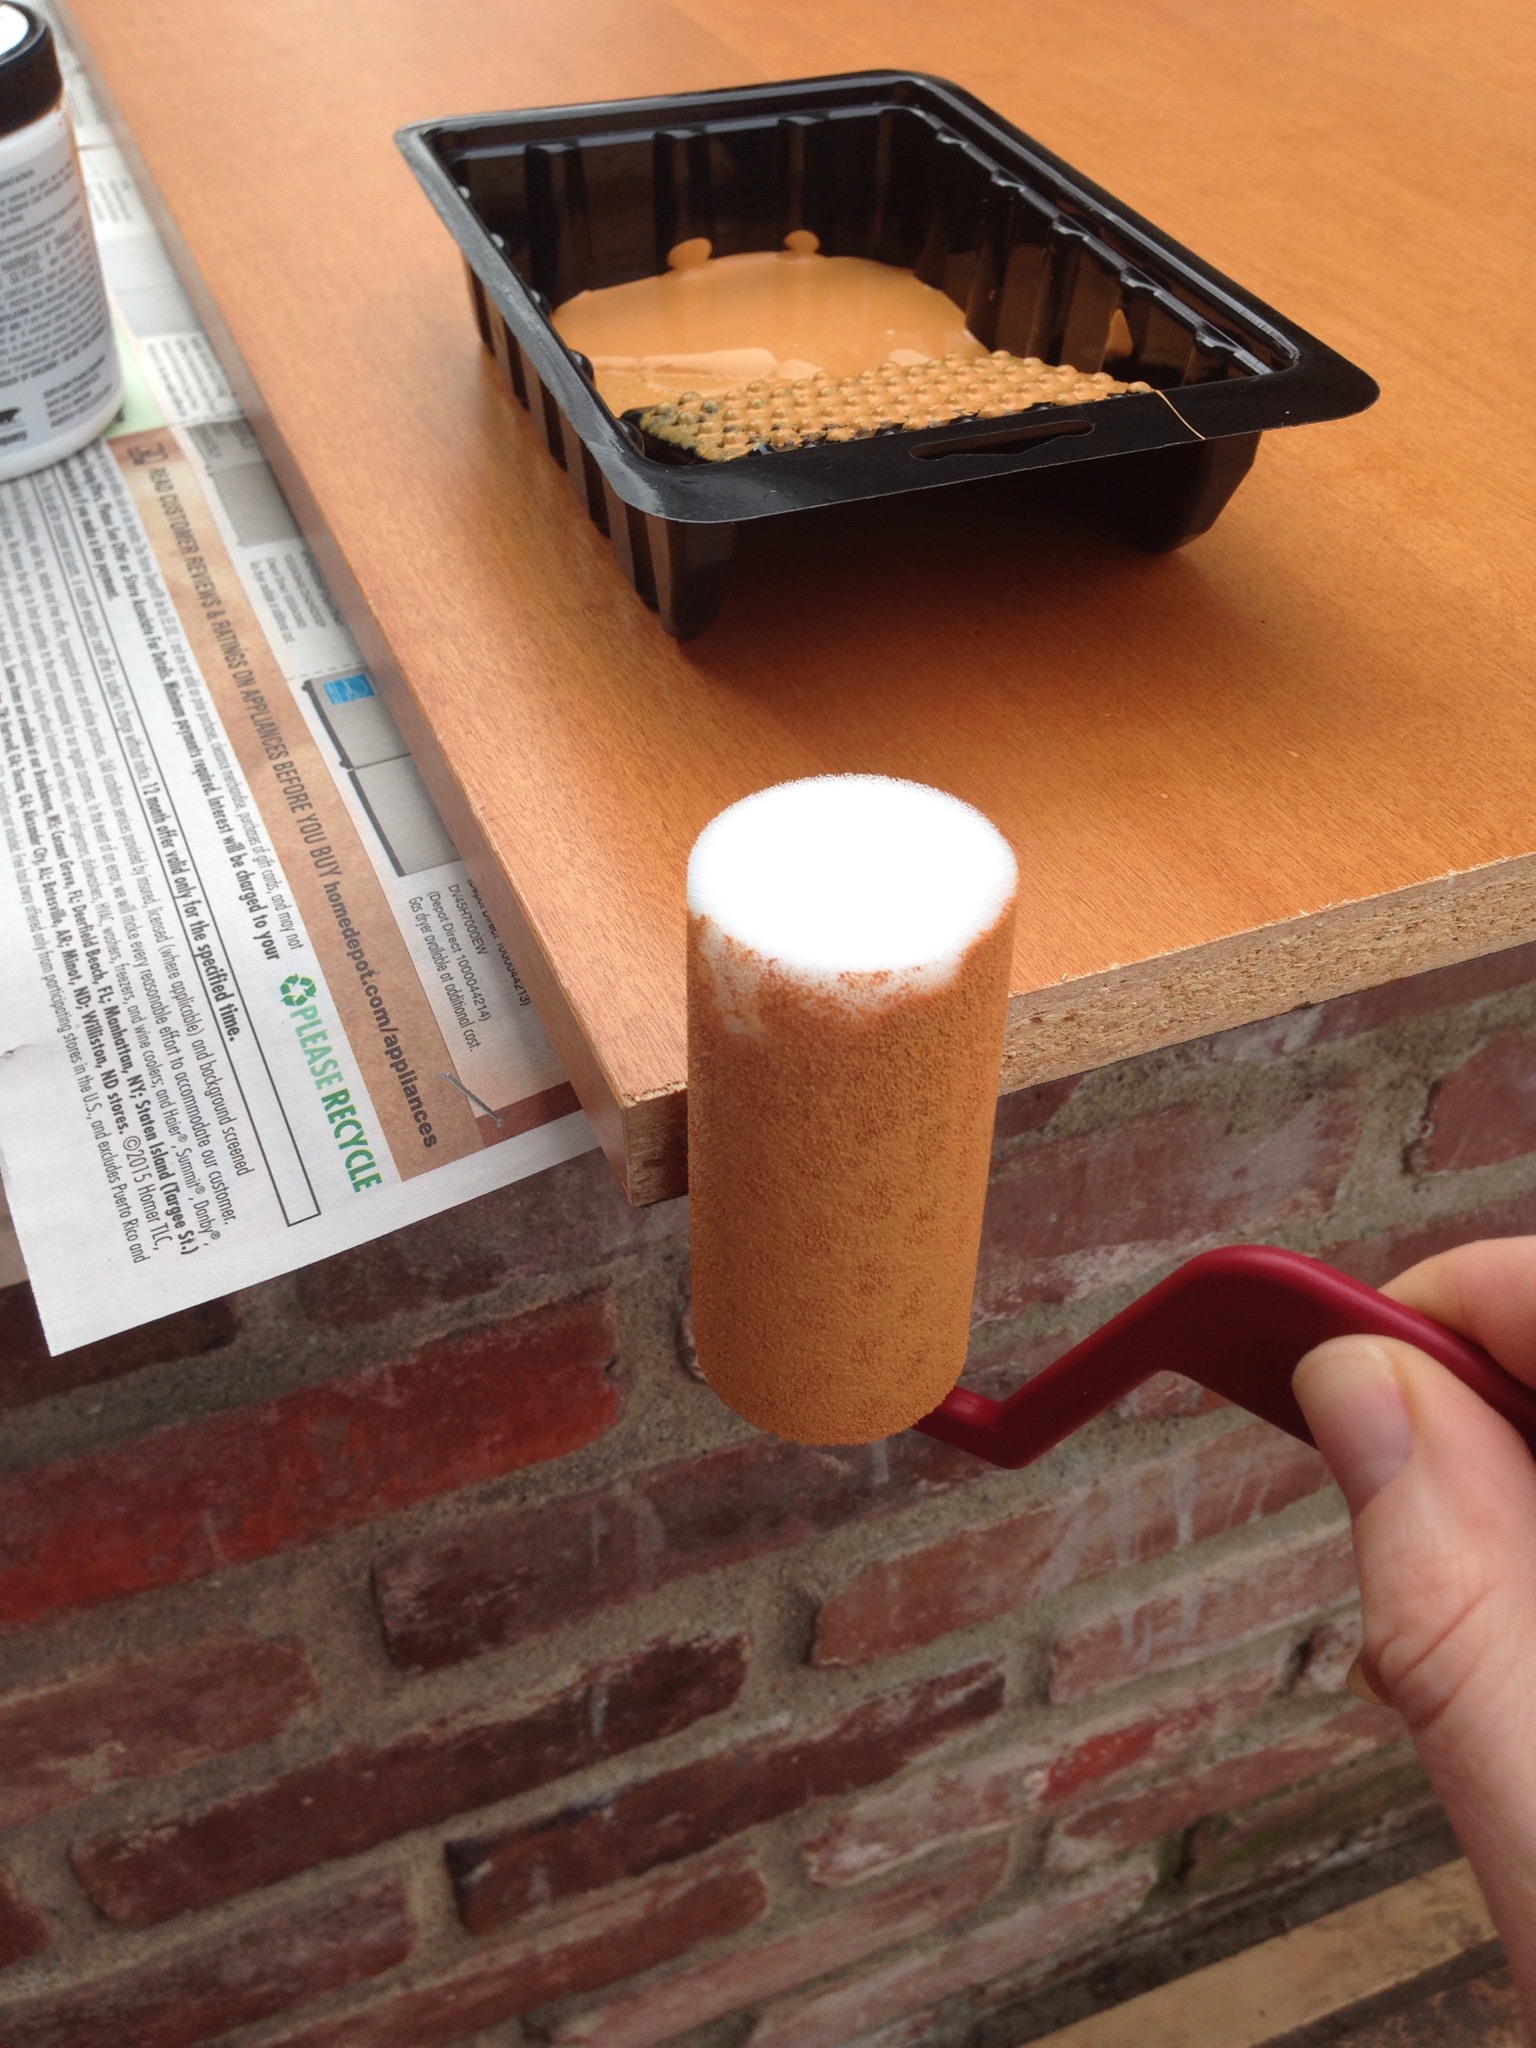
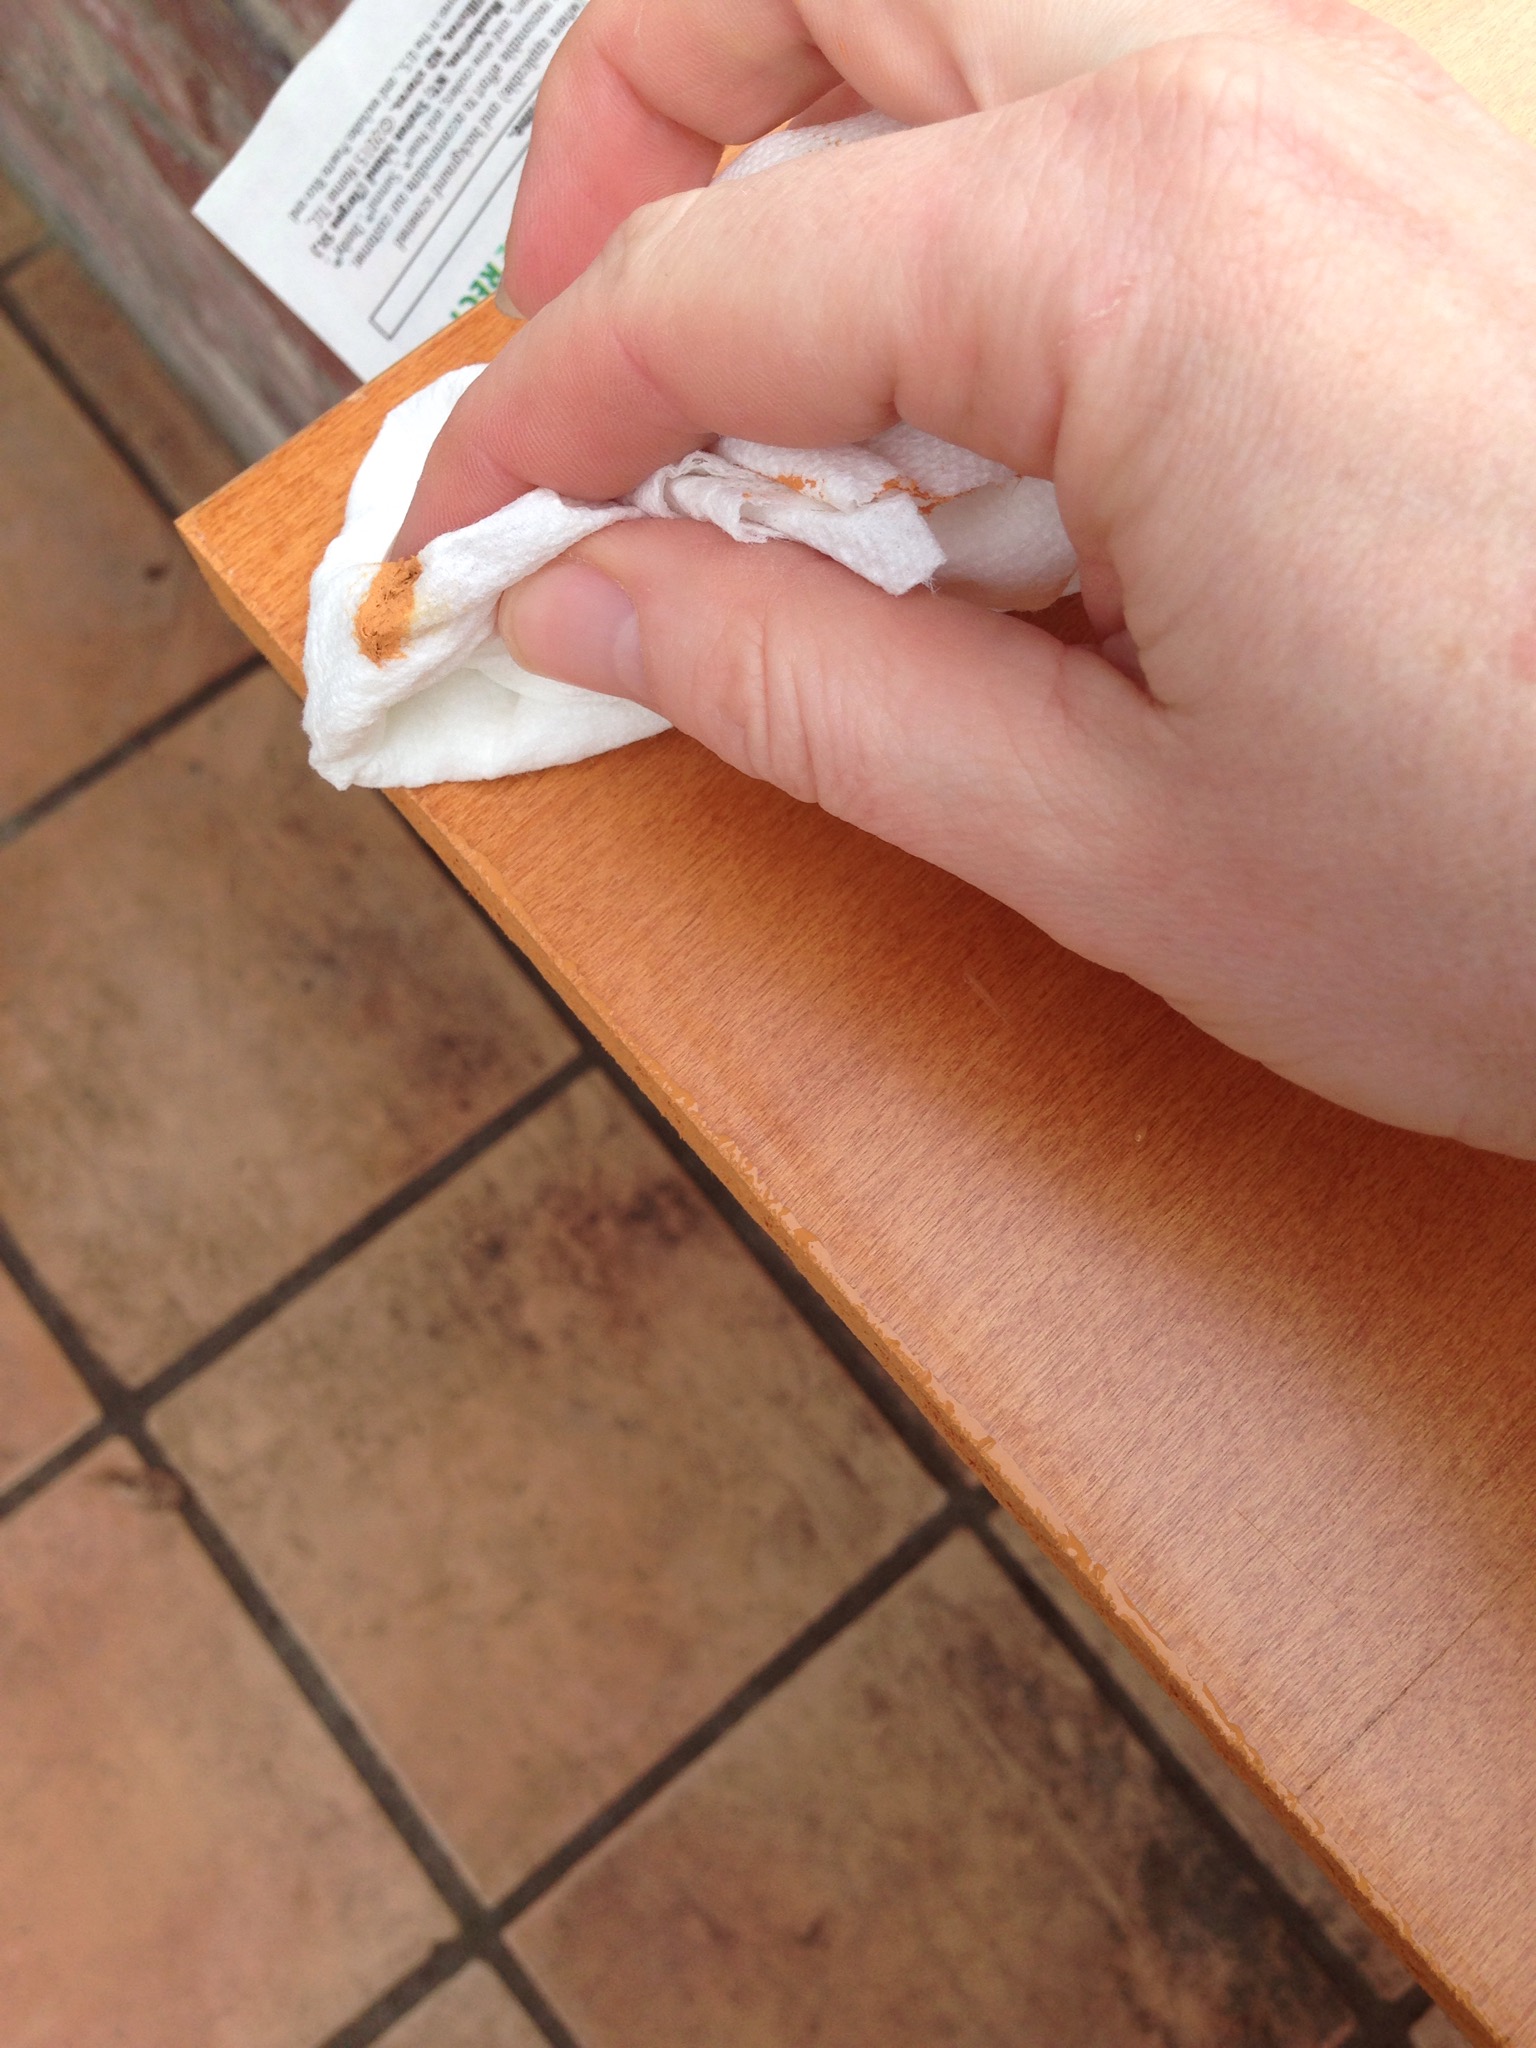
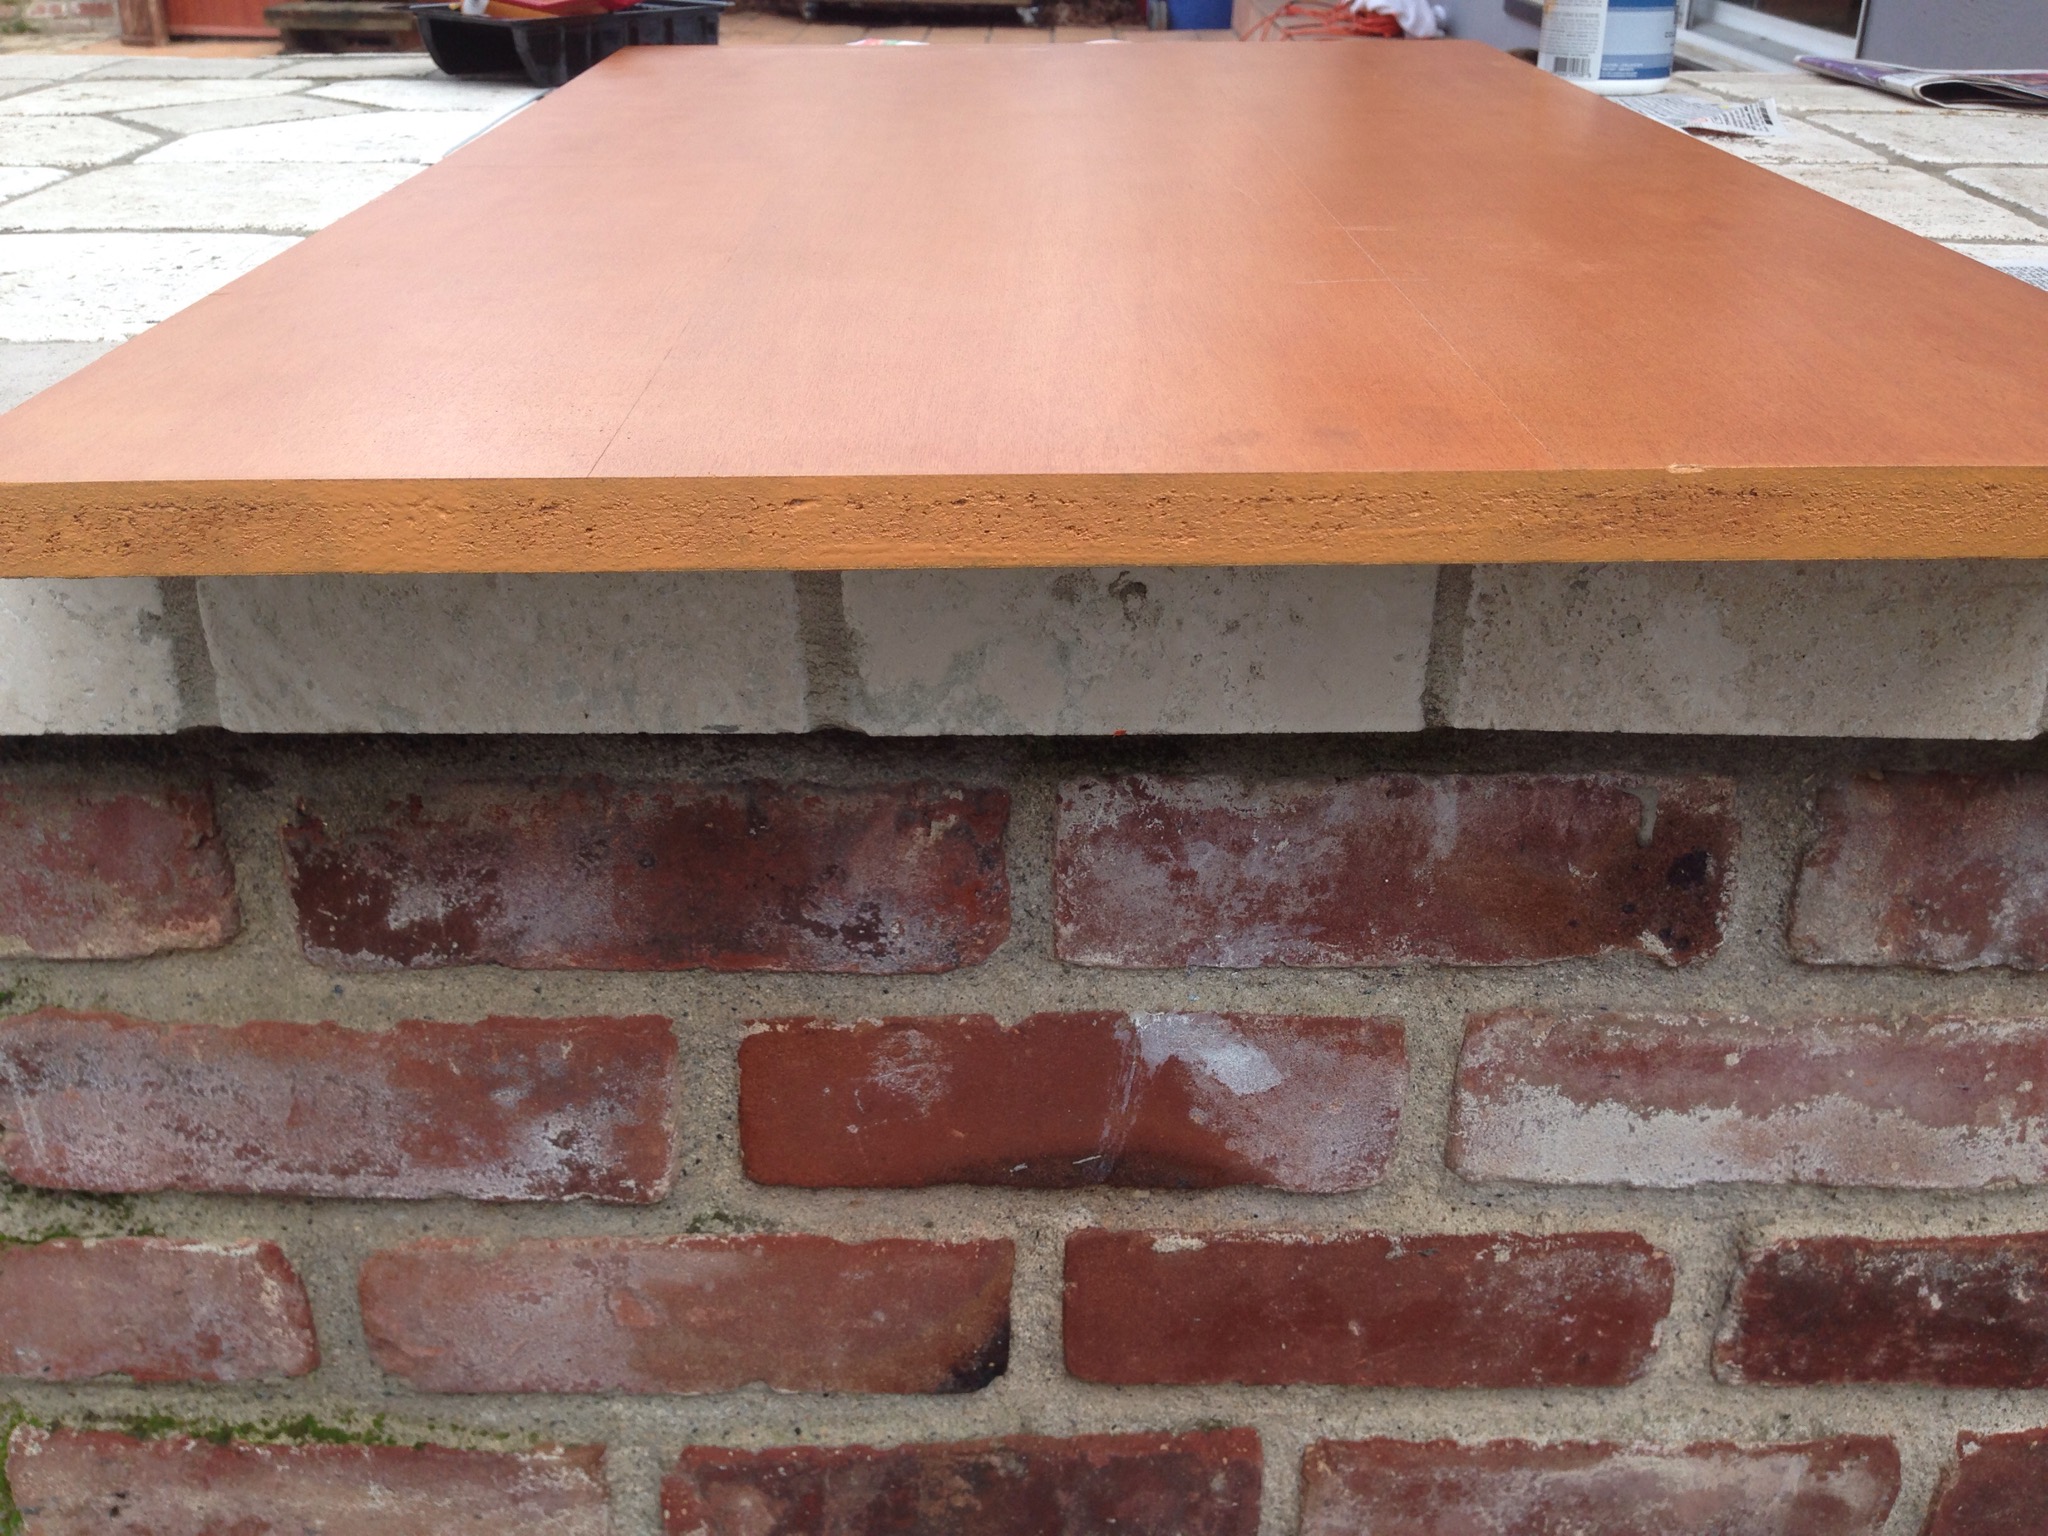
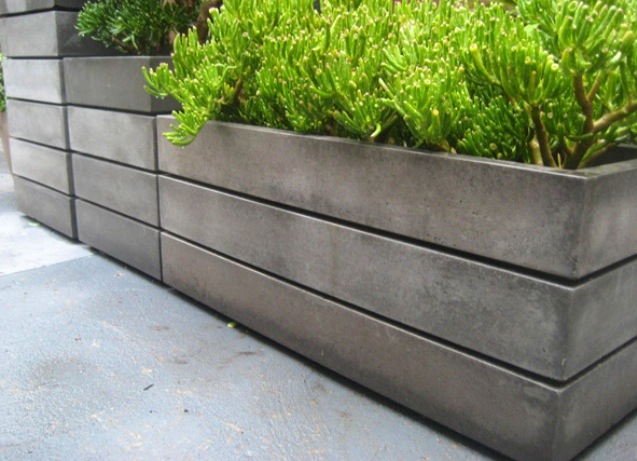
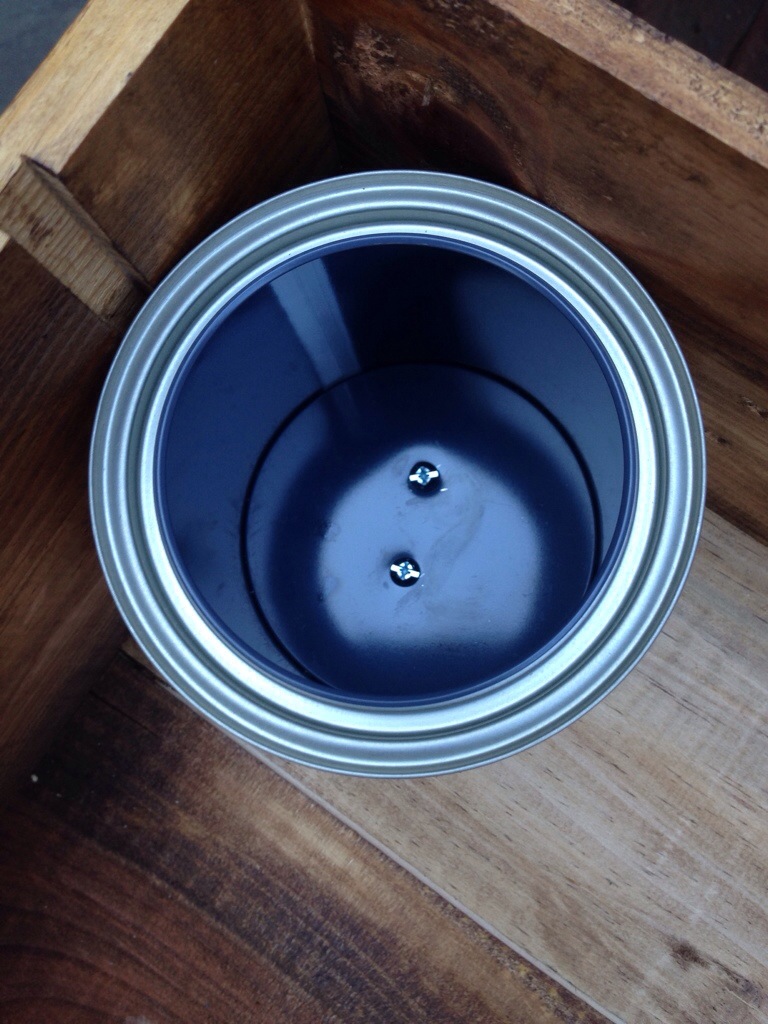
Therefore we spent yesterday morning picking up my equivalent of a “dozen roses”…

IMG_4527.JPG
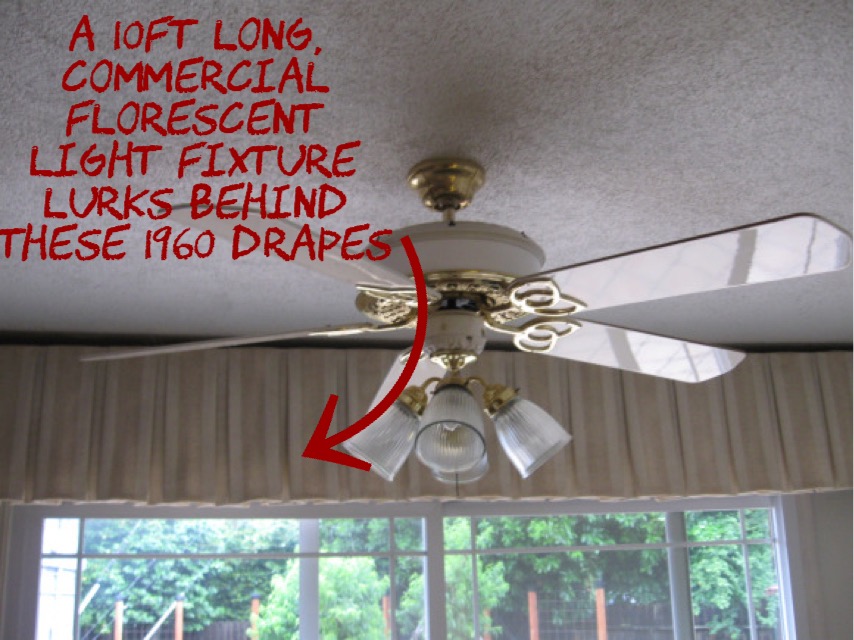
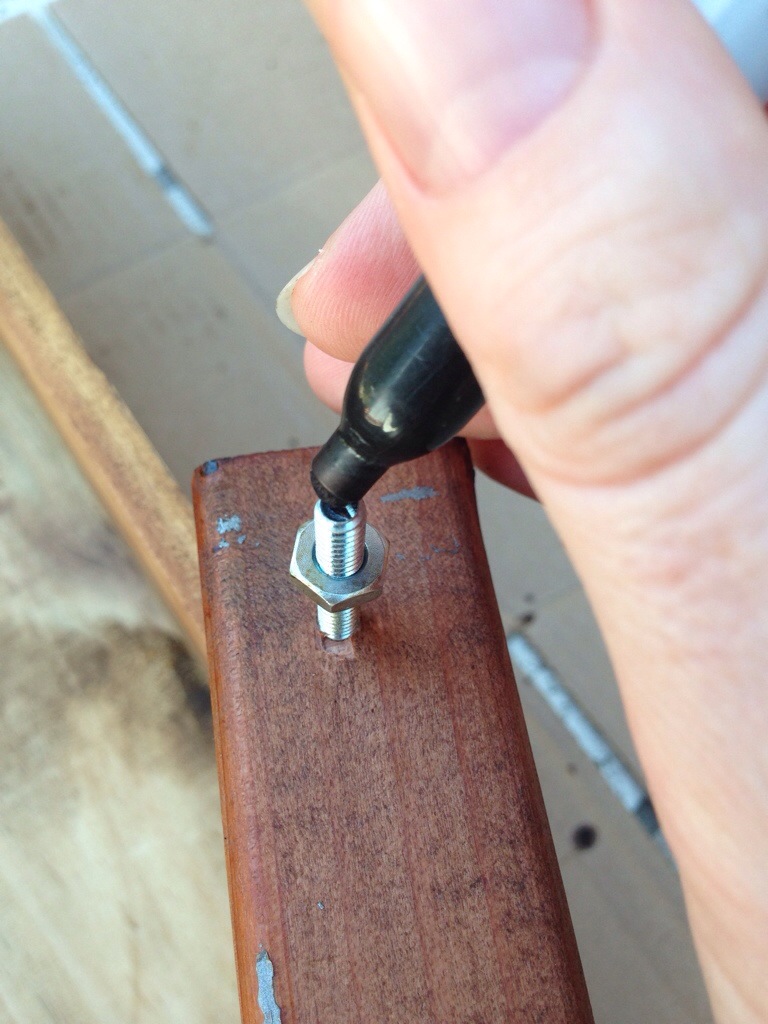
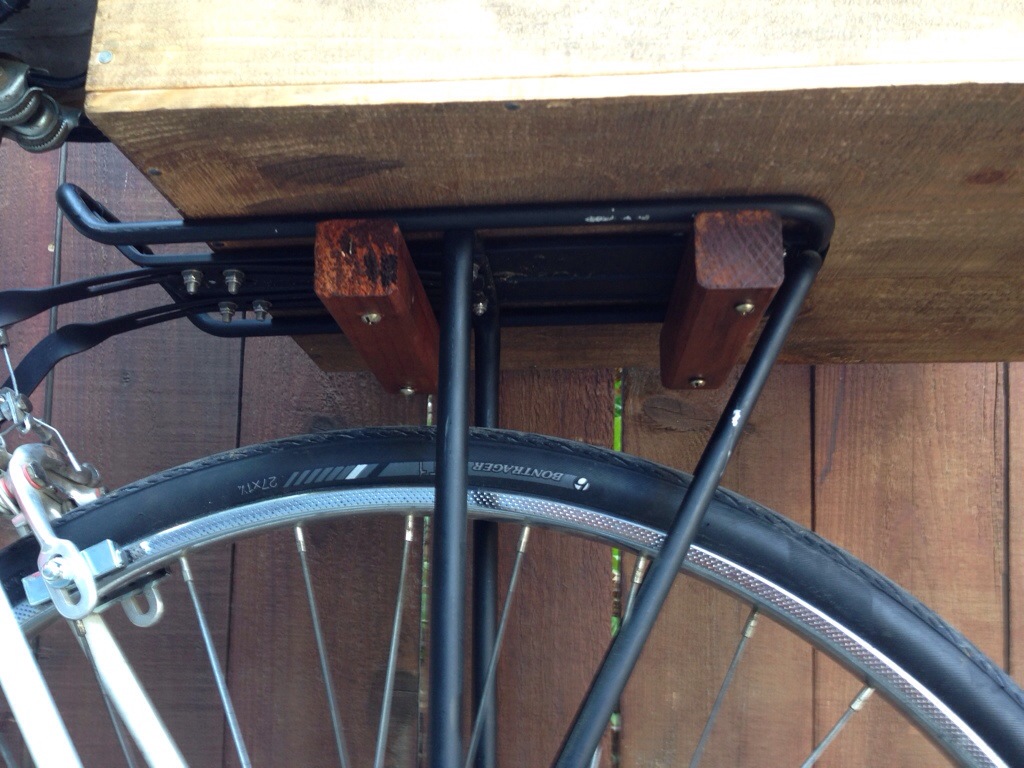
Next came Project número dos…

IMG_4532.JPG
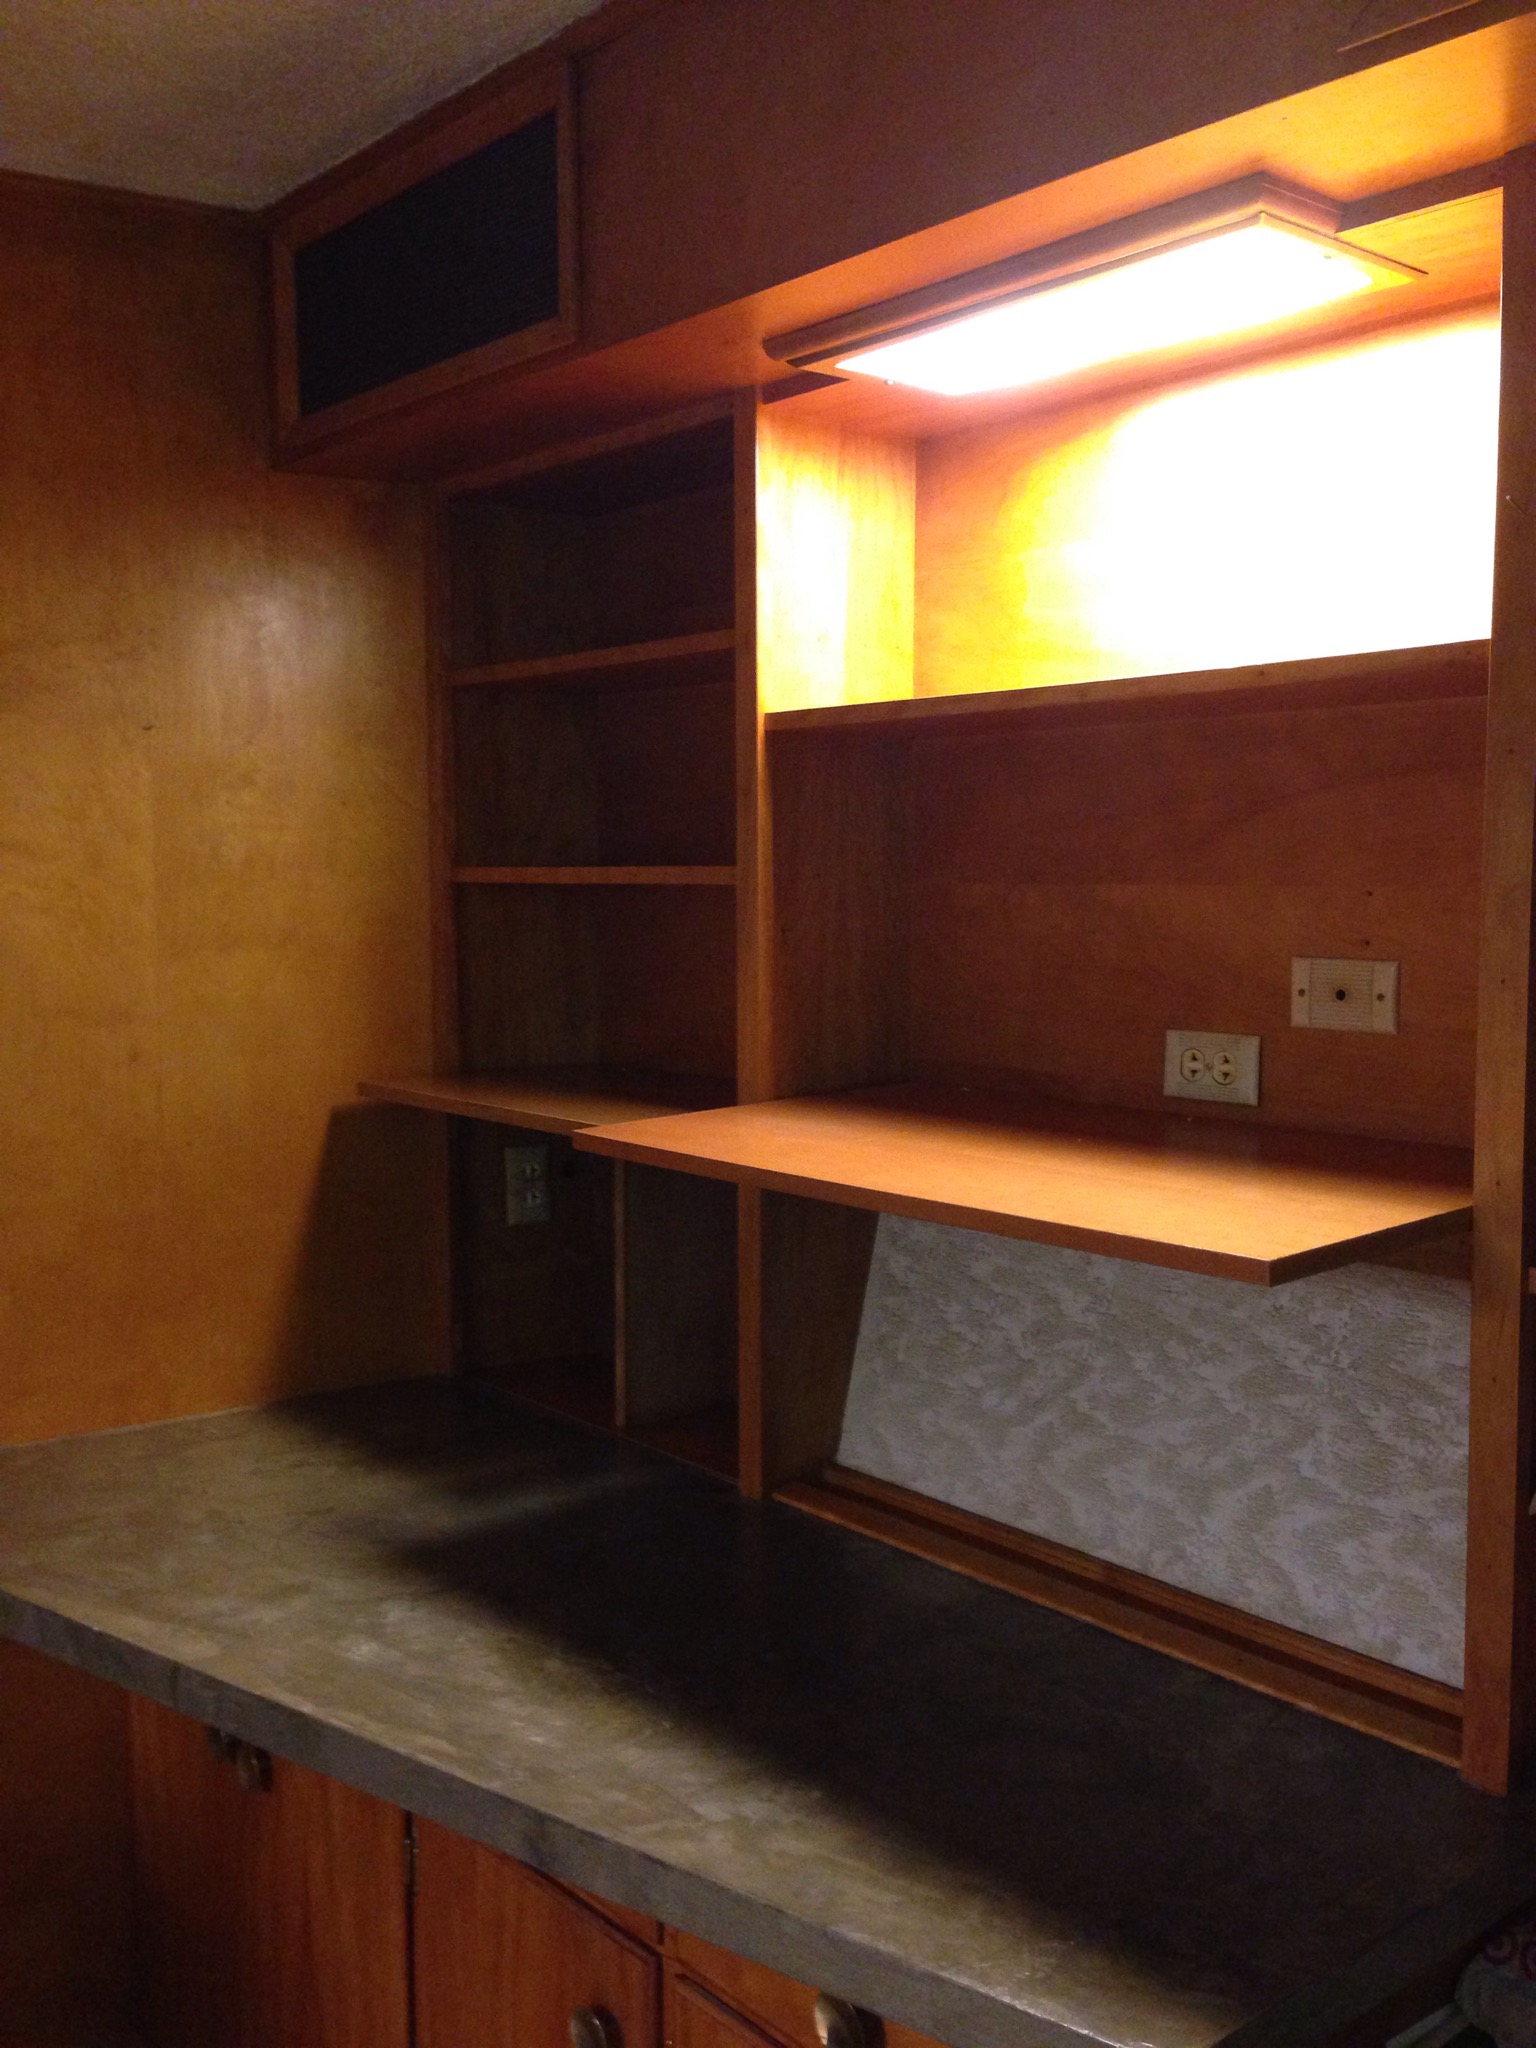
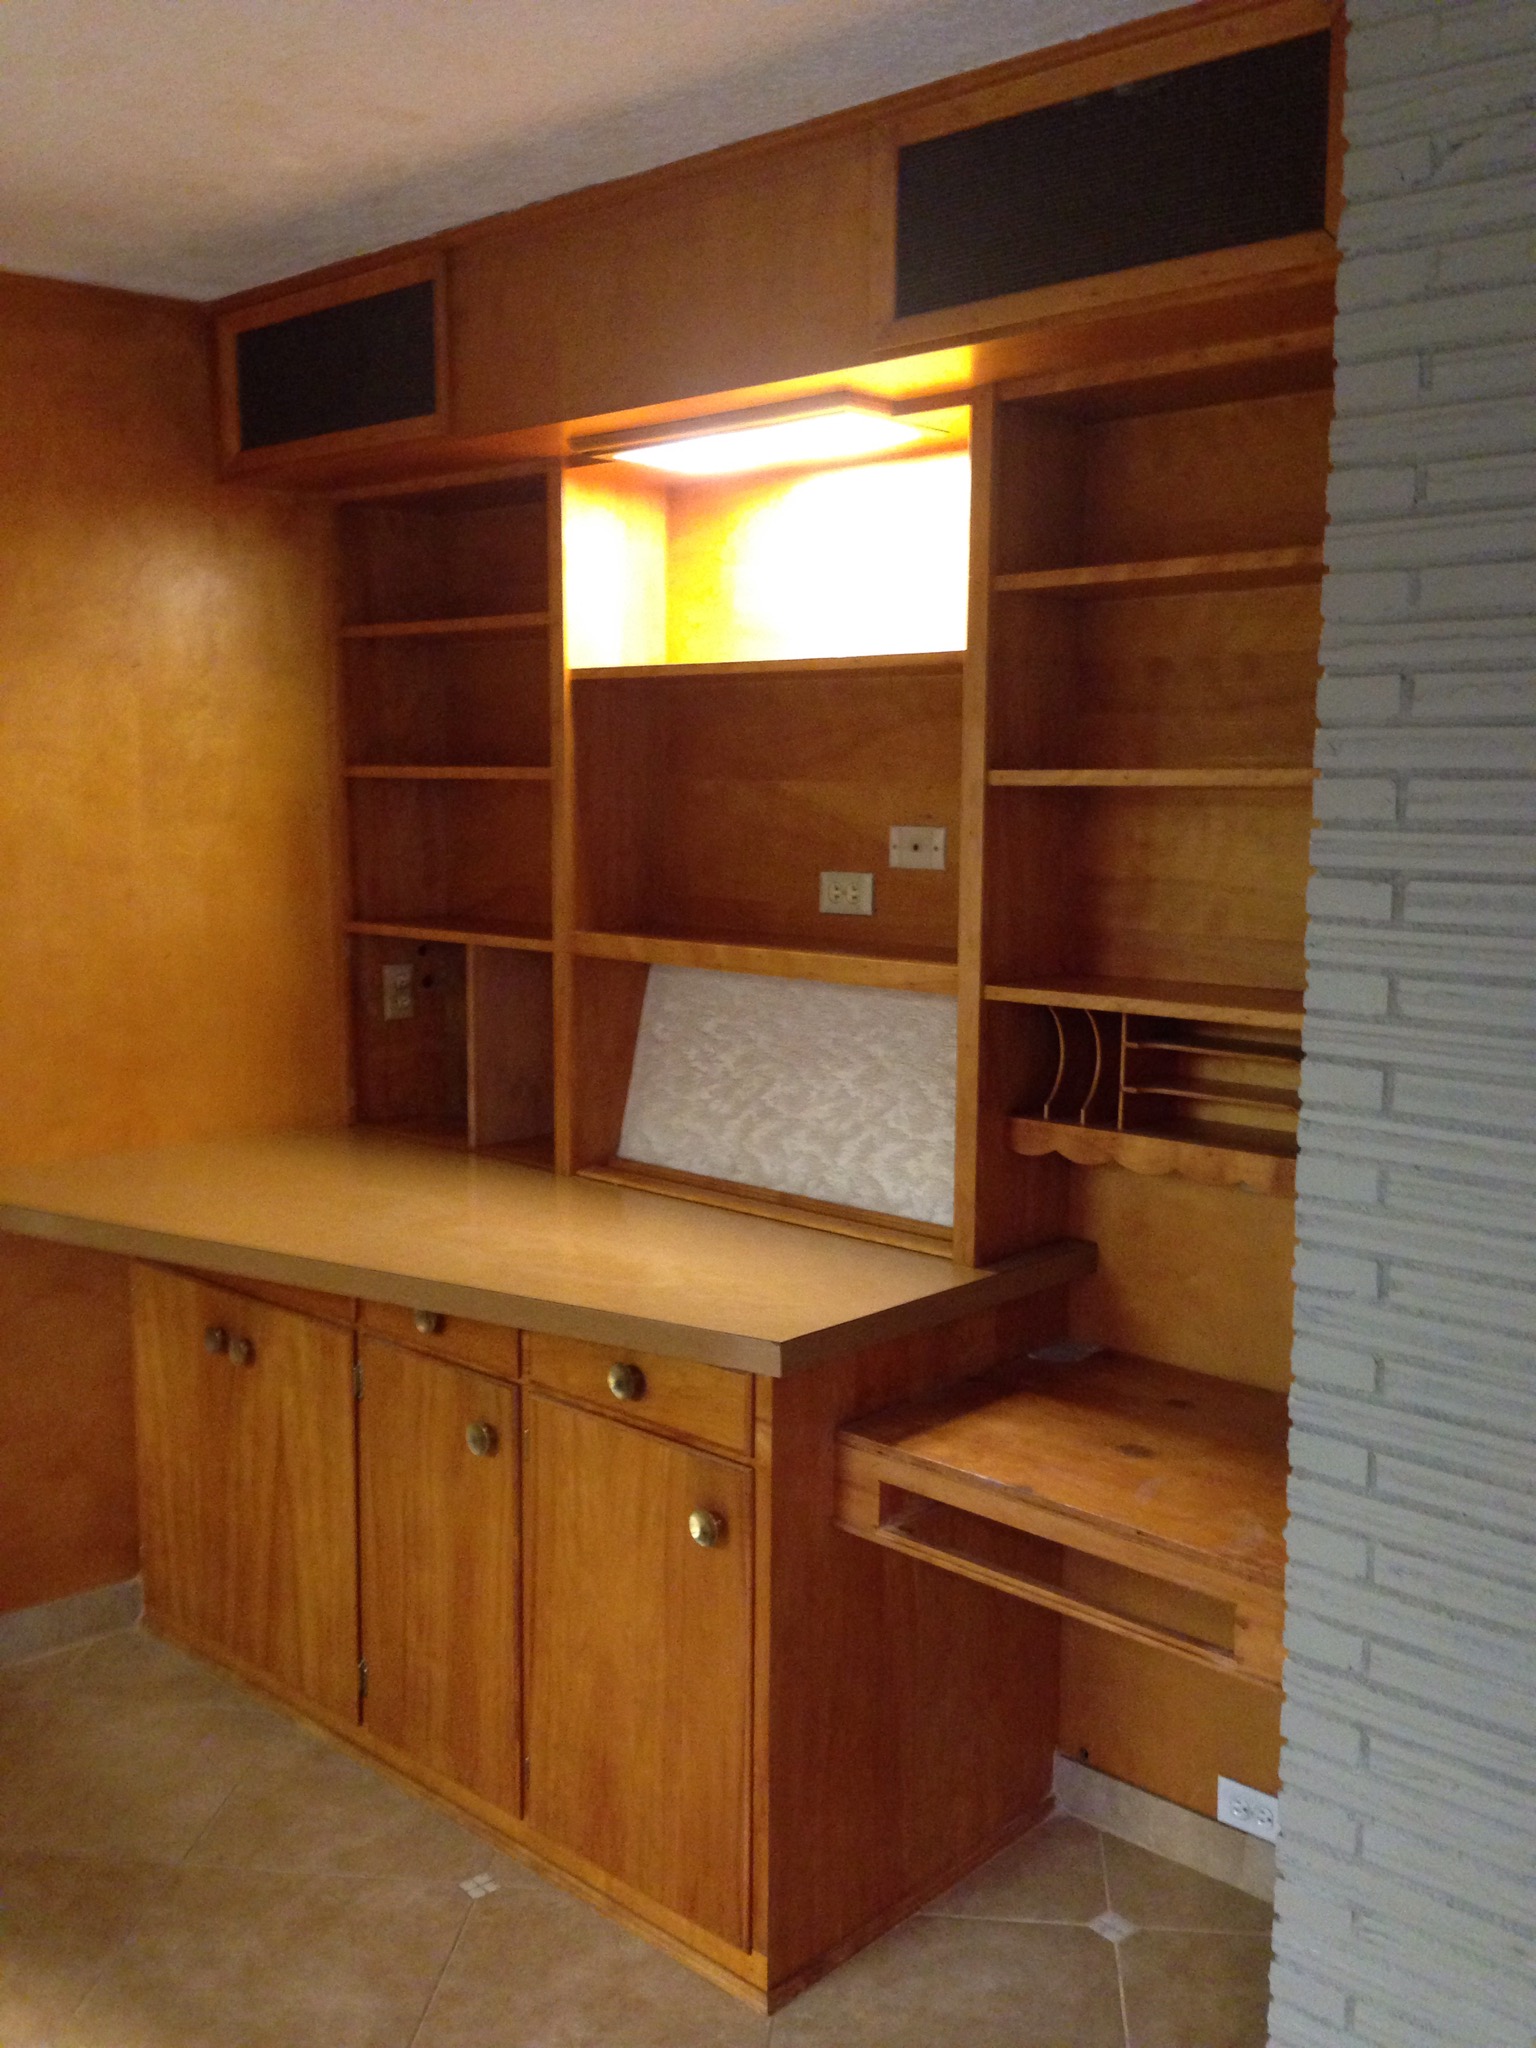
Ugly right?…This is a picture of one vintage speaker in the attic…

IMG_4531.JPG
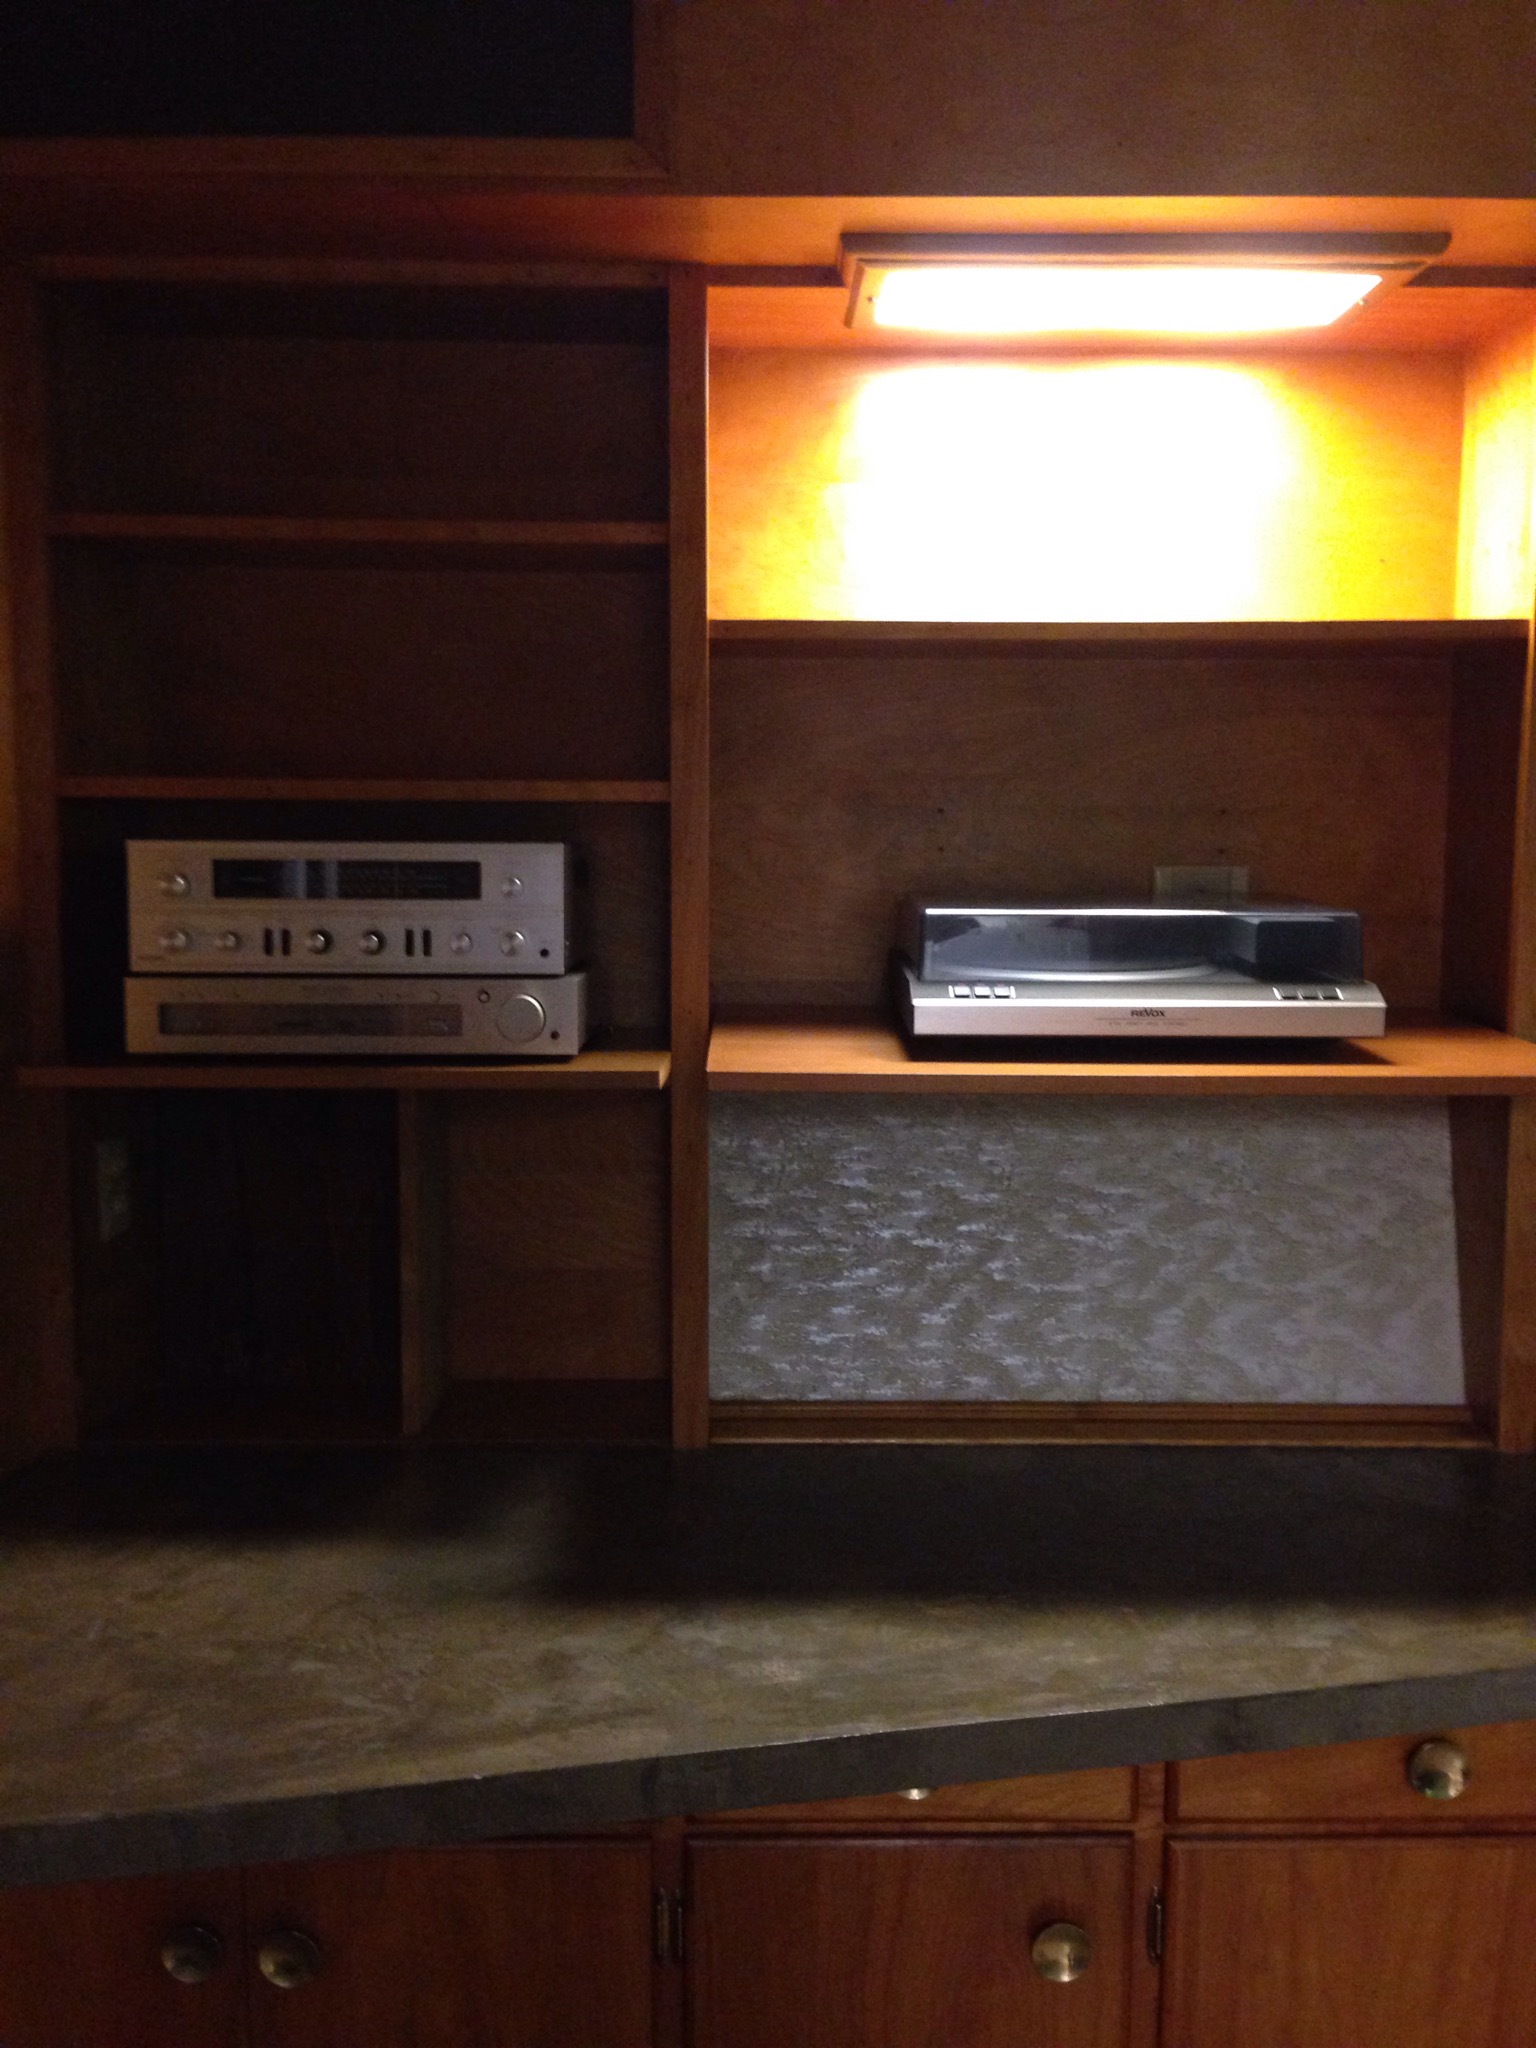
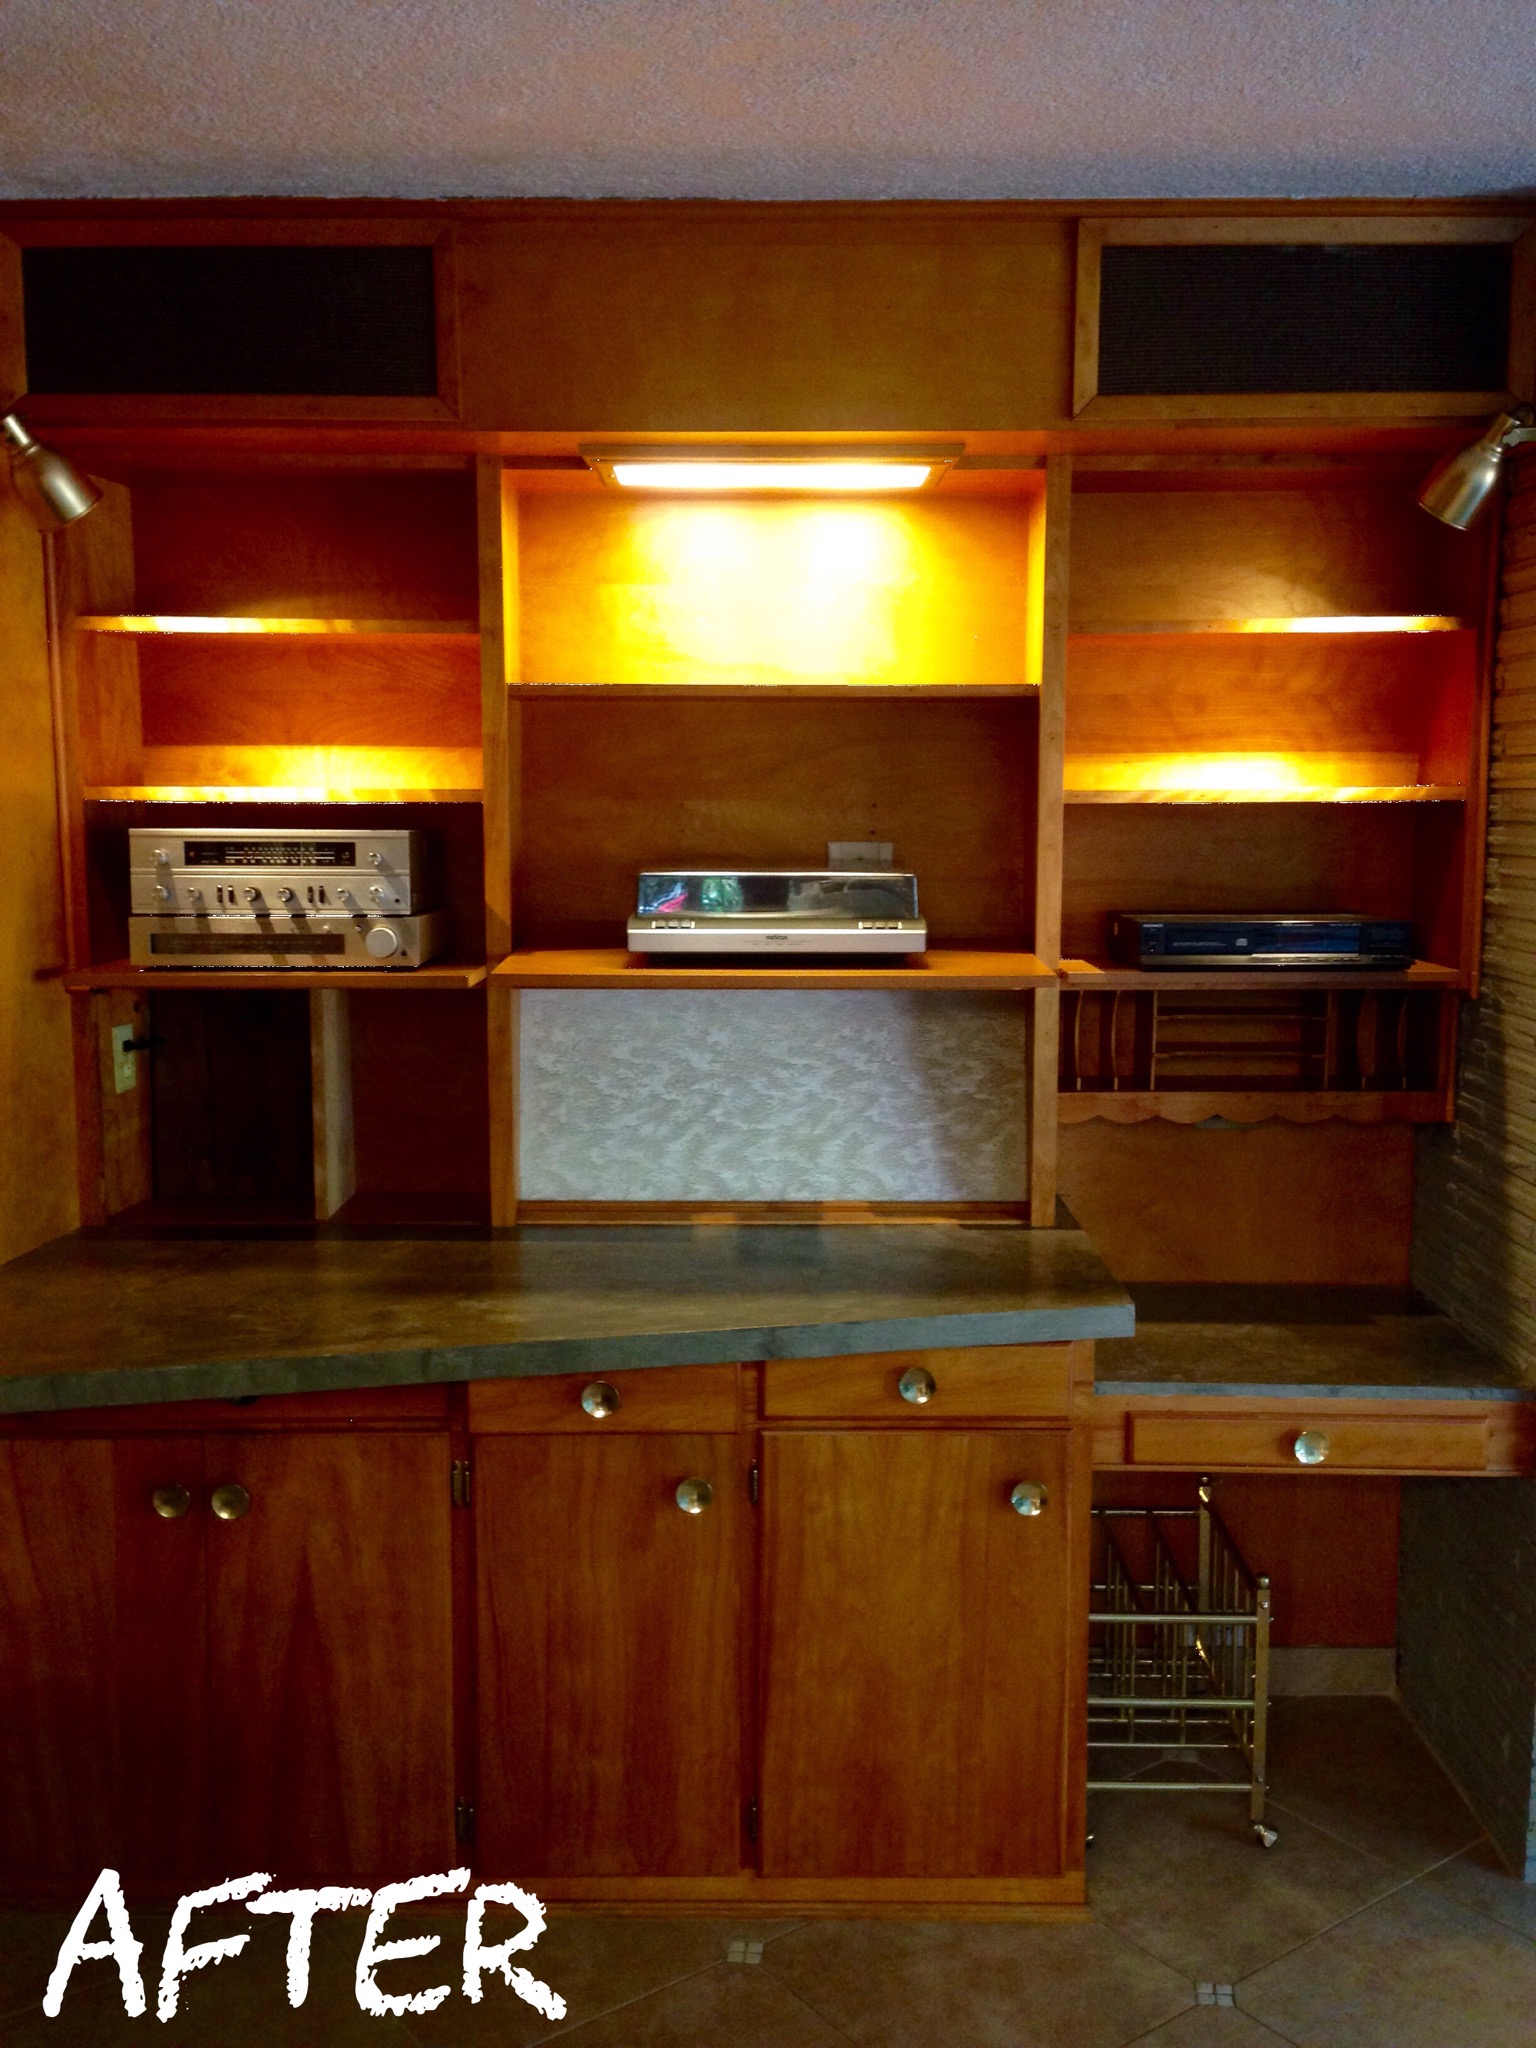
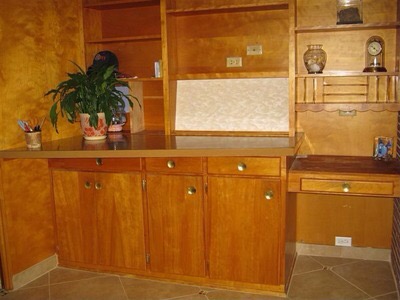
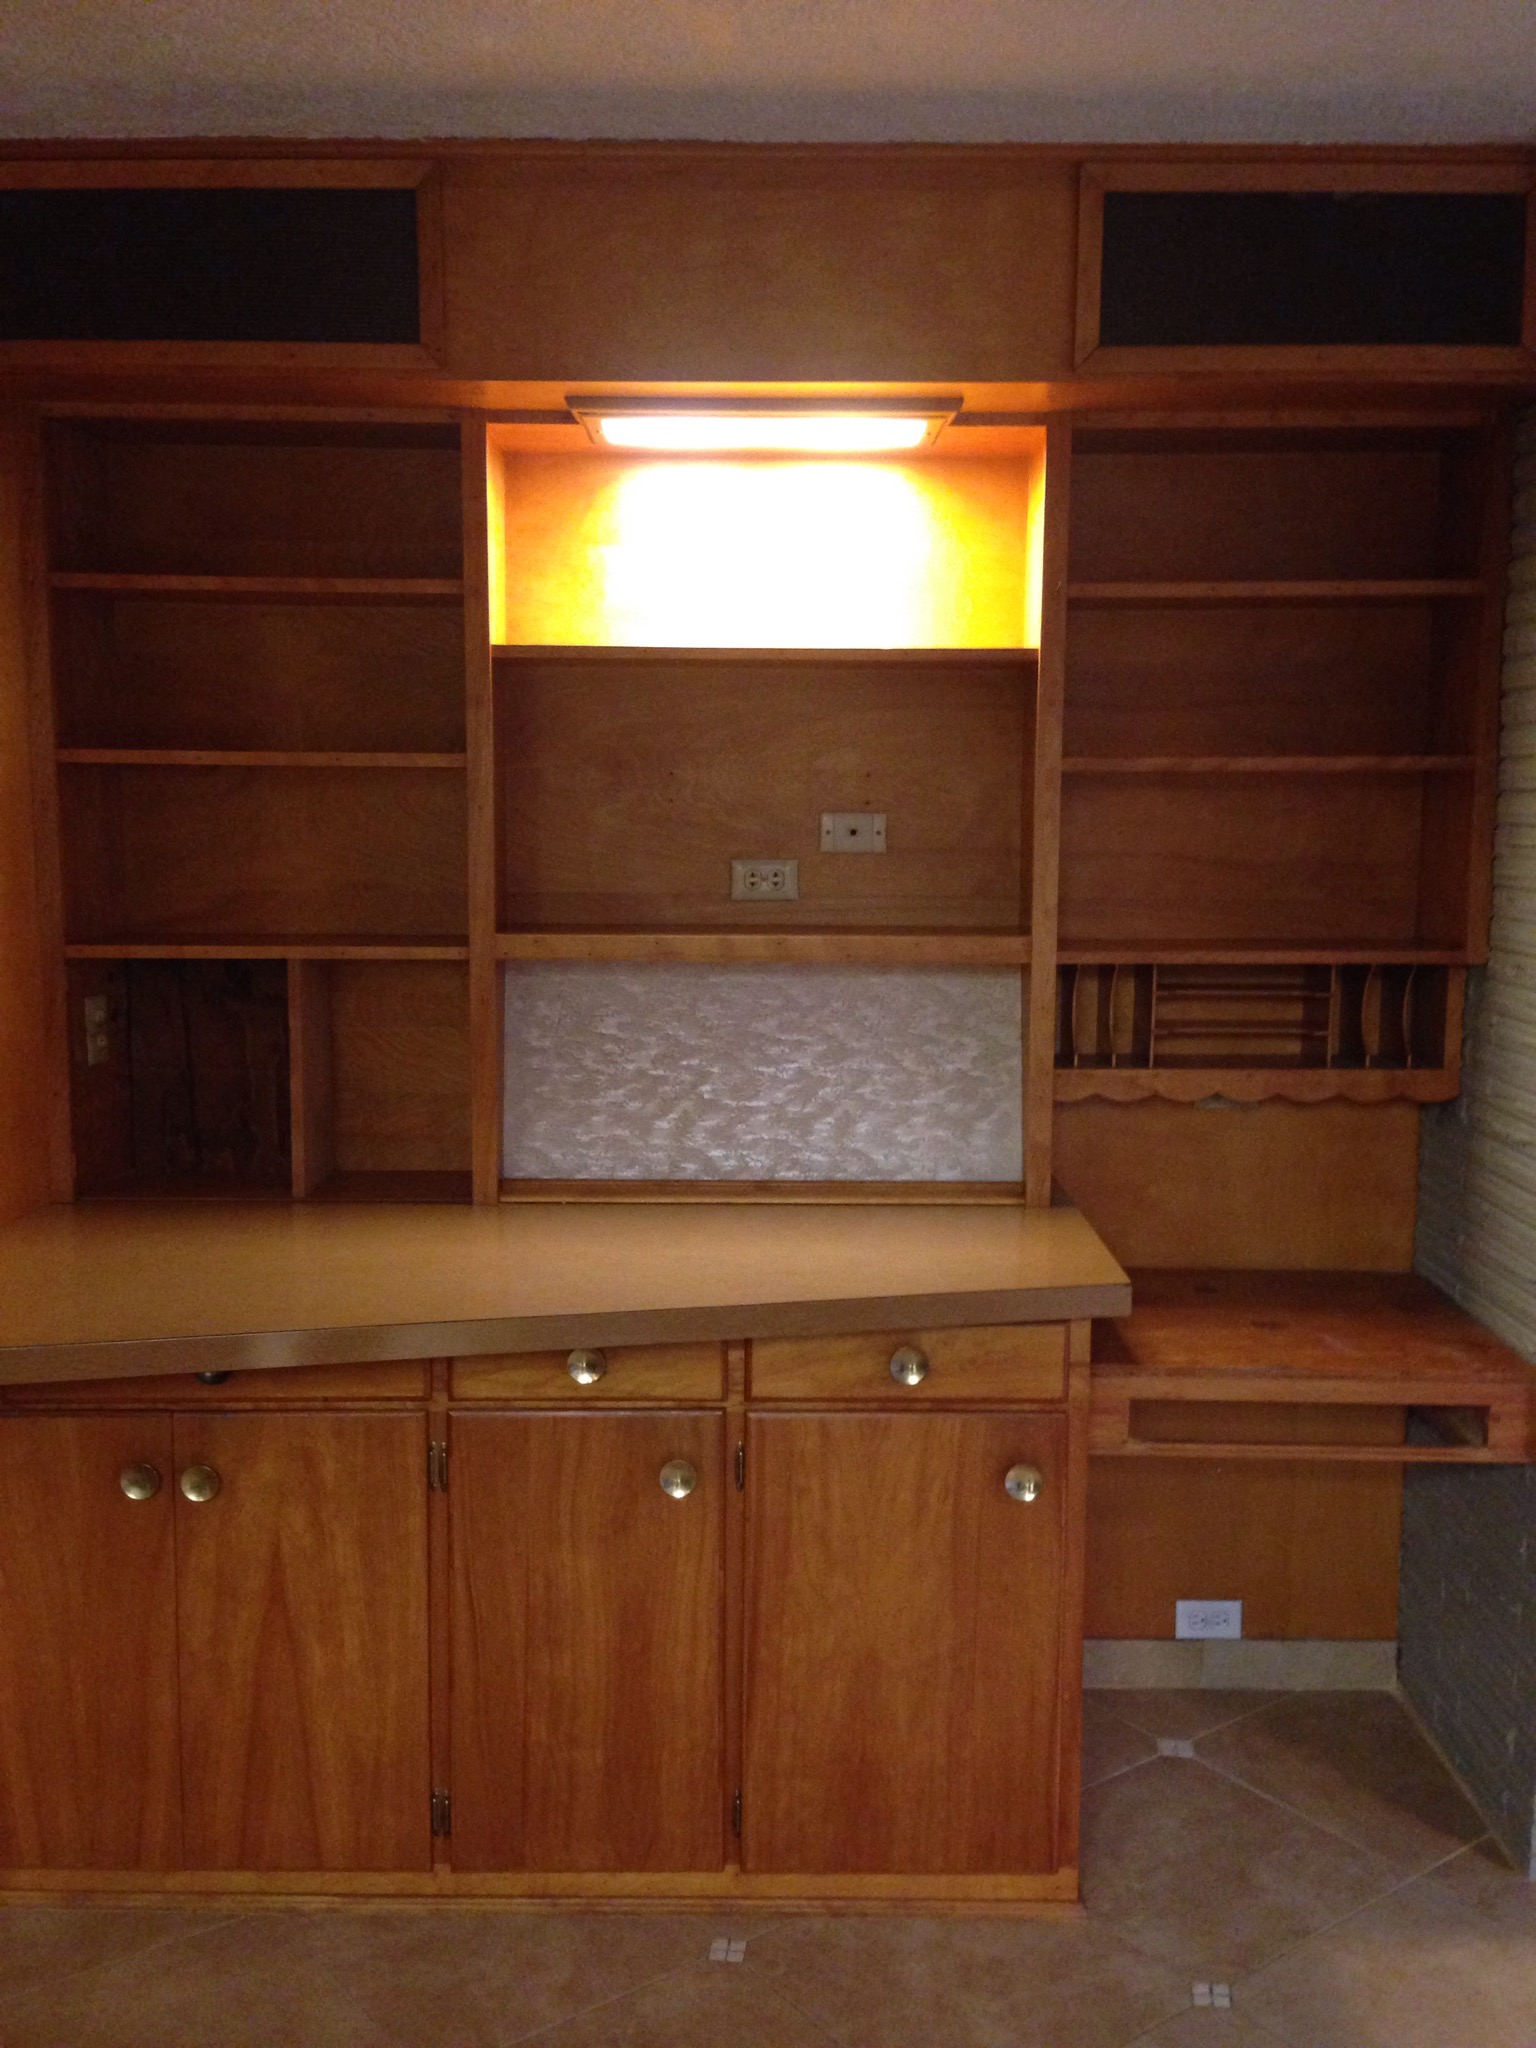
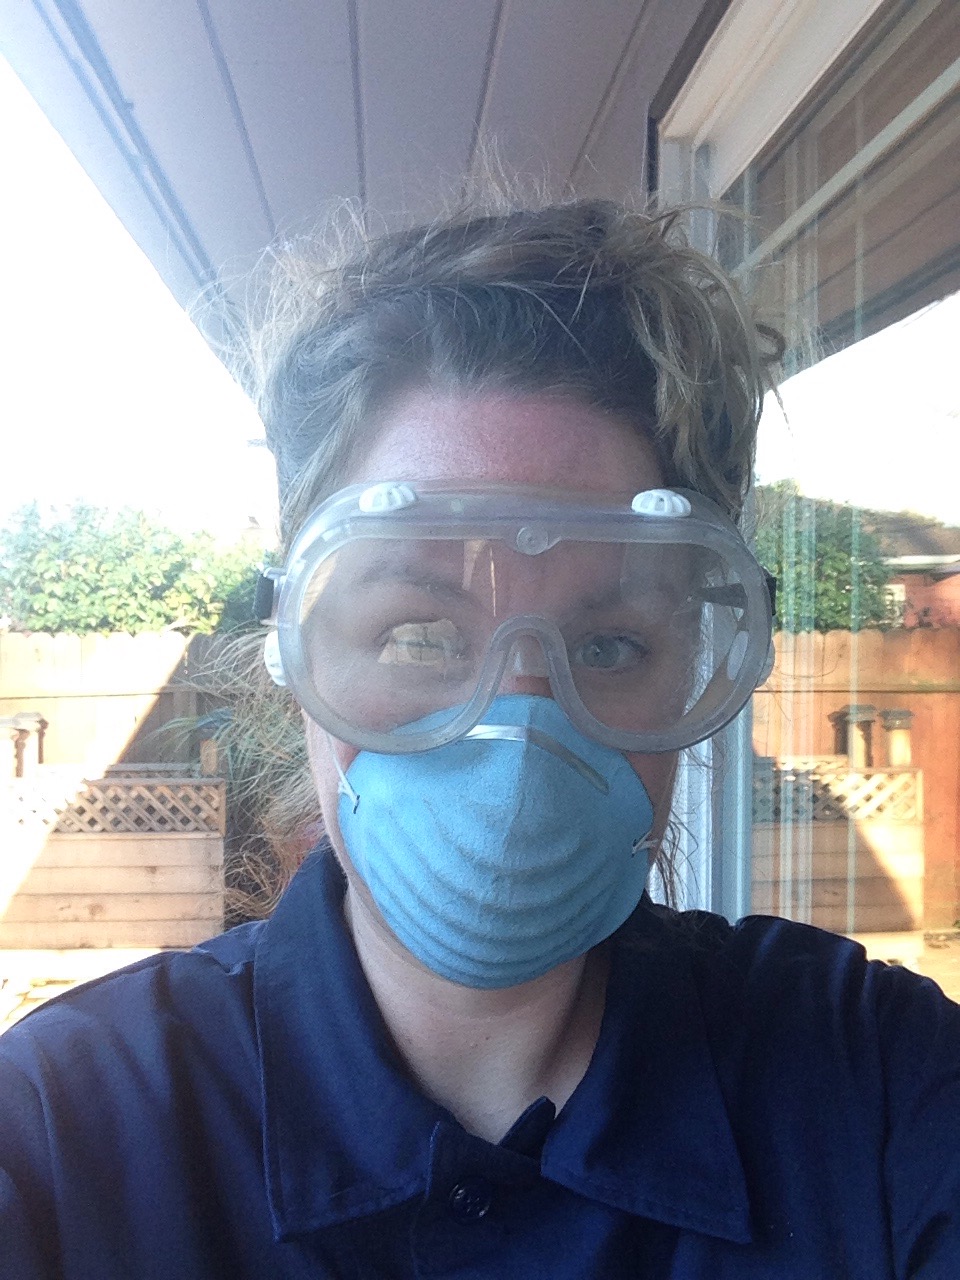
As we said last week, it was a semi reveal of our Midcentury built-in. We still need to restore the speaker system. Hence yesterday afternoon was spent together crawling around the attic assessing the project. (Because nothing says “I love you” more than picking cobwebs and roof debris out of each other’s hair)

IMG_4528.JPG
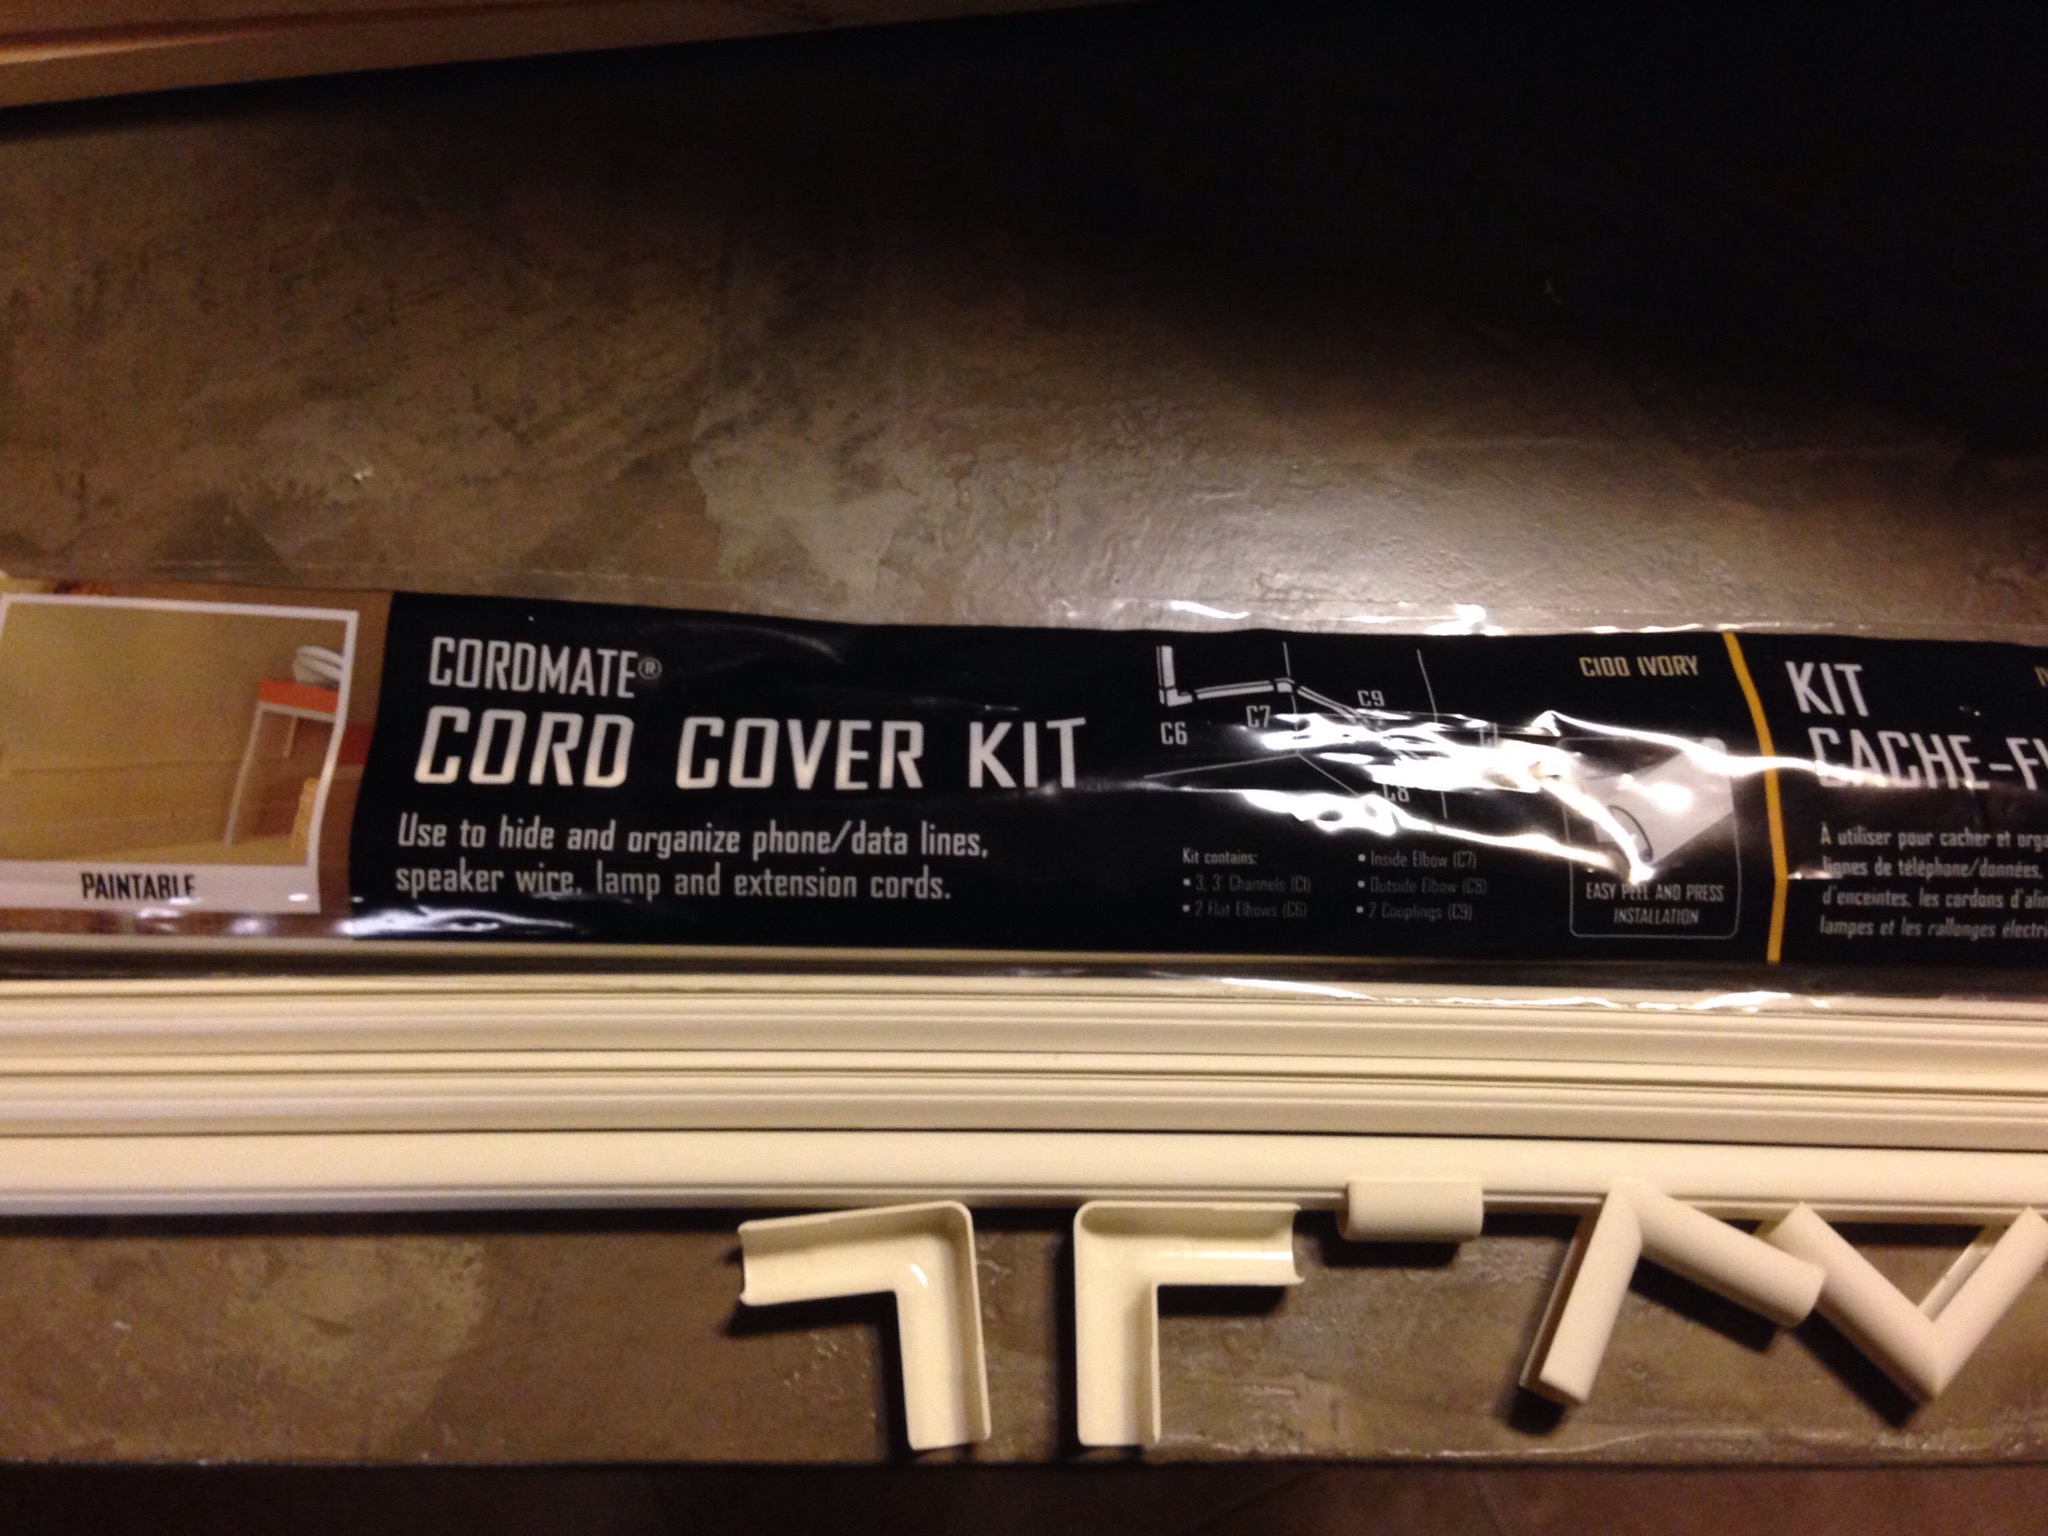
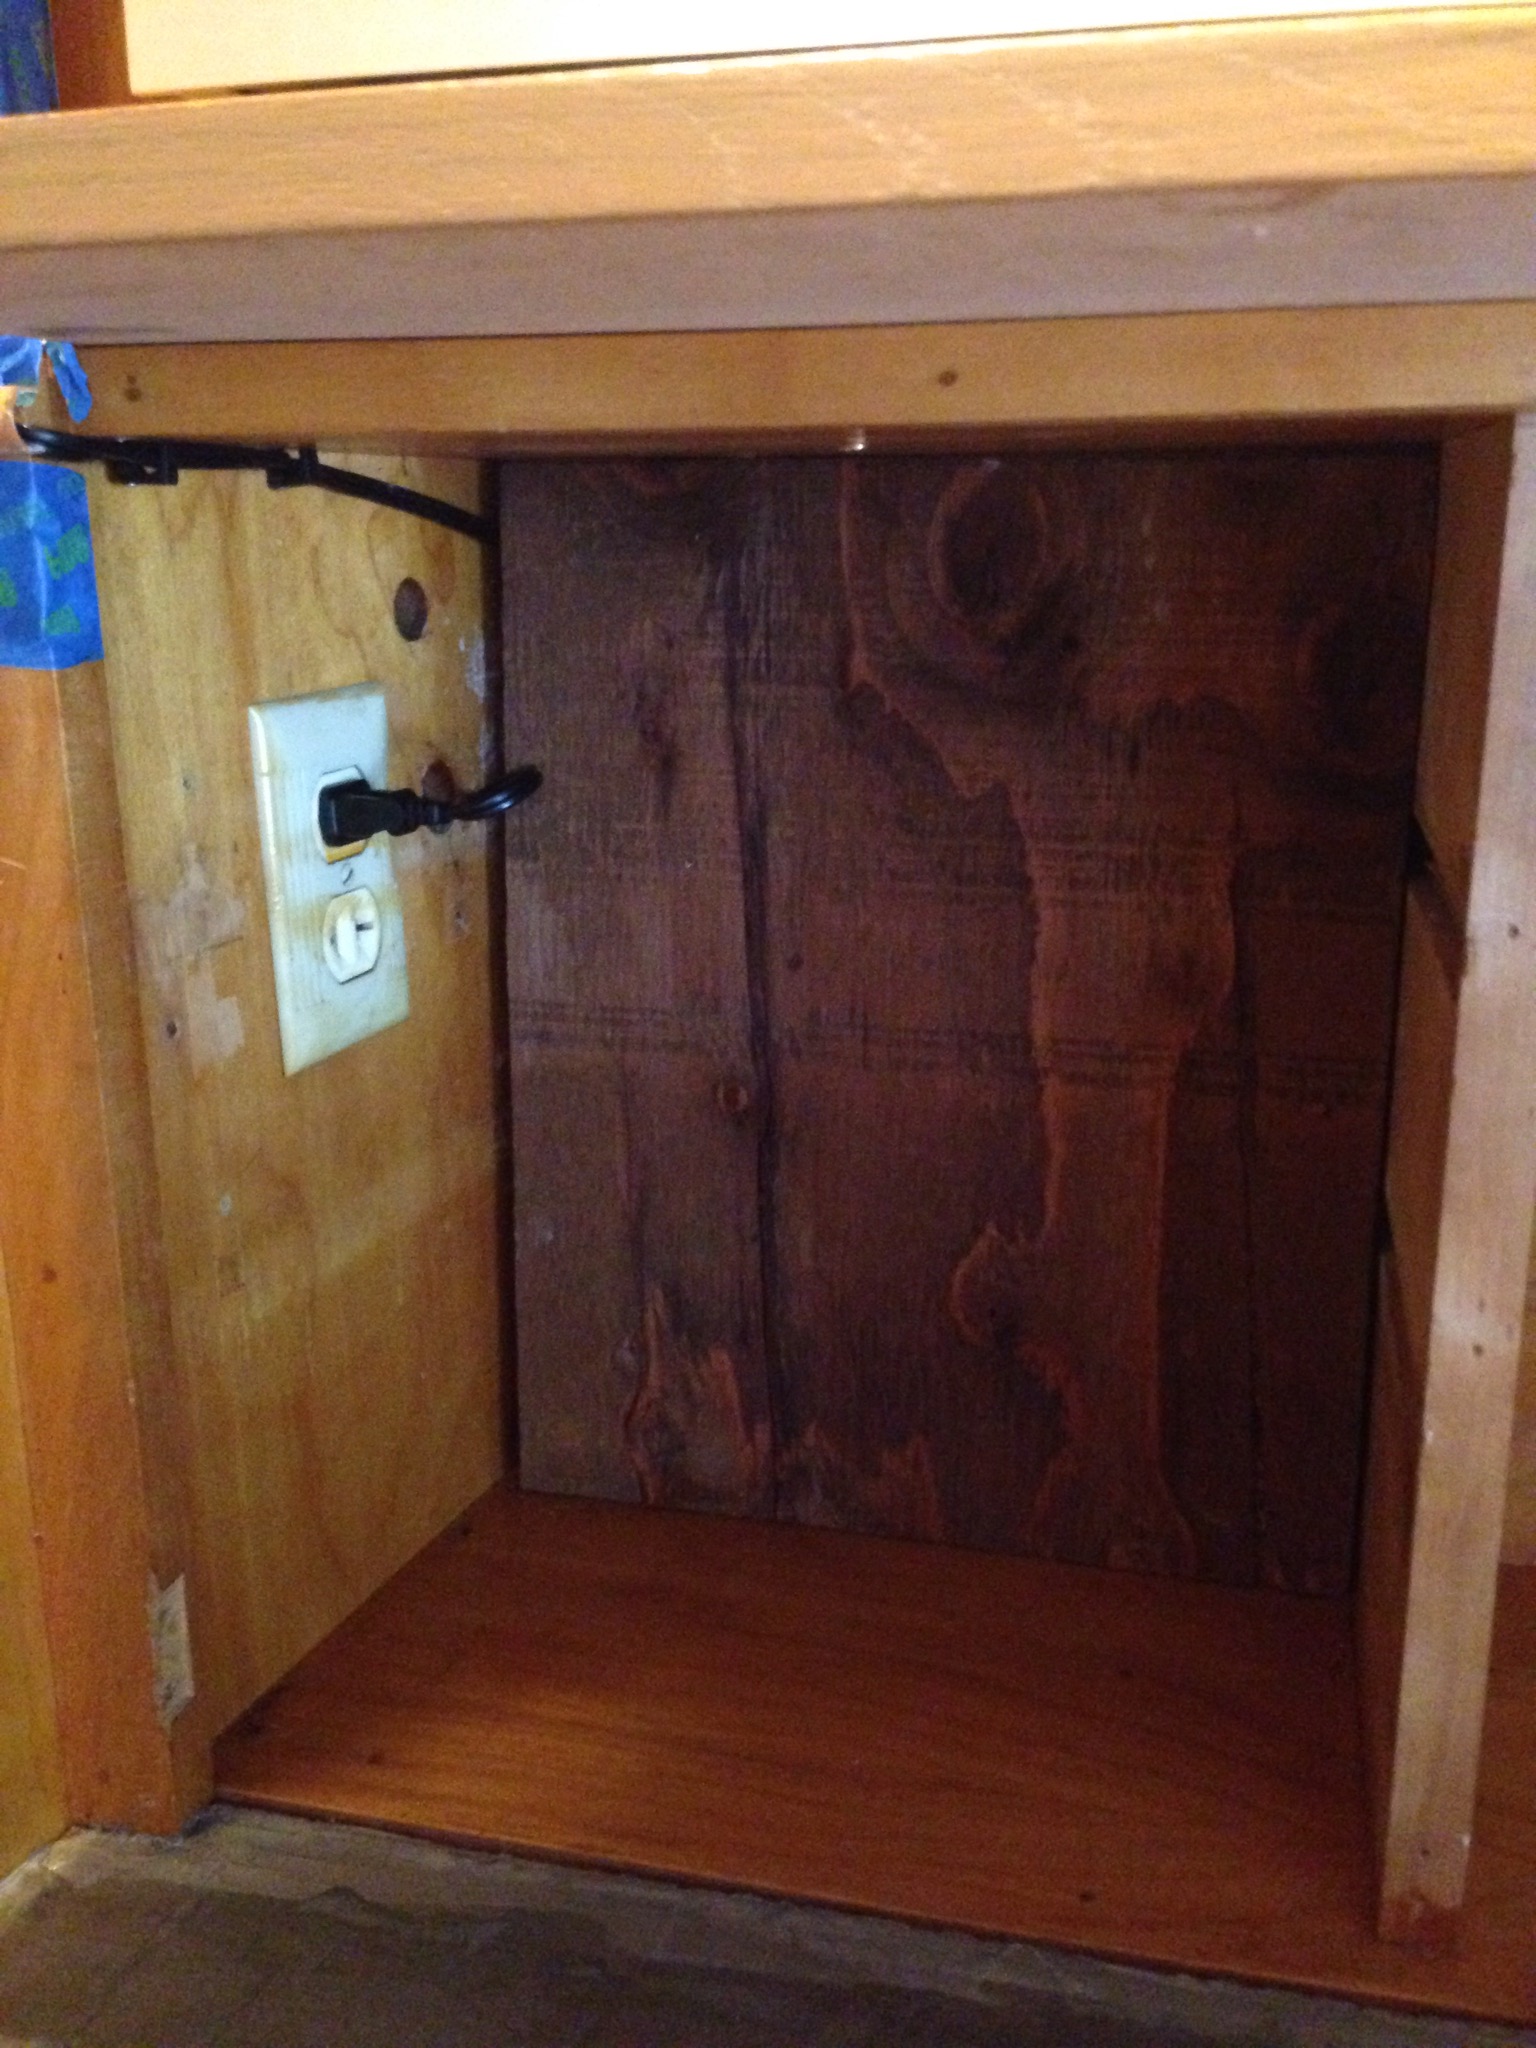
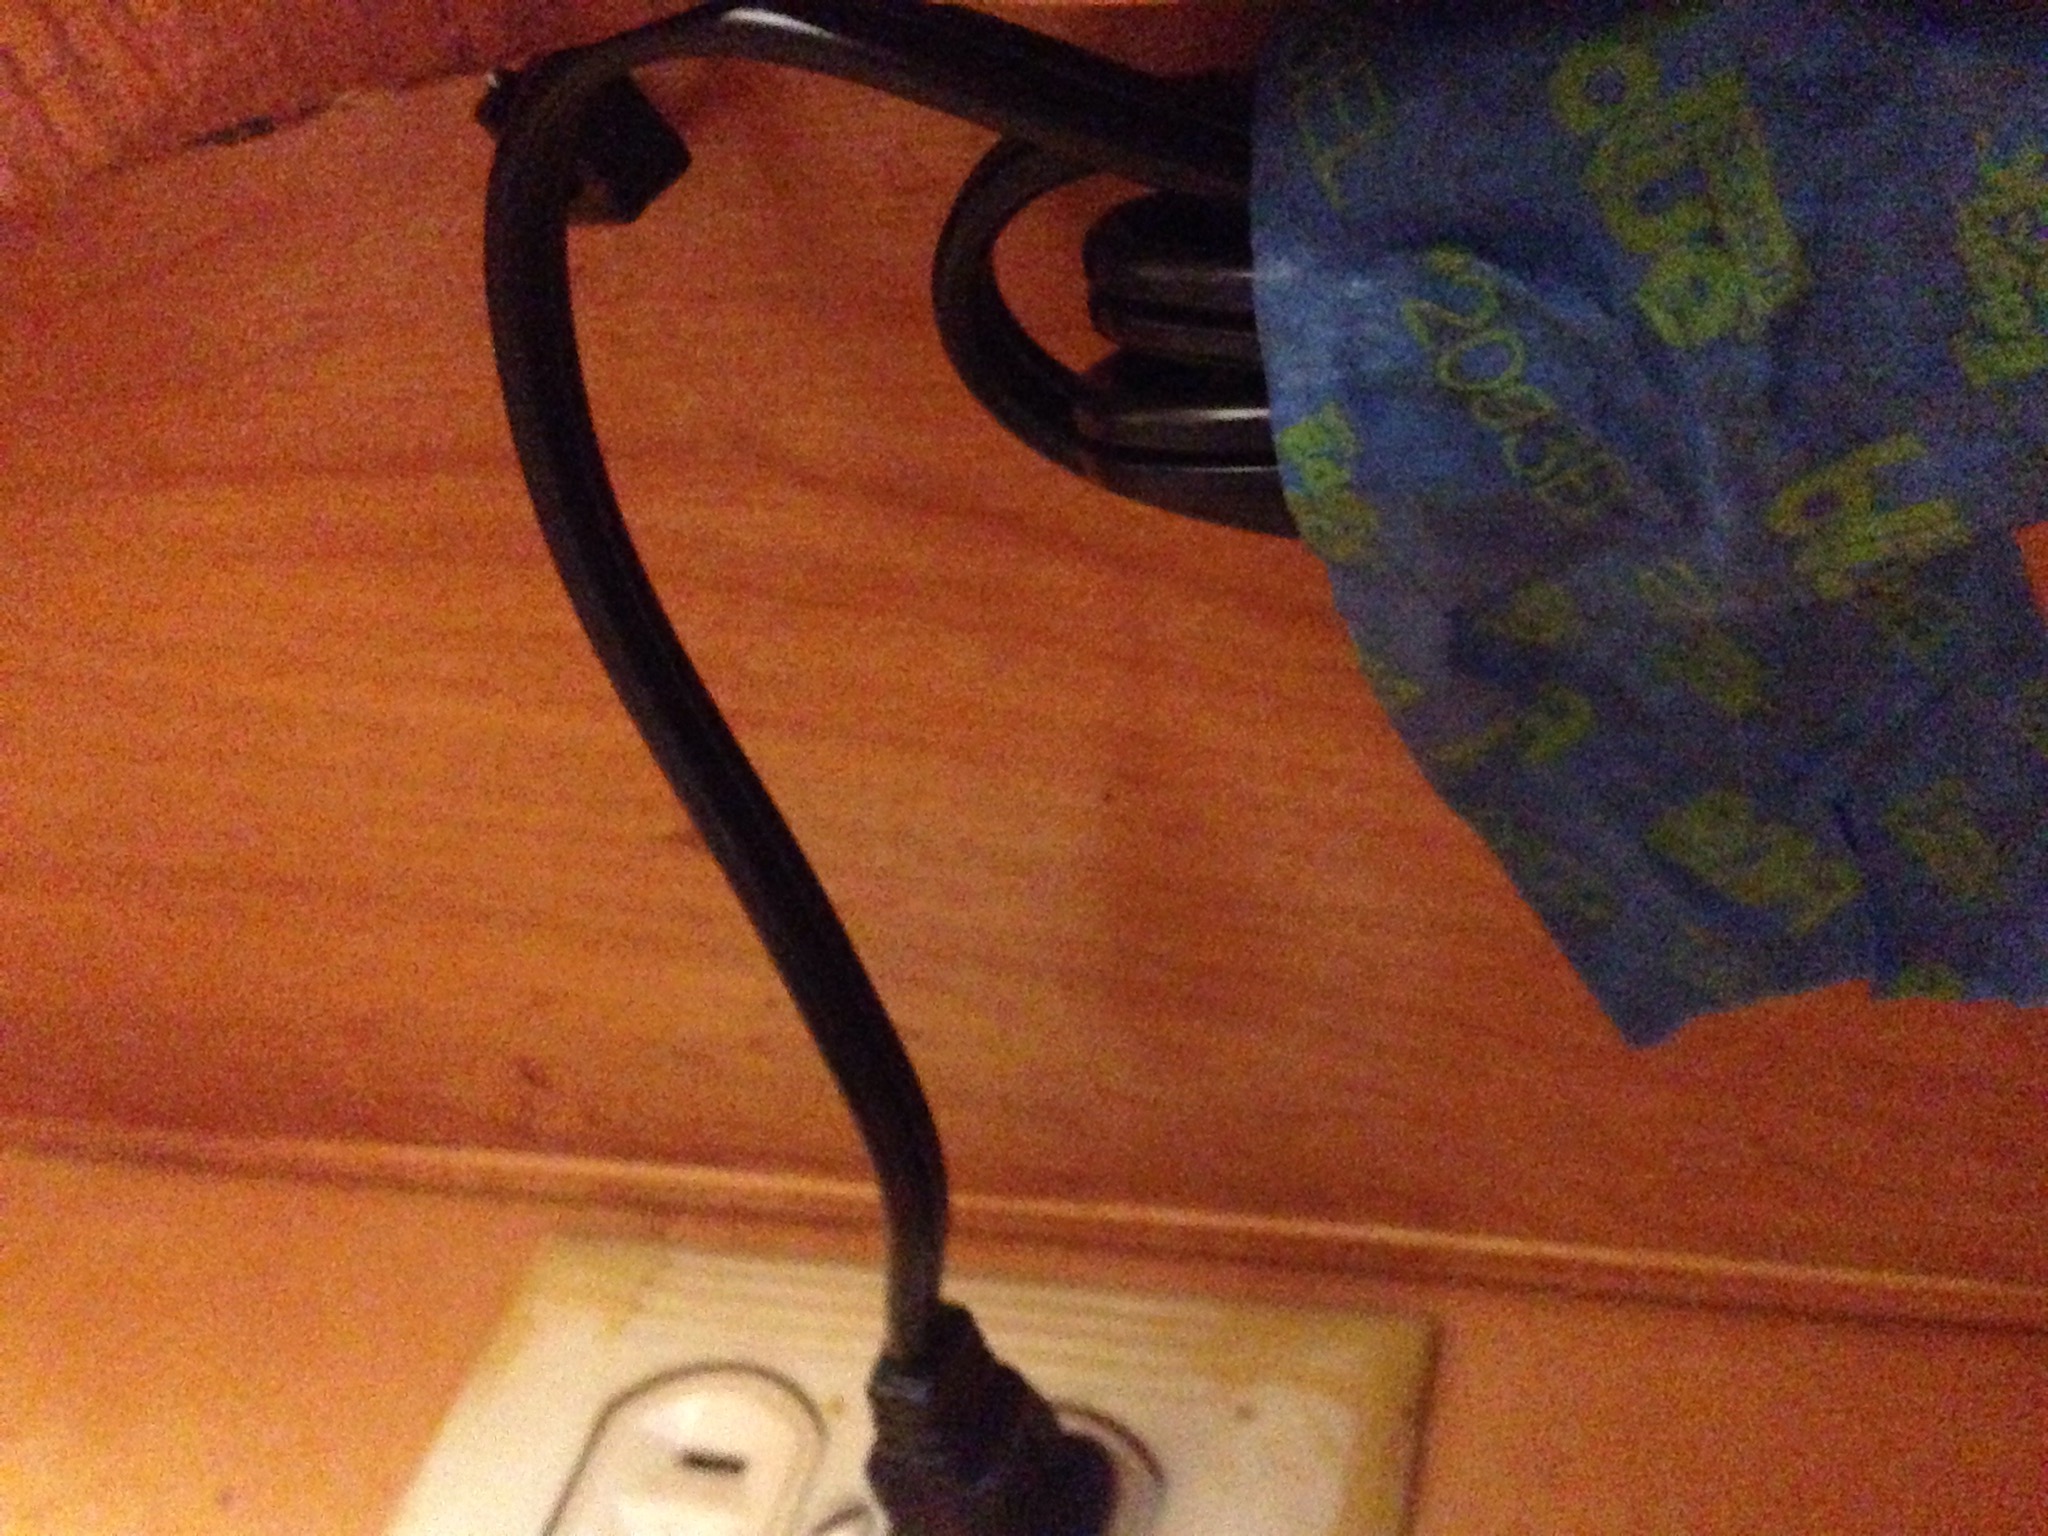
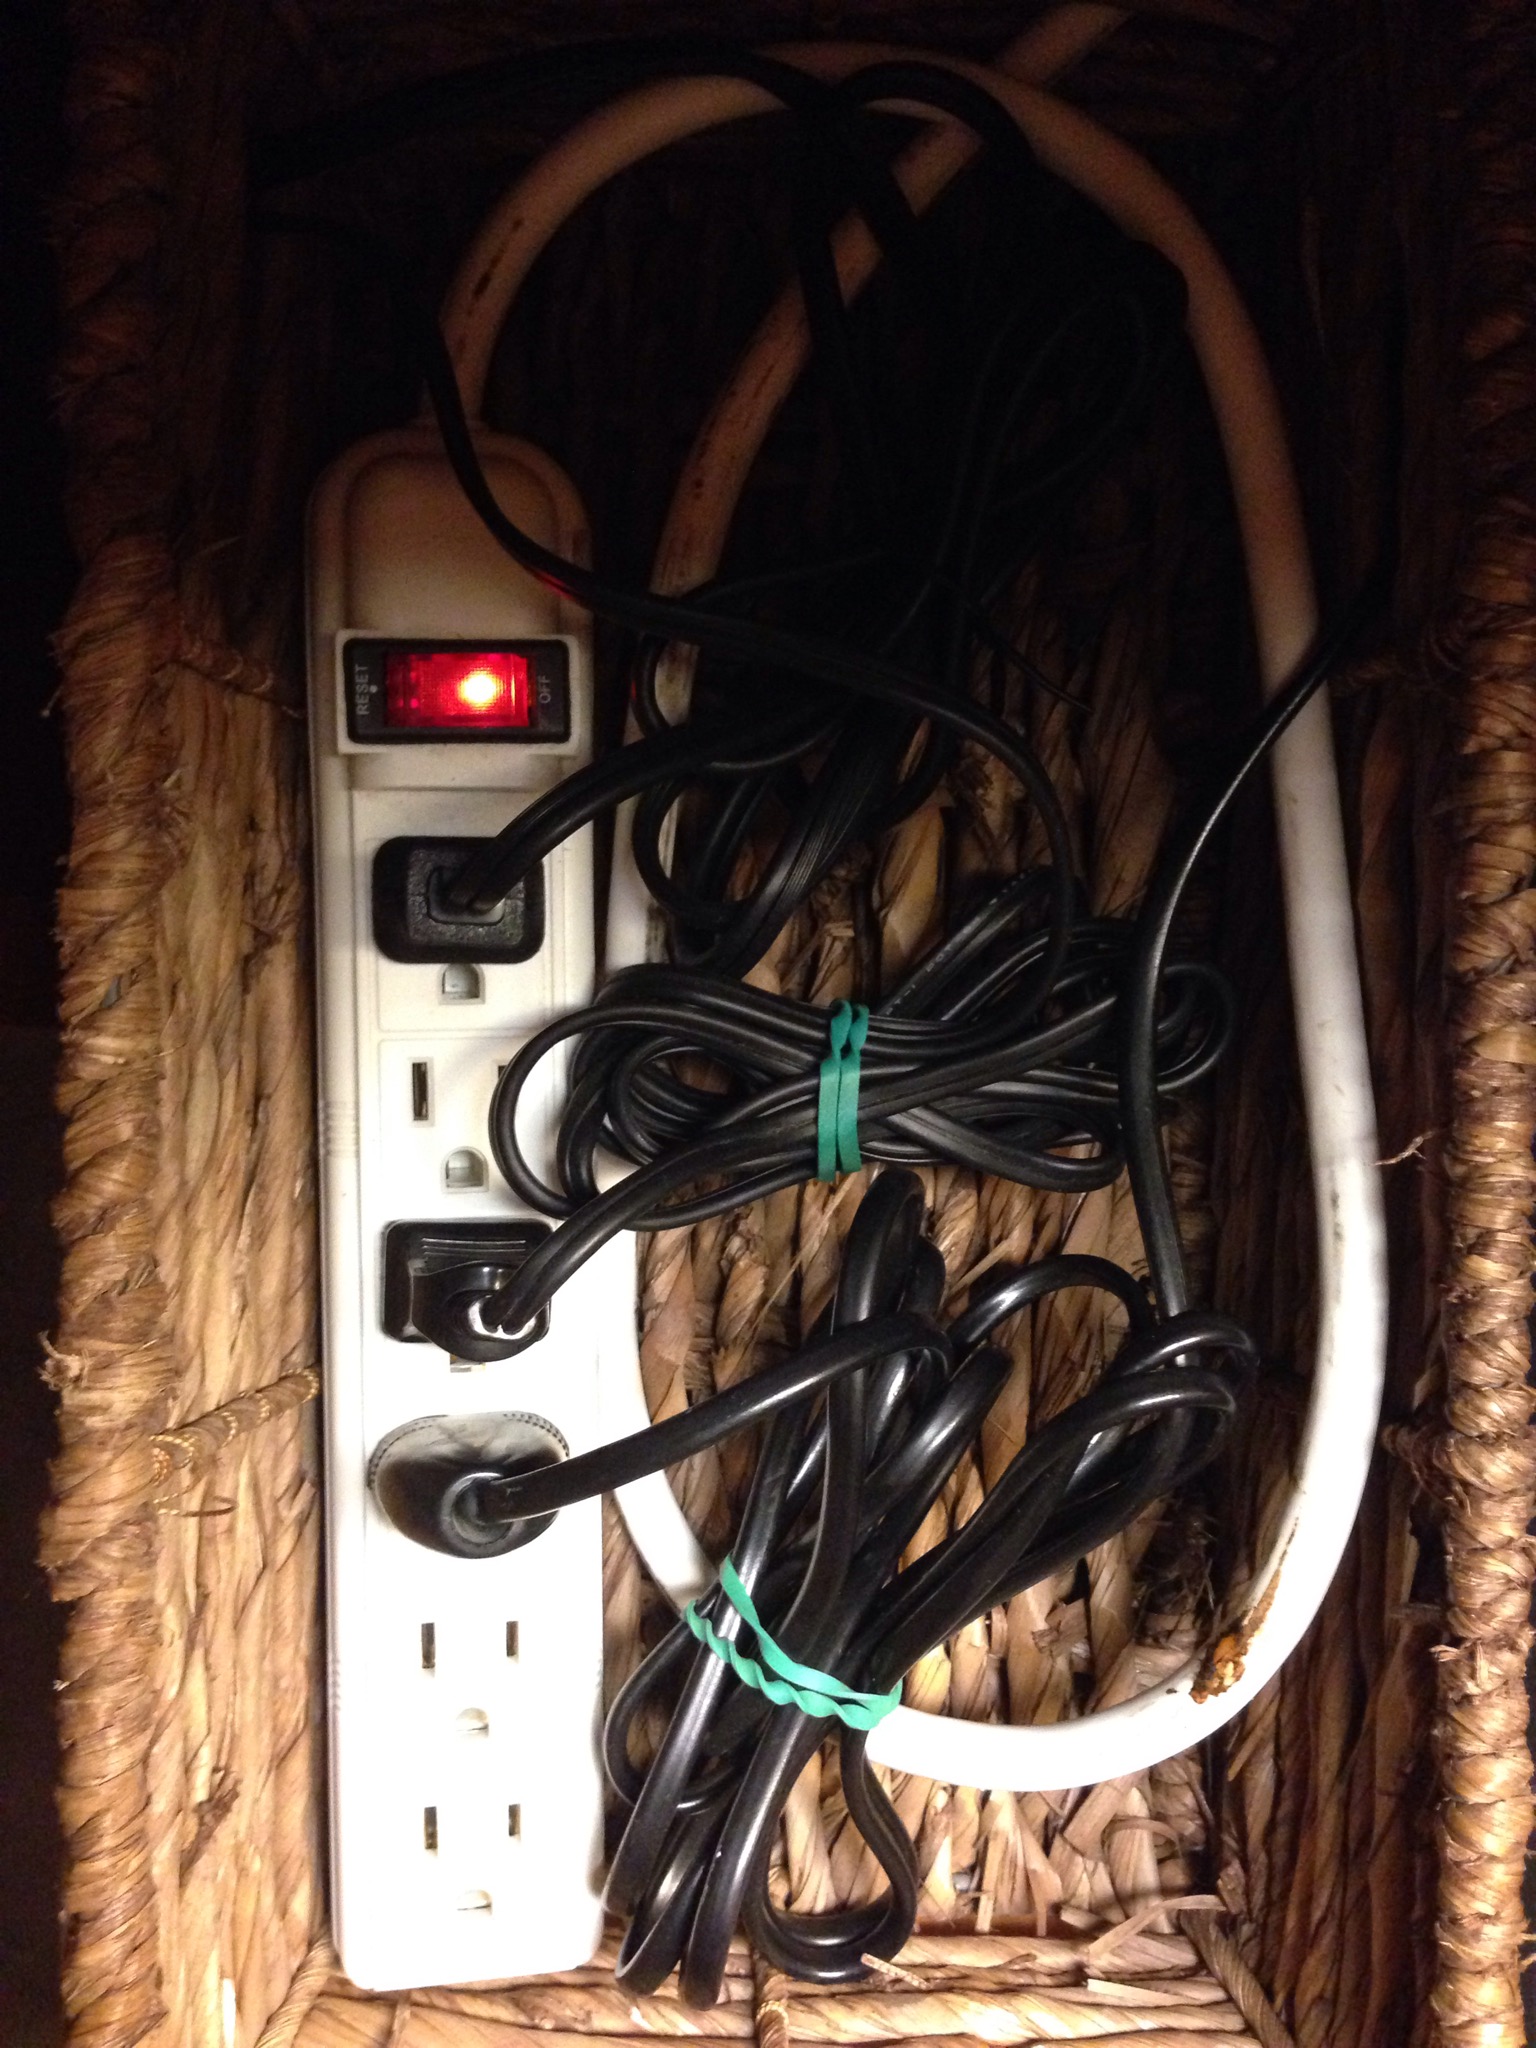
We also need a better solution for organizing and hiding all the cords of our vintage audio equipment.

IMG_4513.JPG
Unfortunately after truly assessing the project, we’ll need our electrician friend (who also restores vintage audio systems) come out to help tackle it. We’re not going to mess with our hvac system in order to restore a single speaker, so we’ll let him guide us in the best direction. All in all I hope you had a romantic and fabulous Valentine’s Day. I know I did! (yes I know I’m a DIY nerd)
However I think the hubby is grateful to be crawling through an attic versus “ahem” sit through a “shady” movie that opened this weekend. 😉
Happy Sunday everyone!

Give it Light! (A Semi-Reveal of Our Midcentury Built-ins)

One of downsides I’ve learned from living in a 1948 home, that there is a severe lack of lighting.

IMG_4321.JPG
Especially the midcentury built in we’ve been attempting to restore. However I have been hesitant to install permanent light fixtures to highlight the built-in.
What if we move or change our minds? What about cutting or ruining more vintage details just to hang a light? To say the least we were in a bit of a quandary…In the end hubby was the brilliant one and said,”what if we’re living in a rental, how would we install a light fixture or run cable?”
STICKY BACK CORD COVERS!

IMG_4312.JPG
We figured we could run the conduit down the sides and paint it to match the built-in. Also there are two working outlets on either end, perfect for light cords. Next we settled on two Ikea Hektar work lights. Then using rustoleums gold spray paint, color matched, to the built ins original brass fixtures, we changed them from ugly brown to a soft gold.

IMG_4322.JPG
Next we primed the conduit by painting them with some of the leftover shelf paint. Once dried we cut the conduit to size. We then installed the two Hektar lights; 1) on the wall with wood paneling, light 2) was screwed into the brick fireplace wall. Quick tip, if you have to use screws that do not match your light fixture, (like the blue masonry ones we had to use) keep a gold or silver sharpie around. You can color the screw to match your brass or nickel fixture.

IMG_4363.JPG
Once lights and conduit were installed I protected the built-in with painters tape and gave the conduit another coat of paint.

IMG_4370.JPG

IMG_4357.JPG
Last step, I tucked and hid cords away, (painters taped the excess cord, so they’d be out of sight).

IMG_4371.JPG

IMG_4365.JPG
Once conduit paint dried, we pulled off the painters tape, and, “Let there be light!”

IMG_4385.JPG

IMG_4387.JPG

IMG_4386.JPG

IMG_4500.JPG
I still need to learn how to style a built-in properly (I’ll admit “styling” is not my strong suit) Nor do I really want to fill it with knick-knacks, I’d rather fill it with vintage records. Someday I’ll figure it out, but for now we’re just happy for the added light and a 1948 home feature restored to its original purpose. Happy Sunday everyone!

How-to Extend a Shelf (and Why it Took us 6 Months!)

Why does a simple project, that should’ve taken a weekend, instead lasts for 6 months? You know that project, the one requiring multiple trips to Home Depot and phone calls to your dad for advice. All us DIYers have experienced the so-called “easy” project.
Our drama started when I decided let’s keep and restore our midcentury built in…

IMG_4455.JPG
According to our home’s blueprints these built-ins housed original audio equipment and mini organ in unfortunately what is now the countertop. The previous owners family had replaced the flip top cabinetry with a laminate countertop that poorly matched the original wood stain. Of course this was probably a practical decision because it increased countertop and work space. However we lost out on a valuable vintage detail that made these cabinets so unique. Like these…(via Pinterest)

IMG_4458.PNG

IMG_4457.PNG

IMG_4456.PNG
Therefore our next step was to extend the shelves. That wouldn’t be hard right? Wrong!
I literally schlepped to Home Depot 4 times on one Saturday with drawer in hand, trying to match wood stain. It is nearly impossible to achieve that perfectly aged amber color, familiar with midcentury cabinetry.

Finally I gave up and moped about it for a few months. (Admittedly this project was one of the reasons we were defeated by diy, and had such severe bloggers burn-out)

Luckily I got a second wind in 2015 and this project was back on track again. Except where do I find midcentury shelves? Especially ones with odd dimensions?

I hunted in antique fairs, thrift stores, and Craigslist. Every time coming up empty handed. Until I gave up again, and started looking for blue print cabinets. (Another project for another Sunday) I stumbled onto the perfect shelves at Rulands used office furniture in Sacramento!

The only downside was that the edges of the shelves were unfinished particle board. Therefore we had Home Depot mix up a sample of color matched paint and with a mini foam roller got to work.

IMG_4272.JPG

IMG_4273.JPG
To prevent paint from running over the edges, I took a damp paper towel and wiped away the excess with each application.

IMG_4274.JPG

IMG_4275.JPG
Finally once the boards were dried we countersunk screws into the built in shelves (both from the bottom and top)

IMG_4315.JPG

IMG_4317.JPG

IMG_4316.JPG
Ultimately we did not glue the extension shelves to the builtin because should our tastes change we’d want the flexibility of just removing the screws if we need to. However with 6-8 two inch screws these shelves are not budging!

IMG_4319.JPG

IMG_4321.JPG
On to lighting next week! Happy “Super Bowl” Sunday everyone!

Midcentury Built-in…To Demo or Not Demo…That was the Question

“Oh no these gotta go.” I said looking at the wall of orange cabinetry.

IMG_4323.JPG
This was two years ago standing in our eat in kitchen. I had dreams of punching through this same wall and creating an open concept floor plan. Then one year passed…Two years and the built-in is still there.

IMG_4339.JPG
The burgundy brick of our eat in kitchen has been painted to a muted gray. The mustard yellow walls are gone, but the orangey built-in still remains. As we slowly started to neutralize the kitchen colors the midcentury aged patina of the paneled wood started to grow on me. (If you follow us on Pinterest you’ll notice my weakness for 1950s architecture and design.) Yet apparently I’m not the only one sipping the kool aid: Sunset magazine, Dwell, Domaine, and even House Beautiful seem to love mid century style and this shade of amber wood:

IMG_4345.PNG

IMG_4348.PNG

IMG_4350.PNG

IMG_4343.PNG

IMG_4349.PNG
Is midcentury design everyone’s style? No! Vintage farmhouse and industrial elements are still all over pinterest and the blogosphere. Yet with Nate Berkus working his magic at Target, and other big name companies copying Classic midcentury textures, colors and designs, I think we’ll be seeing a resurgence soon enough. If not at least everyone should have a faux Eames chair! (That design will never die, they’re just so comfy!)

IMG_4353.JPG
Yet it wasn’t until we unearthed the original blue prints of our house that I realized there was something special about these cabinets…

IMG_4340.JPG
Holy smokes! This built-in was meant to house a 1948 sound system. (We still have the original speakers in our attic today!) Yet the wiring has long ago been cut and vintage electronics gone.

I started to rethink my initial plan of a complete tear down. I researched that Midcentury design and original features can add value to an older home. Also admittedly I’m a huge nerd when it comes to retro audio systems and classic records. (just check out our “Vintage Sound” board on Pinterest and you’ll see my geeky adoration for tube receivers, and all things vinyl)

IMG_4355.JPG
A bonus to restoring the built-ins versus demoing, I will have a place to display my small collection of vintage audio, rather than take up space in our guest room.

Therefore we’ve decided to forgo demo in favor of restoration. We need to keep a few elements of our early midcentury home original. It may not be all the rage in interior design right now but sometimes design is about what’s in your heart and what makes you happy.

Therefore over the next couple Sundays we’ll be focused on this little orange corner becoming the heart of the home. To lighten it, style it and above all give it back some purpose. This will be my little sanctuary after a long days work. Where I can kick off my heels, cook dinner and dance with a glass of wine to Sinatra. Do you have an ugly duckling in your home waiting to become a swan?

IMG_4338.JPG
Happy Sunday everyone!

So What is the Plan for 2015?…

Do you remember the office/guest room’s before pics…

IMG_0332.JPG
Now here is the “After”…

IMG_4256.JPG
Say what?!
No I did not accidentally flip flop the pictures. We really are starting out 2015 with a clean slate. We’re finally “cleaning house” of our college dorm and single days decor. The broken Big Lots and outdated Ikea furniture are going bye bye!

Don’t get us wrong, we are loyal to the big yellow and blue Swedish design, as well as killer prices. However after 11 years, it’s time to swap out some key furniture pieces and reconfigure wall decor. Rather than focus on filling a space based on what we’ve just had around or hand me downs, we are going to be on the hunt for quality, personalized and keepsake furniture.

We also need to do some major organization overhaul. (I think I counted 12 bankers boxes of files in our office closet that are waiting to be scanned then shredded)

Meanwhile the dogs are back to mischief and tearing up their sheets and bed when we’re at work. (Apparently they were feeling our burn-out and long work hours too) Thus we need to keep them in mind when choosing new decor, as well as balancing business, work and the all important dog walks.

Therefore the whole family is focused on balance, following the plan and “dog proofing” the house in 2015.

The diy plan is very simple:
1. Redesign our guest/office
2. Finish the unfinished projects (the kitchen, eat in dining room, living room, backyard and master bedroom)
3. Get a start on the guest house/apartment (right now it’s just glorified storage space)

We do have a few surprises up our sleeves, this year. (But scared to jinx them by posting too soon)
Maybe along the way we’ll manage some honest to goodness “after” pics, but we’re not going to rush into design choices. Nor do we want to suffer from diy burn-out again. In the meantime follow us on Pinterest for some style sneak peeks and our design inspiration. Like these dual office and guest rooms…

IMG_4260.PNG

IMG_4258.PNG

IMG_4259.PNG

IMG_4261.PNG

We are excited for 2015, finding balance, some big changes and even clean slates. Happy Sunday everyone!

Slow and Steady = BORING!…And lots of planning…

Me: “Honey, I have a great idea, we could…”
Hubby: “Ummm, no”
Me: “But it won’t cost more than $200…”
Hubby: “Love let’s stick to the plan.”
Me: “Yes but I…”
Hubby: “No.”
Me: “What about…”
Hubby: “No.”
Me: “But if we do the project that means we’d buy that nail gun and air compressor”
Hubby: “No we have a plan and budget…Nice try with the bribery though.”
Me: “Yeah I thought so too.”😉

Now here we are, second Sunday into 2015, and I’m twiddling my very twitchy and bored hands. However that’s the “plan”…[long drawn out suffering sigh]

We’ve taken inventory of all the projects, figured out a timeline and categorized each of the projects by estimated cost.

IMG_4161.JPG
However we have taken into account a few sorely neglected and unfinished projects (that we hope no ones noticed.)

IMG_4208.JPG
So here’s the strategy, we’re going slow, and tackling some of the less glamorous projects first. Most can be done in under $20 bucks. However we do have a few “oh wow”, and “Pinterest-worthy” projects coming up. (We’re even sticking to the budget.) 😉
Have you ever had to hold back on an amazing project? Whether the reason be budget, timeframe or because of a patient spouse with more sense than you? (I’ve learned sometimes in a relationship there should be one person as the “analyst” and one person the creative “mad” genius) Unfortunately the hubby is not getting a new nail gun for reigning in the DIY, but that’s his loss…Happy Sunday everyone!

Dealing with DIY Burn-Out…And Learning to be Kind to Ourselves

IMG_4163-0.JPG

We didn’t disappear in some dramatic fashion! Nor did we even have a good excuse…Instead “DIY and blogging burn-out” insidiously crept up on us without warning. One day gun-ho and ready to take on the next big project…Then days, weeks, months dragged out, and we did not lift a finger.

Looking back on 2014, I was able to identify four key reasons why we lost our diy mojo:
1. Energy
2. Finances
3. Long term plan
4. Purpose

Interestingly aren’t these the four reasons experts attribute to why businesses, goals and even relationships fail?

Not surprisingly we were impacted by all four reasons, and thus the blog suffered from our severe burn-out.

Originally as I wrote this post I was very unkind to myself. (Beating myself up both with words and pictures of our unfinished projects.)

Yet as the words of self-deprecating humor and undisguised sarcasm flowed forth, there was a moment of clarity…

Robert Collier’s famous quote came to mind…

“Success is the sum of small efforts repeated day in and day out”

Instead of taking the approach of “slow and steady wins the race”, we took off like jack rabbits only to finish half-way. We lost steam, didn’t want to spend the money, and even considered selling the house.

In the midst of self doubt, burn-out and feeling like a failure, I had forgotten the purpose of this blog in the first place:

A little corner of the Internet meant for weekly diy mistakes, inspiration, silliness, humor and “four legged” kids.

The blog was supposed to be the sum of our small, diy, efforts with the hope of inspiring others…For two years hadn’t we accomplished this?

After several sleepless nights of Internet research. We’ve discovered a greater “purpose” and plan for the blog.

The benefit of a plan will prevent lapses in Sunday posts and DIY burn-out. As time passes and I grow into a stronger and braver writer, I hope to have the courage to share with our loyal readers and friends, what our purpose is, and how we found our way back.

In the coming Sunday’s you’ll see a major change in both writing style and DIY. We’ll be tackling projects in bite size pieces, be kinder and forgiving to ourselves, and laugh more at our mistakes. We are grateful to those of you who stuck by us these past months, and we love you for it!

Happy Sunday everyone!

When house projects fail…Build a $5 bike crate!

This post was never supposed to happen…Instead the plan was to reveal our DIY concrete planters. (Sort of like these)

20140907-210030-75630687.jpg
What I thought would be a brilliant idea for cheap and light weight planter boxes, turned into a cracked mess of gravel and concrete. (Which of course I spent the afternoon cleaning up)

Shortly after, I was scratching my head and wondering what am I going to do with 12 sets of wooden handles, and 6 plastic garbage cans?

How about use the wooden handles for a wine crate? What if the wine crate was attached to a bike?

20140907-210458-75898148.jpg
See the hubs has a vintage bike, used mainly for cruising around town with the guys. Yet his bike has been sorely lacking in storage and beer hauling capabilities.

20140907-210805-76085596.jpg
Alas when searching the web for instructions, there weren’t any for “easily” removable bike wine crates. So here is our how-to for the $5 bike wine crate:

You’ll need…
2 wooden 1×1 inch dowels (cut to the width of your bike rack)
2.5 inch screws and accompanying nuts (4 total)
Some wood stain
A wooden wine crate
1 inch screws and accompanying nuts (2 total)
An empty paint quart (or empty vegetable can with no sharp edges may work)

20140907-212034-76834985.jpg

First I stained the wine crate and dowels (since I had already drilled the holes in the dowels)

20140907-212244-76964251.jpg

20140907-212307-76987919.jpg
After we let the stain dry overnight, we added the 2.5 inch screws to the dowels. We also darkened the tips of the screws with a sharpie so we could mark the wine crate for drilling holes.

20140907-212621-77181169.jpg

20140907-212642-77202496.jpg

We then drilled holes in the bottom of each crate.

20140907-212730-77250134.jpg
And secured the crate with a wrench and nuts.

20140907-212856-77336949.jpg

20140907-212918-77358779.jpg
(You can see how the crate is secured to the dowels from the bottom)

20140907-213016-77416254.jpg
Finally we drilled holes through the paint can and bottom of box.

20140907-213108-77468200.jpg
Then secured the can with the 1 inch screws and nuts.

20140907-213202-77522356.jpg

The bike is now ready for picnics, commuting with coffee and “booze” cruisin with the guys.

20140907-213647-77807091.jpg

20140907-213723-77843873.jpg
Not bad for $5 and 15 minutes to install right? Happy Sunday everyone!

Did you miss us? Where are we today…

Summer is nearly over! Hopefully you’re all out doing something amazing this Labor Day weekend! We’ve spent the last couple Sundays trying to squeeze in as little diy labor and as much summer fun with the pups as possible. (Sorry folks we’ll be back to tackling fall house projects soon enough) Today we’re hiding out over at Studiogblog.com a website all about beautifully designed gardens and fabulous backyard inspiration.

20140831-071426-26066052.jpg
We were thrilled when they asked to feature our (nearly) dog proof backyard makeover! The website is just gorgeous, filled with gardening inspiration, and is an absolutely addicting website. Send LHBD some love, leave a comment or like us on FB, while you’re checking out studiogblog.com In the meantime the pups and us wish you all a safe and wonderful Labor Day weekend! Happy Sunday everyone!

Happy Dogs, Vintage Trailers and Chicken Soup

What do they all have in common?

20140817-214349-78229128.jpg

Give up yet? We did not lift a diy finger at all this weekend. Instead we spent time with the pups, laying on couches, and eating chicken soup while we tried to get over our summer colds. I also spent way too much time on Pinterest. (The best way to mindlessly waste a Sunday afternoon when sick) Our few ventures out of the house this weekend were to pick up a craigslist shell for the truck…

20140817-214911-78551941.jpg

( Wait did she just say truck?! Aren’t they little car people?) Yes, finally after 6 long years, we pulled the trigger and bought a used truck. You’d think after a couple fixer homes and monstrous dogs, a truck would’ve been very practical.

20140817-215425-78865844.jpg

Now both us and especially the pups are in love. The world of camping and adventures has been opened up to us. Including the dream of owning and restoring a vintage trailer.

20140817-215814-79094358.jpg
I’ve been blog stalking Kristiana of Silvertrailer.com ever since she’s been featured in Sac Magazine 4 years ago. Her air streams are just gorgeous!

20140817-220151-79311178.jpg

20140817-220151-79311334.jpg

However renovating these beauties are a bit pricey, and towing them even more so. Considering we’re tent campers by experience, I’ve turned my interest towards the idea of renovating a tent trailer. Compact, light weight, and inexpensive (used), renovating a tent trailer seems like a great baby step towards an actual airstream someday. Especially when there are so many cute ideas floating about on Pinterest…

20140817-220918-79758423.jpg

20140817-220918-79758731.jpg

20140817-220919-79759003.jpg

20140817-220918-79758583.jpg

20140817-220918-79758867.jpg
(Via Pinterest)

If you follow us on Pinterest you’ll see our outdoor adventure board filling up with all these wonderful sources of inspiration. The idea of renovating another little home “on wheels” is such motivation to save our pennies, and break out the tool box…I think once I’m over this cold the DIY sickness will strike again…Happy Sunday everyone!